Posted by Hero Arts
on August 12, 2023


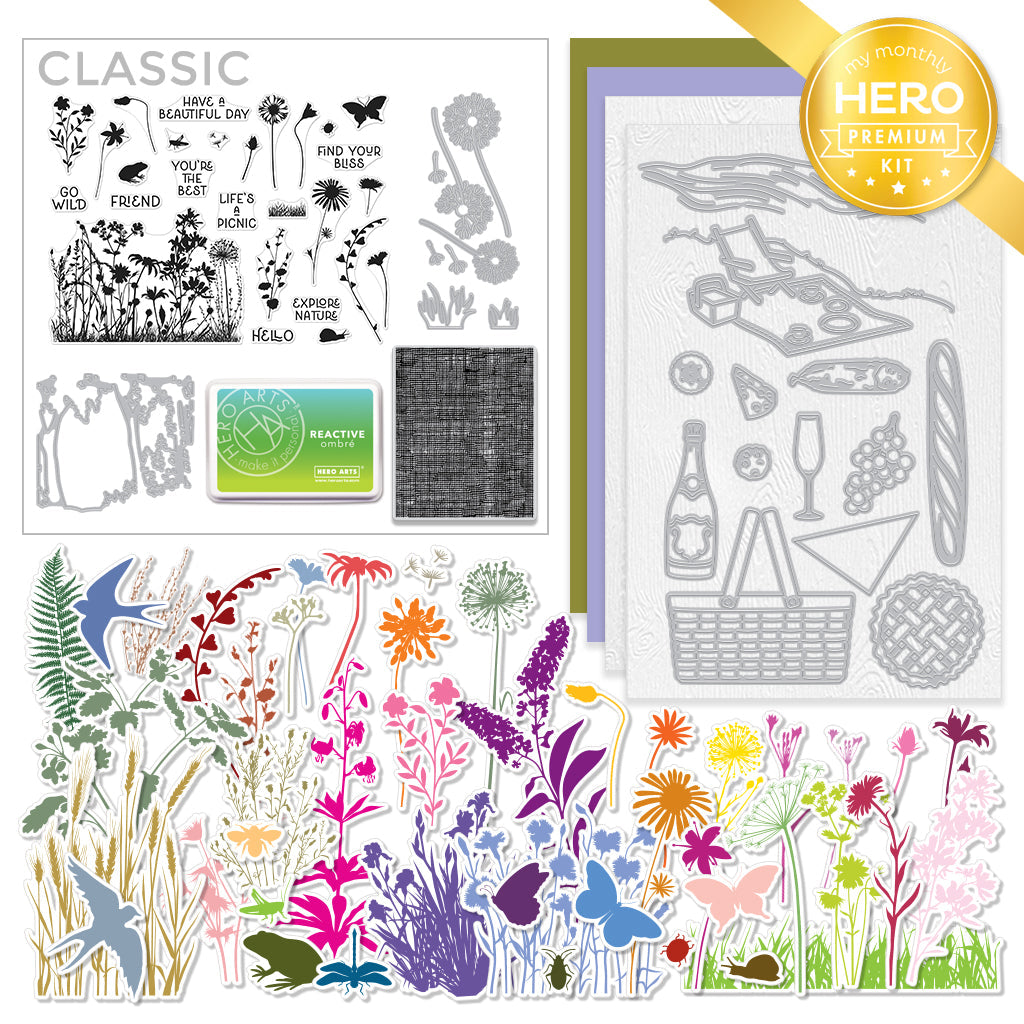
Our next LIVE Make-Along event is this weekend! Join Channin from our Creative Team to make along with the July 2023 My Monthly Hero kit. Gather your supplies and create a card with Channin from start to finish.
👉🏼 When: Sunday, August 13 at noon PT/3pm ET
👉🏼 Where: Hero Arts Facebook and YouTube
In addition to the July My Monthly Hero Premium Kit, the following supplies will be used:
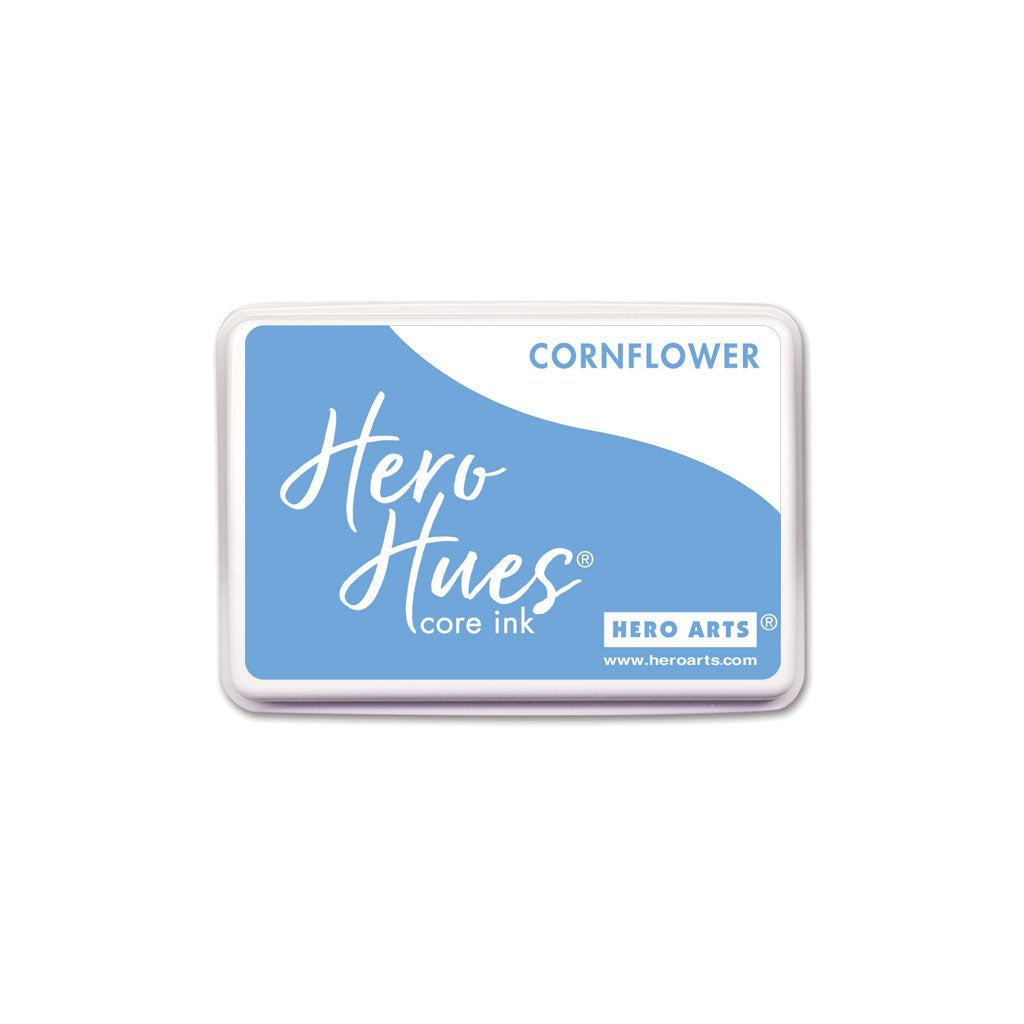
AF702 Cornflower Core Ink
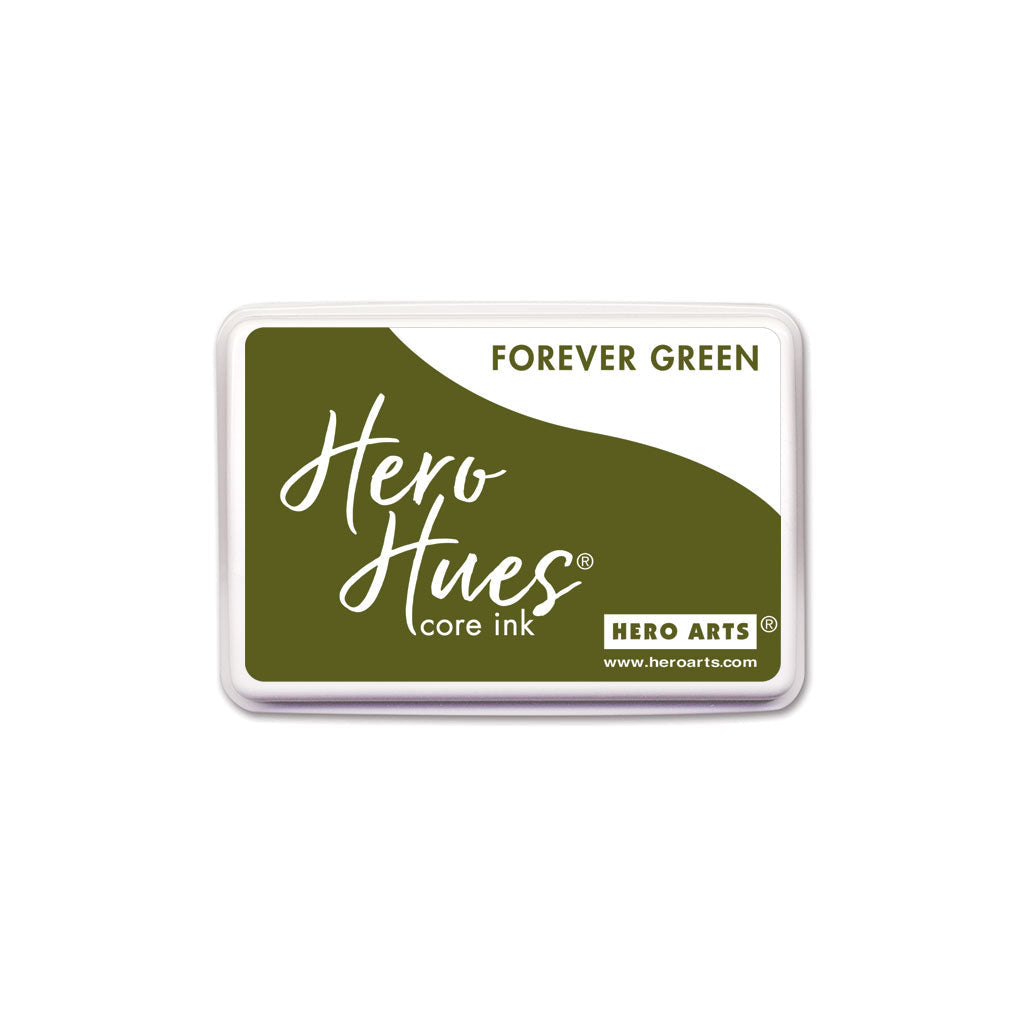
AF669 Forever Green Core Ink
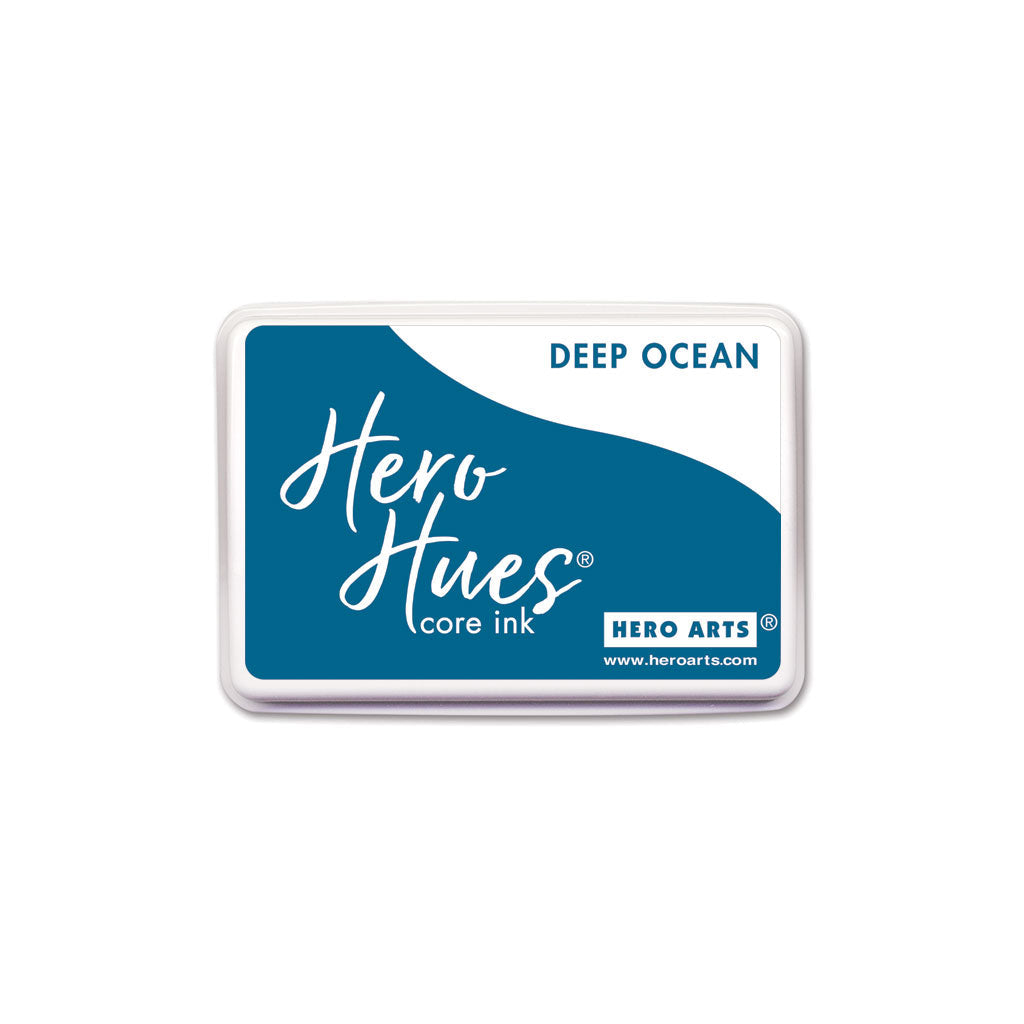
AF686 Deep Ocean Core Ink
PS325 Dove White Cardstock
PS324 Antique Ivory Cardstock
PS303 Cherry Cardstock
PS307 Mustard Cardstock
PS340 Shamrock Cardstock
PS302 Cranberry Cardstock
PS320 Sand Cardstock
PS318 Amethyst Cardstock
PS305 Pumpkin Cardstock
PS306 Canary Cardstock
PS400 Dove White Top Folded Cards
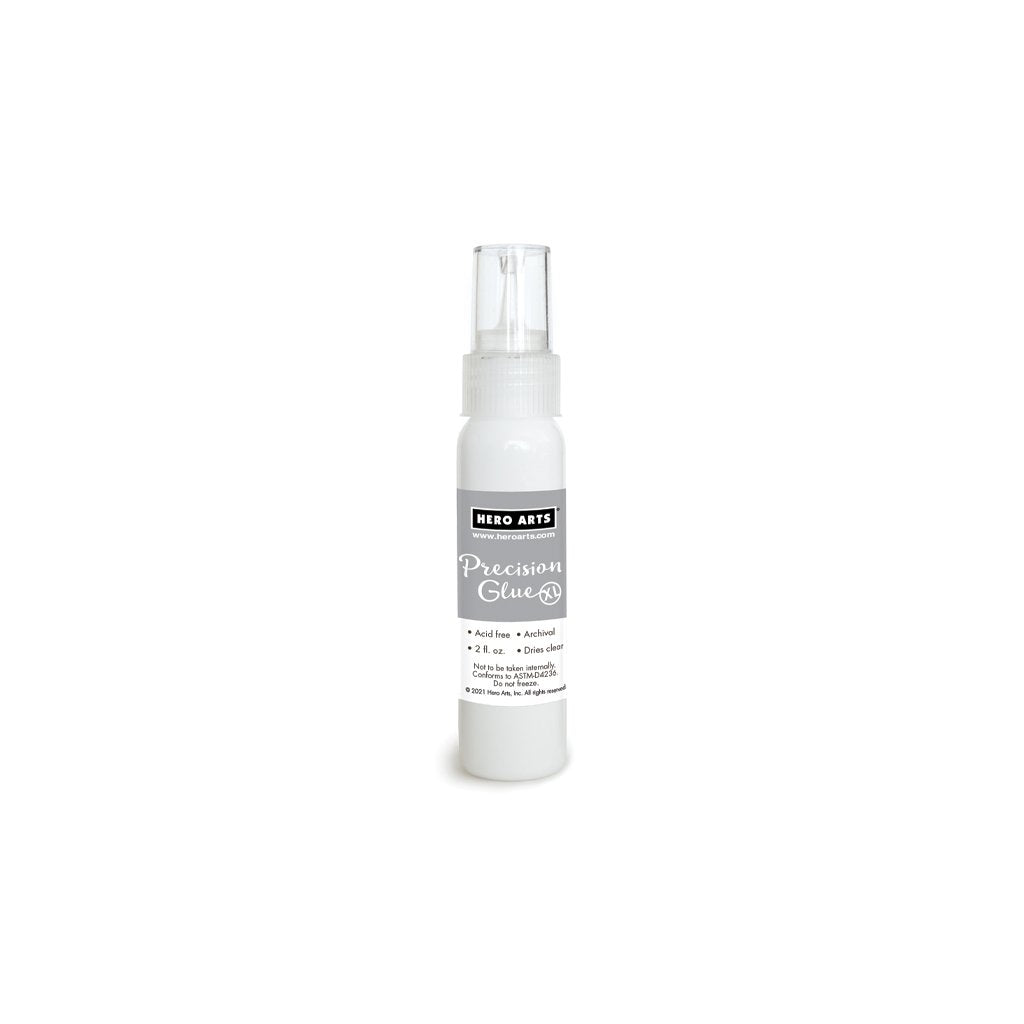
GW102 Precision Glue XL
Stamp Positioning Tool, ex. MISTI
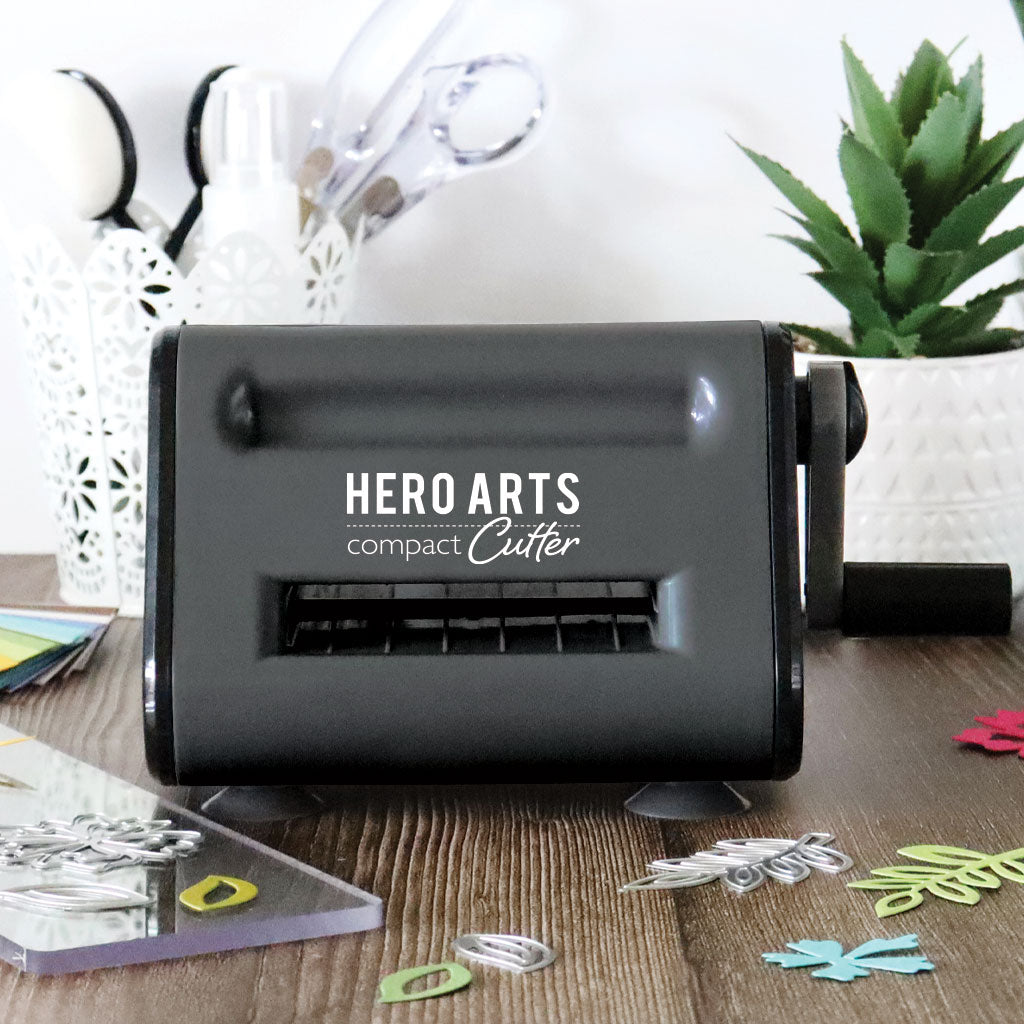
Die-cutting Machine
Low-tack Tape
Scissors
White Gel Pen
Press’N Seal
Copic Markers:
Pie: E30 + E31
Bread: Y21 + YR23; E50 + E30
Champagne Bottle: YR21 + YR23; E40; R59; G43 + G28
Basket: E30 + E31 + E43
Grapes: V12 + V15 + V09
Salami: R37 + R46 + R59
Cheese: Y00 + Y15 + YR23
Mustard: Y21 + YR23
Champagne Glasses: Y11 + Y21 + YR23; BG10
Instructions:
- Die cut the basket out of Sand cardstock. Color with Copics to add depth.
- Die cut two French loaves out of Antique Ivory. Color with Copics.
- Die cut the pie out of Antique Ivory. Color with Copics and then trace around the pie over a scrap of Cherry cardstock. Fussy the traced circle out and then adhered behind Copic colored pie.
- Die cut the champagne bottle out of Shamrock, Mustard, Antique Ivory and Cranberry cardstocks. Fussy cut the foil and the front label out from the Mustard bottle. Fussy cut the front label out from the Antique Ivory bottle. Fussy cut the neck label out from the Cranberry bottle. Copic color the champagne bottle and the fussy cut elements, then adhere together.
- Die cut the grapes out of Amethyst cardstock. Color with Copics.
- Die cut the salami out of Pumpkin cardstock. Color with Copics and white gel pen.
- Die cut the cheese out of Canary cardstock. Color with Copics.
- Die cut two crackers out of Mustard cardstock. Color with Copics.
- Die cut two champagne glasses out of Dove White cardstock. Color with Copics and white gel pen.
- Stamp a scrap of Dove White cardstock with the Linen Cling stamp in Cornflower. Die cut scrap with the napkin die.
- Arrange die cuts then pick up with Press’N Seal and flip over. Add foam adhesive and then adhere to the front of an A2 top-folding white card base.
- Stamp sentiment from clear stamp set in Forever Green and Deep Ocean onto Dove White cardstock. Fussy cut out and then adhere to card front with foam adhesive.
If you cannot join us for the live event, no problem! The video will be available to watch on replay on YouTube or Facebook whenever it is convenient for you.
We hope to see you there!

|