Candlewick Classics Collection Inspiration | Christmas Shaker Cards with Marie Nicole
on November 09, 2019

Candlewick Classics Collection Inspiration | Christmas Shaker Cards with Marie Nicole

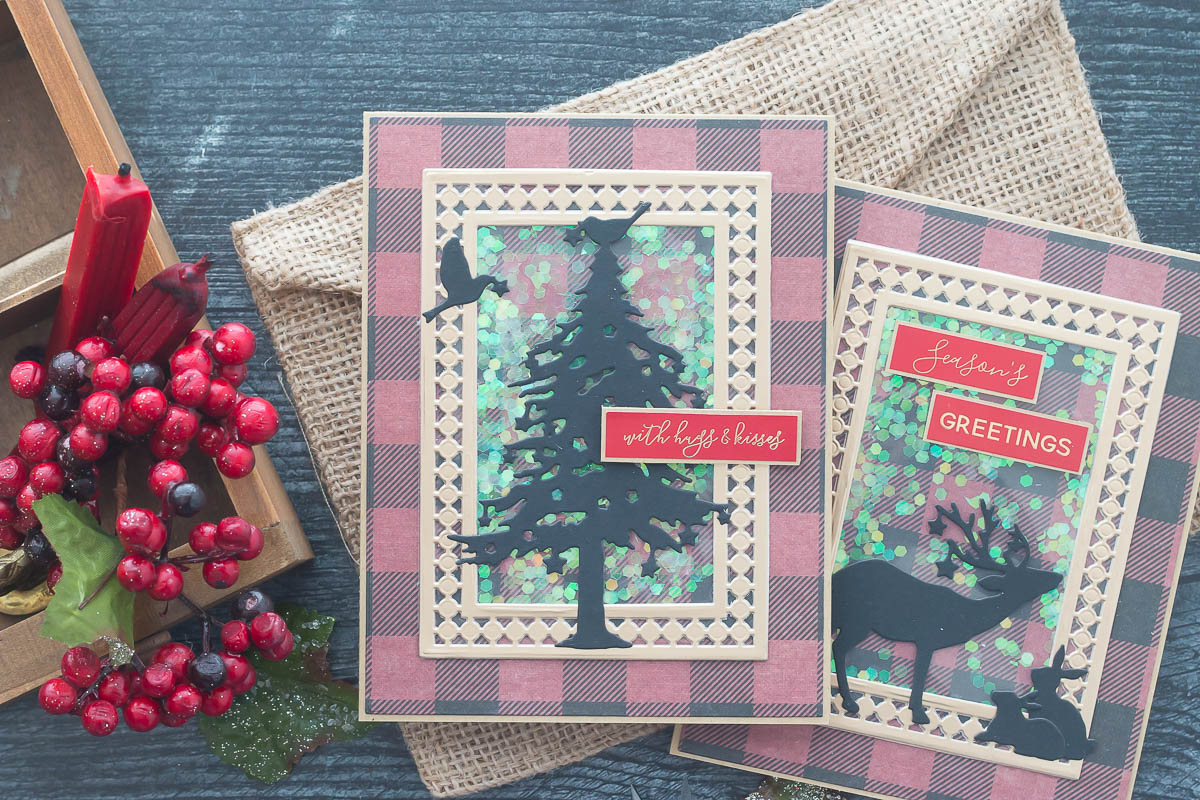
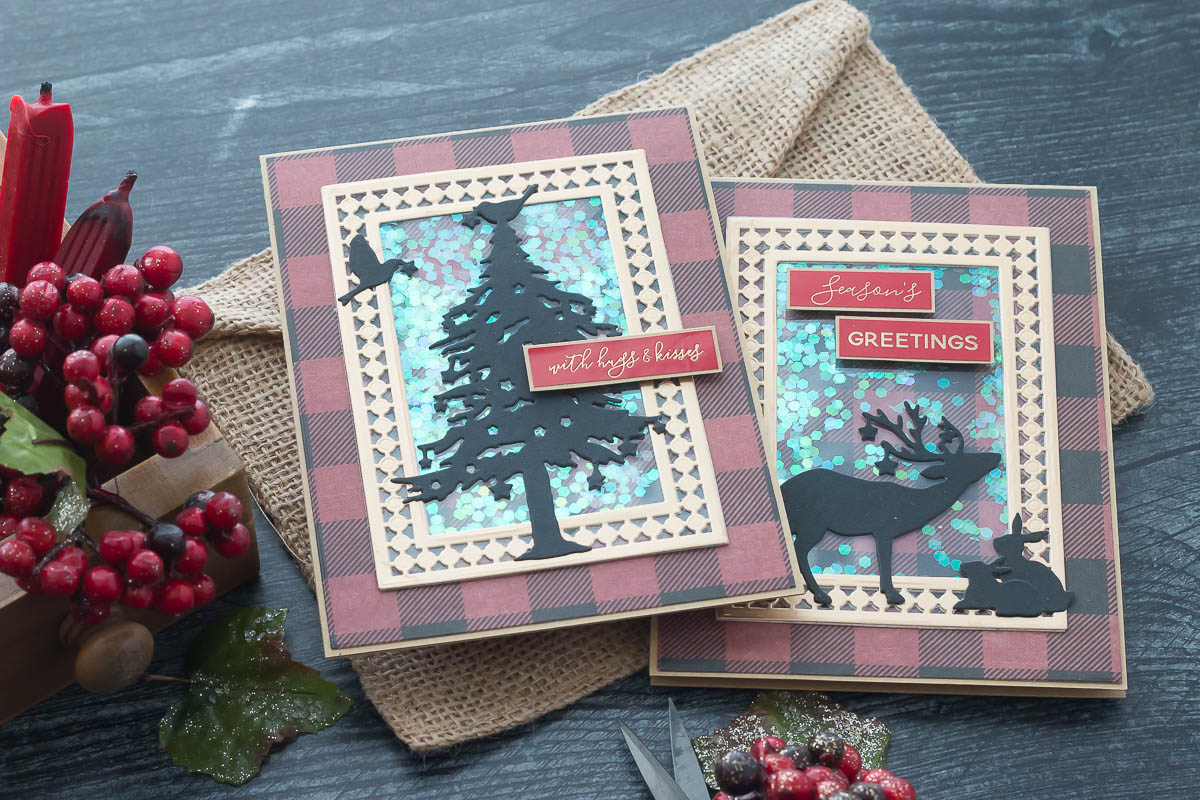
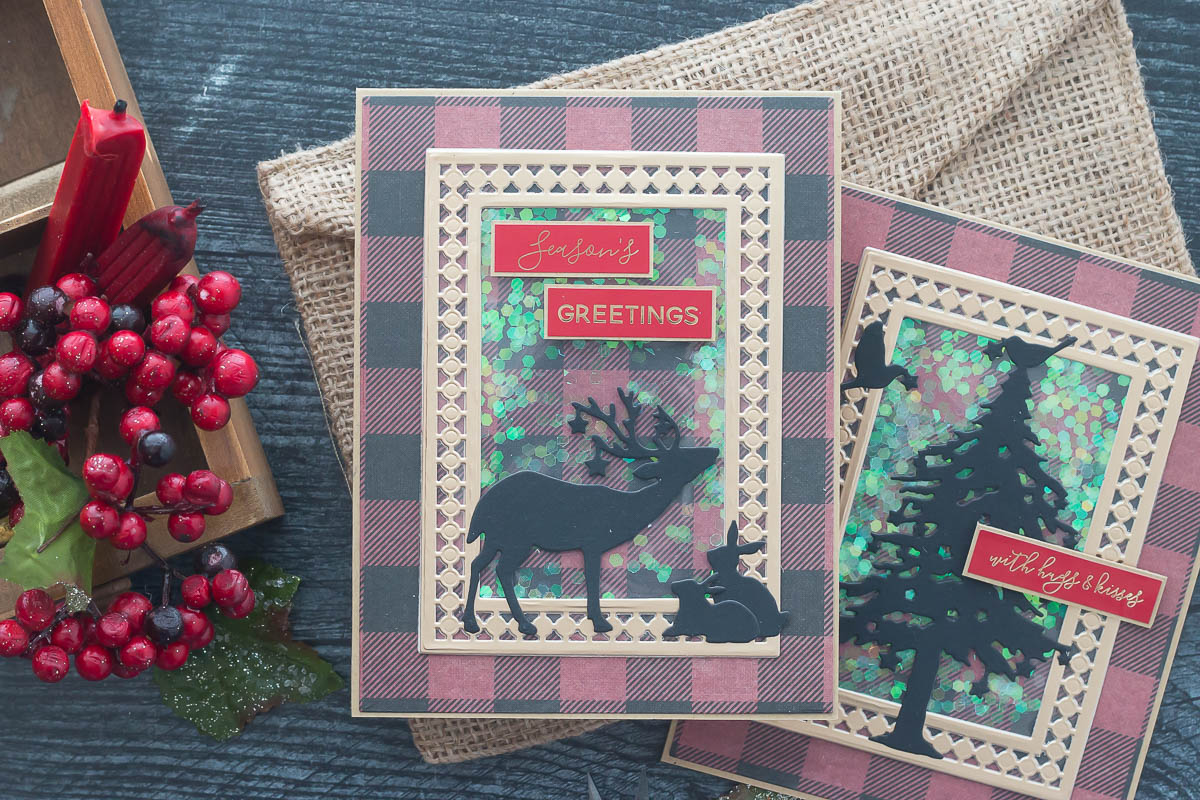
Hello, crafty friends! Marie here from Marie Nicole Designs. I am so excited to share a few Christmas shaker cards created with some dies from Becca Feeken’s new Candlewick Collection! There are so many layering dies, and I chose to use the rectangle ones to create a shaker frame as the focal point of my card. This is so easy to do, and by using die cut layers to build up dimension for a shaker window, you can save on some of your foam adhesive!

Spellbinders Candlewick Classics Collection by Becca Feeken - Inspiration | Christmas Shaker Cards with Marie Nicole

I started these cards by using the rectangle dies and cutting out frames from some gold paper. To cut out frames that are exactly the same in order to stack them on top of each other, I layered them together and then taped them all together using some washi tape. I like to add tape both horizontally and vertically along all the dies, creating a big cross of tape over the dies. This helps keep them all exactly in the same position when die cutting. Then, I can just remove the die cut pieces, keep the dies taped together, and cut another piece. When you have all your layer pieces cut exactly the same, this helps when layering them together to get the perfect fit.

Spellbinders Candlewick Classics Collection by Becca Feeken - Inspiration | Christmas Shaker Cards with Marie Nicole

For each frame piece, I cut one layer of gold paper, and one layer of plain ivory cardstock. I layered the ivory paper underneath, then added a piece of clear plastic, and finally the gold die cut piece over the top. If you want more height on your shaker frame, just cut more layering pieces! I only used two layers because I was using thin confetti pieces in my windows that doesn’t require much height. For sequins, I would definitely recommend adding more layers to allow your shaker pieces to move freely! Both cards are made using the same design, but I changed them up just slightly to make them unique. For my first card, I die cut this little reindeer and bunnies from Sharyn Sowell’s die set, Starry Forest. I thought using black cardstock would be a nice silhouette to coordinate with the patterned paper I used behind the shaker window.

Spellbinders Candlewick Classics Collection by Becca Feeken - Inspiration | Christmas Shaker Cards with Marie Nicole

My second card features the Christmas tree and birds from the same Starry Forest die set. Again, I cut these out of black cardstock for a silhouette look. I adhered these die cuts right over the frame and shaker window with a bit of liquid glue. To add the shaker pieces, I sprinkled a small pile of the confetti onto the center of the card front and then glued the window over it. Doing it this way allowed me to make sure to adhere my window in the center of my card front, and I didn’t make a mess with the confetti if I tried to flip the window after filling it!

Spellbinders Candlewick Classics Collection by Becca Feeken - Inspiration | Christmas Shaker Cards with Marie Nicole

The sentiments for these cards are some foiled stickers that I grabbed out of the Merry Everything Christmas Kit from Spellbinders. There is so much in this kit and I love that I have some ready made sentiments that I can easily add to card fronts! I added these stickers to some kraft cardstock to make them a bit sturdier, and then trimmed them down and added them to the cards with some foam adhesive. The card fronts are also adhered to the same kraft cardstock that I used to mat the sentiments with. I love how these dies from Becca Feeken have so many layers that makes it possible for you to cut frames, shaker windows, layering pieces, and more! So many possibilities!

Spellbinders Supplies:

OTHER SUPPLIES

Gold Cardstock, Ivory Cardstock, Kraft Cardstock, Black Cardstock, Patterned Cardstock, Washi Tape, Liquid Glue, Foam Adhesive, Tape Runner Adhesive, Clear Plastic for windows, Clear, Shimmery Confetti, Paper Trimmer, Scoring Board, Score Tool. Thanks for stopping by today! I hope you enjoyed a peek at these dies and that you are inspired to create with them in your own home! Until next time, Marie Nicole

Leave a comment

Your email will not be published. Please note, comments need to be approved before they are published.


  • HOW TO USE PRESS PLATES WITH MULTIPLE INKS | CREATE YOUR WAY HOLIDAY, BPR-050, BPI-049, BPI-003

    BP-001

    How to Use Multiple Ink Colors with BetterPress Registration Plates

    Create a colorful Christmas card while learning how to apply multiple ink colors to BetterPress registration plates. In this detailed tutorial, you’ll use the Festive Evergreens Registration Press + Foil Plate & Die Set to press a holiday doorway scene in three colors, combining the built-in registration system with a simple masking technique. The registration template positions the coordinating plates so each layer aligns with...

  • How to Make a Colorful Foiled Butterfly Card with Glimmer II

    BP-351

    How to Make a Colorful Foiled Butterfly Card with Glimmer II

    Combine hot foiling, alcohol-marker coloring, ink blending, and dimensional shaping to create a colorful butterfly card that sparkles from every angle. In this step-by-step tutorial, you’ll learn how to foil detailed butterflies and a floral background with the Glimmer II Hot Foil System, add bold color, and shape the butterfly wings for a realistic raised effect. The Bright Butterflies and Thanks In Bloom Press +...

  • How to Heat Emboss with BetterPress Plates: Snowman Christmas Card

    BP-001

    How to Heat Emboss with BetterPress Plates: Snowman Christmas Card

    BetterPress plates can do more than create letterpress impressions and hot-foiled designs. In this detailed Christmas card tutorial, you’ll learn how to apply clear sticky ink to a BetterPress plate and use white embossing powder to produce a crisp, heat-embossed snowflake background. The tutorial also covers pressing and die cutting a sentiment, assembling three detailed snowmen, and arranging the finished elements on an A2 card....