Classics March Collection Inspiration | Dry Embossed Cards with Marge
on March 14, 2018

Classics March Collection Inspiration | Dry Embossed Cards with Marge

Hello, there! It’s Marge here again with gorgeous New Classics March Collection. Today I’m going to share how to make patterned backgrounds using dry embossing technique. Since all the dies in Classics March Collection are nested dies, with different patterns on frames one by one in a set, they are just perfect for making interesting patterns all together. So here are my cards for today.

Classics March Collection Inspiration | Dry Embossed Cards with Marge for Spellbinders using S5-317 Textured Flowers, S5-338 Wreath Elements, S4-904 Scored and Pierced Rectangles, S4-905 Fancy Edged Rectangles, SDS-106 Sentiments 1, SDS-107 Sentiments 2 #spellbinders #diecutting #handmadecard #neverstopmaking

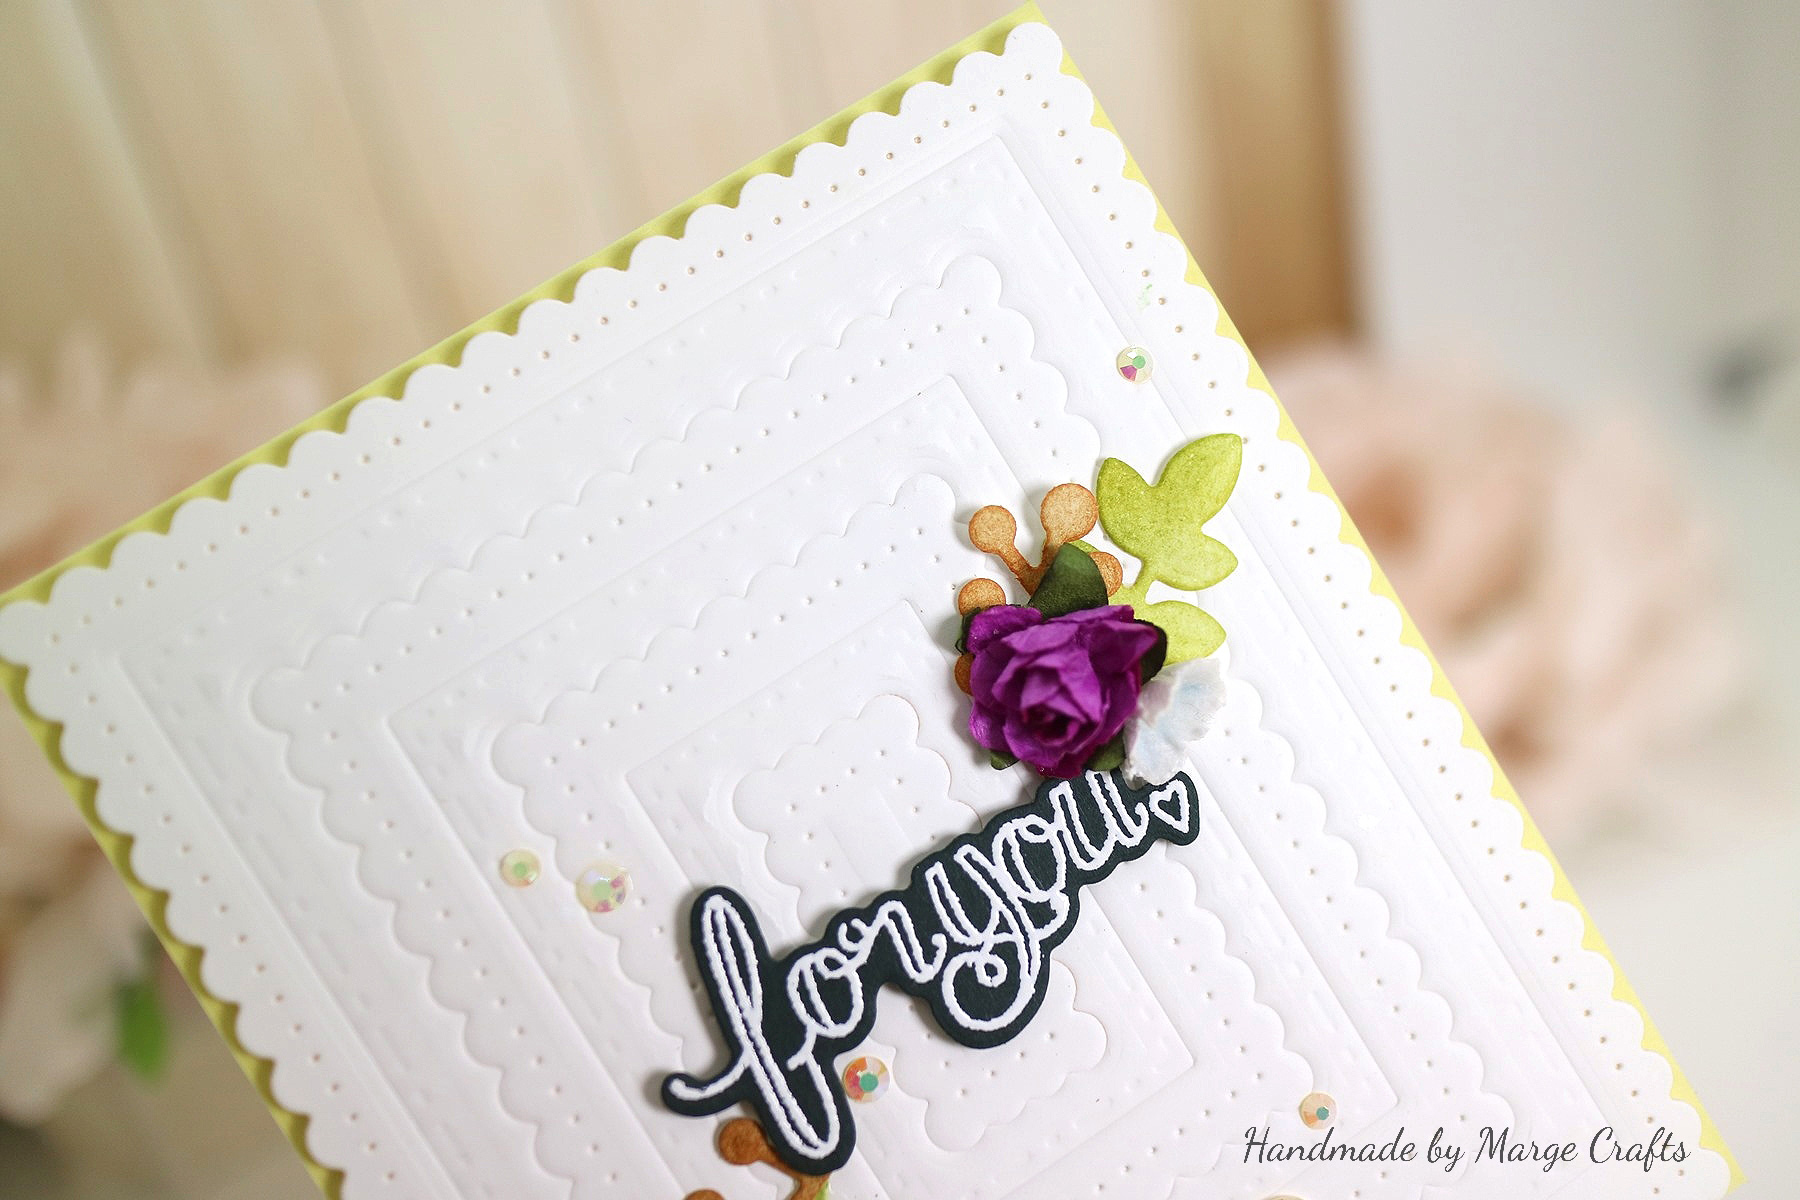
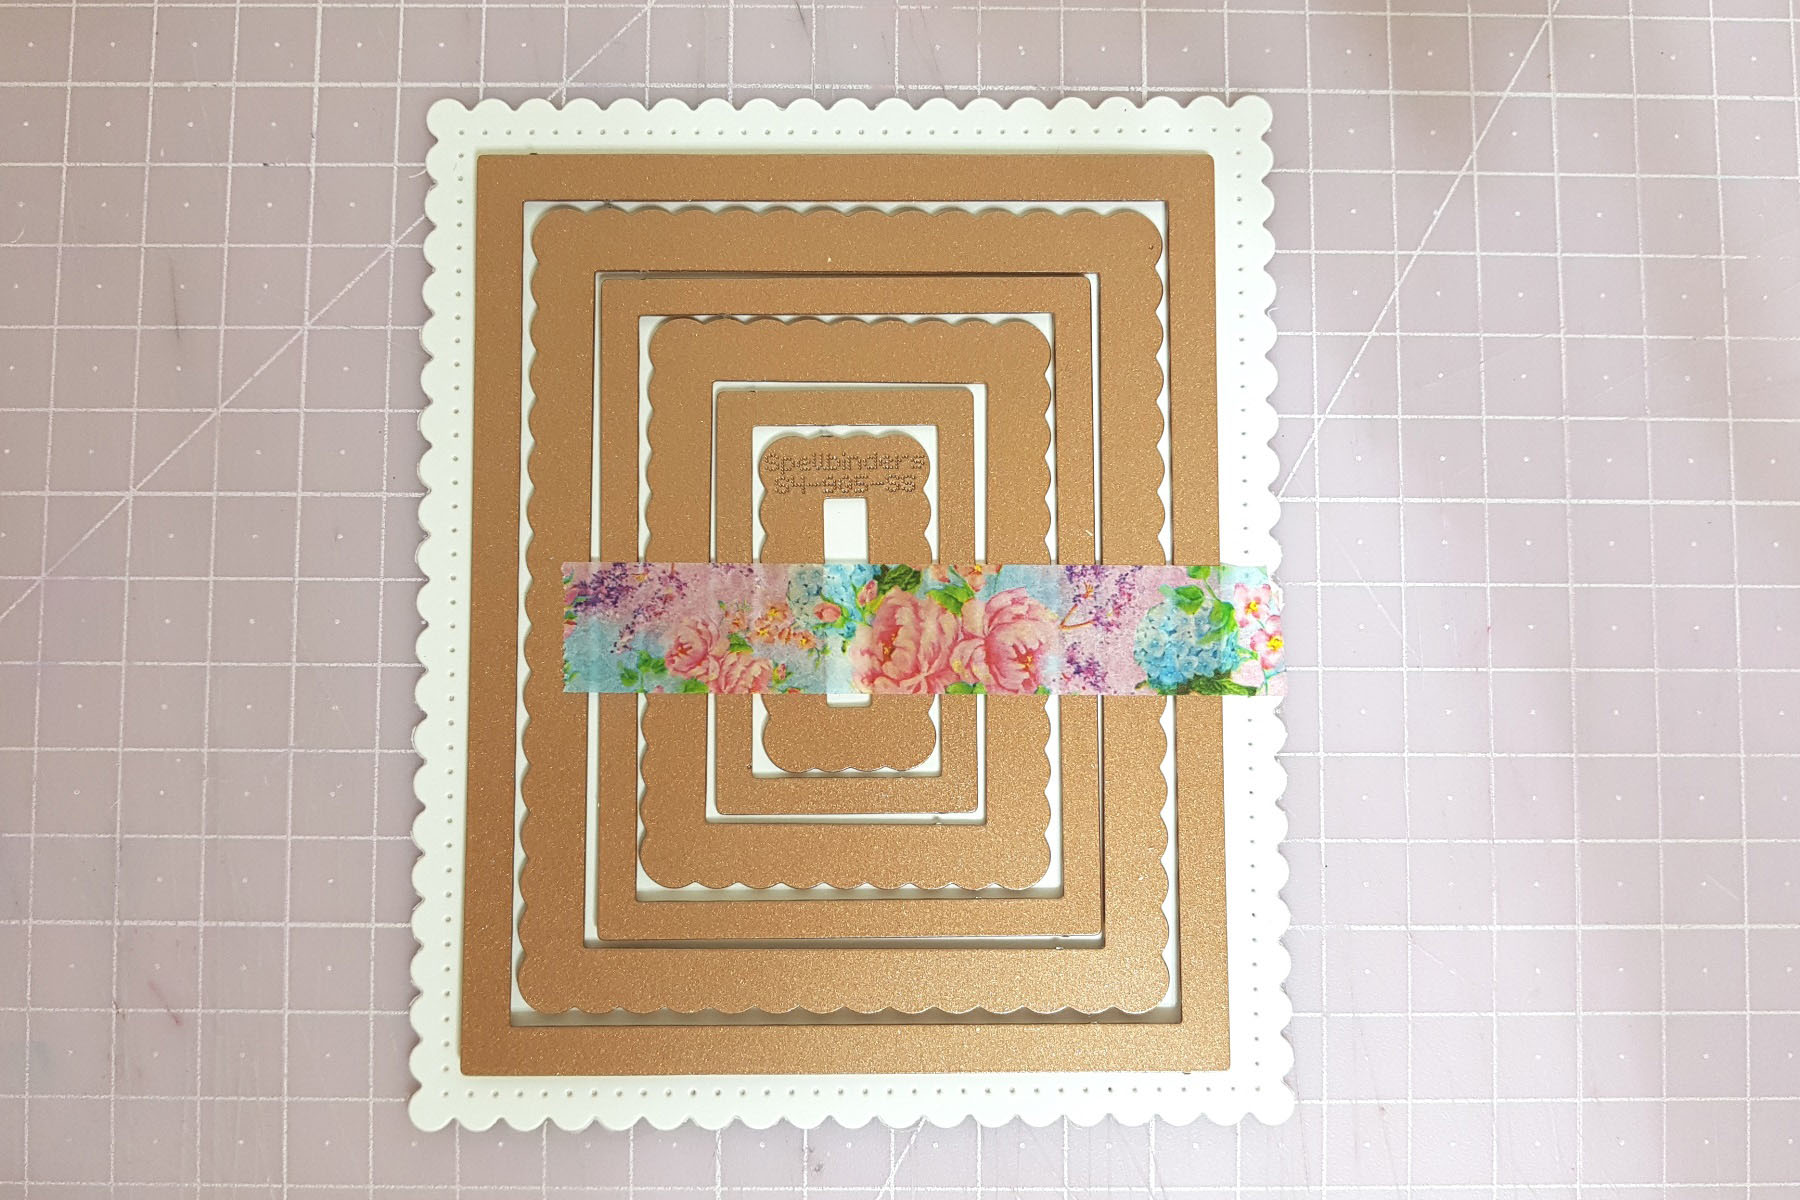
To begin, I cut a white card stock using the largest frame die in the Fancy Edged Rectangles Dies set, then I placed all other smaller dies on it one by one, put a piece of masking tape on them to keep them from moving on the paper.

Classics March Collection Inspiration | Dry Embossed Cards with Marge for Spellbinders using S5-317 Textured Flowers, S5-338 Wreath Elements, S4-904 Scored and Pierced Rectangles, S4-905 Fancy Edged Rectangles, SDS-106 Sentiments 1, SDS-107 Sentiments 2 #spellbinders #diecutting #handmadecard #neverstopmaking

I then ran through it on a cutting machine for dry embossing using an embossing pad and plate. You may dry emboss first and then die cut the outline, but when you do this, the embossed pattern may be flattened while you run it through the cutting machine again. So I die cut the outline first, and then went on dry embossing. Here you can see how the embossed pattern came out.

Classics March Collection Inspiration | Dry Embossed Cards with Marge for Spellbinders using S5-317 Textured Flowers, S5-338 Wreath Elements, S4-904 Scored and Pierced Rectangles, S4-905 Fancy Edged Rectangles, SDS-106 Sentiments 1, SDS-107 Sentiments 2 #spellbinders #diecutting #handmadecard #neverstopmaking

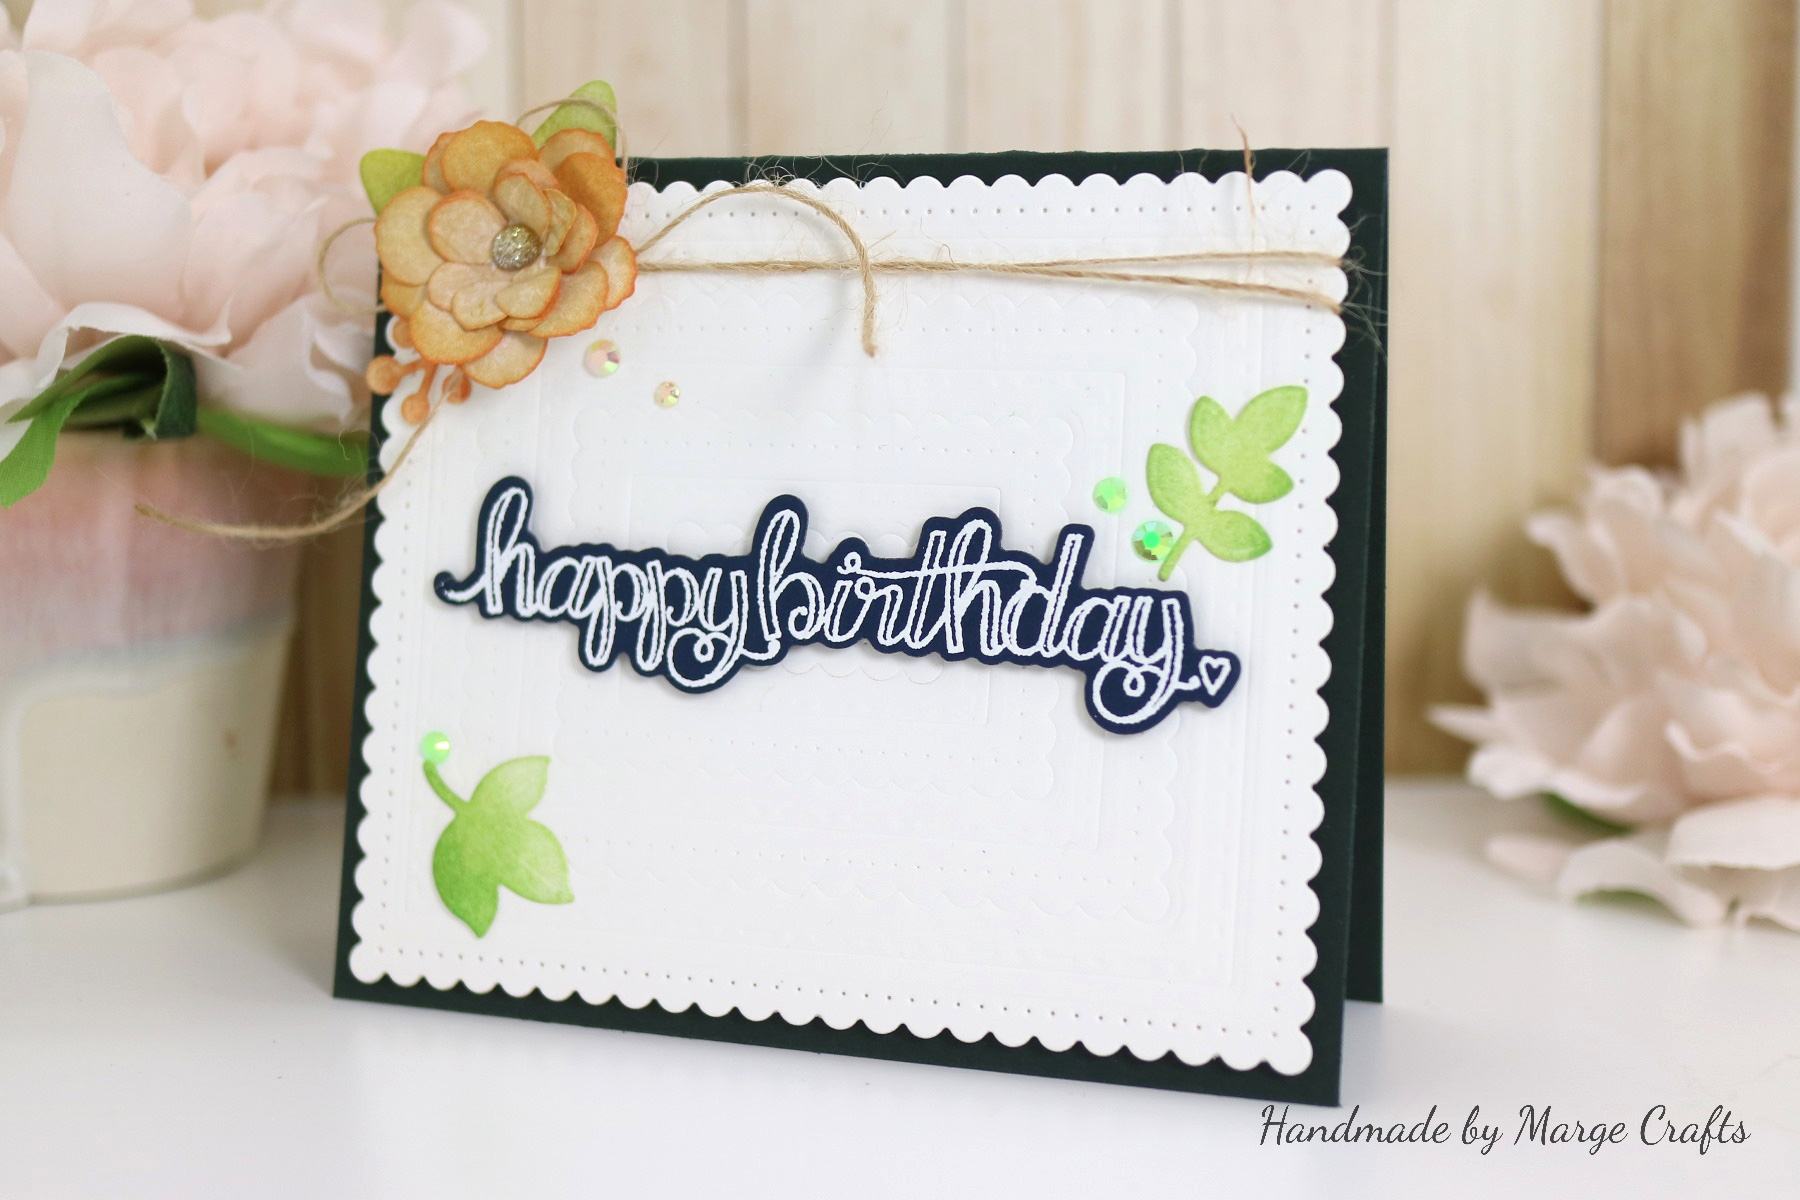
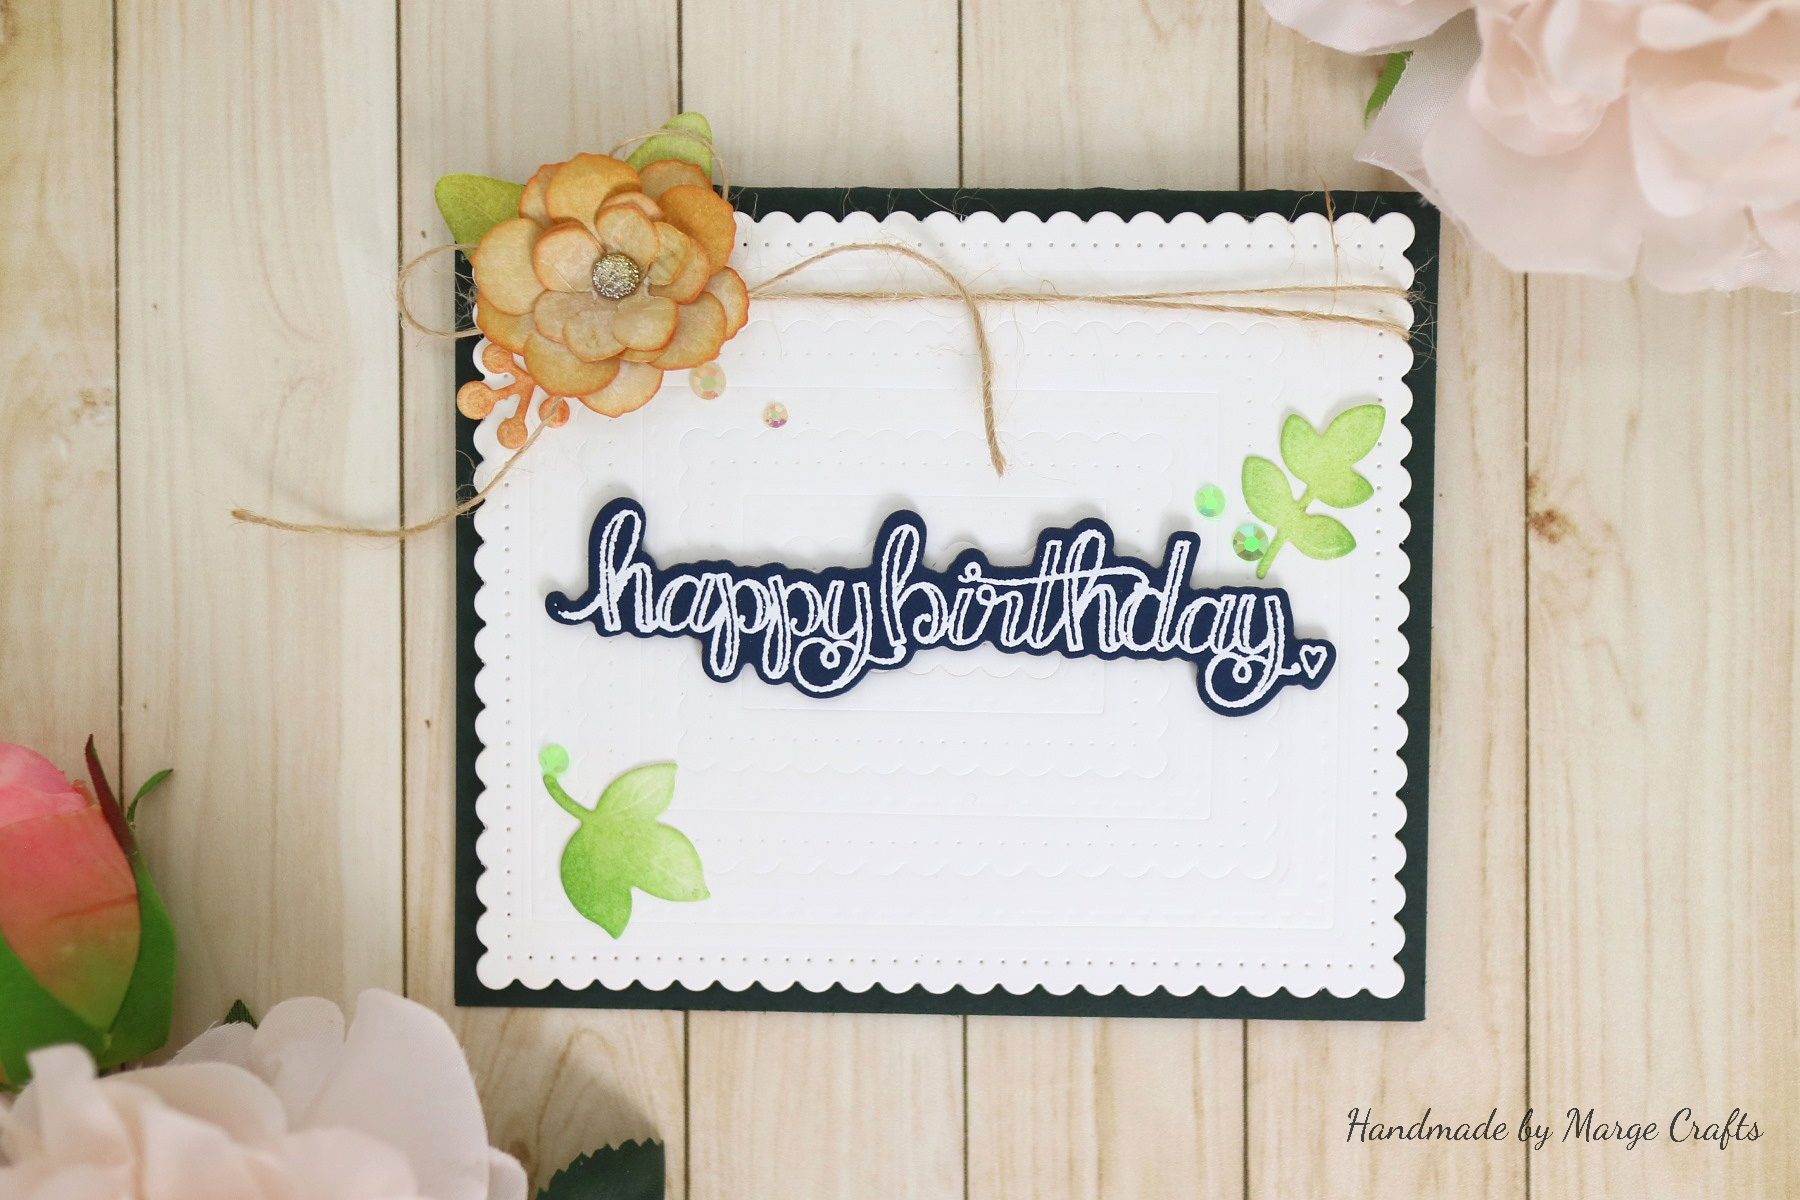
To show off the clean white background pattern, I made the whole design clean and simple with giving it some focal points. I used Sentiments 2 Stamp & Die Set By Tammy Tutterow for sentiment, which was heat embossed on a dark cardstock with white embossing powder. Little branches and leaves were cut from a white cardstock using Wreath Elements Dies by Lene Lok then colored with distress inks. For more embellishment, I added pre-made mini flowers and Pretty Pink Posh Jewels.

Classics March Collection Inspiration | Dry Embossed Cards with Marge for Spellbinders using S5-317 Textured Flowers, S5-338 Wreath Elements, S4-904 Scored and Pierced Rectangles, S4-905 Fancy Edged Rectangles, SDS-106 Sentiments 1, SDS-107 Sentiments 2 #spellbinders #diecutting #handmadecard #neverstopmaking

Basically, creative process for the second card was very similar to the first one.

Classics March Collection Inspiration | Dry Embossed Cards with Marge for Spellbinders using S5-317 Textured Flowers, S5-338 Wreath Elements, S4-904 Scored and Pierced Rectangles, S4-905 Fancy Edged Rectangles, SDS-106 Sentiments 1, SDS-107 Sentiments 2 #spellbinders #diecutting #handmadecard #neverstopmaking

I made the same dry-embossed panel, foam mounted a piece of script die cut made with Sentiments 1 Stamp & Die Set by Tammy Tutterow, then I added a blossom made with Textured Flowers Dies by Marisa Job, mini leaves I made for the first card, and finally Pretty Pink Posh Jewels.

Classics March Collection Inspiration | Dry Embossed Cards with Marge for Spellbinders using S5-317 Textured Flowers, S5-338 Wreath Elements, S4-904 Scored and Pierced Rectangles, S4-905 Fancy Edged Rectangles, SDS-106 Sentiments 1, SDS-107 Sentiments 2 #spellbinders #diecutting #handmadecard #neverstopmaking

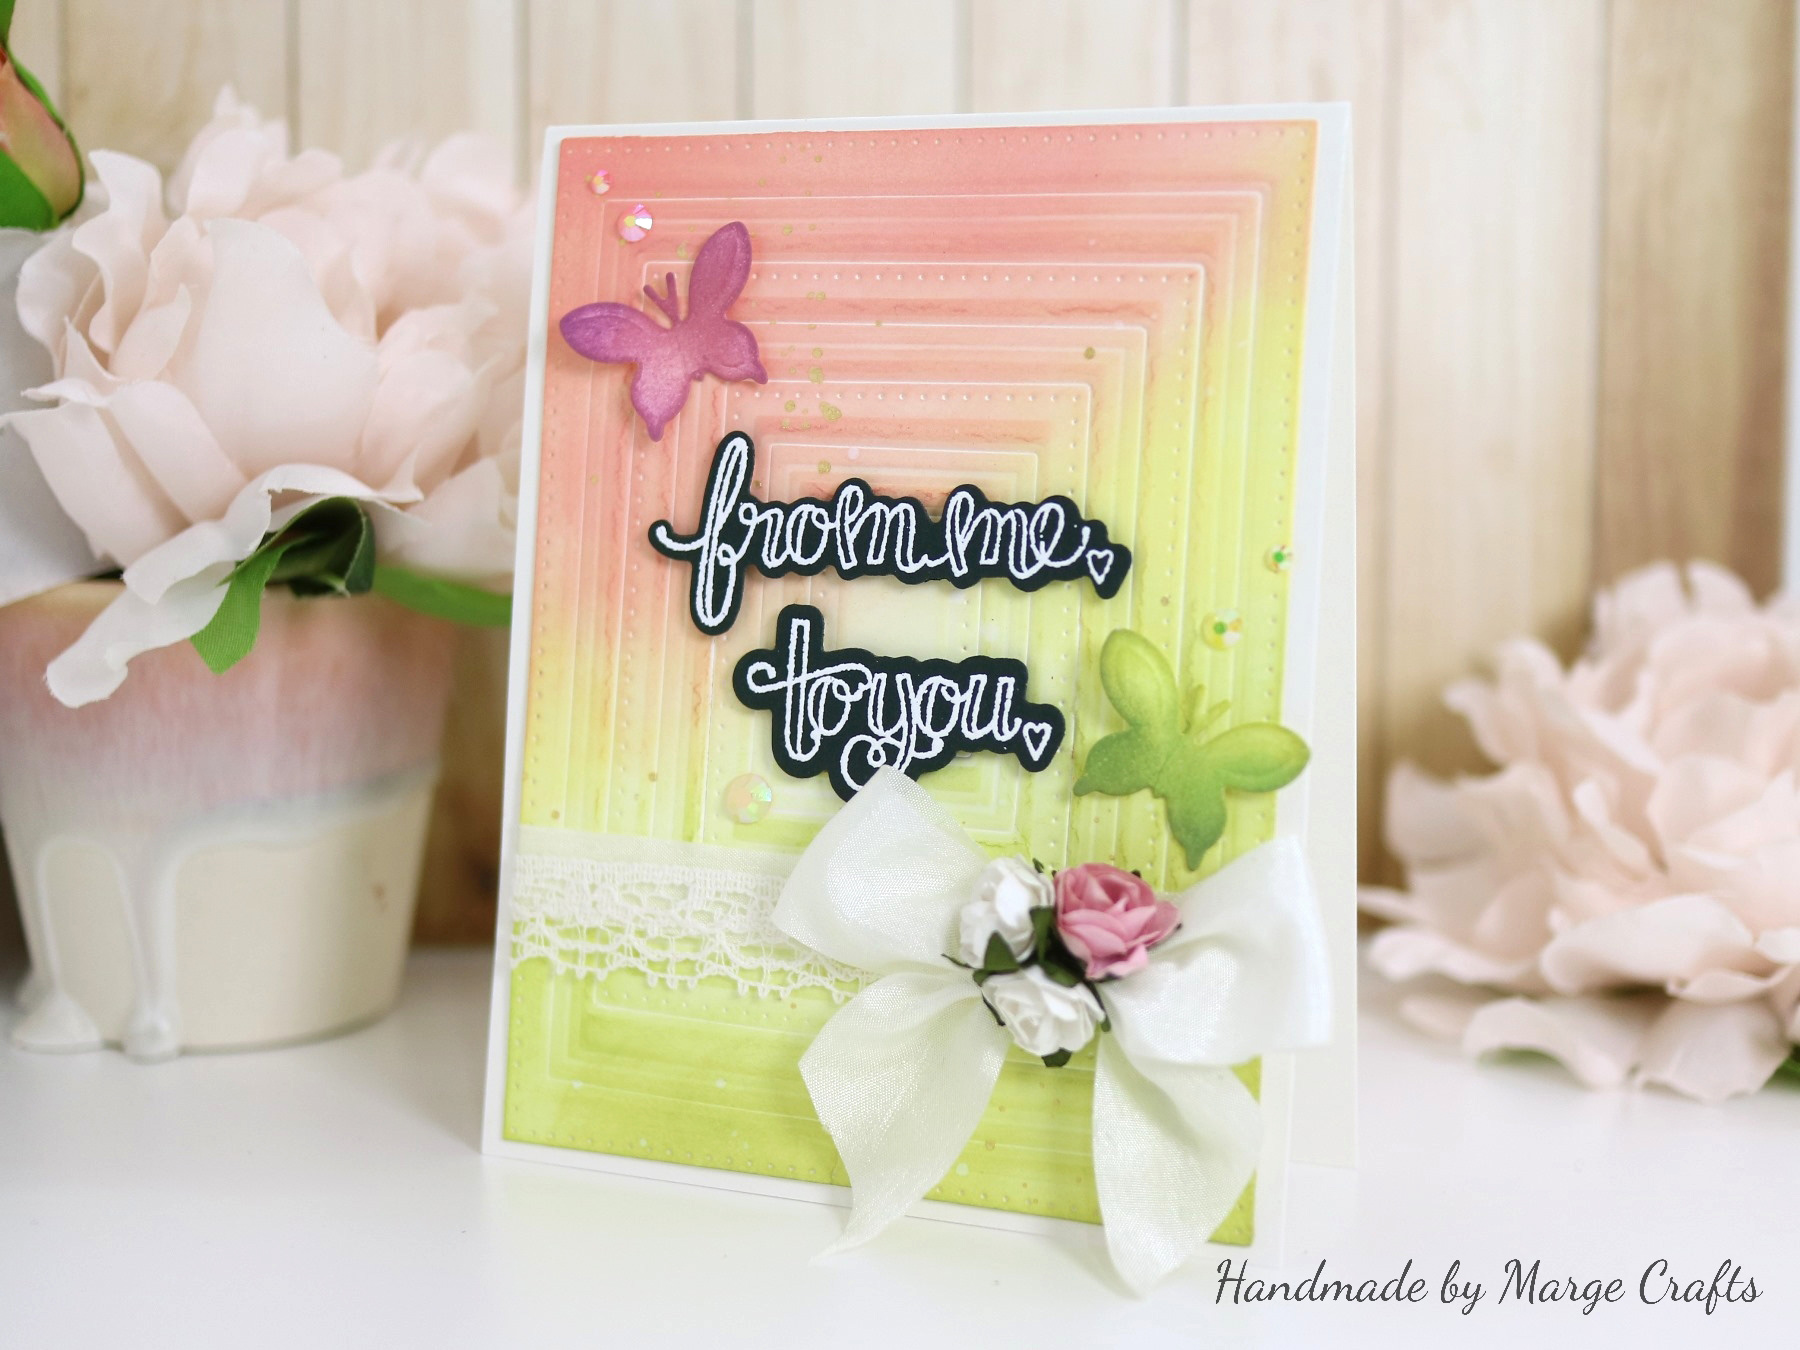
For my third card, I made stripes and dots patterned dry-embossed panel using Scored and Pierced Rectangles Dies set. To give it some interesting look, I inked the panel using distress oxide inks and blending tools, then splattered gold pearl ink over it.

Classics March Collection Inspiration | Dry Embossed Cards with Marge for Spellbinders using S5-317 Textured Flowers, S5-338 Wreath Elements, S4-904 Scored and Pierced Rectangles, S4-905 Fancy Edged Rectangles, SDS-106 Sentiments 1, SDS-107 Sentiments 2 #spellbinders #diecutting #handmadecard #neverstopmaking

I loved how ink blending showed off the embossed patterns. Then, I added butterfly die cuts which were blended with distress inks, script die cuts, lace strip, ribbon, and jewels in a similar way with the previous cards.

Classics March Collection Inspiration | Dry Embossed Cards with Marge for Spellbinders using S5-317 Textured Flowers, S5-338 Wreath Elements, S4-904 Scored and Pierced Rectangles, S4-905 Fancy Edged Rectangles, SDS-106 Sentiments 1, SDS-107 Sentiments 2 #spellbinders #diecutting #handmadecard #neverstopmaking

Spellbinders Supplies:

Other Supplies:

Kaisercraft Paper Blooms Mini Flowers, Pretty Pink Posh Jewels Bundle, May Arts White Silk Ribbon, May Arts Natural Twine String Burlap Thank you for reading this post. Have you enjoyed it? Hope you will visit again in my next post. Have a wonderful day! Marge

Leave a comment

Your email will not be published. Please note, comments need to be approved before they are published.


  • How to Color BetterPress Scenes with Watercolor and Colored Pencils, BP-383, STNB-020, DC378

    AF724

    How to Color BetterPress Scenes with Watercolor and Colored Pencils

    Want to move beyond simple ink blending when using layering stencils? In this tutorial, you'll learn how to combine BetterPress printing, stencil coloring, watercolor painting, and colored pencil shading to create a detailed scenic card. By mixing coloring mediums, you can build additional texture, depth, and realism while using supplies you may already have in your craft room. This project features the Scenic Kyoto Press...

  • How to Use Reverse Foiling for Elegant Christmas Cards, BP-345, BP-314, S4-1452, BP-312, S5-526, S5-647

    BP-312

    How to Use Reverse Foiling for Elegant Christmas Cards

    Get more from your hot foil supplies by learning how to use the reverse foiling technique. In this step-by-step Christmas card tutorial, you'll create a beautiful snowflake background using leftover foil, then pair it with a dimensional poinsettia arrangement and festive sentiment. Reverse foiling is a fantastic way to reduce waste while creating an entirely different look from your original foiled design. Using the A2...

  • How to Make Felt Christmas Ornaments with Festive Felt Dies, S7-302, S7-303, S7-305, PE-104

    Categories:Die Cutting

    How to Make Felt Christmas Ornaments with Festive Felt Dies

    Create charming handmade felt Christmas ornaments using the Festive Felt Christmas Dies by Lollie & Grace. In this step-by-step tutorial, you'll learn how to die-cut felt, assemble layered ornament designs, add decorative stitching, embellish with sequins and beads, and finish your ornaments with hanging loops for Christmas decorating. This project is perfect for holiday crafters who enjoy working with felt and creating handmade decorations. These festive...