

Posted by Spellbinders Team
on March 21, 2017

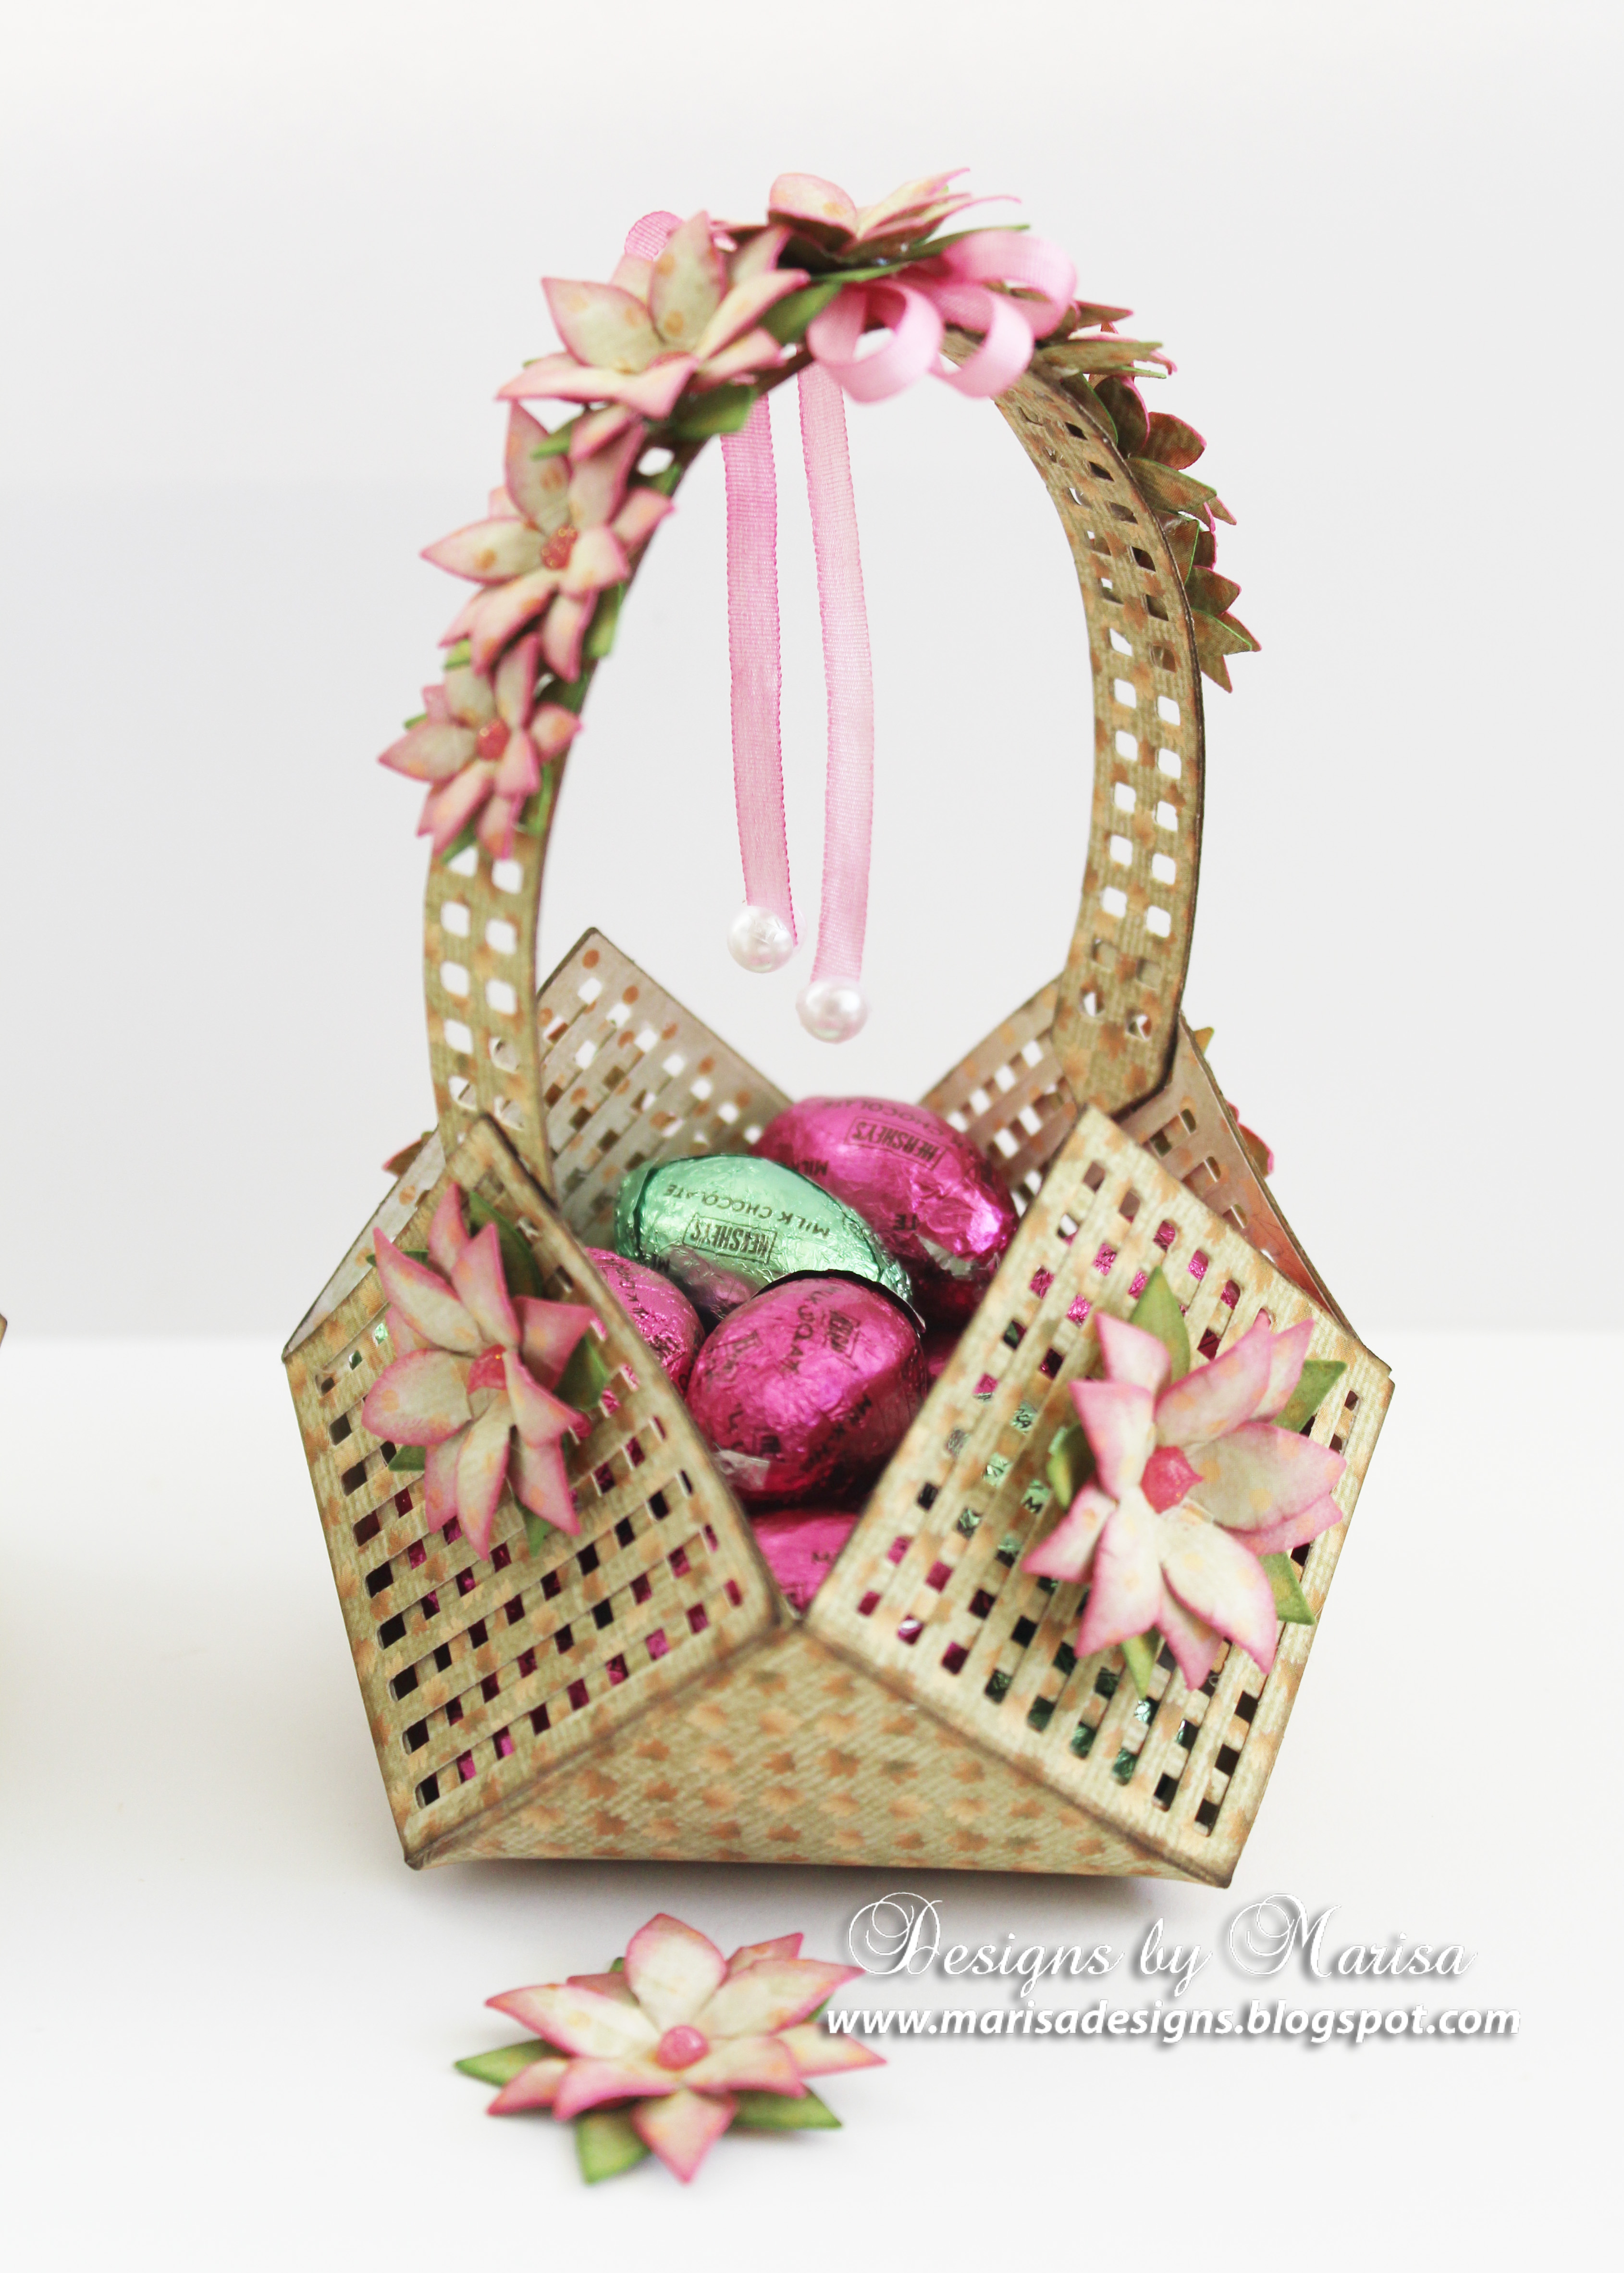
Hello friends! Today I have this vintage Easter basket to share with you created with Spellbinders Lattice Floral Basket die set from my Celebrate the Day Collection. This basket is quite simple to assemble, all the work is in the die. The flower dies and handle are also included in this die set.
 Instructions:






 Spellbinders Supplies:
Lattice Floral Basket Etched Dies
PE-100 Spellbinders® Platinum™ 6 Die Cutting and Embossing Machine
Tool ‘n One™
Foam Applicator – Circle For Too ‘N One
Stylus Tips For Tool 'n One™
Other Supplies: Maja Design – Walking in the Forest Paper Collection, Ranger Distress Inks (Broken China, Peeled Paint, Mowed Lawn, Picked Raspberry), Nuvo Glitter Drops (Sherbert Shimmer, Dazzling Blue), May Arts Silk Ribbon, Pearls, Simply Defined 1/8” Wide Double Sided Adhesive Tape, Glue.
Thanks for visiting and have a wonderful week!
Marisa Job
Spellbinders Supplies:
Lattice Floral Basket Etched Dies
PE-100 Spellbinders® Platinum™ 6 Die Cutting and Embossing Machine
Tool ‘n One™
Foam Applicator – Circle For Too ‘N One
Stylus Tips For Tool 'n One™
Other Supplies: Maja Design – Walking in the Forest Paper Collection, Ranger Distress Inks (Broken China, Peeled Paint, Mowed Lawn, Picked Raspberry), Nuvo Glitter Drops (Sherbert Shimmer, Dazzling Blue), May Arts Silk Ribbon, Pearls, Simply Defined 1/8” Wide Double Sided Adhesive Tape, Glue.
Thanks for visiting and have a wonderful week!
Marisa Job
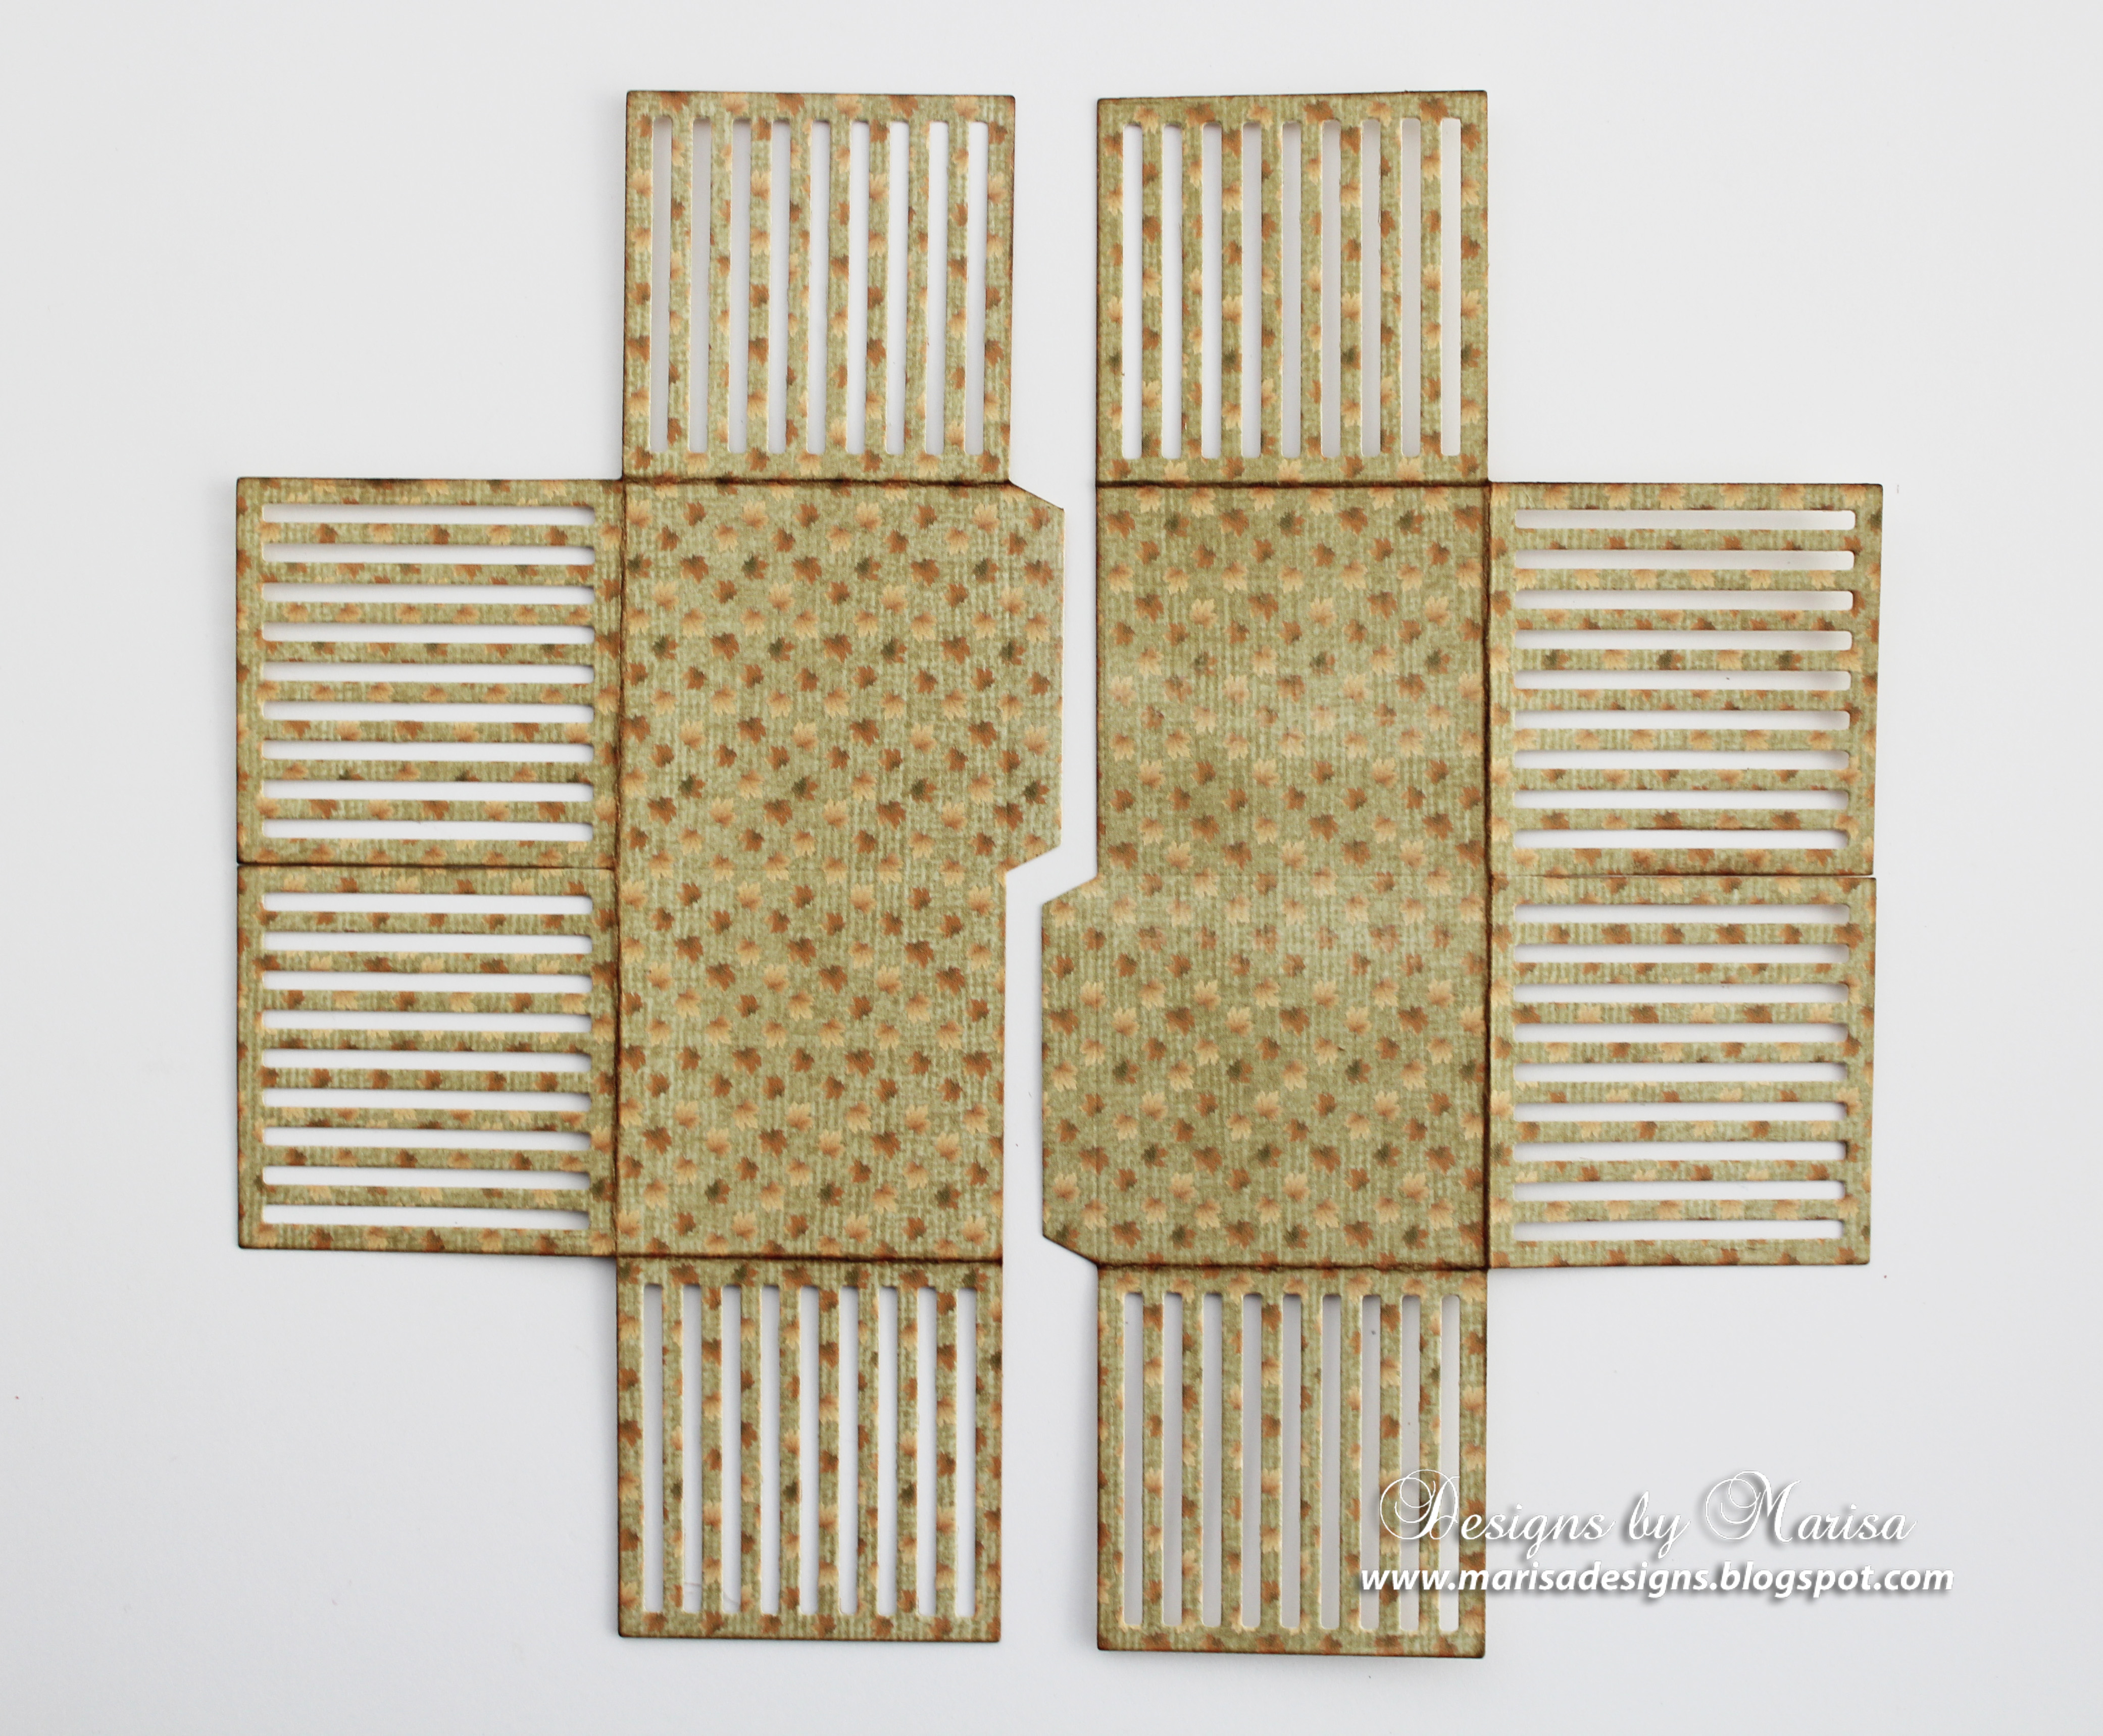
- To create basket base, die cut 2 pieces with Lattice Floral Basket die set from designer cardstock.
- Apply double sided adhesive tape on tabs and attach both pieces together at the base of basket. You can also use glue.
- Apply 1/8” wide double sided adhesive tape around right square on 4 sides as pictured below. Fold at scored lines before next step.
- Overlap left square on top of right square with adhesive tape and press together. Repeat this process with 4 sides to form basket base.
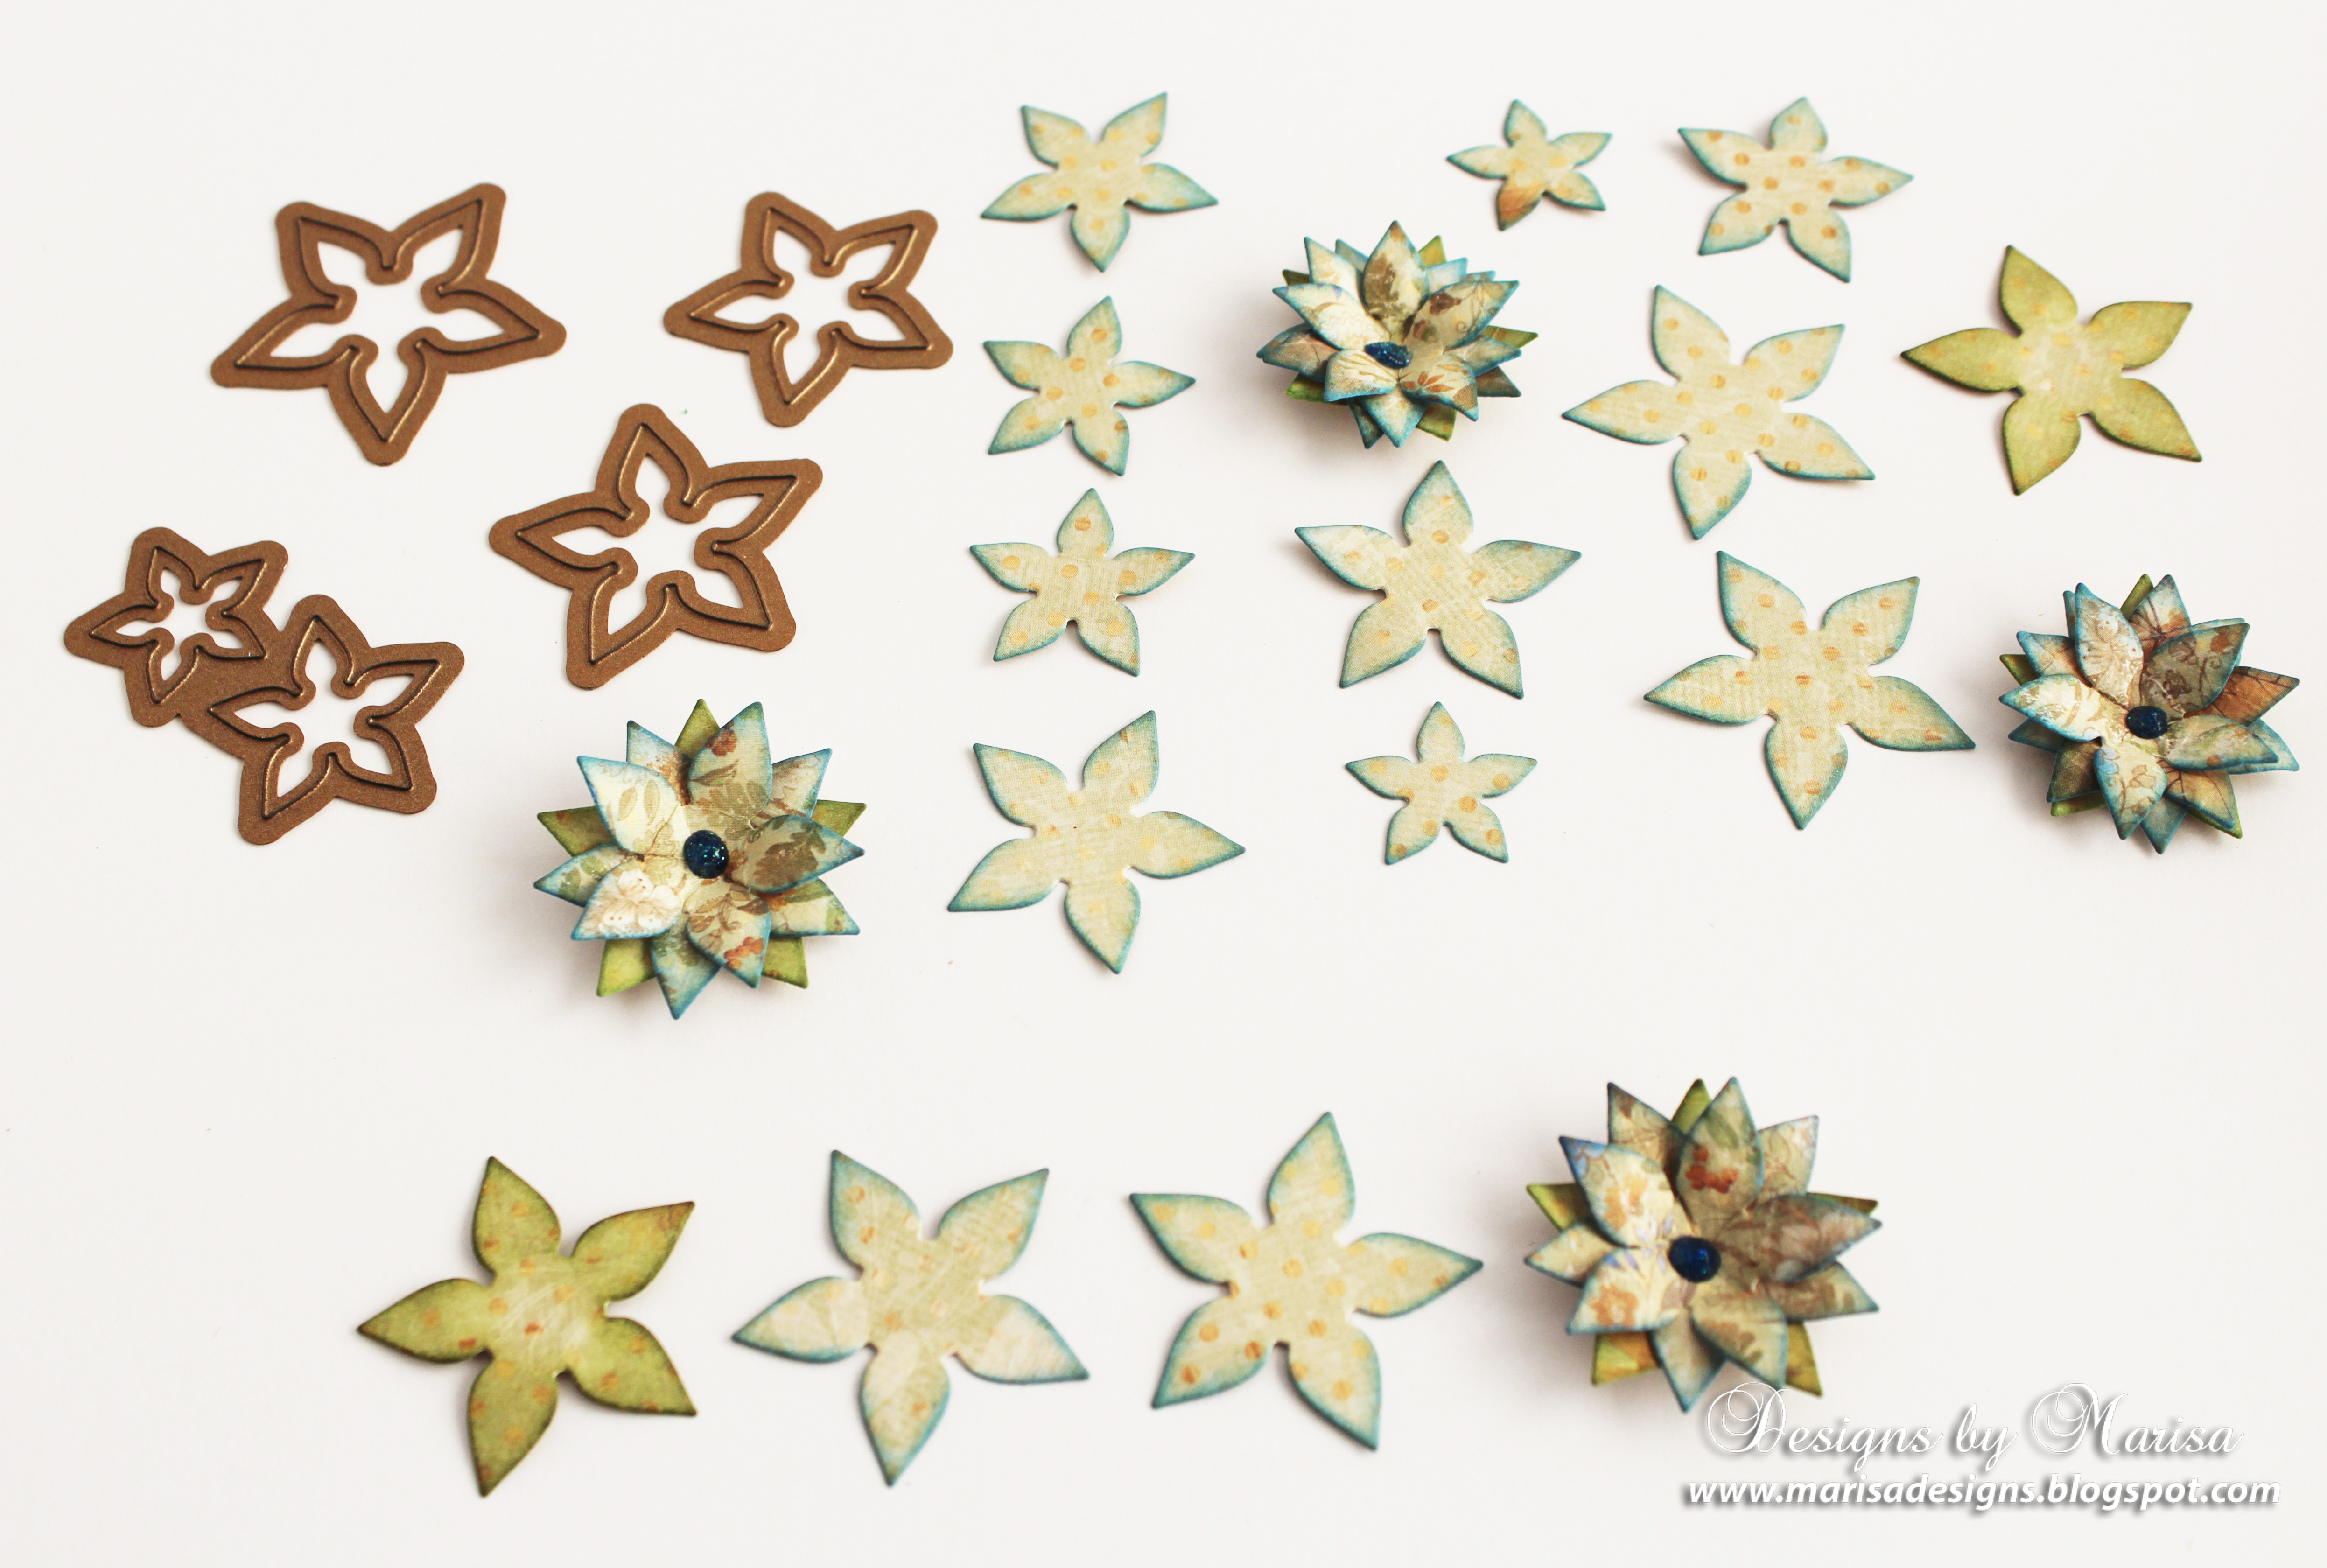
- Die cut multiple flowers with flower dies included in the set. Color edges with distress inks using foam applicators and Tool ‘n One™. Shape flowers with stylus tips and then glue petals together to form flowers.
- I used 2 petals for the flower and 1 petal for the leaves to form the flower. Embellish center of flowers with Nuvo Crystal Drops.
- Die cut handle twice and glue together for a stronger handle. Make a bow with silk ribbon and then adhere to center of handle. Adhere smaller flowers to the handle. Attach handle to basket using glue.
- Glue larger flowers to four sides of basket as pictured below.
- Fill basket with Easter chocolate eggs and your basket is done.
Spellbinders Supplies:
Lattice Floral Basket Etched Dies
PE-100 Spellbinders® Platinum™ 6 Die Cutting and Embossing Machine
Tool ‘n One™
Foam Applicator – Circle For Too ‘N One
Stylus Tips For Tool 'n One™
Other Supplies: Maja Design – Walking in the Forest Paper Collection, Ranger Distress Inks (Broken China, Peeled Paint, Mowed Lawn, Picked Raspberry), Nuvo Glitter Drops (Sherbert Shimmer, Dazzling Blue), May Arts Silk Ribbon, Pearls, Simply Defined 1/8” Wide Double Sided Adhesive Tape, Glue.
Thanks for visiting and have a wonderful week!
Marisa Job























































































