Glimmer Hot Foil Inspiration | Foiled Cards with Zsoka
Posted by Spellbinders Team on May 07, 2019

Glimmer Hot Foil Inspiration | Foiled Cards with Zsoka

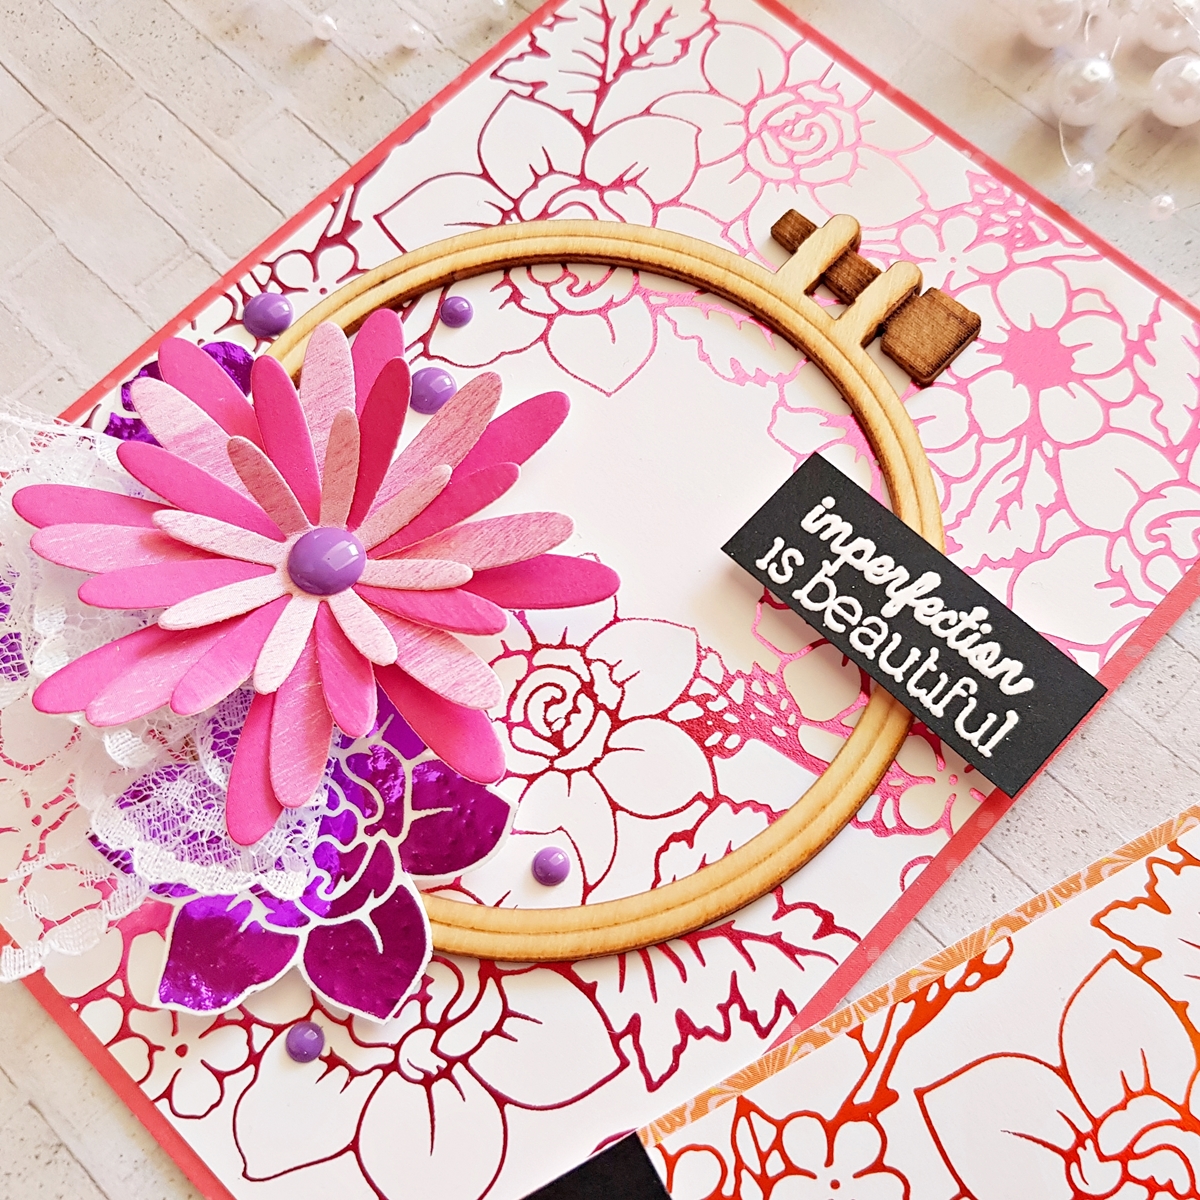
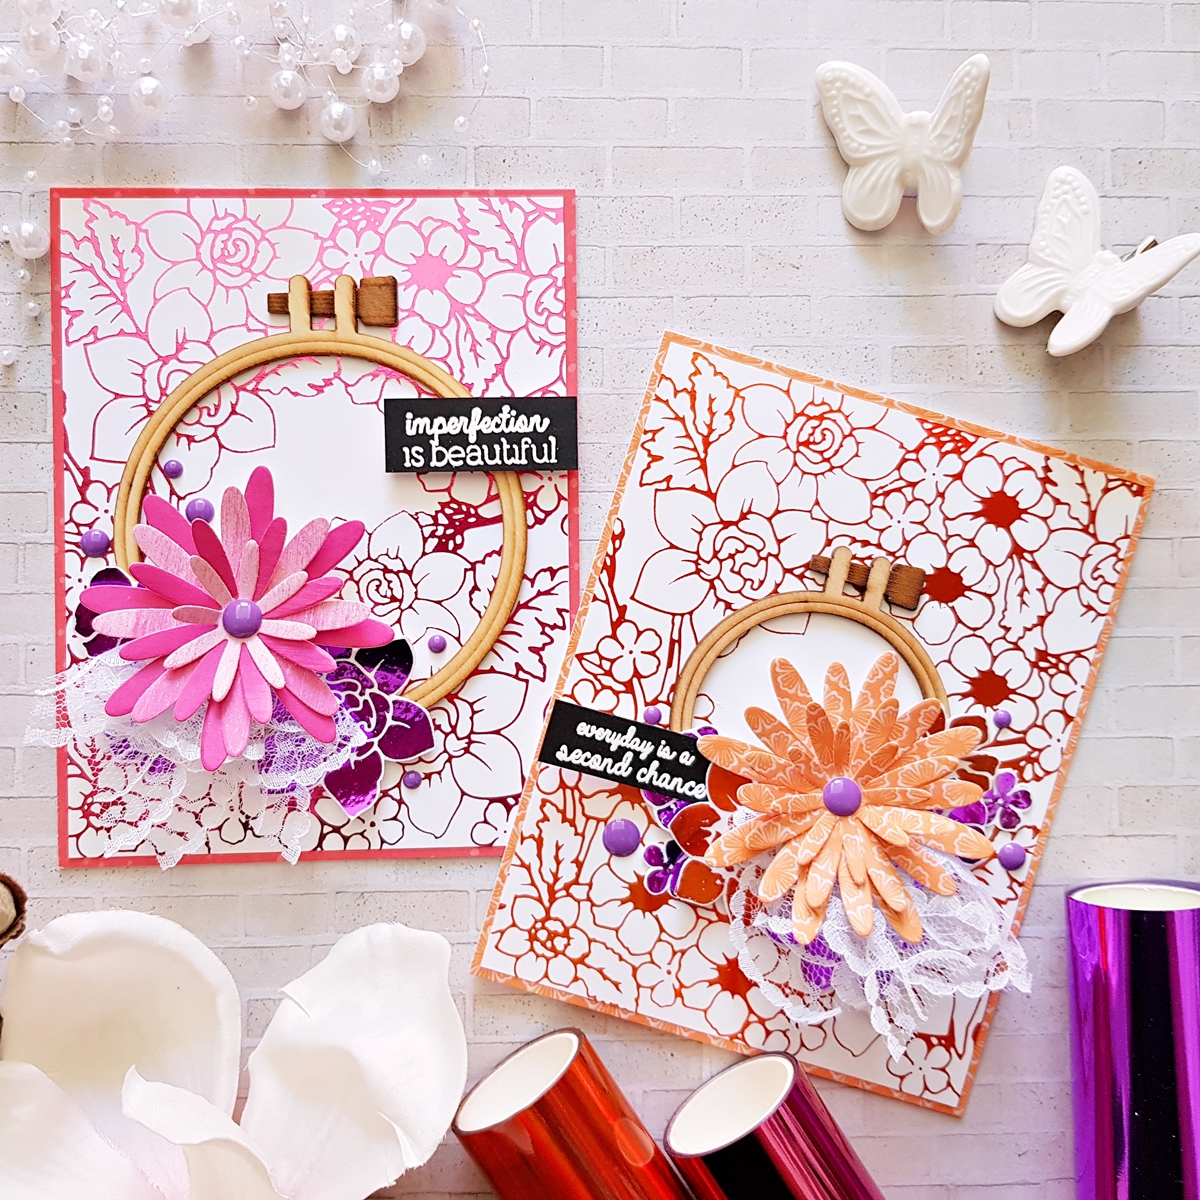
Hello crafty friends, Zsoka here with you today! I've had the honor of working with the new Spellbinders Glimmer Hot Foil Plates and I'm excited to share with you the projects I've created. You can see the five new designs here. In this post I'll be showcasing three of them! First up the gorgeous Flower Pattern Glimmer Hot Foil Plate, which is my favorite! The pictures don't do these foils justice, they are absolutely beautiful! On these two cards I've used three foils: Fuchsia Flower, which is a purple color, then Tangerine and Bright Pink.
Glimmer Hot Foil Inspiration | Foiled Cards with Zsoka

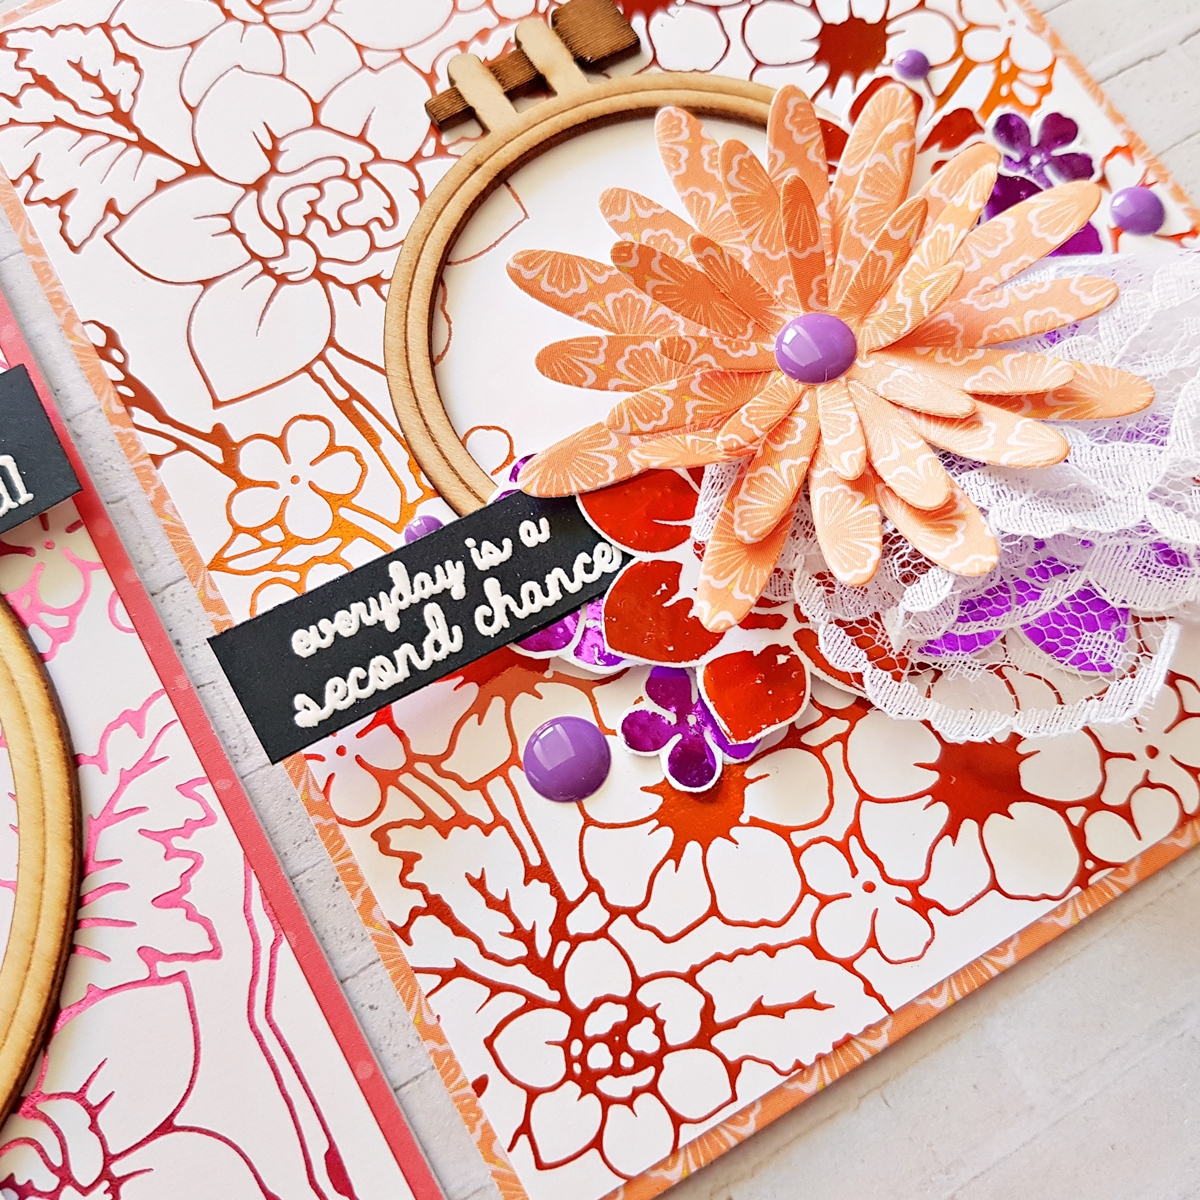
I foiled a bunch of A2 size white panels, then picked out these two. However, when I pulled off the foil and saw the negative design...I just could not throw it away! I had to find a way to get that image on card stock too. I have Bonding Powder from WOW! Embossing Powder. So using that and an iron I managed to make it work! I then fussy cut out most of the flowers. Next I made two A2 size top folding card bases and adhered some patterned paper on top. I trimmed down the foiled panels to a slightly smaller size and attached them as well.

Glimmer Hot Foil Inspiration | Foiled Cards with Zsoka

I've wanted to use these adorable wood veneer embroidery hoops for awhile and thought they would add a fun look to my cards! So I glued them down in the middle, then added my fussy cut flowers around them. I also used the lovely Cottage Bloom die set to create two 3D patterned paper flowers. I attached some lace to these blooms and glued them on top of the foiled flowers. I embossed two sentiments from the Text Happy stamp set and adhered these to the hoops as well. To finish off these cards, I added a few enamel dots.

Glimmer Hot Foil Inspiration | Foiled Cards with Zsoka

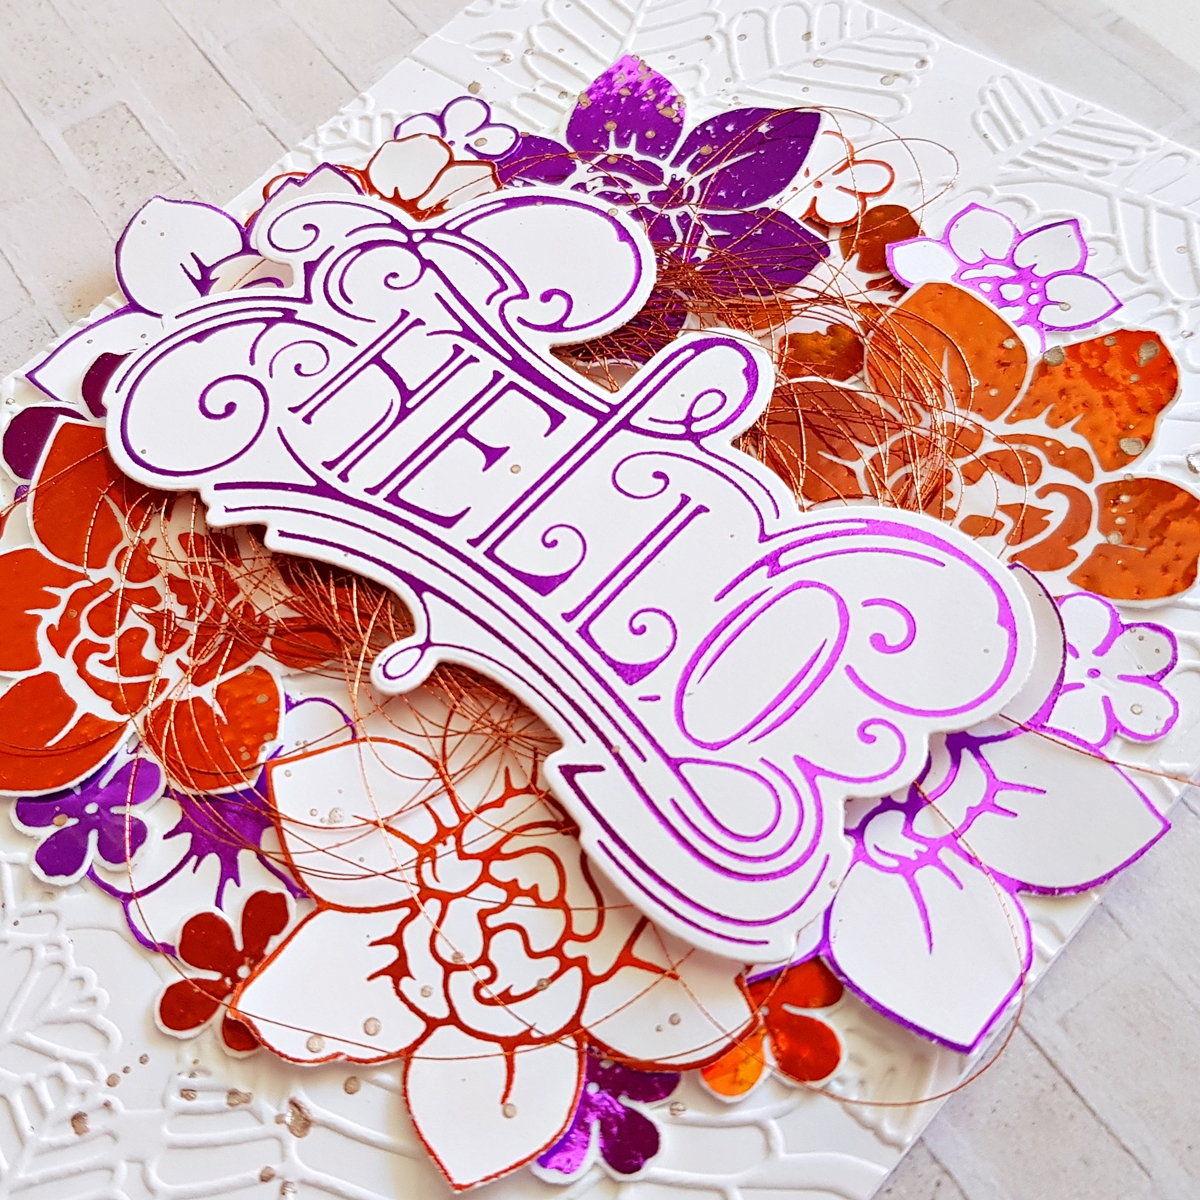
Next up is a card I made using up all the flowers I had left from my previous projects! Lately I'm obsessed with embossing folders, I love adding texture to white cards. I think this is because I don't do a lot of white space...This way at least I have the feeling that the background is not empty. And the Fiddle Leaf embossing folder is my absolute favorite. Isn't it gorgeous?! After creating my card base, I attached the embossed panel. Then I played around with arrangements and finally settled on a floral wreath.

Glimmer Hot Foil Inspiration | Foiled Cards with Zsoka

I glued all flowers down, then started to think about what sentiment to add. But then I realized that one of the new plates is actually a big sentiment. So I foiled a few and eventually chose to go with Fuchsia Flower color. I added foam adhesive to the sentiment and placed some tangled thread behind it, glued it all down. I used copper thread which actually looks very similar to the Tangerine foil.

Glimmer Hot Foil Inspiration | Foiled Cards with Zsoka

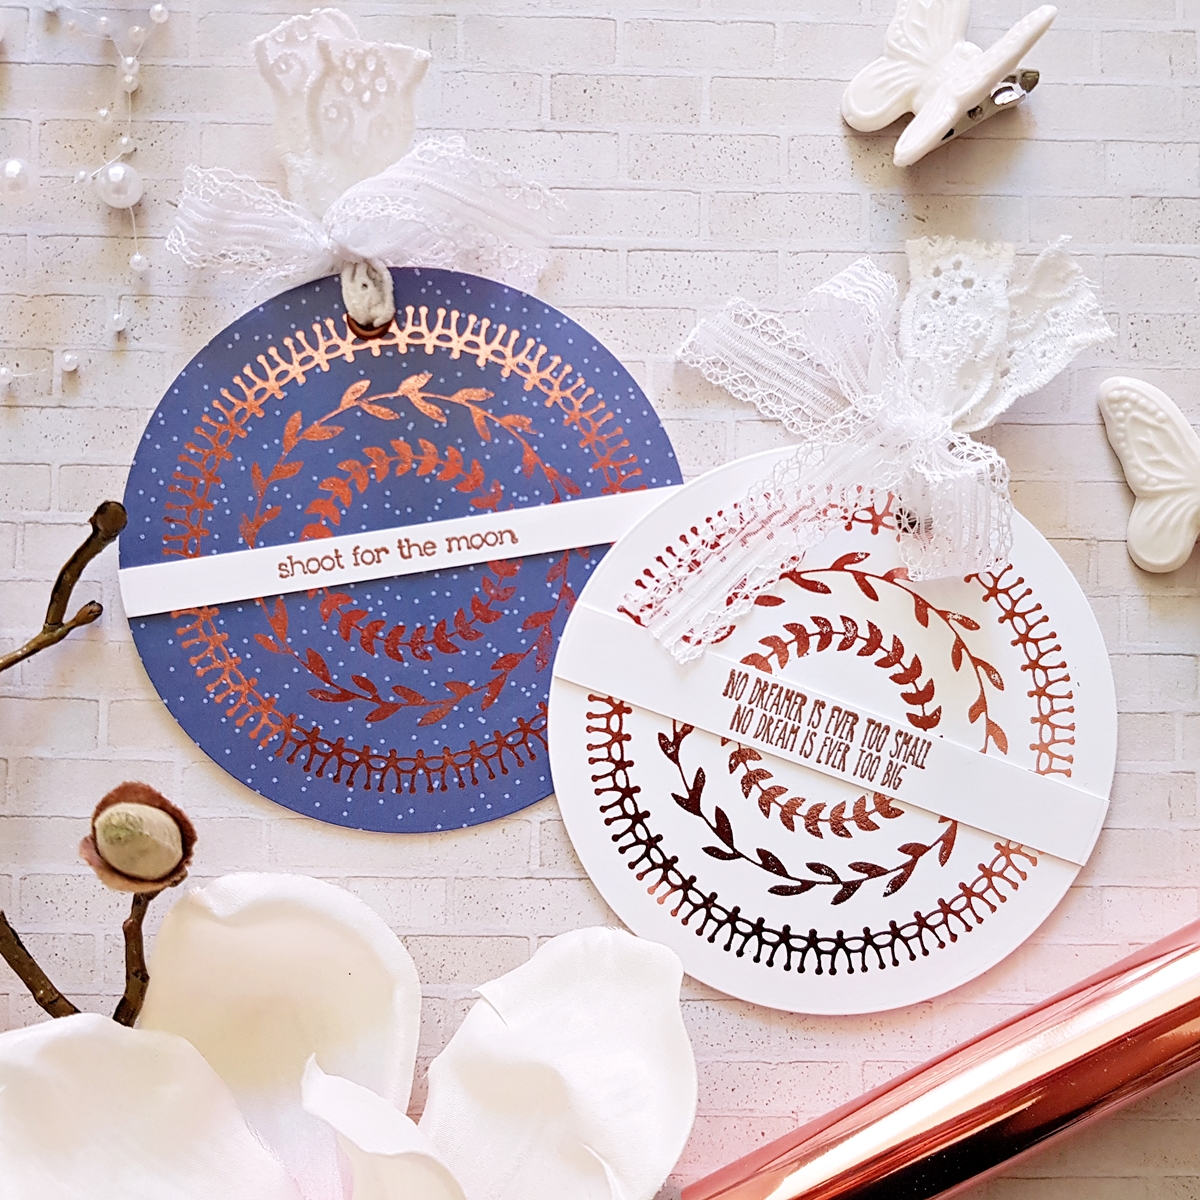
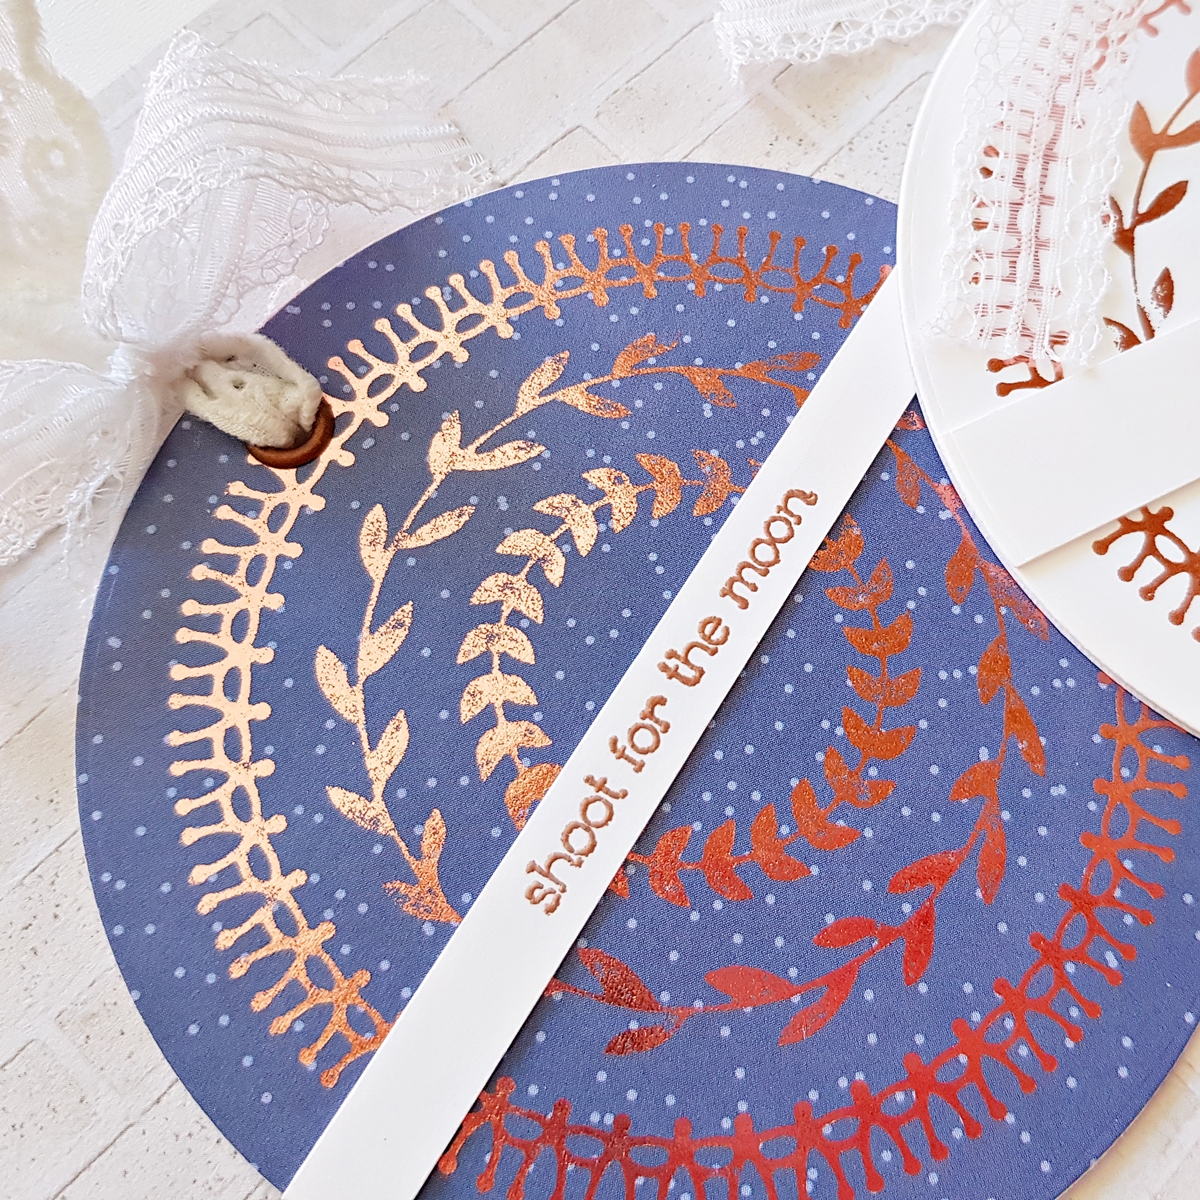
Last but not least I made two small round cards. I used all three circle plates from the Circle Pattern Glimmer Hot Foil Plate set to create the design you see. I foiled white card stock and a blue patterned paper with Blush foil and using one of the circles from the Nestabilities Hemstitch Circles Etched Dies Romancing the Swirl die set I die cut the designs out.

Glimmer Hot Foil Inspiration | Foiled Cards with Zsoka

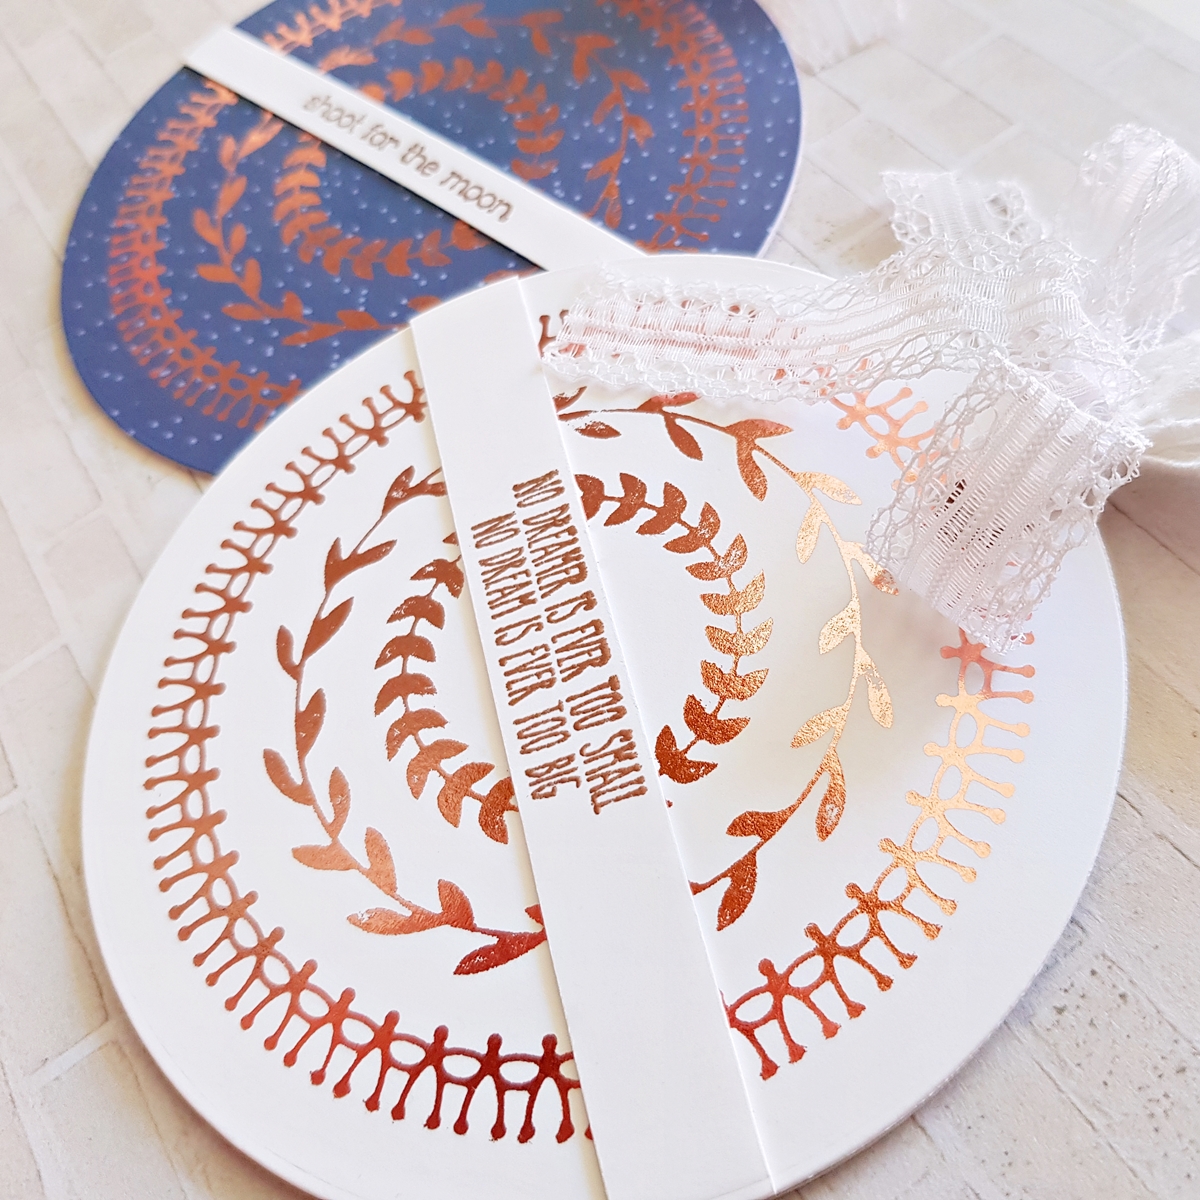
I die cut some additional circles from heavy weight white card stock (same one I use for all my card bases) because the papers were so thin, they wouldn't have been strong enough for a card. I attached one of these to each of my circles. Then to create the cards, I needed one more circle for the back. The easiest way to do this, in my opinion, is to use a bone folder to score a line maybe about half an inch from the top; then put glue only on that small part and attach it to the card front. This way you can open the card easily and you have the full circle design as opposed to other methods where you'd only have a partial circle.

Glimmer Hot Foil Inspiration | Foiled Cards with Zsoka

Using copper embossing powder I created two sentiment strips. These sentiments are also part of the Text Happy stamp set. I adhered these to the middle of my cards. Finally, I punched a small hole at the top of both cards, added copper eyelets and some lace ribbons! Done!

Glimmer Hot Foil Inspiration | Foiled Cards with Zsoka

That's it for today! I hope I could inspire you to get foiling! Thank you for stopping by today! I wish you a wonderful day!

Spellbinders Supplies:


Other supplies

Neenah Solar white 80lbs card stock, Heavy weight white card stock (local brand), Lace ribbons, WOW! Embossing Powder in Opaque Bright White and Copper WOW! Embossing Powder Bonding Powder, Patterned papers: Pink Paislee/Paige Evans - Horizon, Eyelets, Metallic copper thread, Enamel dots.

1 comment

Thank you for the wonderful inspiration!
I’m looking forward to see what Spellbinders has in store for future Glimmer Plates!

Melody Wagner,

Leave a comment

Please note, comments need to be approved before they are published.


  • Spellbinders Beginners Blog Post Series - Common Cardmaking Mistakes (and How to Fix Them)

    Beginner’s Guide to Cardmaking

    Common Cardmaking Mistakes and How to Fix Them: A Beginner's Guide

    Mistakes happen to every cardmaker, from beginners to experienced crafters. This comprehensive guide shares practical solutions for fixing common cardmaking mistakes, including stamping, die cutting, foiling, BetterPress, ink blending, stenciling, coloring, heat embossing, and more, so you can confidently rescue your handmade cards instead of starting over.

  • How to make a Polar Bear Christmas Card with Alcohol Markers, HUR93909, S7-291, S5-619

    CS-8-100

    How to make a Polar Bear Christmas Card with Alcohol Markers

    Hello, cardmaking friends! It’s Mona Tóth here, and I’m so happy to be back on the Spellbinders blog. Today, I’m sharing a Christmas step-by-step card tutorial featuring the Polar Friends Stamp and Die Set by Simon Hurley. This card was inspired by the Christmas advertisements I remember seeing on television when I was a child in the 1990s. They often featured polar bears surrounded by...

  • Interactive Scrapbook Layout Using the Turn the Page Collection by Esther Glas, SCSP-037, SCSE-054, SCSE-039, SCSR-016, E3D-186, STP-279, SDS-232, S2-473, S7-298, S7-295

    E3D-186

    Interactive Scrapbook Layout Using the Turn the Page Collection by Esther Glas

    Hello, crafty friend! I’m Adrienne Boese, better known online as Alice Scraps Wonderland. I love a good interactive scrapbook page! It can be something as simple as a pocket or something more intricate like a waterfall mechanism or flips. Today, we are going to focus on one of those simple techniques - a pocket!  It’s the perfect technique to dip your toes into the interactive...