Glimmer Hot Foil Inspiration | Hot Foil Card Trio with Janette Kausen
on February 19, 2019

Glimmer Hot Foil Inspiration | Hot Foil Card Trio with Janette Kausen

Hello and welcome! Janette Kausen here guesting once again for Spellbinders! I am excited to be here and thrilled to share my newest projects with you! I’ve created three cards with a similar technique and feel, each with Glimmer Hot Foil as a focal point.
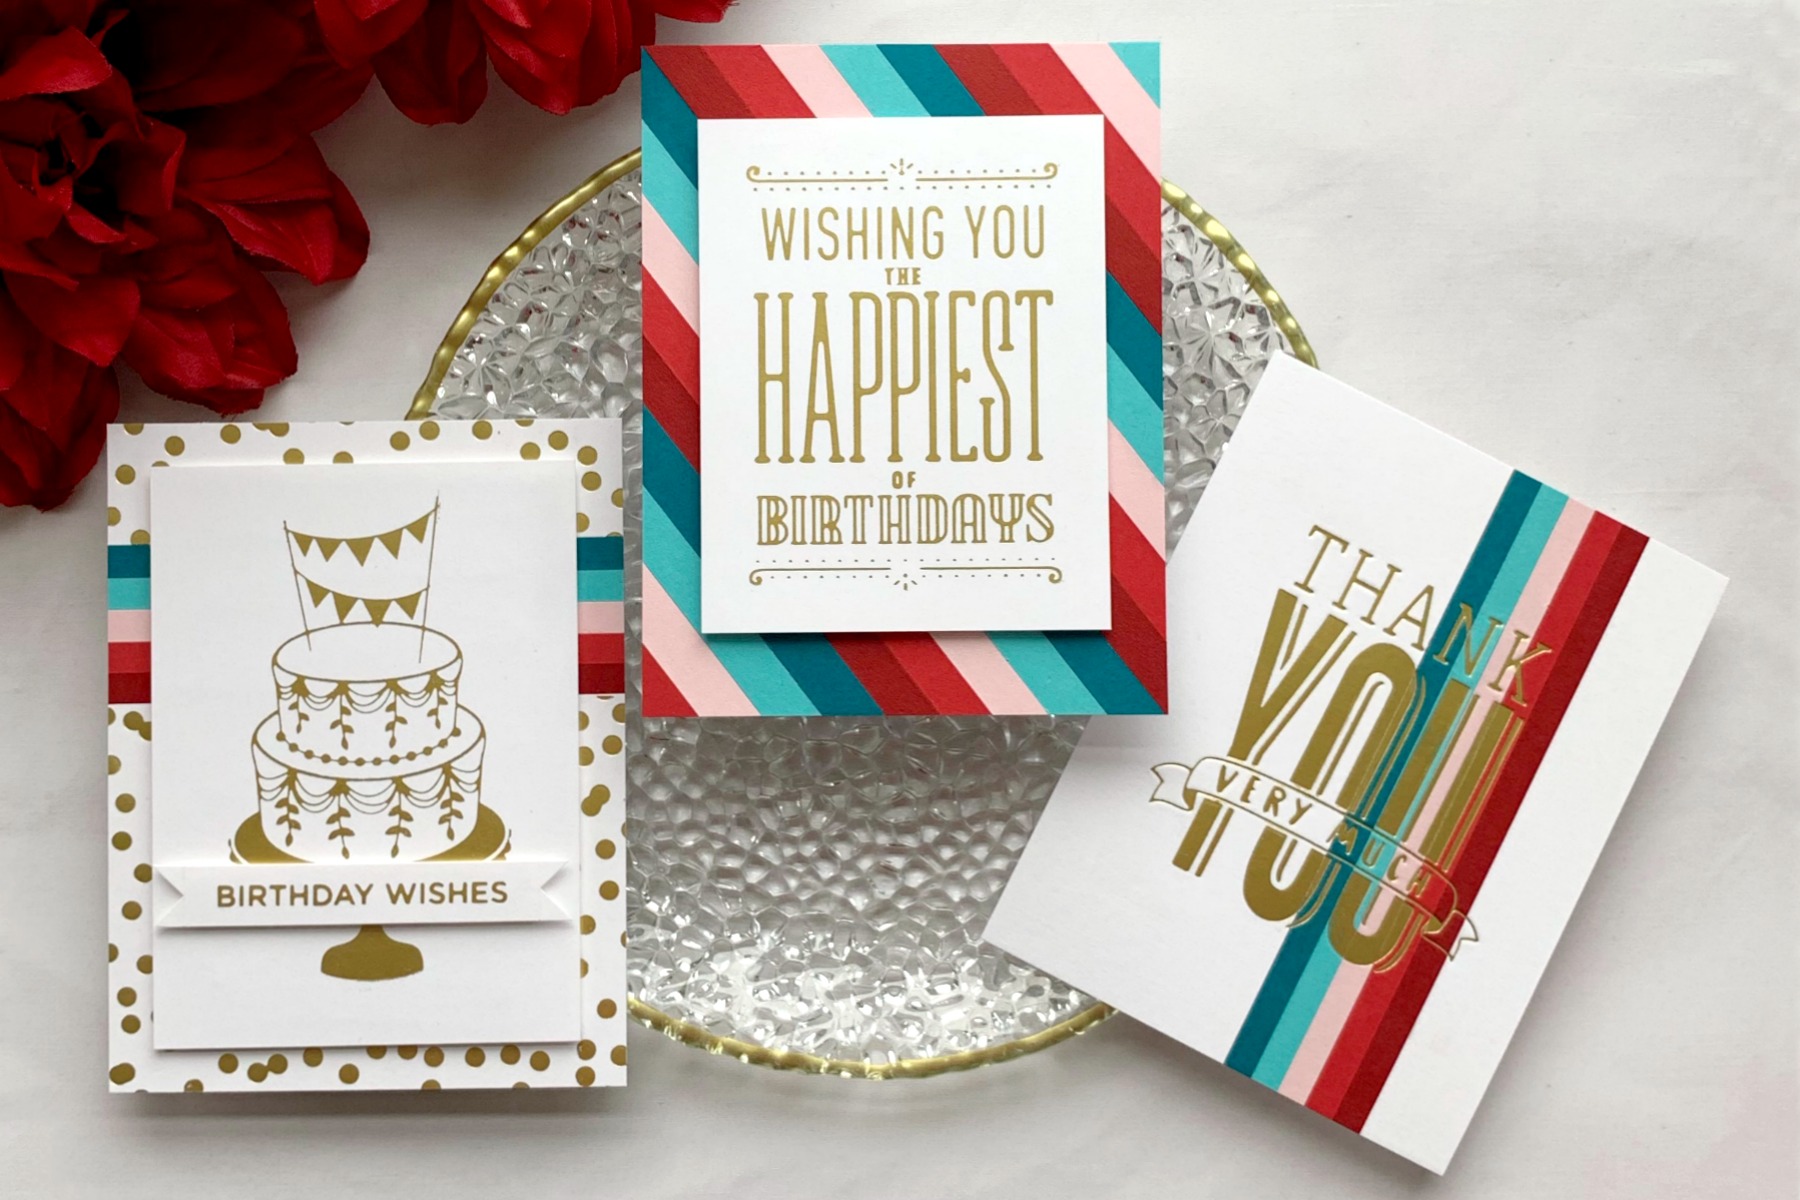
Spellbinders Glimmer Hot Foil Inspiration | Hot Foil Card Trio with Janette Kausen

Keeping ideas simple is a great way to complete several cards without having to reinvent the wheel with each go. When a design works and you love it, keep it going with slight modifications to keep it fresh. When you’ve completed a set, you’ve got several cards ready to go for your stash or to gift!

Spellbinders Glimmer Hot Foil Inspiration | Hot Foil Card Trio with Janette Kausen

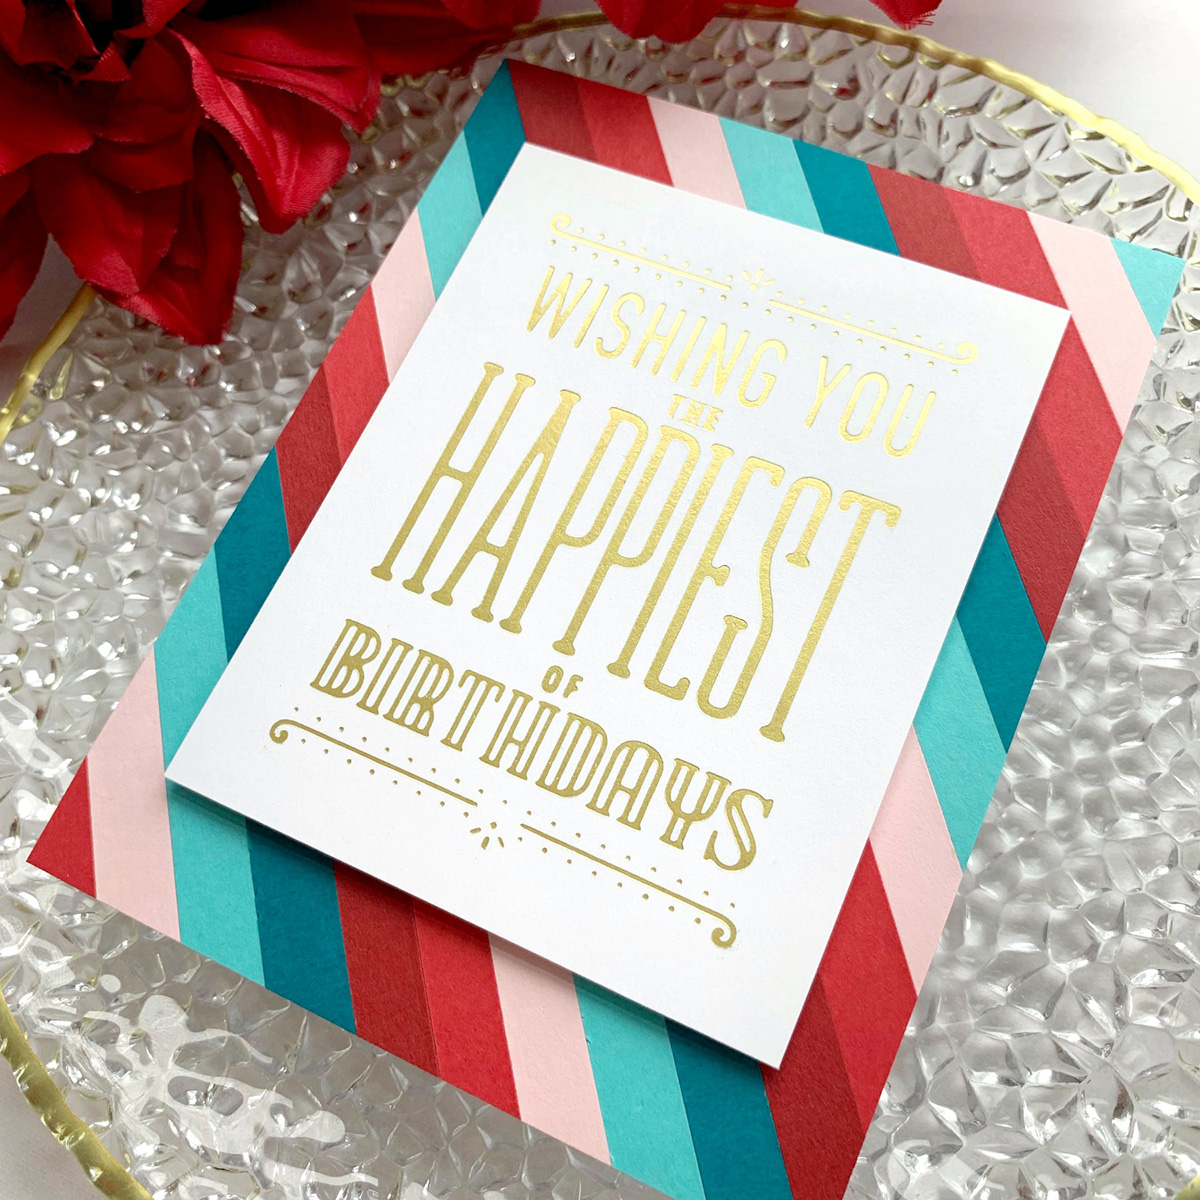
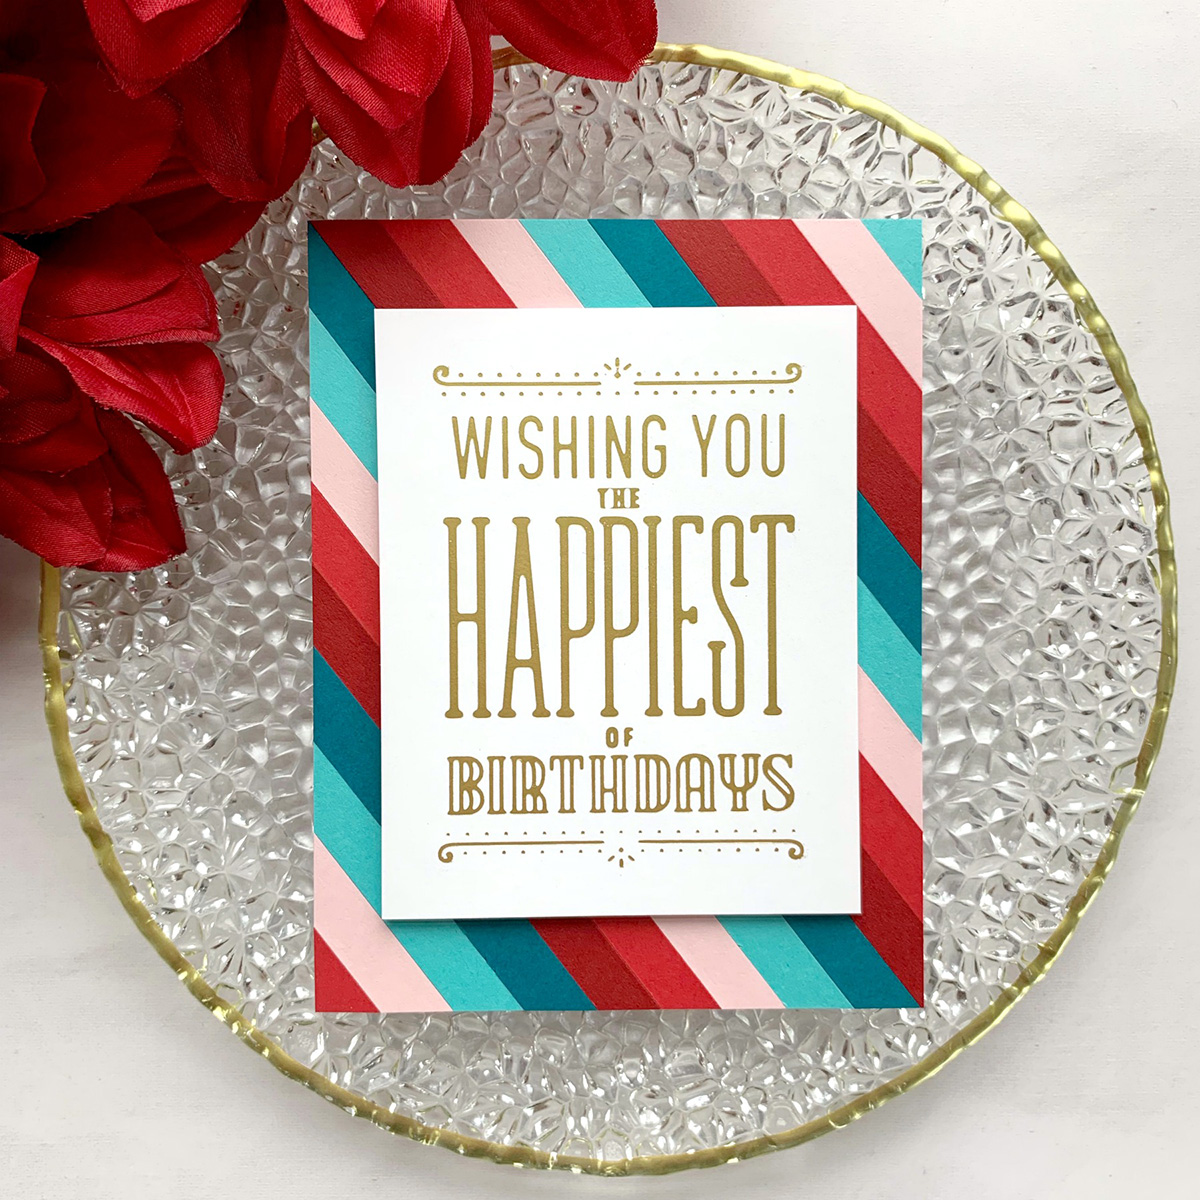
I began creating this A2 trio with a bright bold background to really make the foiled sentiment pop. Cut cardstock into 3/8 inch strips. Apply a paper backed dry tape adhesive to cardstock. Leaving release paper in place, trim to 4 ¼” x 5 ½”. (Note: a similar colored cardstock will hide any possible gaps between the paper strips.)

Spellbinders Glimmer Hot Foil Inspiration | Hot Foil Card Trio with Janette Kausen

Remove release paper and adhere bright strips diagonally corner to corner, butting them together, building out. When complete, flip panel to back and trim along cardstock backing panel. Glimmer Hot Foil Happiest Birthday in Matte Gold, trim and adhere in place with dimensional adhesive.

Spellbinders Glimmer Hot Foil Inspiration | Hot Foil Card Trio with Janette Kausen

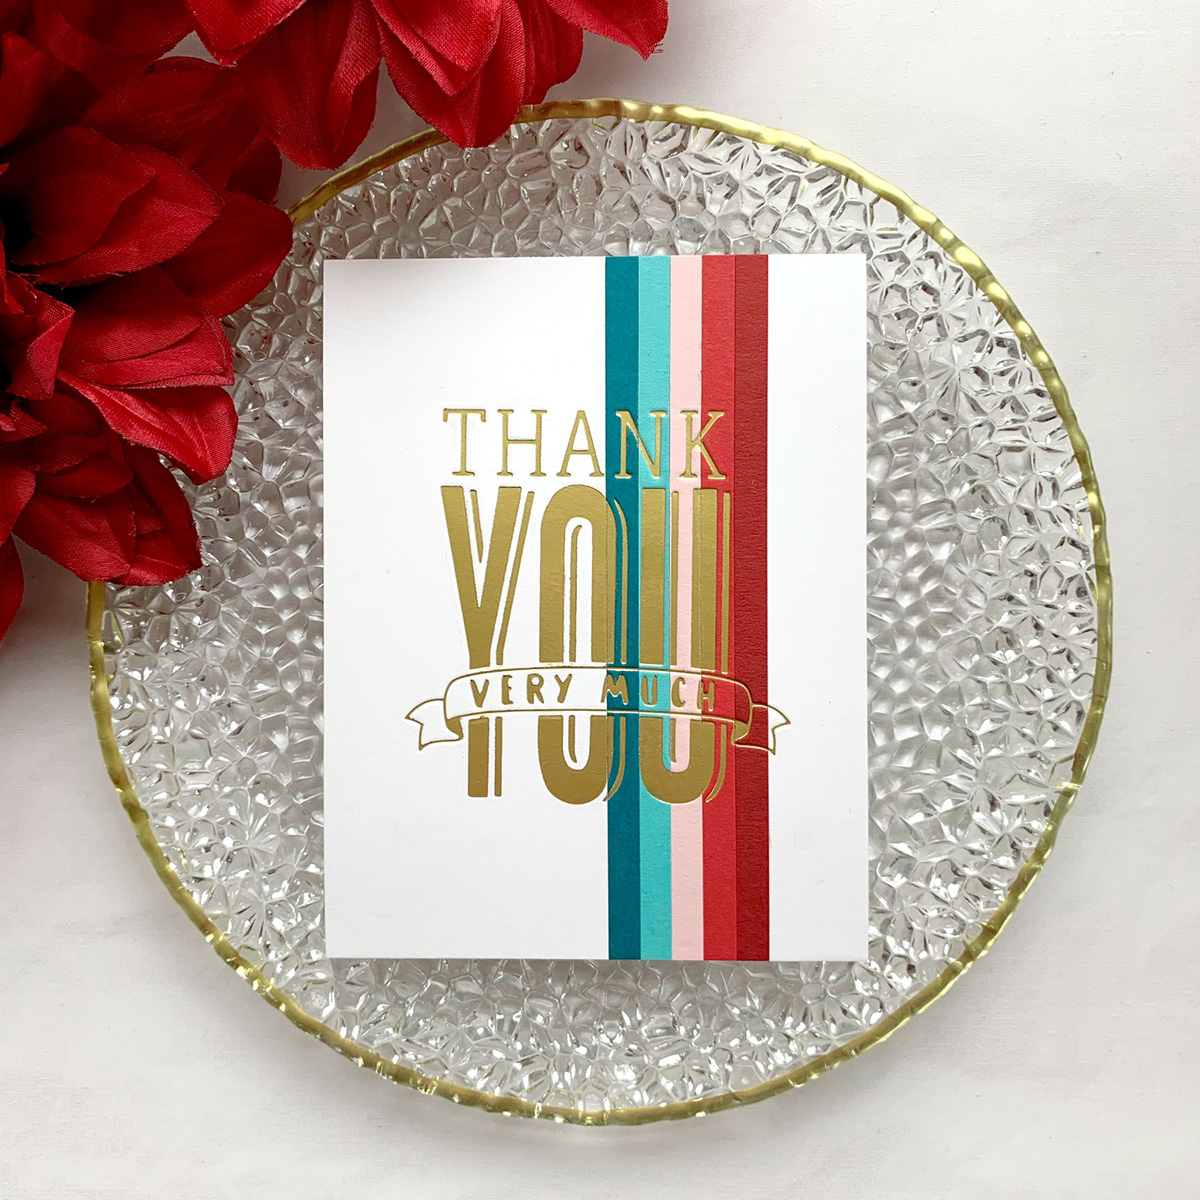
Repeat steps to create dry tape adhesive backing panel. This time apply ¼” bright cardstock strips vertically. Adhere white cardstock to each side, flip to back and trim along backing panel as a guideline.

Spellbinders Glimmer Hot Foil Inspiration | Hot Foil Card Trio with Janette Kausen

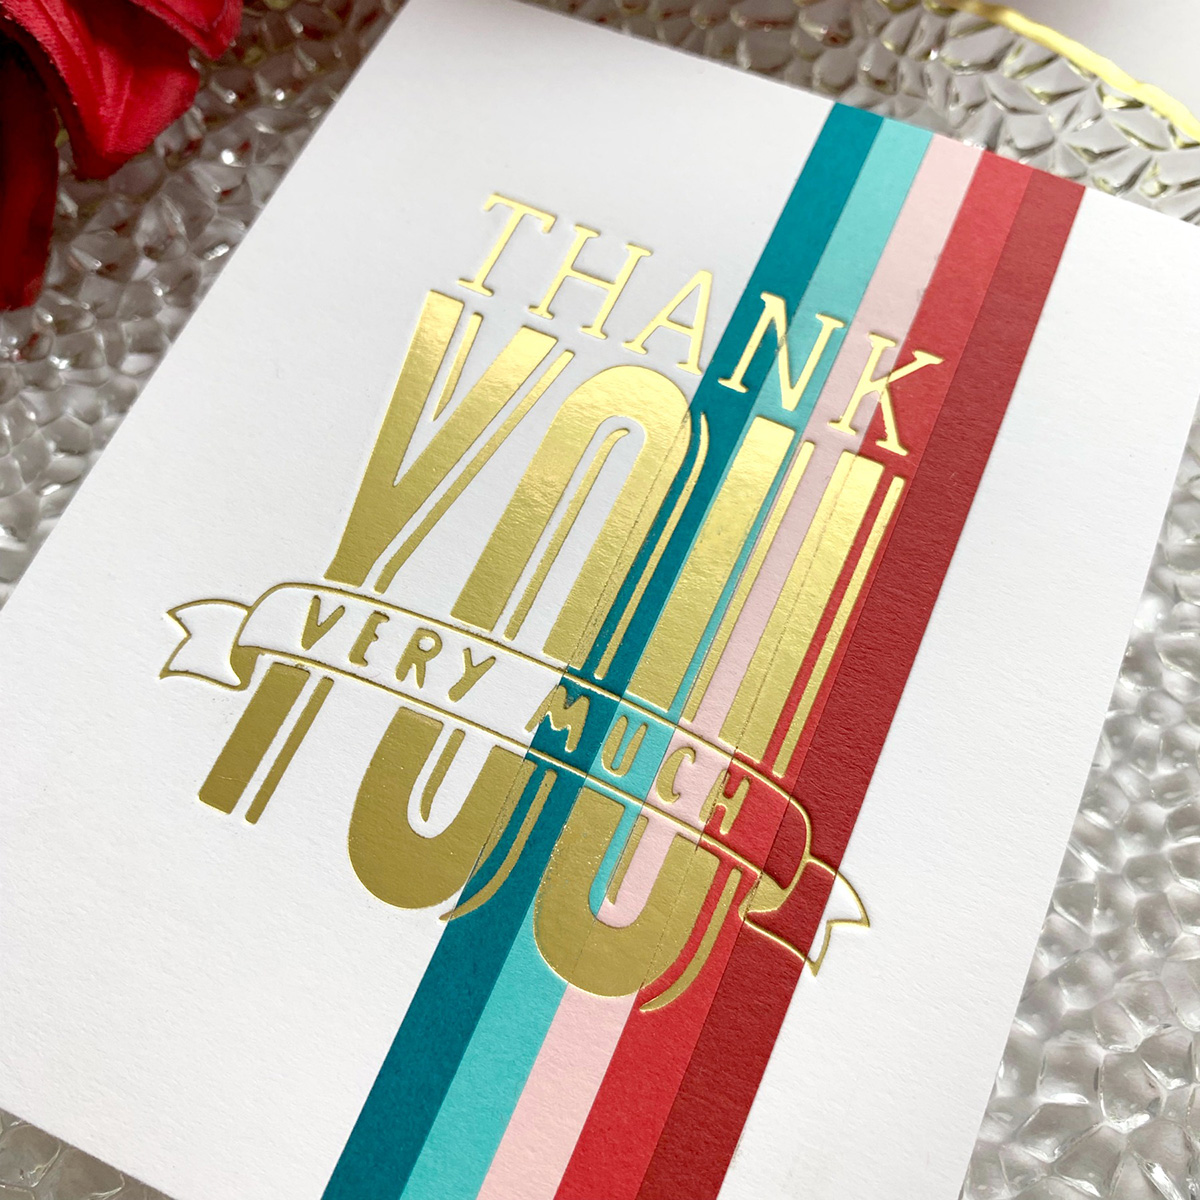
Using the grid lines on the Glimmer Hot Foil System base plate, center Thank You Very Much Glimmer Hot Foil Plate. Place Matte Gold foil dull side up over plate and carefully center striped panel in place. Complete sandwich, adding an extra scratch paper shim if necessary, to allow a complete foil transfer to the paper strips.

Spellbinders Glimmer Hot Foil Inspiration | Hot Foil Card Trio with Janette Kausen

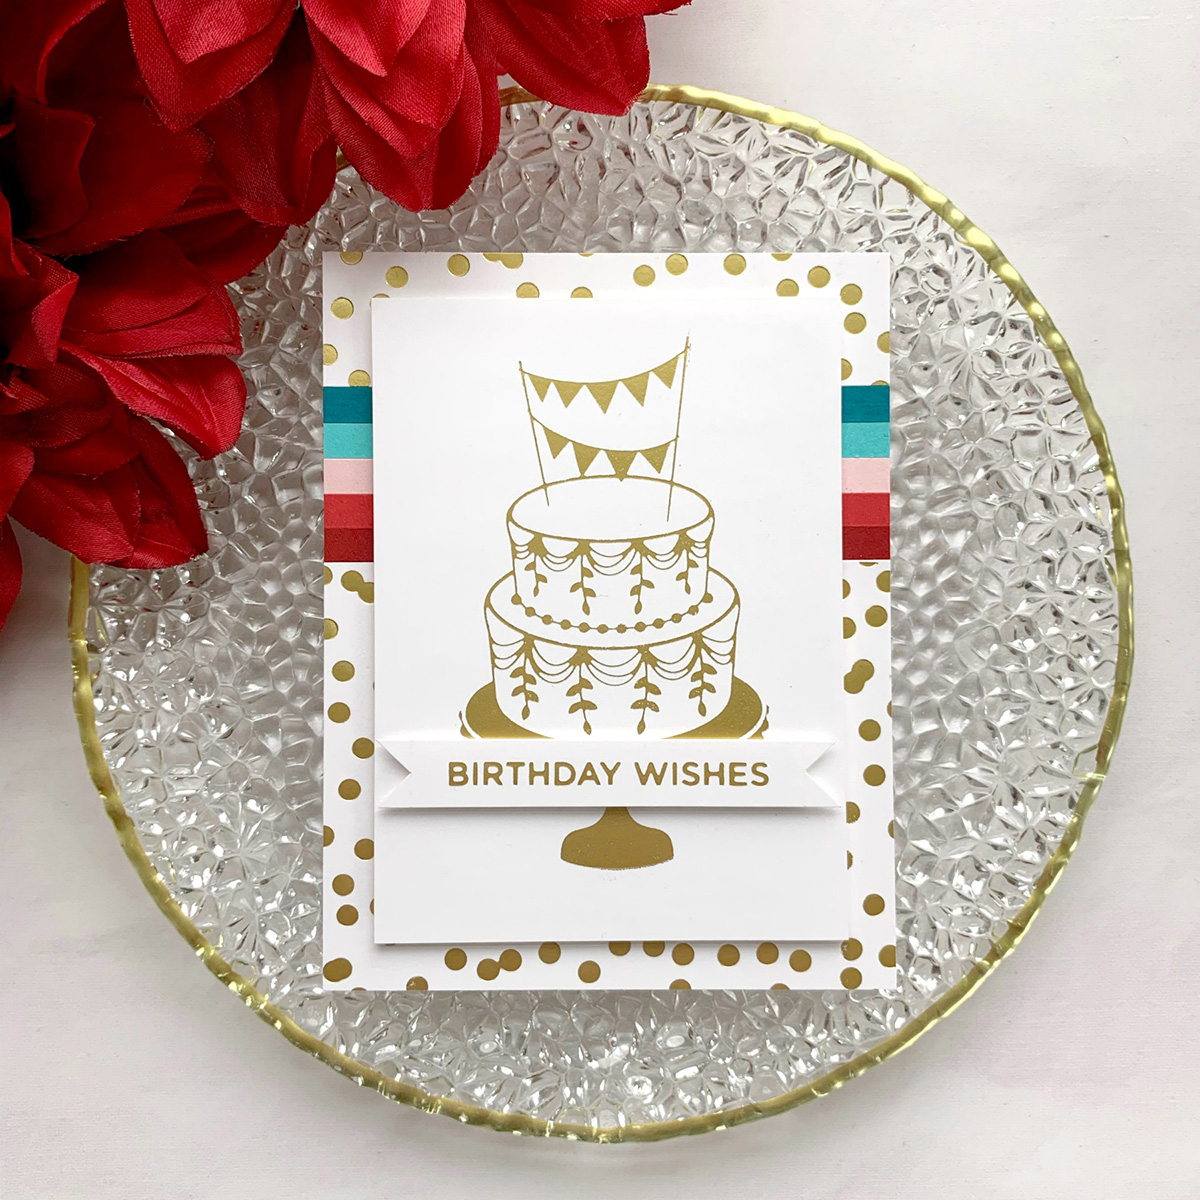
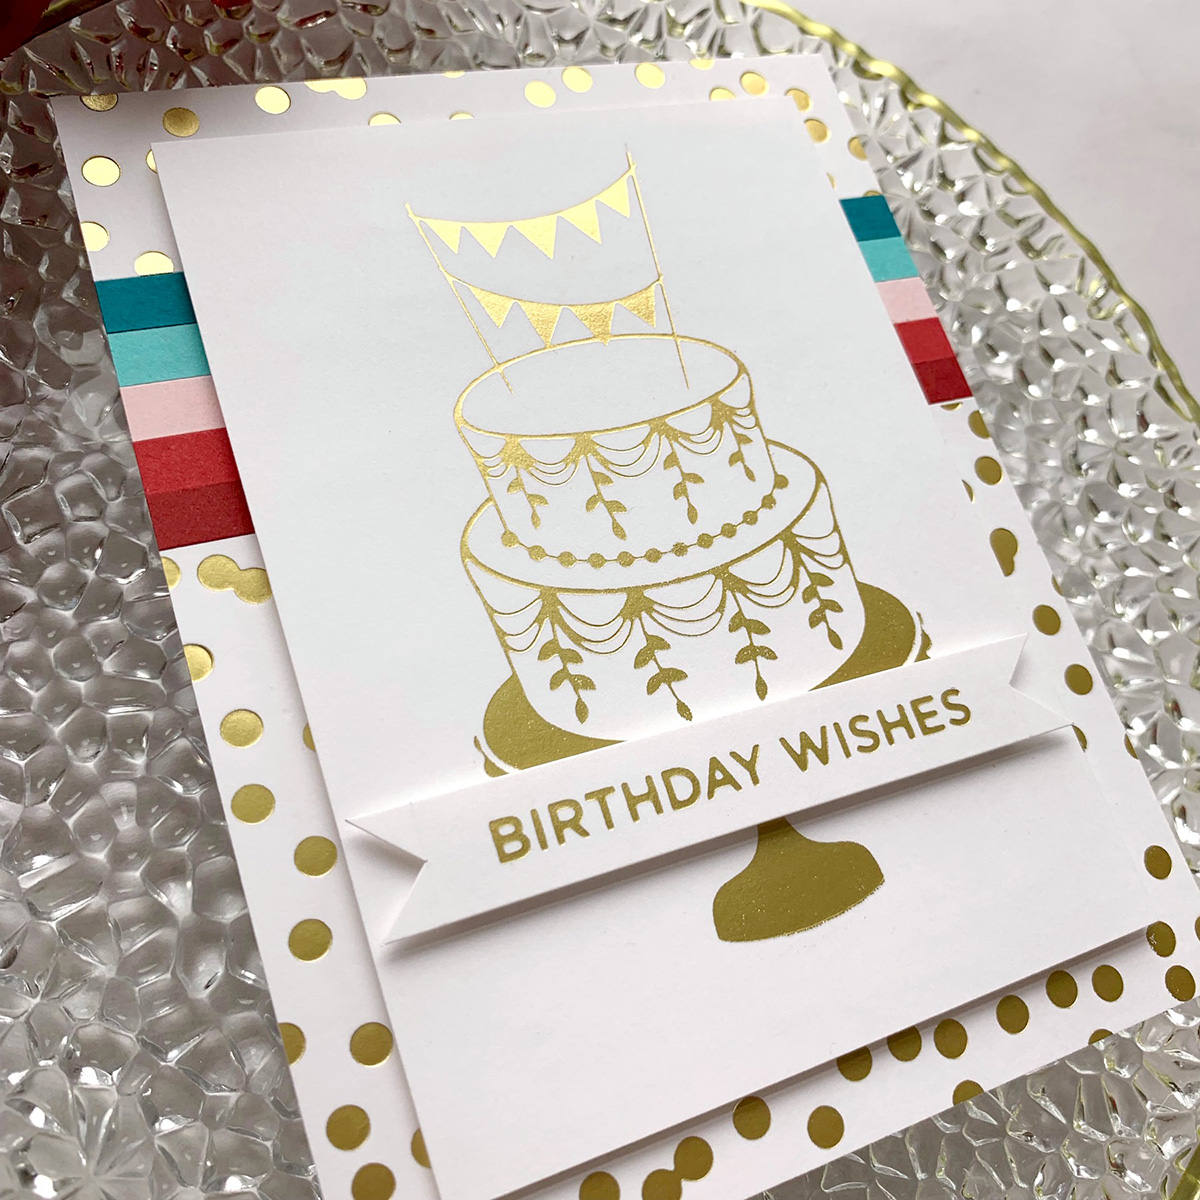
Again, create dry tape adhesive backing panel. This time align cardstock strips horizontally. Add a Scattered Dot Pattern foil design, again in Matte Gold, to basic white cardstock. Adhere to either side of the stripes and flip to trim off excess from the back.

Spellbinders Glimmer Hot Foil Inspiration | Hot Foil Card Trio with Janette Kausen

Matte Gold foil Tiered Cake Glimmer Plate and Everyday Sentiment II, “Birthday Wishes,” onto white cardstock. Trim cake down to 3 ¼” x 4 ½” and pop in place with dimensional adhesive. Trim down birthday sentiment cutting banner details on sides. Pop this in place with dimensional adhesive, as well. Adhere each to an A2 folded card base and give. Give a set as a gift or post individually as happy mail. Really, who doesn’t smile when they receive a handmade card in the mailbox? Foiling Tip: more heating time and pressure do not create a better transfer. I have had my best success by accurately using the built-in timer and light pressure when passing though the Platinum 6 Die Cutting & Embossing Machine.

Spellbinders Supplies:

Other Supplies:

Hero Arts cardstock, Be Creative tape, 3M foam tape. Thank you for visiting today and thank you to Spellbinders for the invitation to guest! It’s been a pleasure. I have enjoyed sharing more about the Glimmer Hot Foil System with you! If you’ve been inspired to create, be sure to tag #Spellbinders and #NeverStopMaking on social media! XO, Janette

Leave a comment

Your email will not be published. Please note, comments need to be approved before they are published.

2 comments

Evelyn Burton,

Love the color strips and of course the foil makes each one very special! So shiny and bright!

Pooja,

Awesome cards !!


  • How to Color BetterPress Scenes with Watercolor and Colored Pencils, BP-383, STNB-020, DC378

    AF724

    How to Color BetterPress Scenes with Watercolor and Colored Pencils

    Want to move beyond simple ink blending when using layering stencils? In this tutorial, you'll learn how to combine BetterPress printing, stencil coloring, watercolor painting, and colored pencil shading to create a detailed scenic card. By mixing coloring mediums, you can build additional texture, depth, and realism while using supplies you may already have in your craft room. This project features the Scenic Kyoto Press...

  • How to Use Reverse Foiling for Elegant Christmas Cards, BP-345, BP-314, S4-1452, BP-312, S5-526, S5-647

    BP-312

    How to Use Reverse Foiling for Elegant Christmas Cards

    Get more from your hot foil supplies by learning how to use the reverse foiling technique. In this step-by-step Christmas card tutorial, you'll create a beautiful snowflake background using leftover foil, then pair it with a dimensional poinsettia arrangement and festive sentiment. Reverse foiling is a fantastic way to reduce waste while creating an entirely different look from your original foiled design. Using the A2...

  • How to Make Felt Christmas Ornaments with Festive Felt Dies, S7-302, S7-303, S7-305, PE-104

    Categories:Die Cutting

    How to Make Felt Christmas Ornaments with Festive Felt Dies

    Create charming handmade felt Christmas ornaments using the Festive Felt Christmas Dies by Lollie & Grace. In this step-by-step tutorial, you'll learn how to die-cut felt, assemble layered ornament designs, add decorative stitching, embellish with sequins and beads, and finish your ornaments with hanging loops for Christmas decorating. This project is perfect for holiday crafters who enjoy working with felt and creating handmade decorations. These festive...