

Posted by Spellbinders Team
on June 23, 2019

Hello crafty friends! I’m Jean, a papercrafter blogging at Right as Rain. I live in the Pacific Northwest, and I’m a big fan of anything ocean-themed! I’m fascinated by all of the different takes on the ocean theme in papercrafting. I’m sharing three ocean-themed projects, along with instructions, crafted with the Hello Summer - Splash Zone Collection products. Let’s take a look.

Make Waves Card
My first card, showcasing the Sparkle Mermaid Tail Die Set, incorporates mixed media techniques.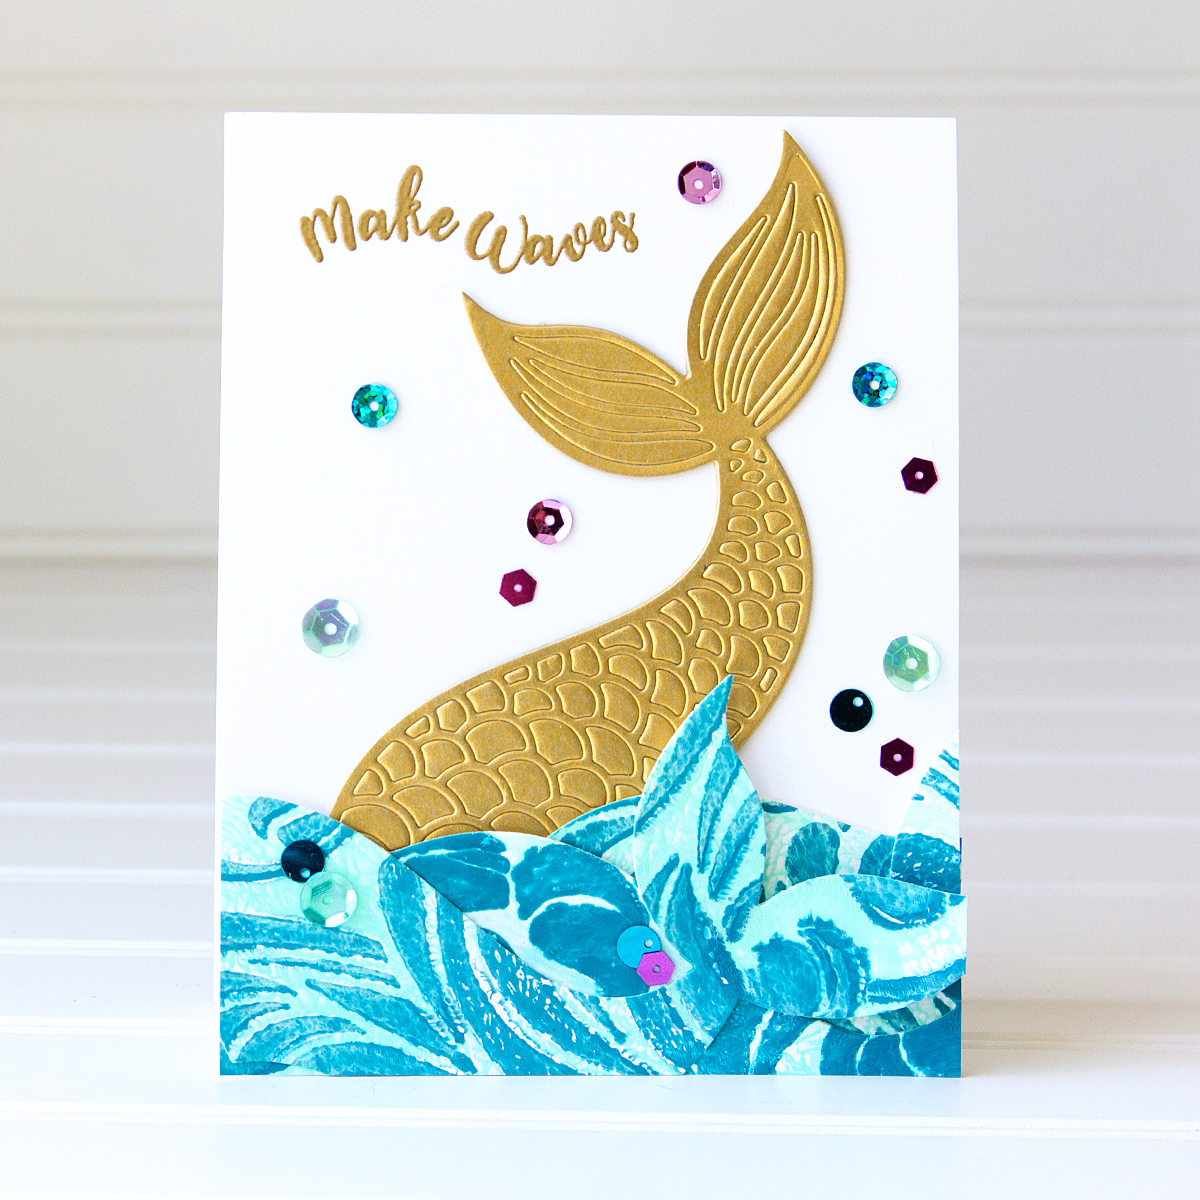
- To begin, I heat-embossed the Make Waves Stamp Set sentiment with gold powder on a Whip Cream cardstock A-2 card base.
- For the mermaid tail, I used both the detailed and outlines dies of the Sparkle Mermaid Tail set to cut Brush Gold cardstock. I cut the tail again from gold cardstock with the outline die, which I adhered to the detailed piece, leaving the scale pieces intact.
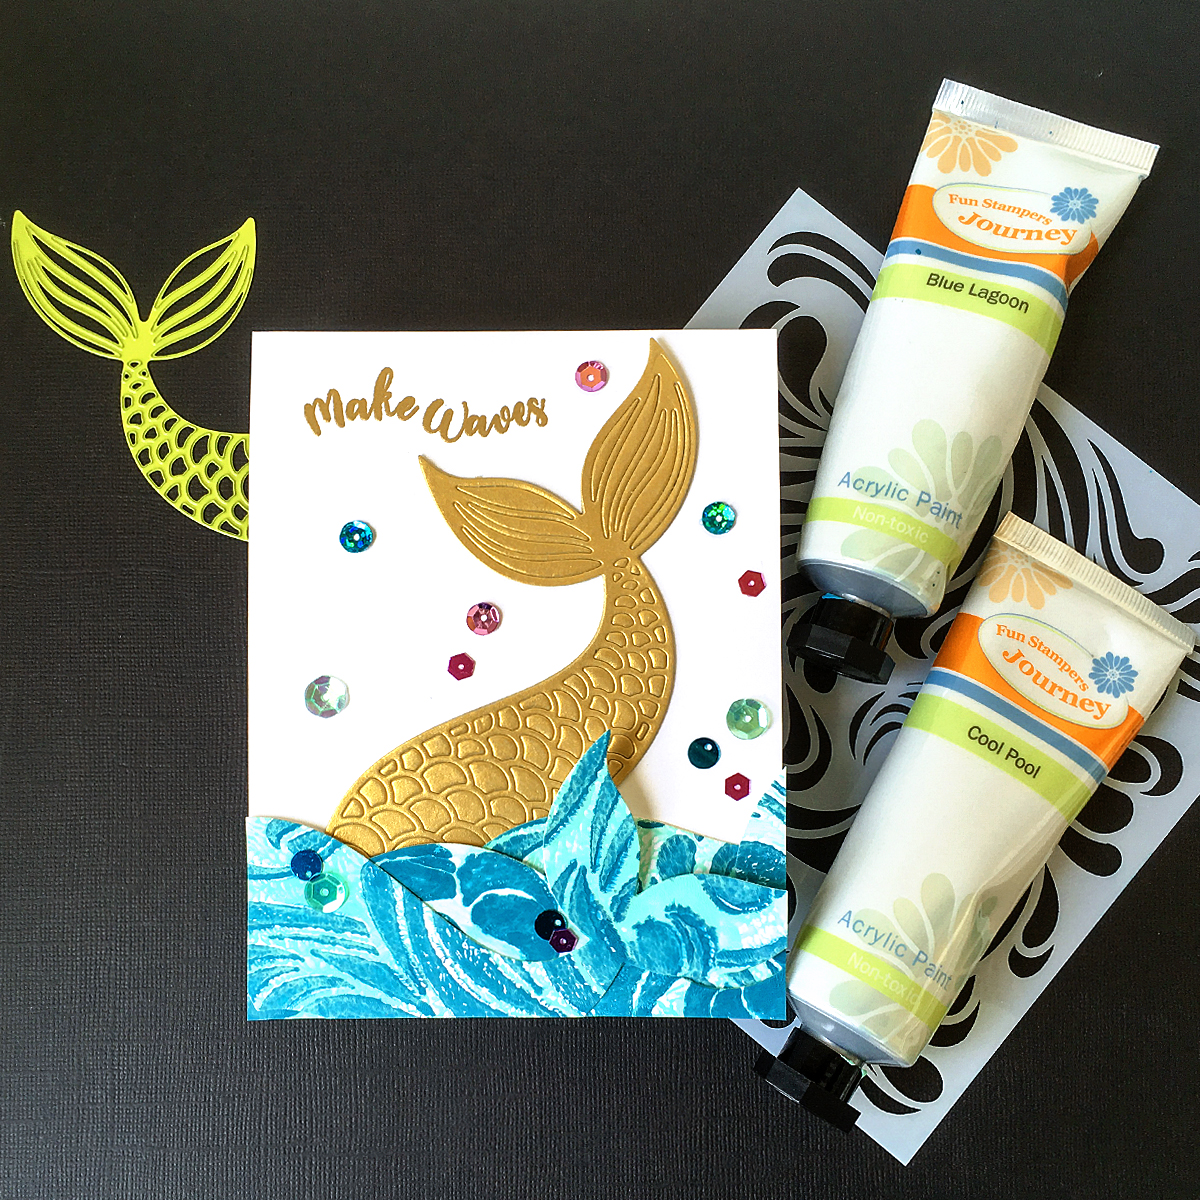
- To create the waves, I rolled Cool Pool paint on to the Gel Press with a brayer. I placed the Splash Zone Stencil down and applied Blue Lagoon paint through the stencil. I then pulled the stencil off and placed Whip Cream cardstock on to the Gel Press to pick up the paint. I repeated this process again for a second piece of stenciled cardstock.
- Once the cardstock pieces were dry, I cut them three times with the Sparkle Mermaid Tail outline die for the wave pieces.
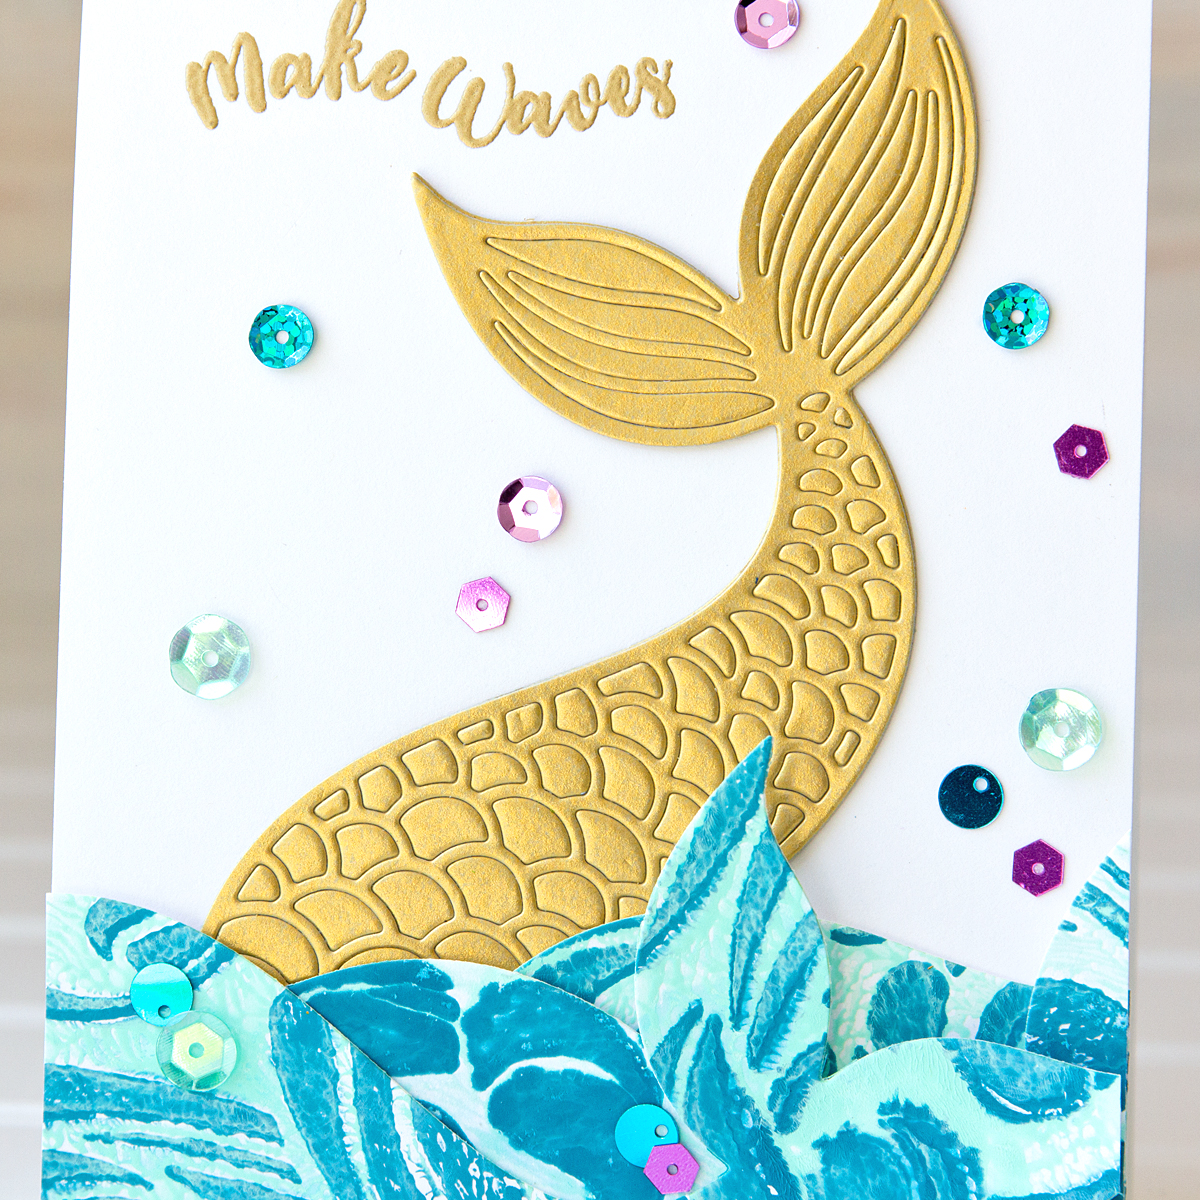
- I adhered the waves to the card front and trimmed as necessary. The tops of the waves were left unadhered.
- I added adhesive to the assembled gold tail and tucked it into the waves.
- For a finishing touch, I adhered Splash Zone Sequins to the card front.
Spellbinders Supplies:
Other Supplies
Versamark inkYou Are Jawesome Card
On my second project, I’ve used the playful Shark Attack Stamp Set with the Splash Zone Stencil. Again, I’ve incorporated mixed-media techniques for interest and texture.
- To begin, I stamped two shark images on to Whip Cream cardstock with Copic-friendly black ink. I colored the images with Copic markers and colored pencils and then I fussy cut them. (There is a coordinating die set for this stamp set as well.)
- I created a card base from Pool Play cardstock.
- I white heat-embossed the sentiment on Black Licorice cardstock and cut it with a die in the A-2 Matting Basics B Card Creator Etched Dies set.
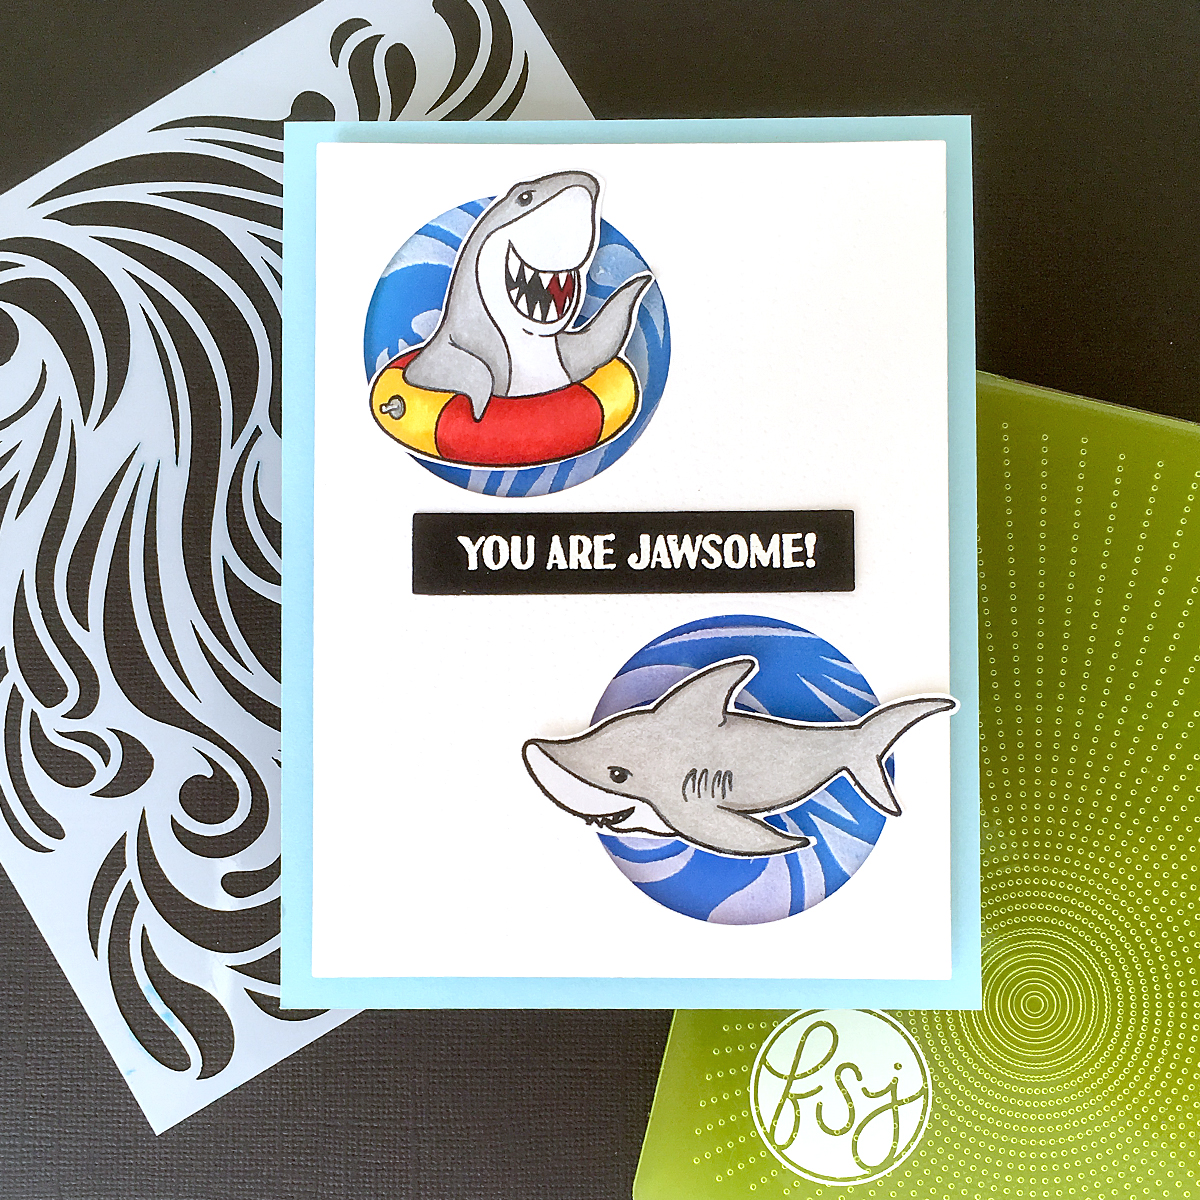
- I dry-embossed a Whip Cream cardstock rectangle, cut with a die in the A-2 Matting Basics B Card Creator Etched Dies, (rectangle measures 3 7/8" x 5 1/8"), with the Bright Days embossing folder twice. Both times, I placed the sun “center” in the corners where I would be die-cutting a circle window. While the effect is subtle, it adds texture to the project.
- I cut the circle windows with a Nestabilities Standard Circles Large die, measuring 1 7/8" in diameter. The center of the die was placed over the center of the sun for easy alignment.
- For the wave background behind the shark images, I applied Distress Oxide inks in Salty Ocean, Blueprint Sketch, and Mermaid Lagoon. I then applied modeling paste through the Splash Zone Stencil.
- Once dry, I trimmed the stenciled piece to fit behind the frame piece and attached the frame to the waves with foam adhesive.

- To finish, I added the frame piece to the card base, adhered the sentiment to the center, and popped up the colored shark images with foam adhesive.
Spellbinders Supplies:
Other Supplies
Versamark ink; Copic markers; Colored pencils; Copic-friendly black ink; Distress Oxide inks – Mermaid Lagoon, Salty Ocean, Blueprint Sketch; Foam adhesiveAhoy Card
For my final project, I combined the Sparkle Mermaid Tail Die Set with the Splash Zone Stencil on a card measuring 5 ½" square.
- To begin, I colored Whip Cream cardstock with Distress Oxide inks in Salty Ocean, Blueprint Sketch, Peacock Feathers, and Tumbled Glass. I cut the Sparkle Mermaid Tail twice from the ink-colored cardstock with the detailed and outline dies.
- I cut two tails with the outline die from Brush Gold cardstock.
- I sprayed the backs of the ink-colored detailed pieces with adhesive and added the gold pieces to the back.
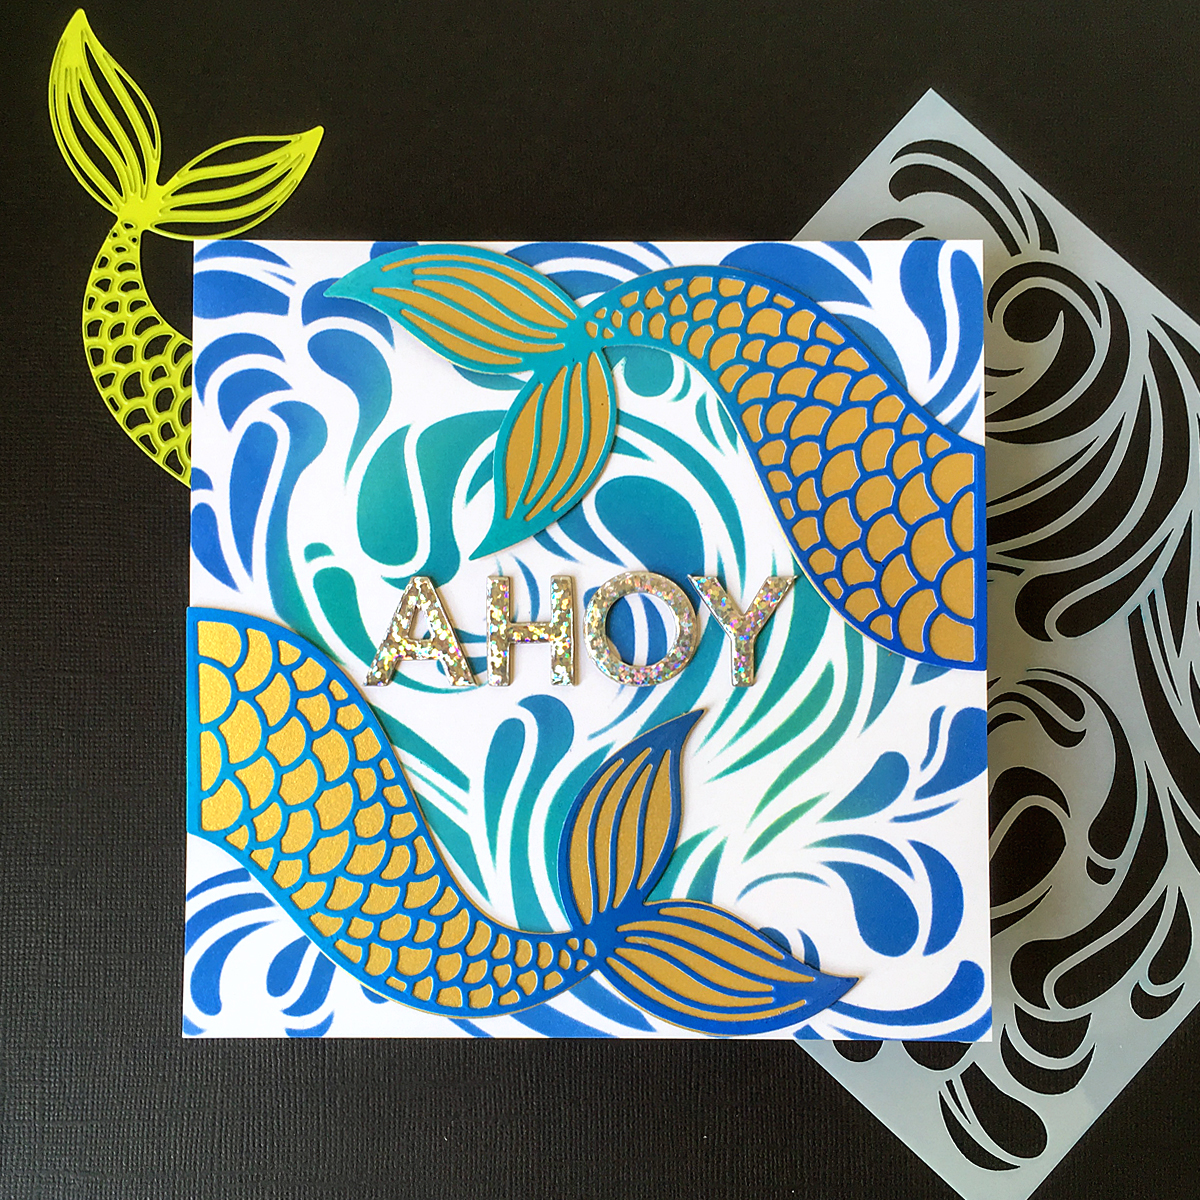
- For the background, I applied Distress Oxide inks in Salty Ocean, Blueprint Sketch, Peacock Feathers, and Tumbled Glass through the Splash Zone Stencil on Whip Cream cardstock.
- I trimmed the stenciled piece to 5 ½" square.
- I created a card base to which I added the stenciled panel.
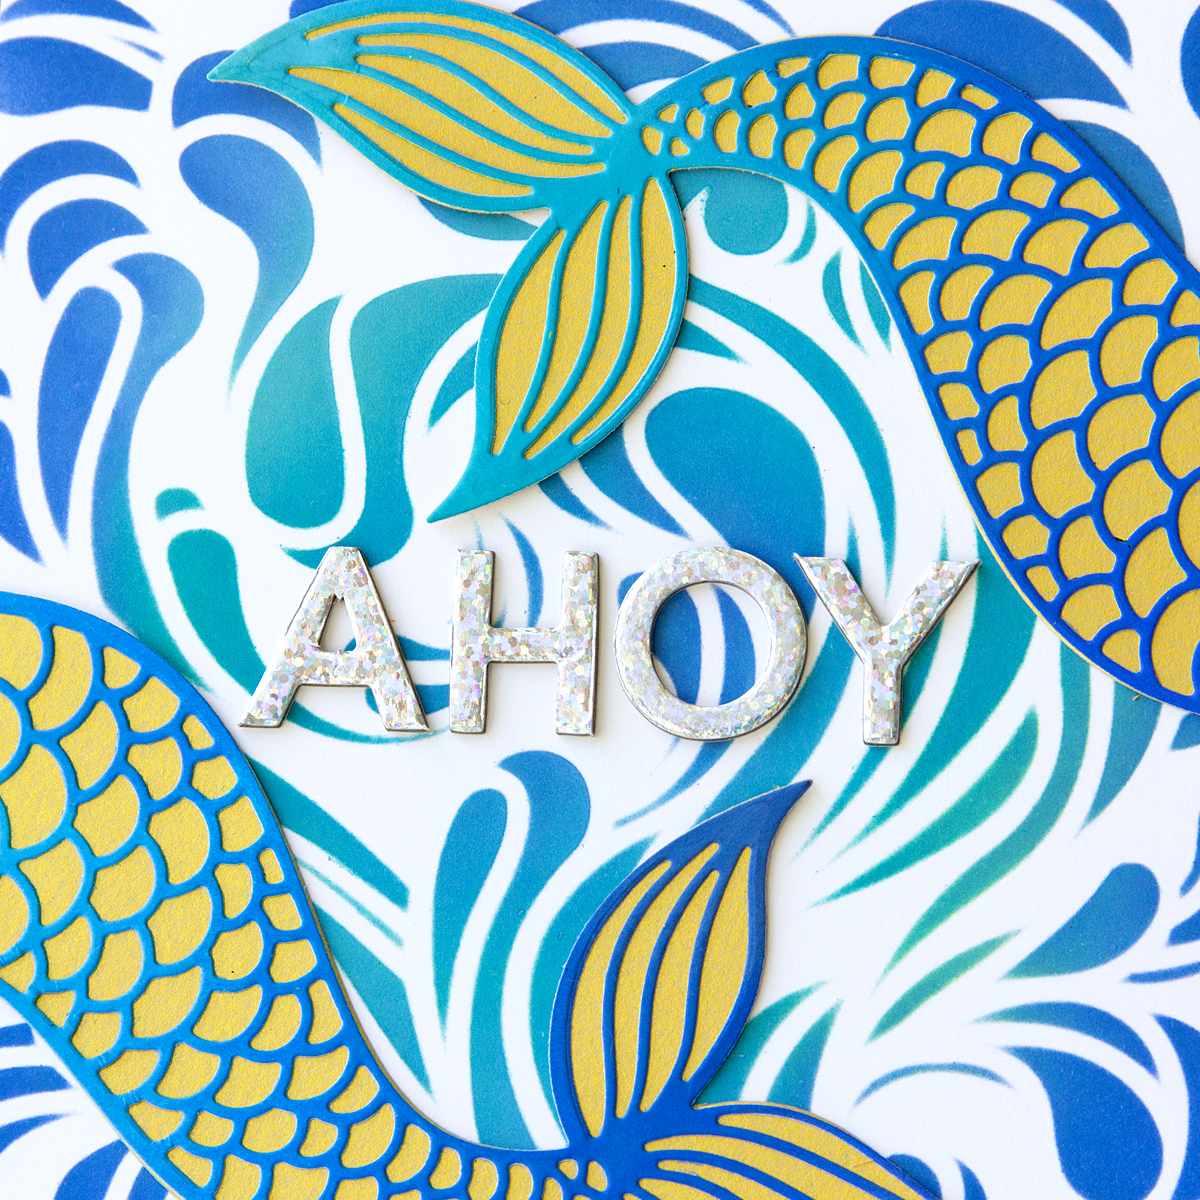
- I added the sentiment, using the Luminous Alphabet Chipboard Stickers, to the center of the stenciled panel and adhered the mermaid tails.


7 comments
Great cards! Lots of fun ideas with these sets.
Love the cards and supplies.
Would love to be the winner!
Sue
I really love your mermaid cards, so beautiful!!
What fun, colorful cards! I’m an ocean enthusiast too! I grew up going to the beach nearly everyday during the summer and enjoy it during any month. You share so many techniques with these tutorials; thank you!
Lovely cards, I love them very much