

Posted by Spellbinders Paper Arts
on September 17, 2019

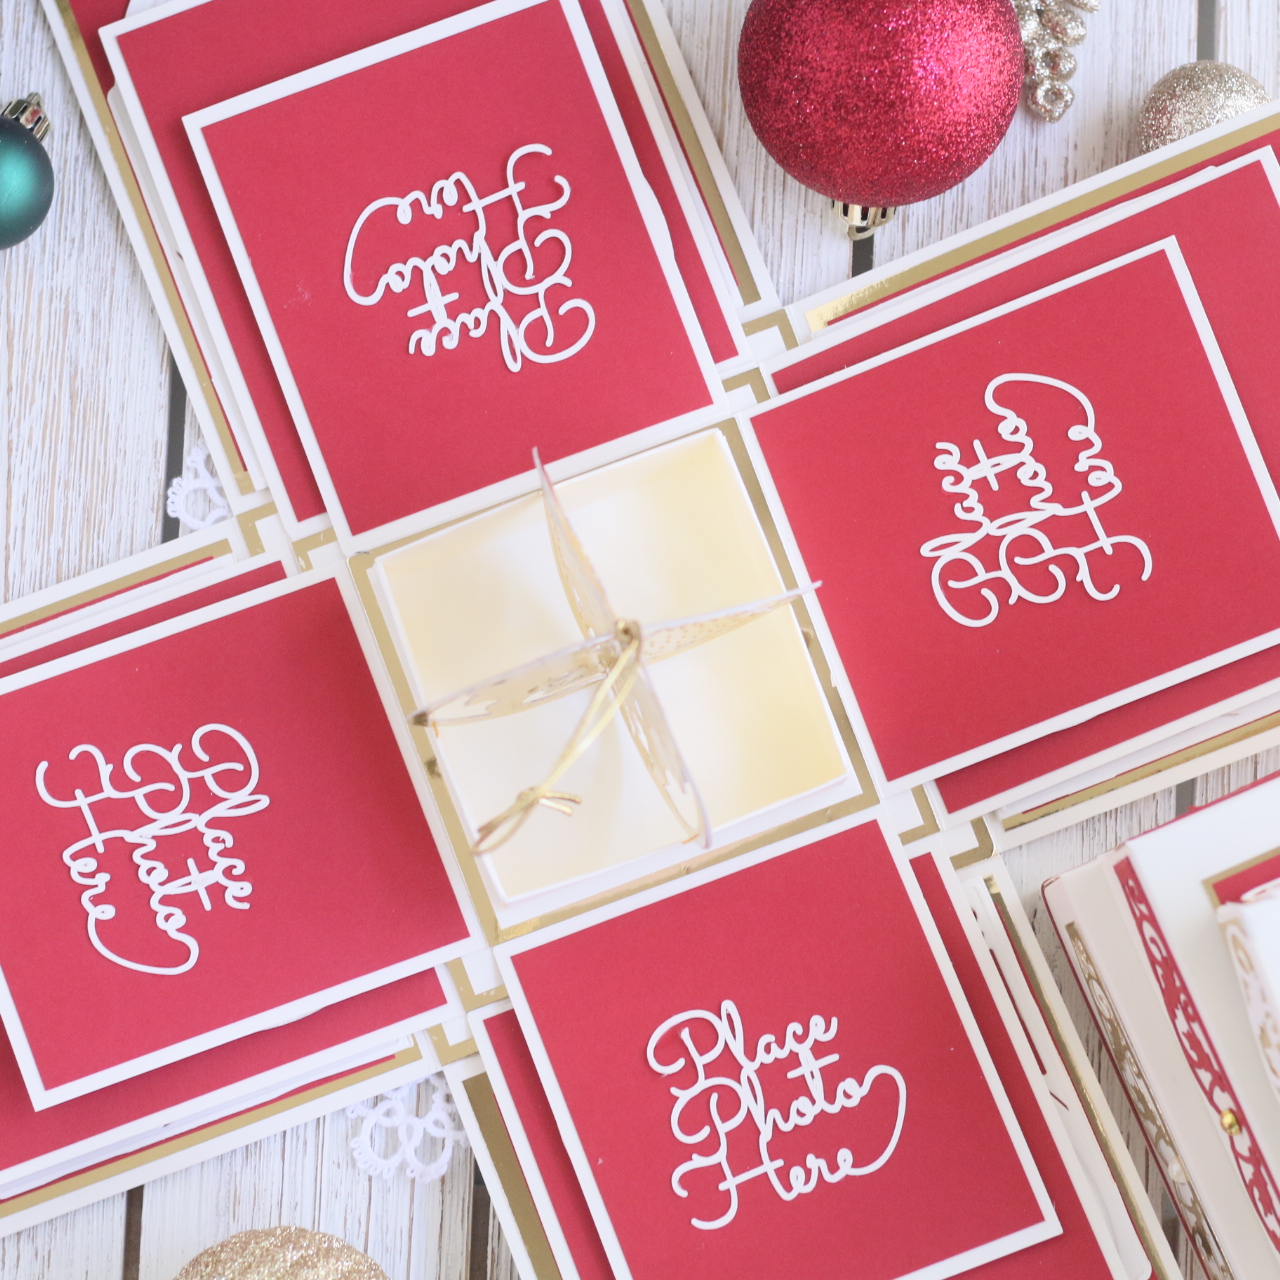
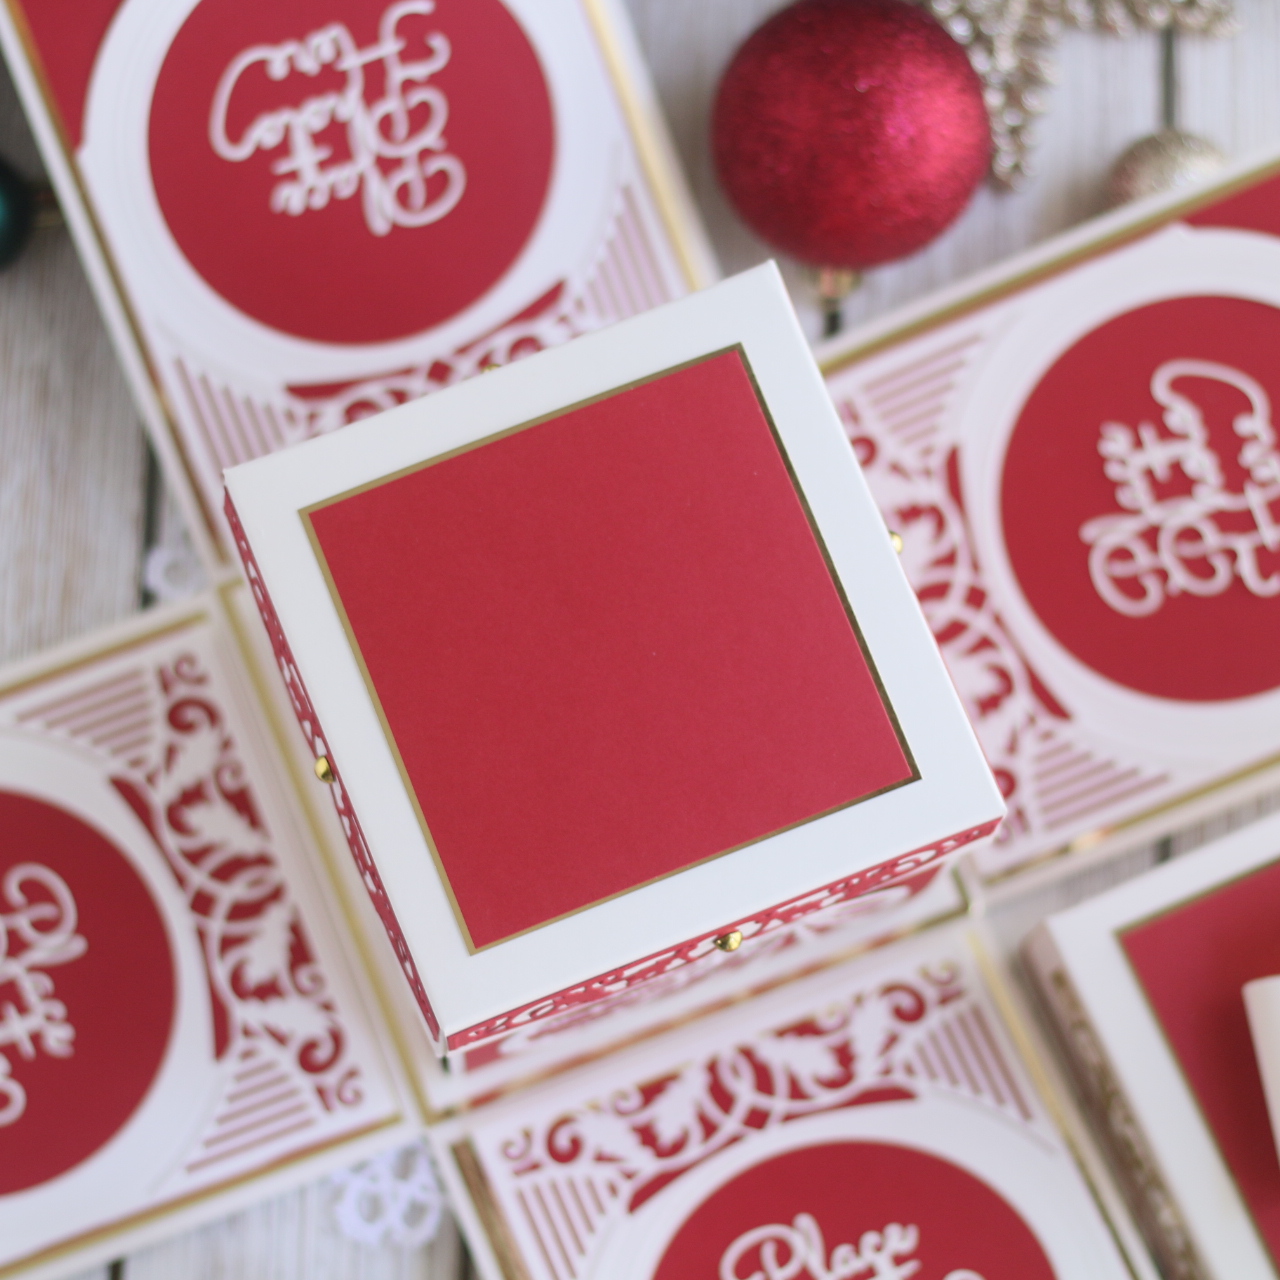
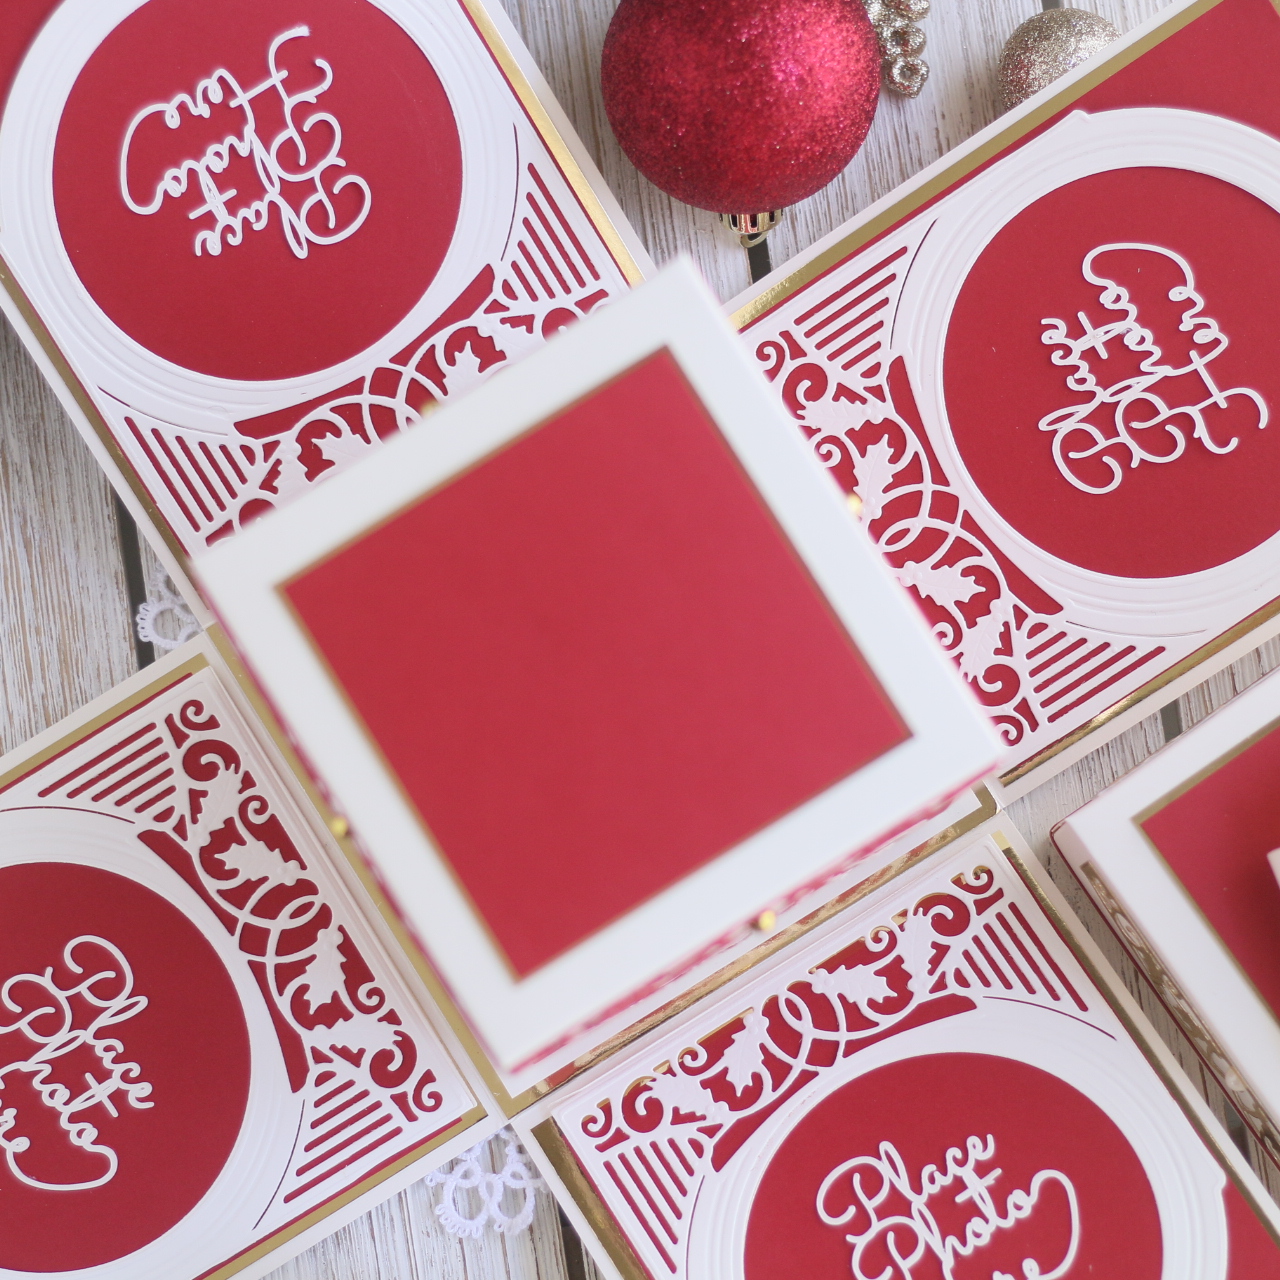
Talk about a wow factor! This delightful project features three nested boxes that “explode” to reveal photos or images as each box lid is removed. Fill the center with a special hand-created gift.
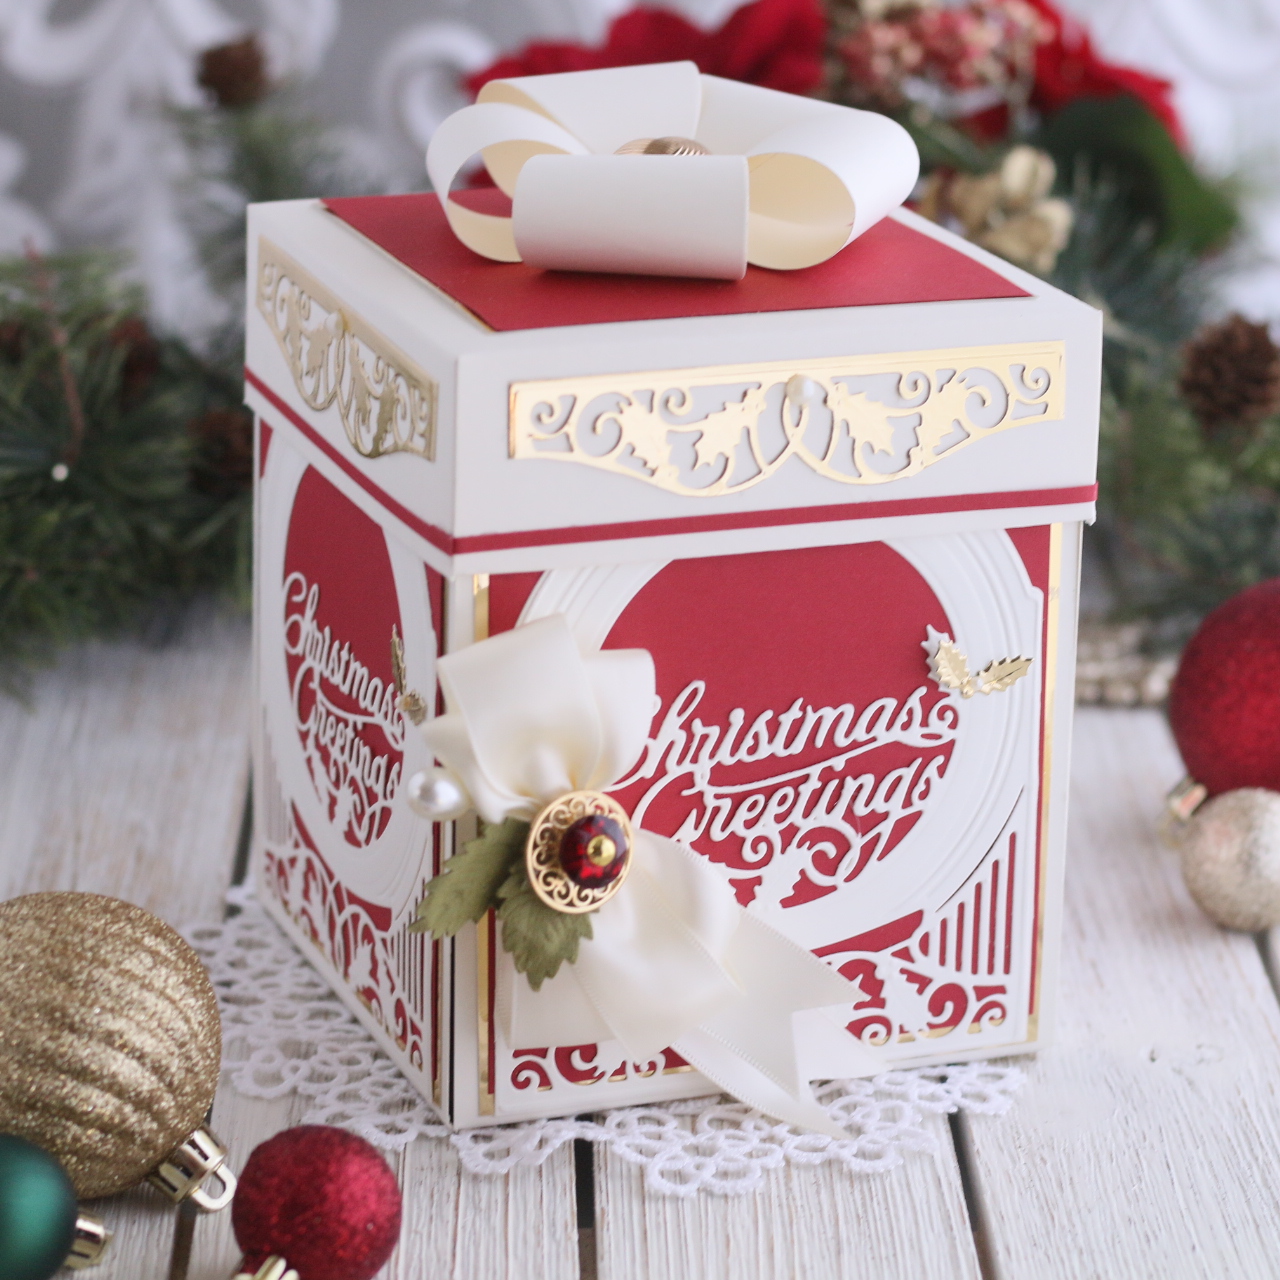
Dimensions:
LAYER 1
LARGE BOX- 4 - 5” x 7” panels in cream paper
- 8 - 4-1/2” x 5-3/8” panels in red paper
- 8 - 4-3/4” x 5-3/4” panels in gold paper
- 2 - 5” x5” panels in gold paper
- 2 - 4-3/4“ x 4-3/4” panels in cream paper
- 11-5/8” x 11-5/8”
- Score at 1-5/8” and 3-1/4” from each edge
- 1- 4-3/8” x 4-3/8” panel in gold
- 1 - 4-1/8” x 4-1/8” panel in red
- Cream - At least 8 sheets of 12” x 12” Paper
- Red - At least 5 sheets of 12” x 12” Paper
- Gold - At least 6 sheets of 8.5” x 11” Paper
LAYER 2
MIDDLE BOX- 4 - 4-1/4” x 5-3/4“ panels in cream paper
- 8 - 4 x 4-1/2” panels in red paper
- 1 - 4-1/4” x 4-1/4” panels in gold paper
- 1 - 4“ x 4” panels in cream paper
- 9-1/2“ x 9-1/2”
- Score at 1-1/4” and 2-1/2” from each edge
- 1- 3-5/8” x 3-5/8” panel in gold
- 1 - 3-3/8” x 3-3/8” panel in red
LAYER 3
SMALL BOX- 4 - 3-1/2 x 5” panels in cream paper
- 8 - 3-1/4 x 3-3/4” panels in red paper
- 1- 3-1/2“ x 3-1/2” panels in gold paper
- 1 - 3-3/8“ x 3-3/8” panels in cream paper
- 7-3/4” x 7-3/4”
- Score at 1” and 2“ from each edge
- 1- 3” x 3“ panel in gold
- 1- 7/8” x 1-7/8” panel in red
ORNAMENT TRAY
- 7” x 7” in cream
- Score at 1” and 2” from each edge
Spellbinders Supplies:























































































9 comments
Becca,
You are amazing and you look great by the way! Thank you so much for your designs, words of wisdom, an inspiring creativity. Keep it going. Thank you!!
Dear Becca
Thank you for the clear instructions and the measurements. I am sure going to try it as i love creating boxes.. Thanks abunch. Love and blessings
First I want to thank you both for listening to your fan’s desires for more layers and cabinets – they are just stunning (as your work is) and for providing such incisive, succinct tutorials. These tutorials are clear and provide expert feedback with step–by–step instructions on how to create this beautiful box. I have been waiting for your tutorial since I saw the first glimpse of this box you created. I adore the design and see many types of boxes in my future. These are going to make wonderful Christmas gifts for a luncheon with a different type ornament (made with your dies) for each guest. THANK YOU.
WOW !!! Becca I have seen explosion boxes but not all these
boxes in the one BOX …..
This is priceless absolutely love it everything about it don’t
know what else to say!
Except love you and your work thanks for all you do for all of us ..
XXX take care