Inked Messages Inspiration | Skillful Sailor Cards with Bibi Cameron
on August 10, 2018

Inked Messages Inspiration | Skillful Sailor Cards with Bibi Cameron

Hello crafty friends, this is Bibi Cameron and this is my last post as August guest designer. It was a pleasure to share a little bit of inspiration with you during this week and to be able to try some of the wonderful products from Inked Message Collection by Stephanie Low. I have to say they are a bit addictive, my whole family is on Holiday and they struggled to take me out of my craft room even when it was late… very late. Thank you Spellbinders for having me this month. So today I’m sharing a couple of masculine card ideas using “Rough Waters Stamp Set and Die” …Look at that anchor!!

Spellbinders Inked Messages Collection by Stephanie Low - Inspiration | Skillful Sailor Cards with Bibi Cameron featuring SDS-136 Rough Waters #spellbinders #stamping #patternstamping #cardmaking #handmadecard #neverstopmaking

I truly love this image and I really enjoyed applying colours to the anchors.  This as many other images in the Inked Messages Collection remind me of tattoo designs.  They are so unique!

Spellbinders Inked Messages Collection by Stephanie Low - Inspiration | Skillful Sailor Cards with Bibi Cameron featuring SDS-136 Rough Waters #spellbinders #stamping #patternstamping #cardmaking #handmadecard #neverstopmaking

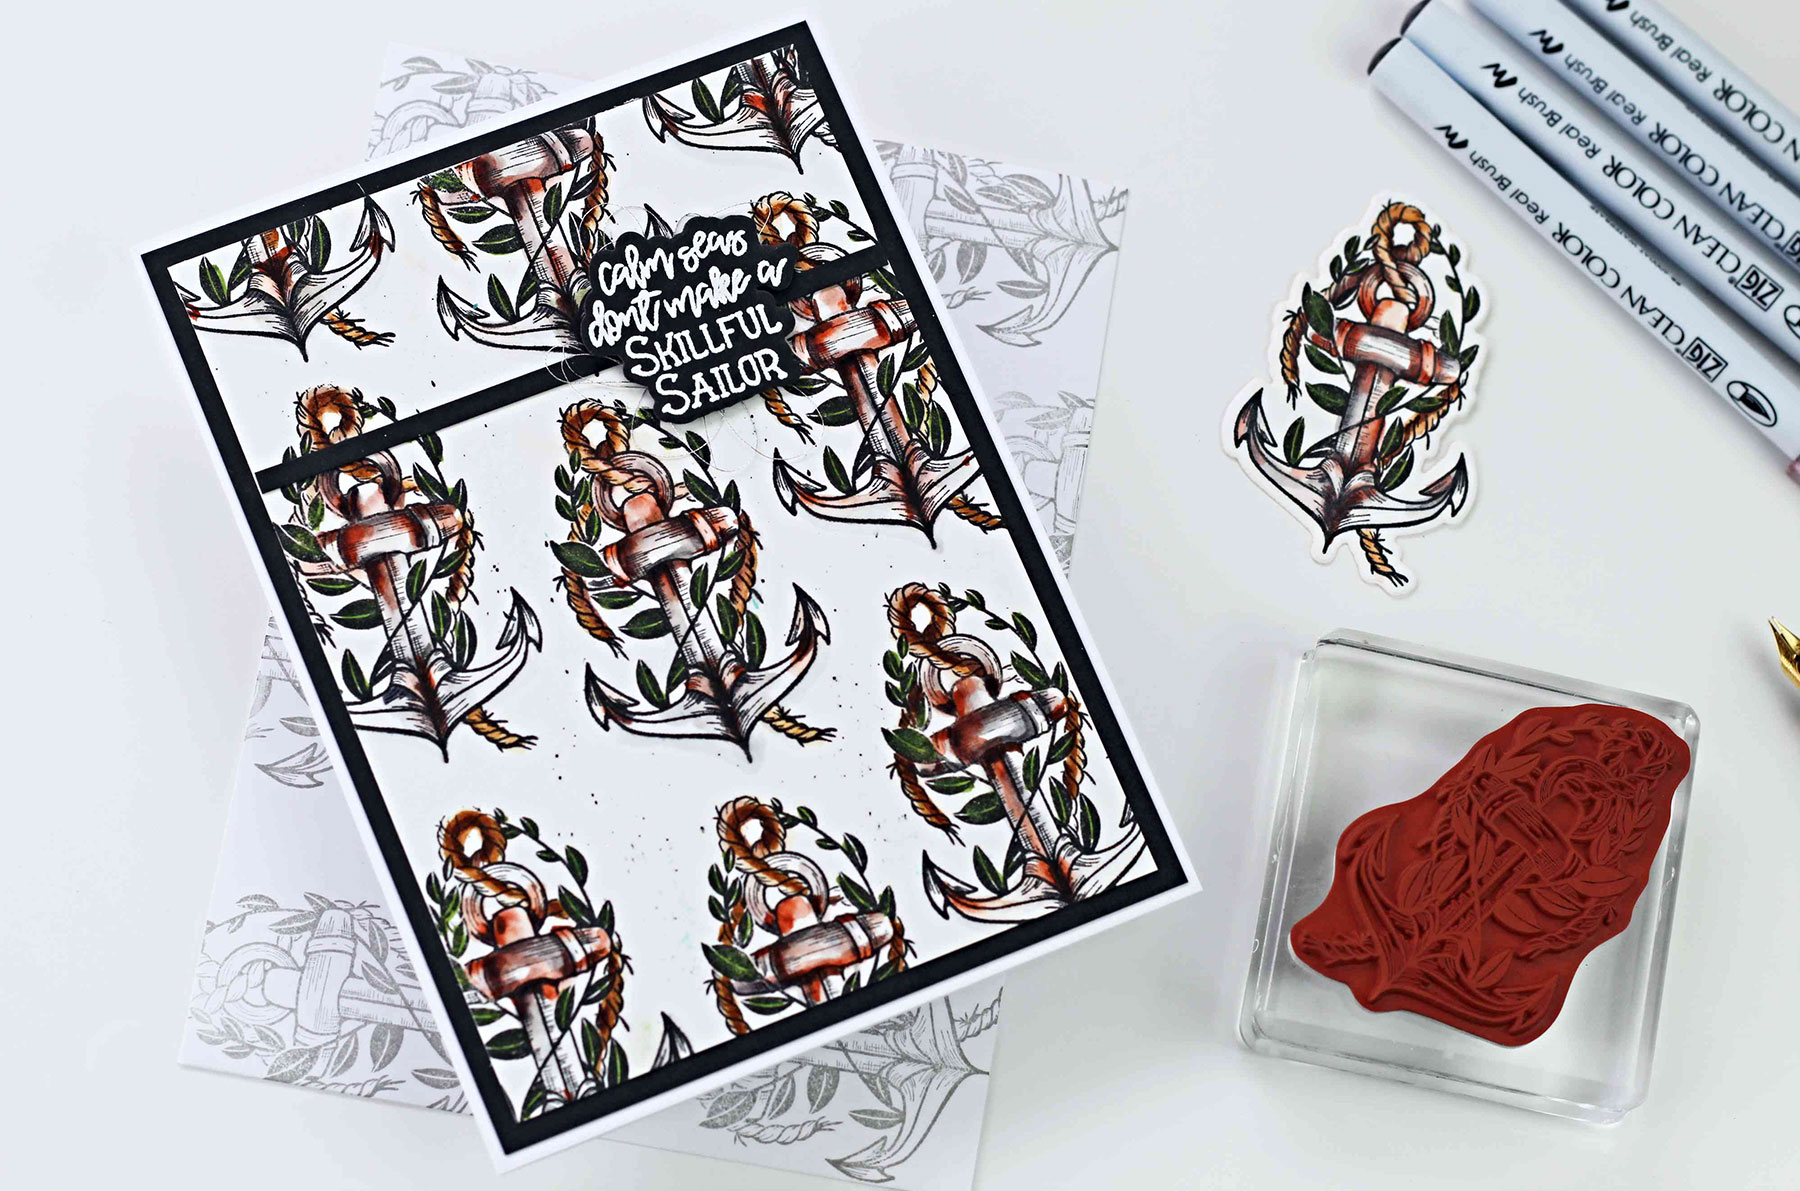
So  to make this 5”x7” inches  card, I set the cling stamp on a clear block and I stamped the images on Smooth Bristol paper using Versafine Black Onyx Ink, which is great to be used with water based products.  All you have to do to avoid ink bleeding is to heat set the ink or allow it to dry for at least 5 minutes before applying any wash of colour. I used Zigs water based markers (Kuretake Clean Colour Real Brush) and a water brush to add colours. I applied a bit of ink from the marker directly on the paper and then I spread it using a slightly wet watercolour brush. I heat embossed the sentiment using clear Versamark ink + white embossing powder and I die cut it using coordinating die.

Spellbinders Inked Messages Collection by Stephanie Low - Inspiration | Skillful Sailor Cards with Bibi Cameron featuring SDS-136 Rough Waters #spellbinders #stamping #patternstamping #cardmaking #handmadecard #neverstopmaking

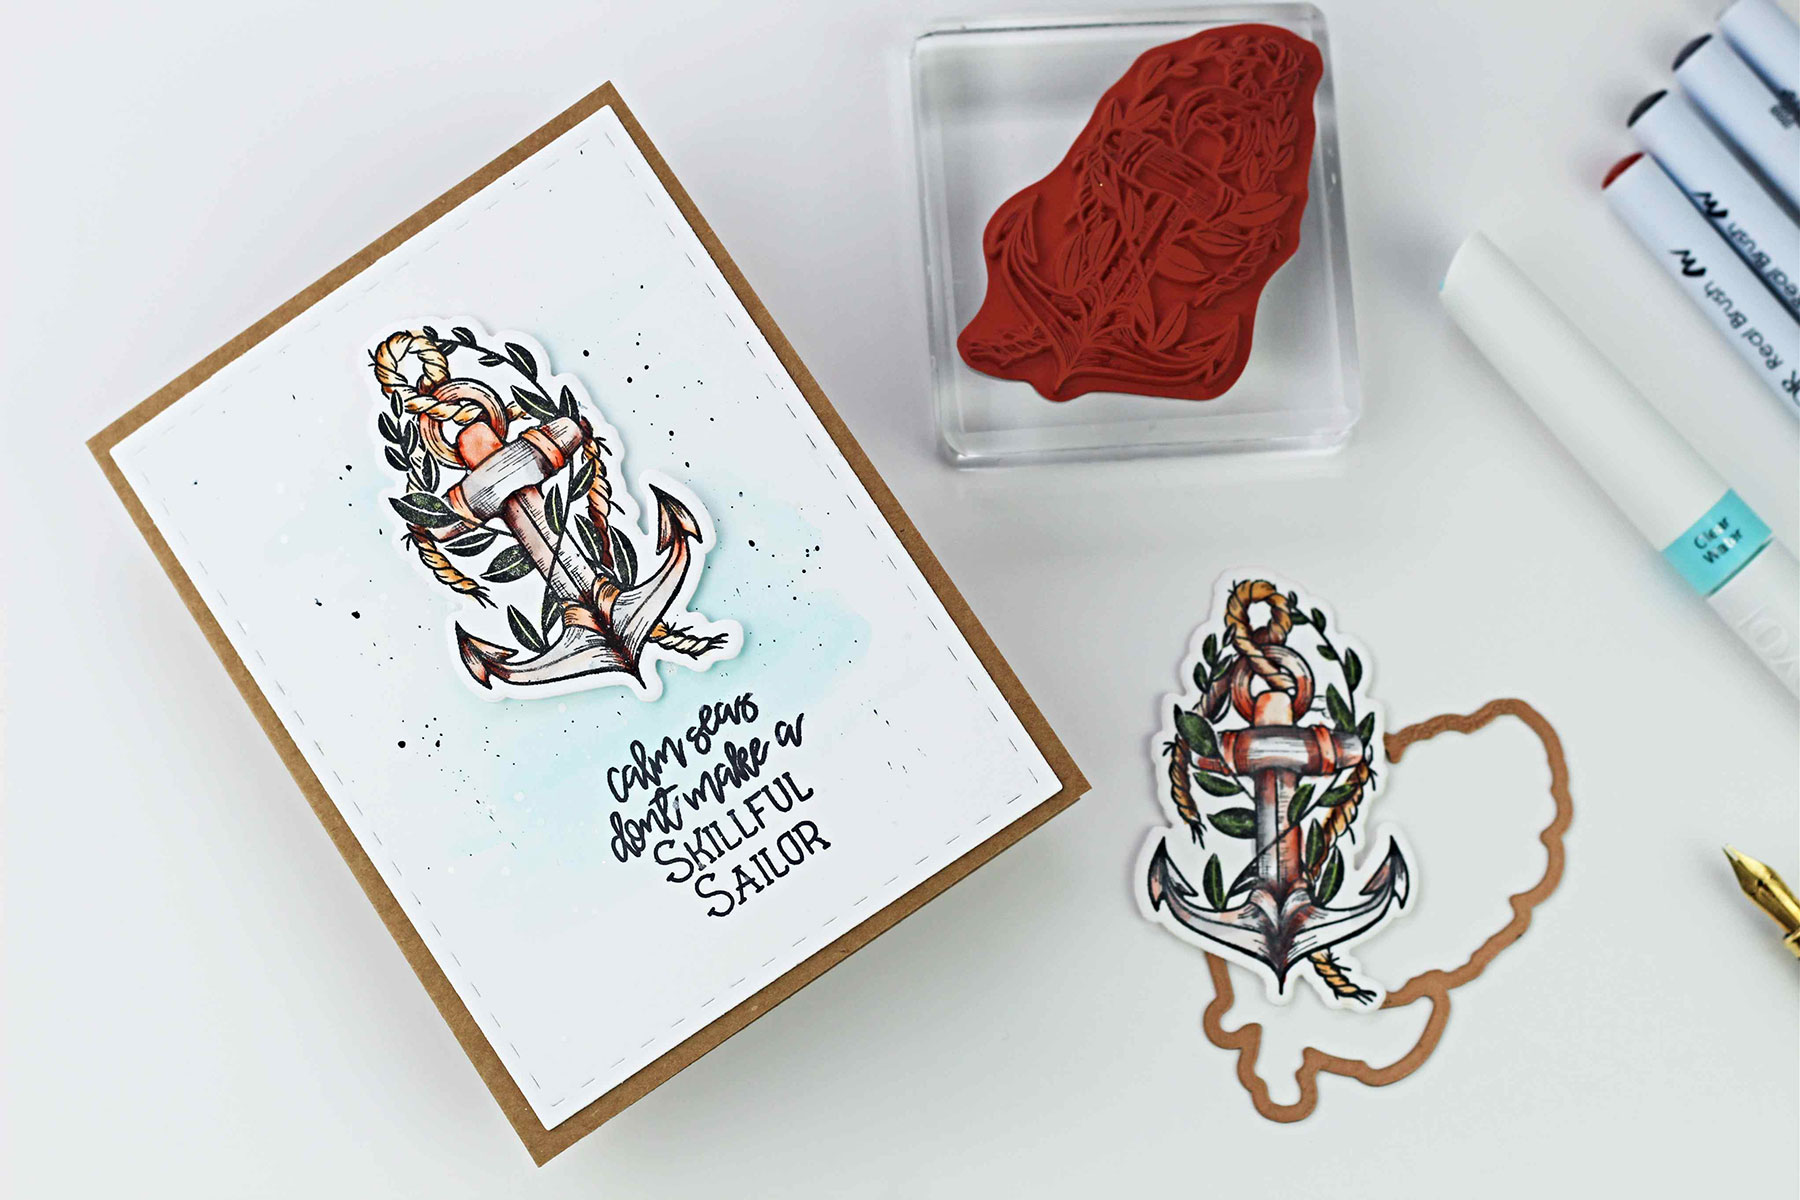
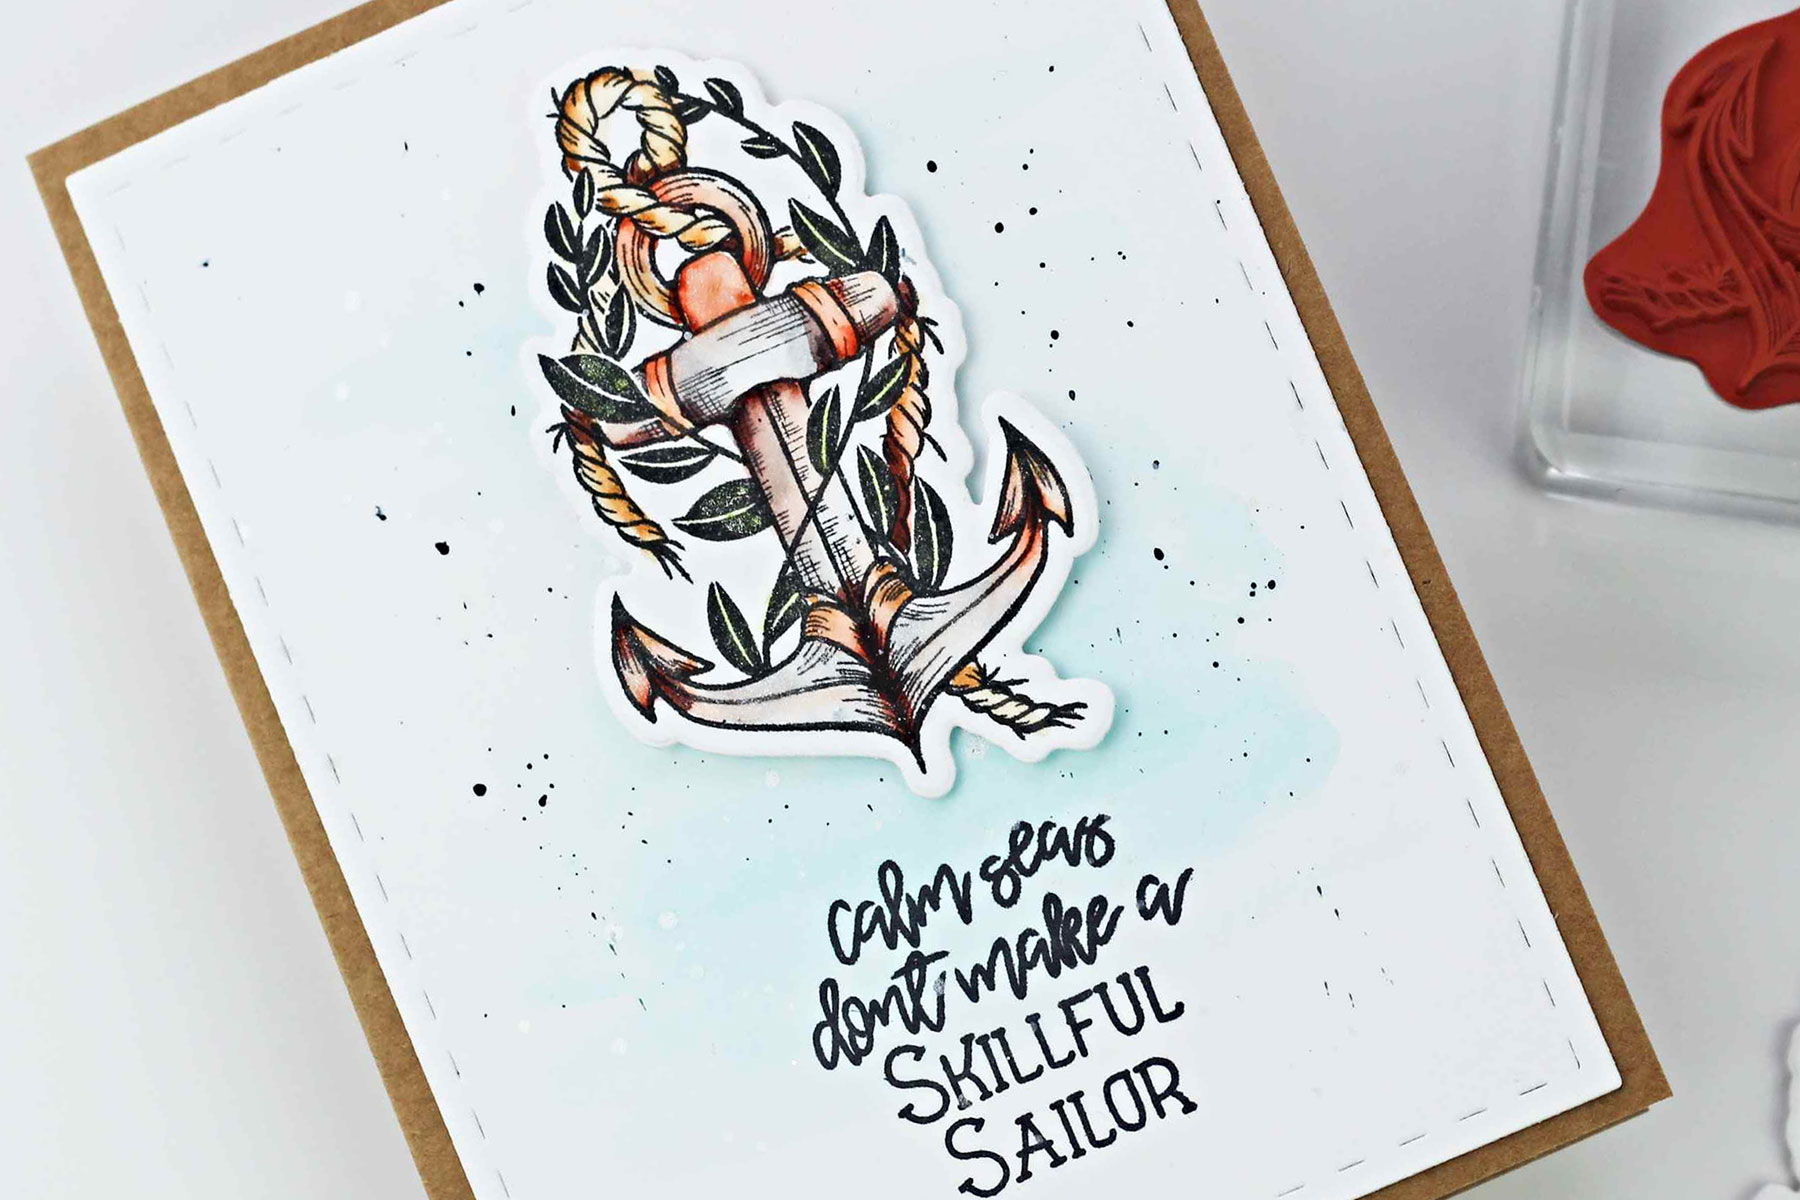
This is a quick and easy C6 card.  I applied the ink of a light blue marker on my glass mat and I diluted it with a little bit of water. I then applied it randomly at the centre of an A2 piece of Bristol Paper using a water brush and allowed it to dry. I splattered the panel with a navy blue water based marker and when the paper was completely dry I stamped the sentiment using Simon Says Stamp Black Ink.

Spellbinders Inked Messages Collection by Stephanie Low - Inspiration | Skillful Sailor Cards with Bibi Cameron featuring SDS-136 Rough Waters #spellbinders #stamping #patternstamping #cardmaking #handmadecard #neverstopmaking

I stamped the anchor on smooth Bristol paper using Versafine Black Onyx ink and I used light grey, dark grey, brown and red markers to add colours. I die cut the image using coordinating die and I stuck the images on the panel using foam adhesives. To finish, I glued the panel on a card base made out of Kraft cardstock.

Spellbinders Supplies:

Other Supplies:

Strathmore Smooth Bristol Paper, Zigs water- based markers, WOW white embossing powder, Versafine Onyx Black ink, Simon Says Stamp Black Ink. That’s all for today.I hope you like these projects and thank you very much for having me today. Hugs and Happy Crafting Bibi

Spellbinders Inked Messages Collection by Stephanie Low - Inspiration | Skillful Sailor Cards with Bibi Cameron featuring SDS-136 Rough Waters #spellbinders #stamping #patternstamping #cardmaking #handmadecard #neverstopmaking

Leave a comment

Your email will not be published. Please note, comments need to be approved before they are published.

2 comments

Chana,

You have done a great job as GDT! Nice, nice work!

Pooja,

Wonderful cards !! I loved the coloring too :)


  • How to Make a Colorful Foiled Butterfly Card with Glimmer II

    BP-351

    How to Make a Colorful Foiled Butterfly Card with Glimmer II

    Combine hot foiling, alcohol-marker coloring, ink blending, and dimensional shaping to create a colorful butterfly card that sparkles from every angle. In this step-by-step tutorial, you’ll learn how to foil detailed butterflies and a floral background with the Glimmer II Hot Foil System, add bold color, and shape the butterfly wings for a realistic raised effect. The Bright Butterflies and Thanks In Bloom Press +...

  • How to Heat Emboss with BetterPress Plates: Snowman Christmas Card

    BP-001

    How to Heat Emboss with BetterPress Plates: Snowman Christmas Card

    BetterPress plates can do more than create letterpress impressions and hot-foiled designs. In this detailed Christmas card tutorial, you’ll learn how to apply clear sticky ink to a BetterPress plate and use white embossing powder to produce a crisp, heat-embossed snowflake background. The tutorial also covers pressing and die cutting a sentiment, assembling three detailed snowmen, and arranging the finished elements on an A2 card....

  • How to Use the Reverse Foiling Technique on a Colorful Window Card

    BP-001

    How to Use the Reverse Foiling Technique on a Colorful Window Card

    Create a bright, modern card while learning how to use the negative foil left behind after hot foiling. In this step-by-step tutorial, you’ll foil the detailed Windows with a View design, use a solid plate to reverse foil the remaining image, and turn selected windows into dimensional embellishments. An ink-blended striped background, BetterPress sentiment, and sparkling gems complete the design. This project is ideal for...