
Jane Davenport Artomology | Creating a Quick and Colorful Bookmark with Kimball Davis
on October 02, 2018

Jane Davenport Artomology | Creating a Quick and Colorful Bookmark with Kimball Davis

Hey everybody, Kimball Davis here! I’m a digital artist by trade but I was recently introduced to Jane Davenport and have since become a big fan of her and her art supplies. I was invited to do three blog posts and I’m thrilled to share with you a few exciting products from her new Artomology collection with Spellbinders. I wanted to create something simple, colorful and fun that anyone can do, with a focus on the stamps and Squid Inks from the new line.
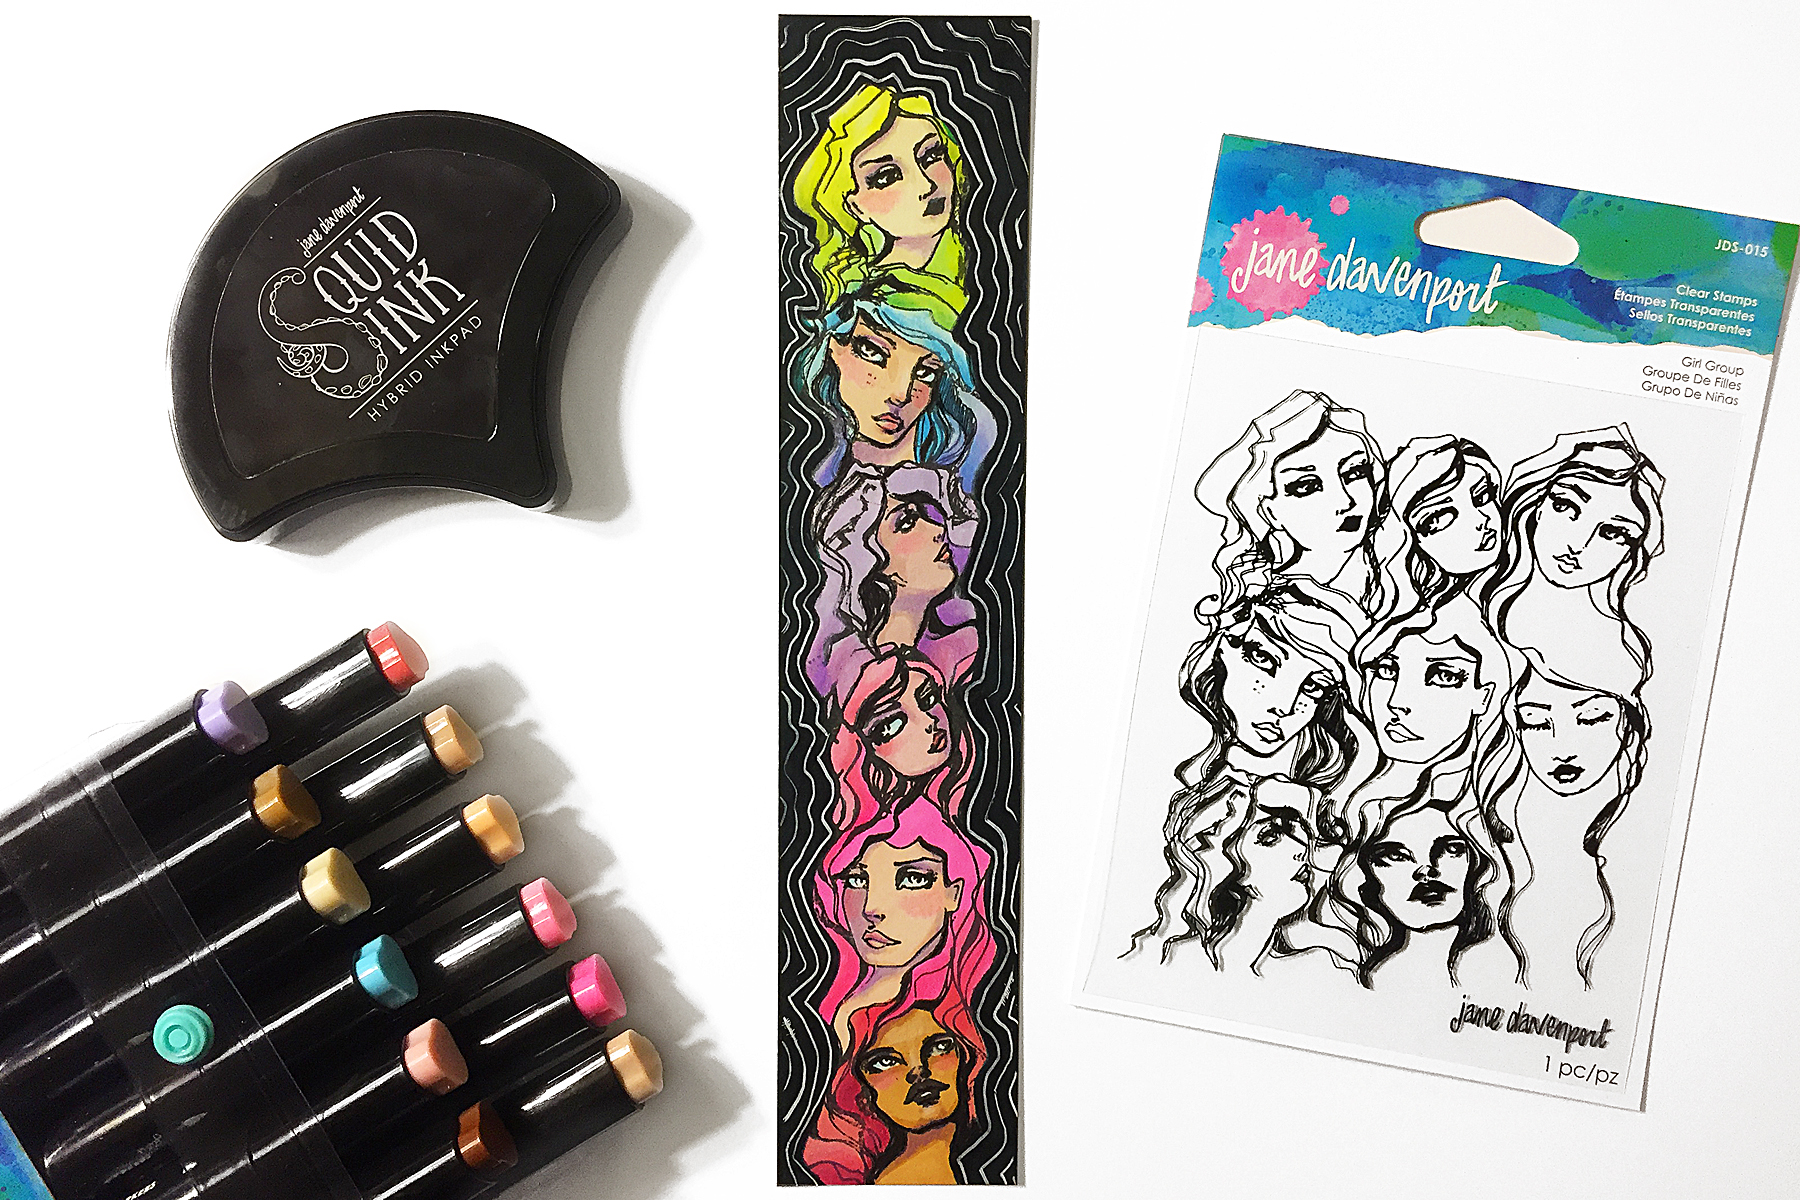
Spellbinders Jane Davenport Artomology | Creating Quick and Colorful Bookmark with Kimball Davis featuring JDS-015 Girl Group, JD-037 Squid Ink Cave Black, JD-024 Smooth Markers - Feathered Friends, JD-025 - Sooth Markers - Mermesmerizing #janedavenport #janedavenportartomology #Artomology #spellbinders #neverstopmaking #smoothmarkers #makeitwithmichaels #bookmark #DIY

Instructions:

  • Step 1 - Cut a piece of smooth Bristol board to the size of your desired bookmark; a popular size is 2x7” but you can choose any size you like.

Spellbinders Jane Davenport Artomology | Creating Quick and Colorful Bookmark with Kimball Davis featuring JDS-015 Girl Group, JD-037 Squid Ink Cave Black, JD-024 Smooth Markers - Feathered Friends, JD-025 - Sooth Markers - Mermesmerizing #janedavenport #janedavenportartomology #Artomology #spellbinders #neverstopmaking #smoothmarkers #makeitwithmichaels #bookmark #DIY

  • Step 2 - Using the Girl Group stamp with Cave Black Squid Ink, add ink to the section you want to use. In this case, I decided to stack the three girls on the left over the three in the middle to create a column of six beautiful faces. Don’t worry if you ink too much of the stamp because you can color over it with a black sharpie after it’s applied.
Spellbinders Jane Davenport Artomology | Creating Quick and Colorful Bookmark with Kimball Davis featuring JDS-015 Girl Group, JD-037 Squid Ink Cave Black, JD-024 Smooth Markers - Feathered Friends, JD-025 - Sooth Markers - Mermesmerizing #janedavenport #janedavenportartomology #Artomology #spellbinders #neverstopmaking #smoothmarkers #makeitwithmichaels #bookmark #DIY

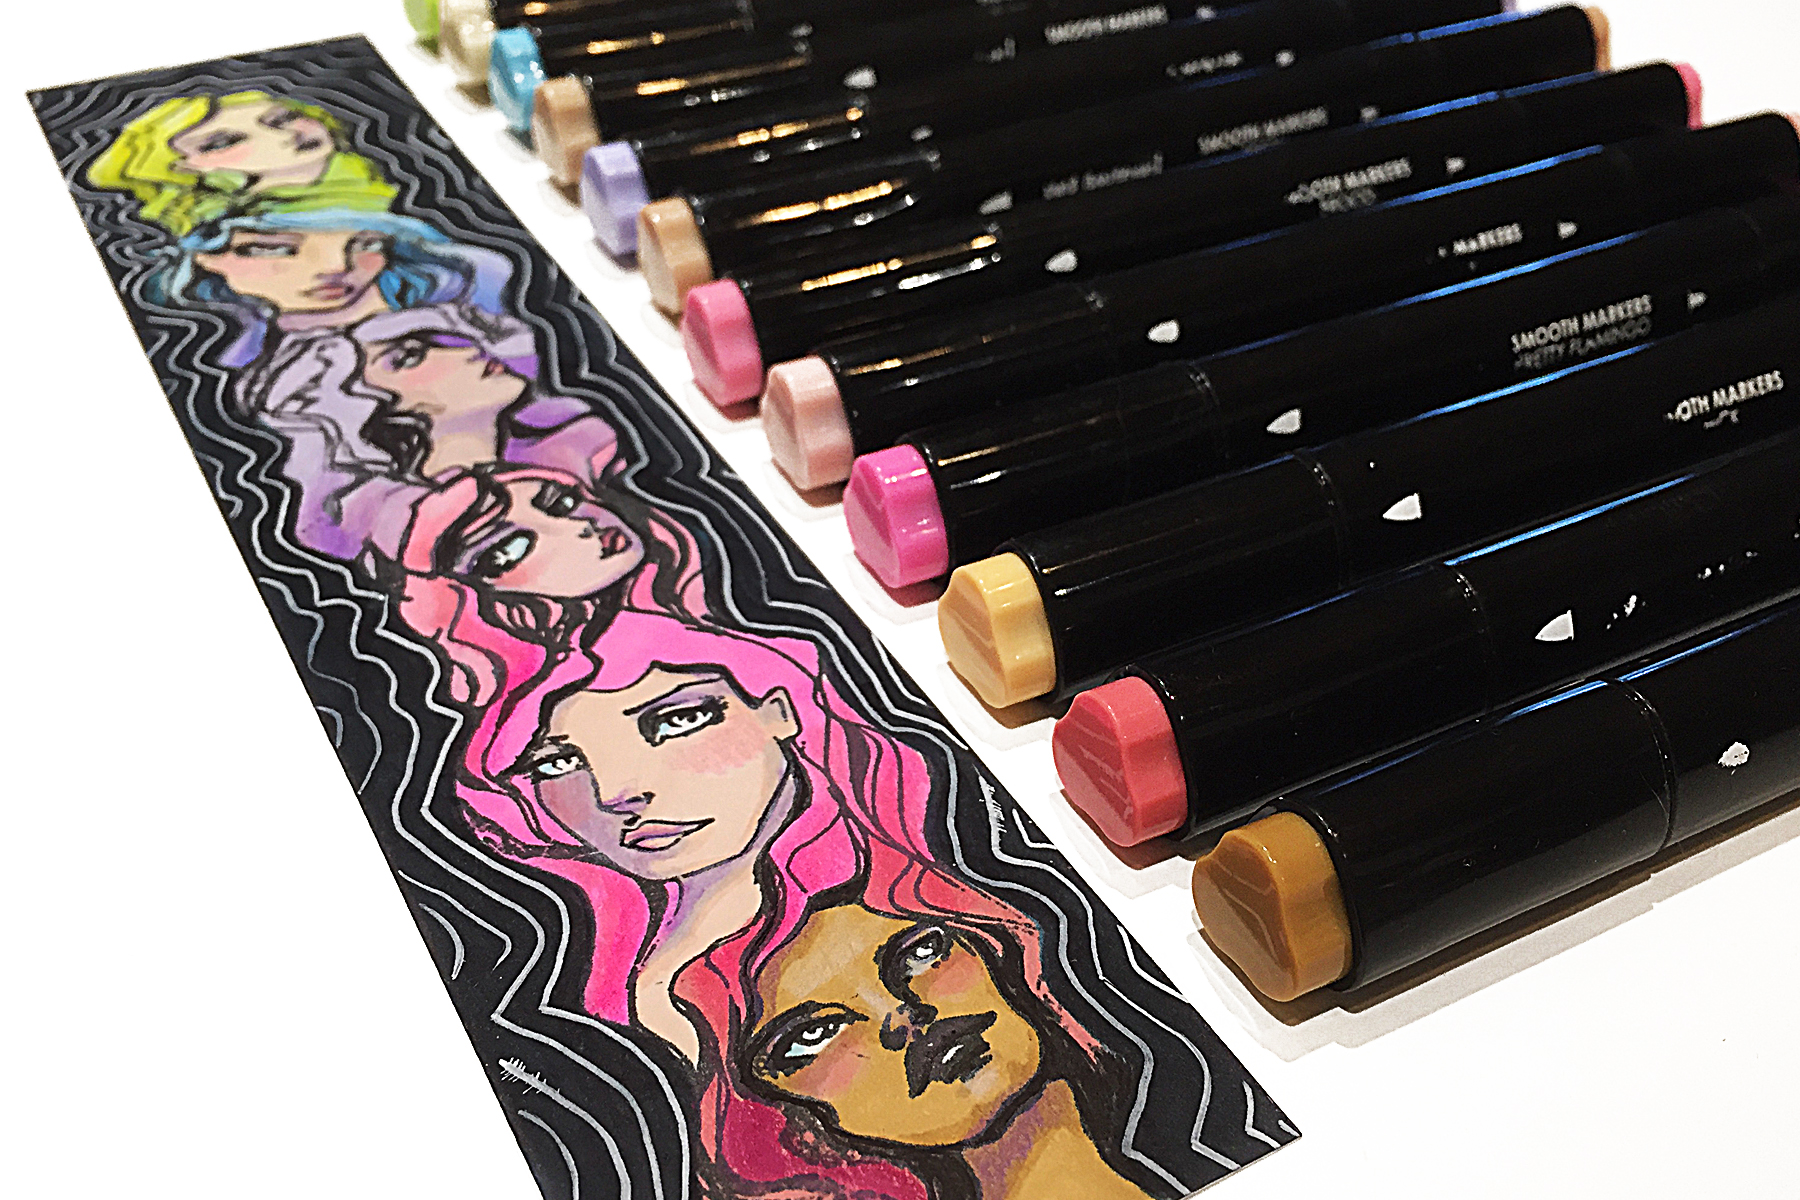
  • Step 3 - Once you’re done stamping, it’s time to color with Smooth Markers. I used a different skin tone for each girl and shaded them all with the marker “Wing” from the Feathered Friends pack. I incorporated a rainbow of colors from both marker packs to create a fun gradient effect for the hair.
  • Step 4 - Colored pencils help add a touch of blush and a little more depth to the hair.
Spellbinders Jane Davenport Artomology | Creating Quick and Colorful Bookmark with Kimball Davis featuring JDS-015 Girl Group, JD-037 Squid Ink Cave Black, JD-024 Smooth Markers - Feathered Friends, JD-025 - Sooth Markers - Mermesmerizing #janedavenport #janedavenportartomology #Artomology #spellbinders #neverstopmaking #smoothmarkers #makeitwithmichaels #bookmark #DIY

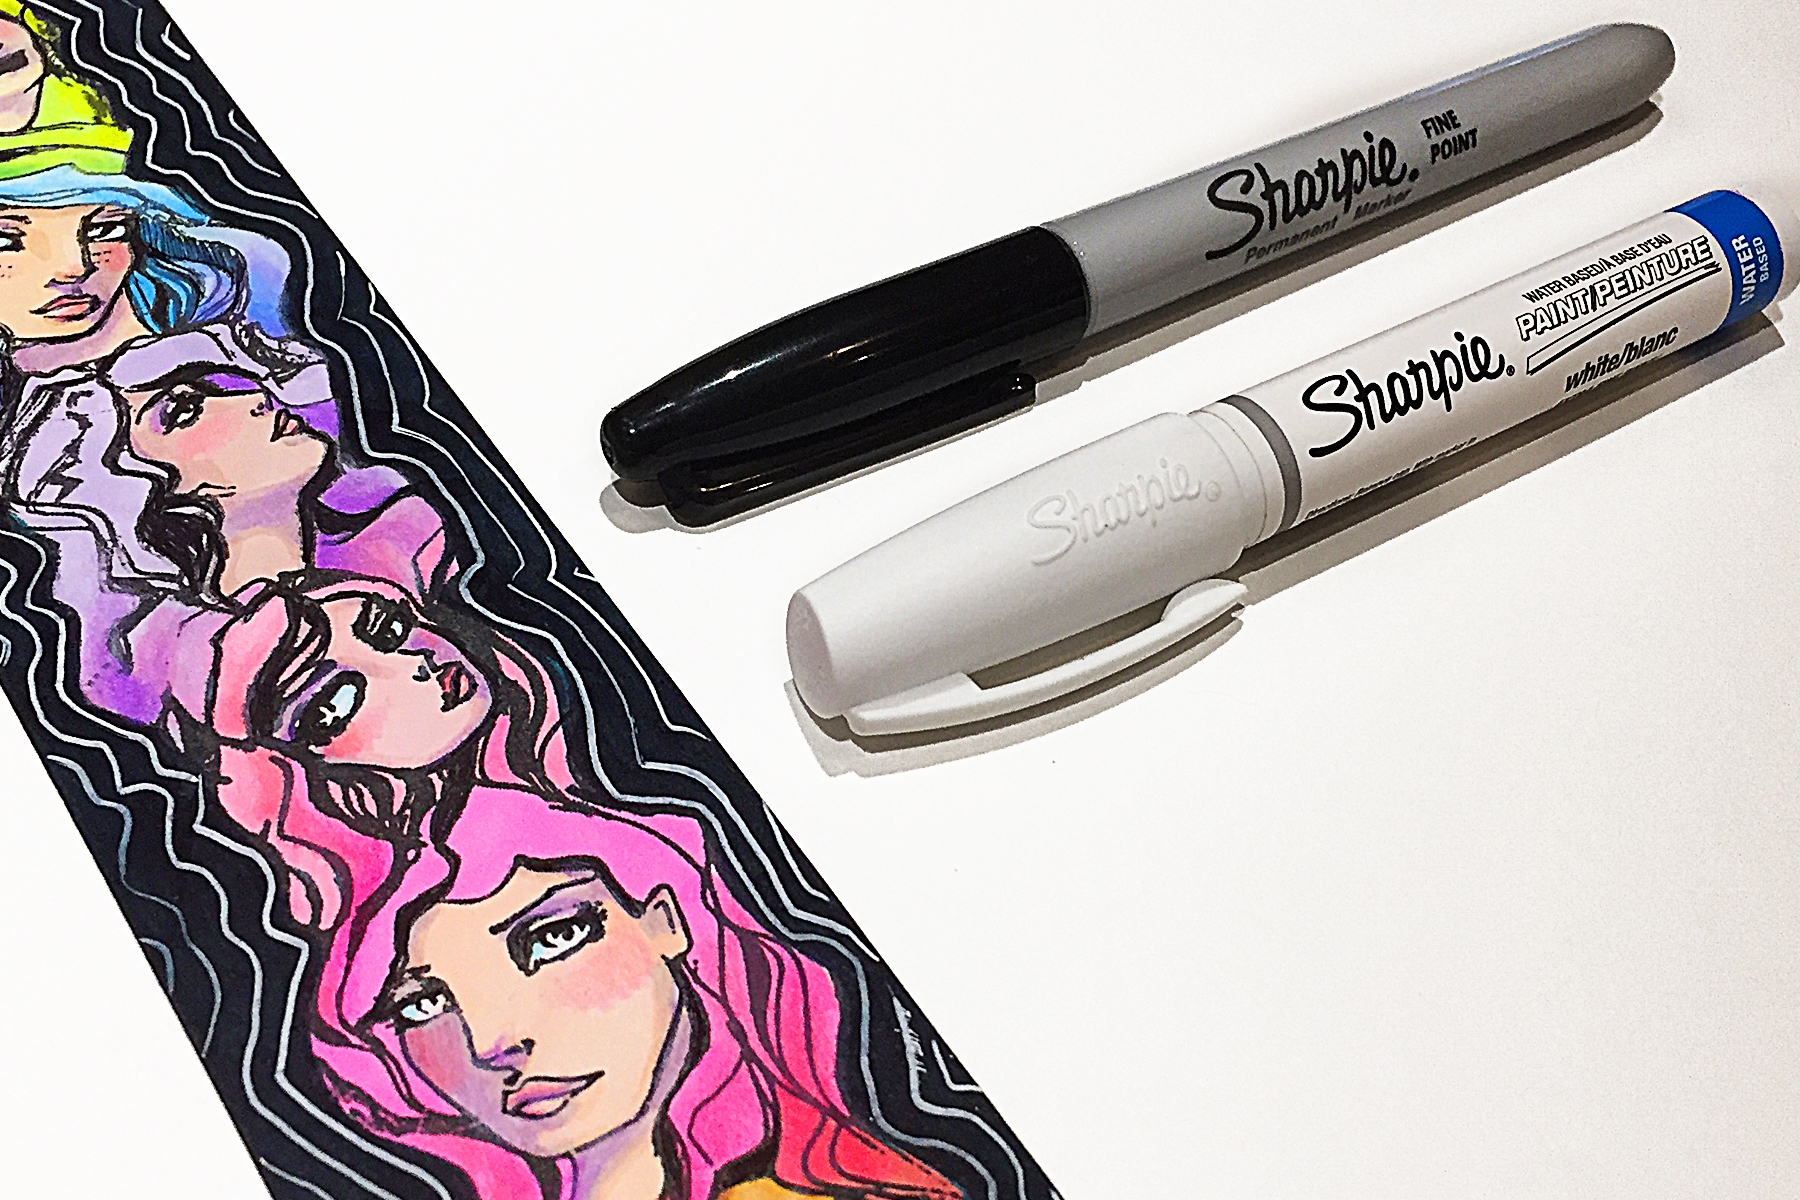
  • Step 5 - To finish the bookmark, I cleaned up the edges using a black Sharpie and added a whimsical border using an extra fine white Sharpie.

Spellbinders Supplies:

Other supplies:

Strathmore smooth bristol paper; Prismacolor premier colored pencils; Sharpie - black fine marker; Sharpie - white water based extra find point paint pen.
Spellbinders Jane Davenport Artomology | Creating Quick and Colorful Bookmark with Kimball Davis featuring JDS-015 Girl Group, JD-037 Squid Ink Cave Black, JD-024 Smooth Markers - Feathered Friends, JD-025 - Sooth Markers - Mermesmerizing #janedavenport #janedavenportartomology #Artomology #spellbinders #neverstopmaking #smoothmarkers #makeitwithmichaels #bookmark #DIY

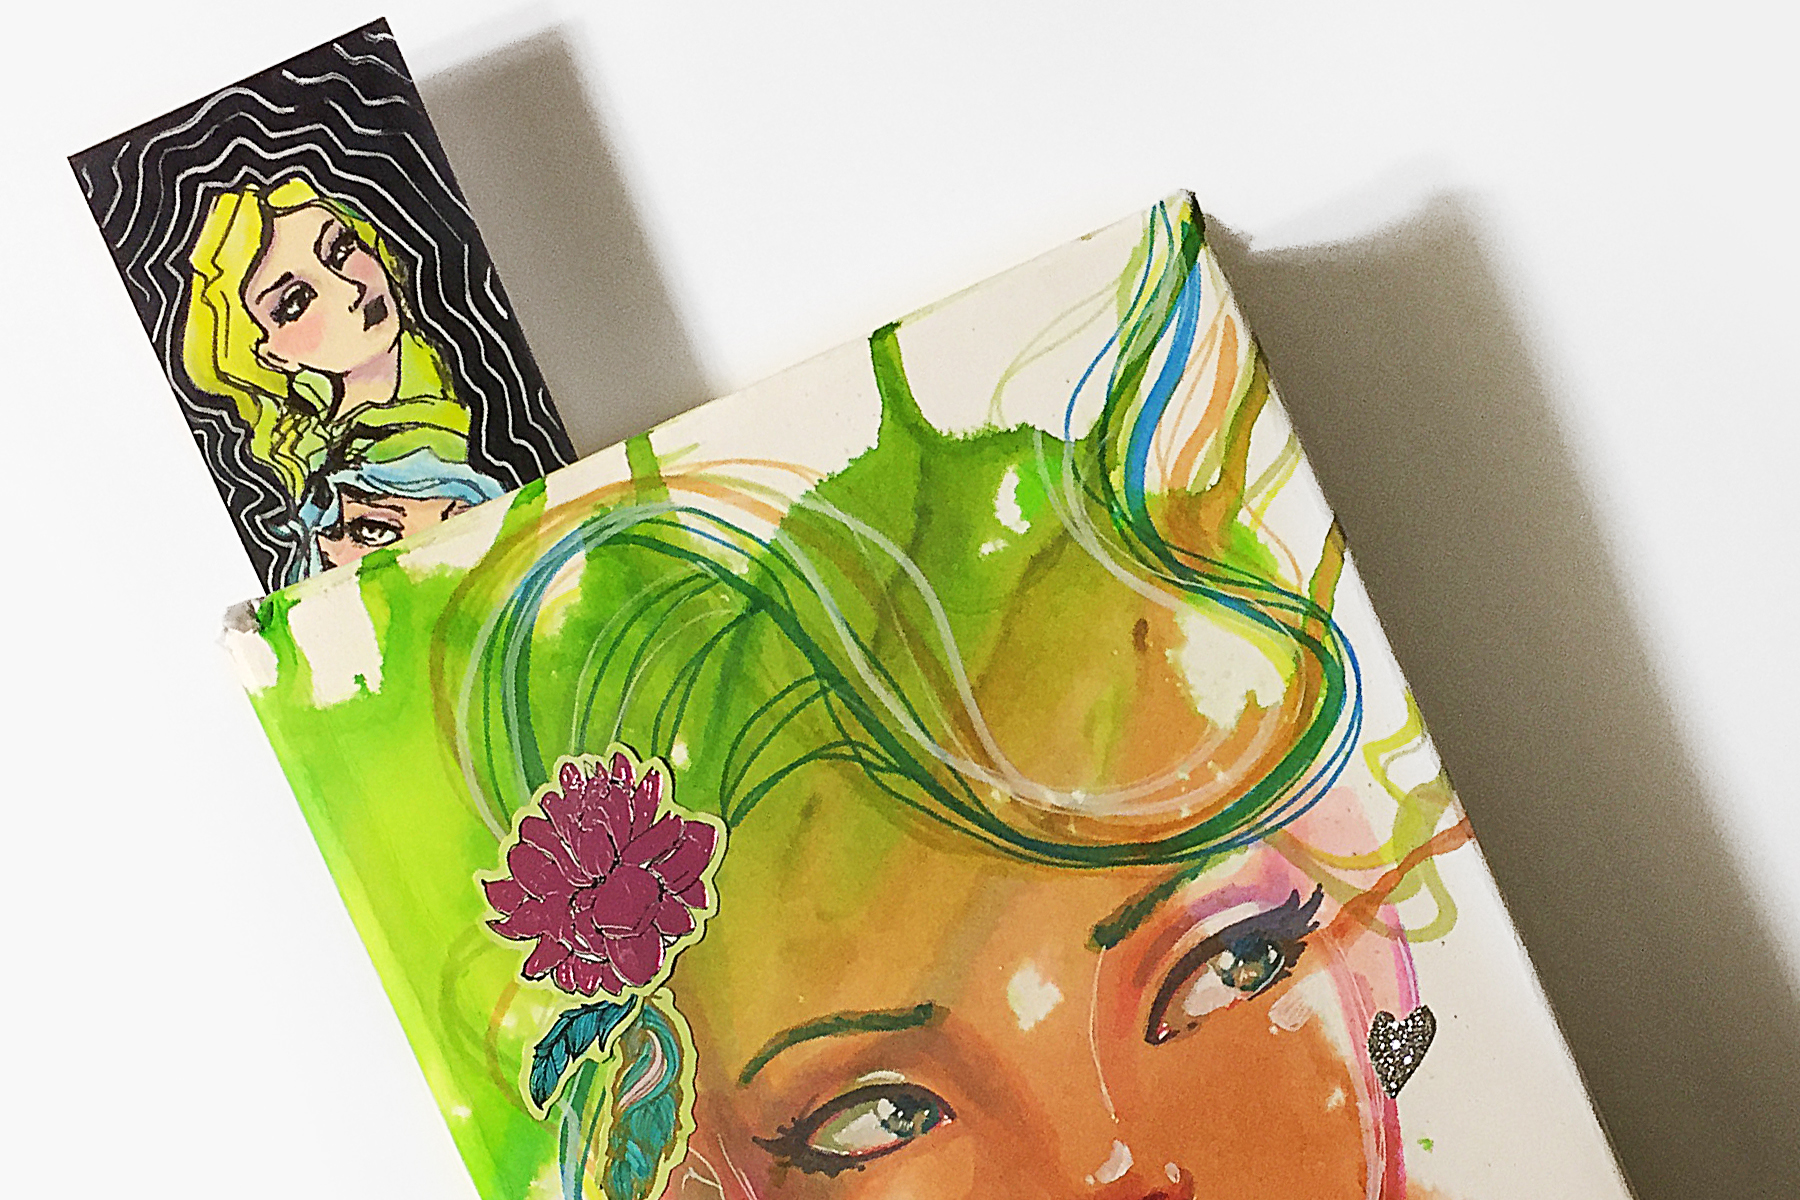
Thanks everyone for stopping by! I hope you enjoyed this short and sweet tutorial and that it motivates you to create a bookmark of your own!

Leave a comment

Your email will not be published. Please note, comments need to be approved before they are published.


  • How to Color BetterPress Scenes with Watercolor and Colored Pencils, BP-383, STNB-020, DC378

    AF724

    How to Color BetterPress Scenes with Watercolor and Colored Pencils

    Want to move beyond simple ink blending when using layering stencils? In this tutorial, you'll learn how to combine BetterPress printing, stencil coloring, watercolor painting, and colored pencil shading to create a detailed scenic card. By mixing coloring mediums, you can build additional texture, depth, and realism while using supplies you may already have in your craft room. This project features the Scenic Kyoto Press...

  • How to Use Reverse Foiling for Elegant Christmas Cards, BP-345, BP-314, S4-1452, BP-312, S5-526, S5-647

    BP-312

    How to Use Reverse Foiling for Elegant Christmas Cards

    Get more from your hot foil supplies by learning how to use the reverse foiling technique. In this step-by-step Christmas card tutorial, you'll create a beautiful snowflake background using leftover foil, then pair it with a dimensional poinsettia arrangement and festive sentiment. Reverse foiling is a fantastic way to reduce waste while creating an entirely different look from your original foiled design. Using the A2...

  • How to Make Felt Christmas Ornaments with Festive Felt Dies, S7-302, S7-303, S7-305, PE-104

    Categories:Die Cutting

    How to Make Felt Christmas Ornaments with Festive Felt Dies

    Create charming handmade felt Christmas ornaments using the Festive Felt Christmas Dies by Lollie & Grace. In this step-by-step tutorial, you'll learn how to die-cut felt, assemble layered ornament designs, add decorative stitching, embellish with sequins and beads, and finish your ornaments with hanging loops for Christmas decorating. This project is perfect for holiday crafters who enjoy working with felt and creating handmade decorations. These festive...