Jane Davenport Artomology | Journal Cover Page with Cindy Guentert-Baldo
on October 03, 2018

Jane Davenport Artomology | Journal Cover Page with Cindy Guentert-Baldo

Hi everyone! My name is Cindy Guentert-Baldo, otherwise known as @llamaletters all over the internet. I do planner, bullet journal and lettering videos, so when I was asked to play with Jane Davenport supplies for the Spellbinders blog, I just knew I wanted to create some bujo appropriate spreads. I will be using the new Jane Davenport Artomology collection to demonstrate some simple, approachable ideas for you to incorporate into your planning and journaling. Today we are starting with a cover page for the month!

Spellbinders Jane Davenport Artomology | Journal Cover Page with Cindy Guentert-Baldo #janedavenport #janedavenportartomology #Artomology #spellbinders #neverstopmaking #smoothmarkers #makeitwithmichaels #washisheets

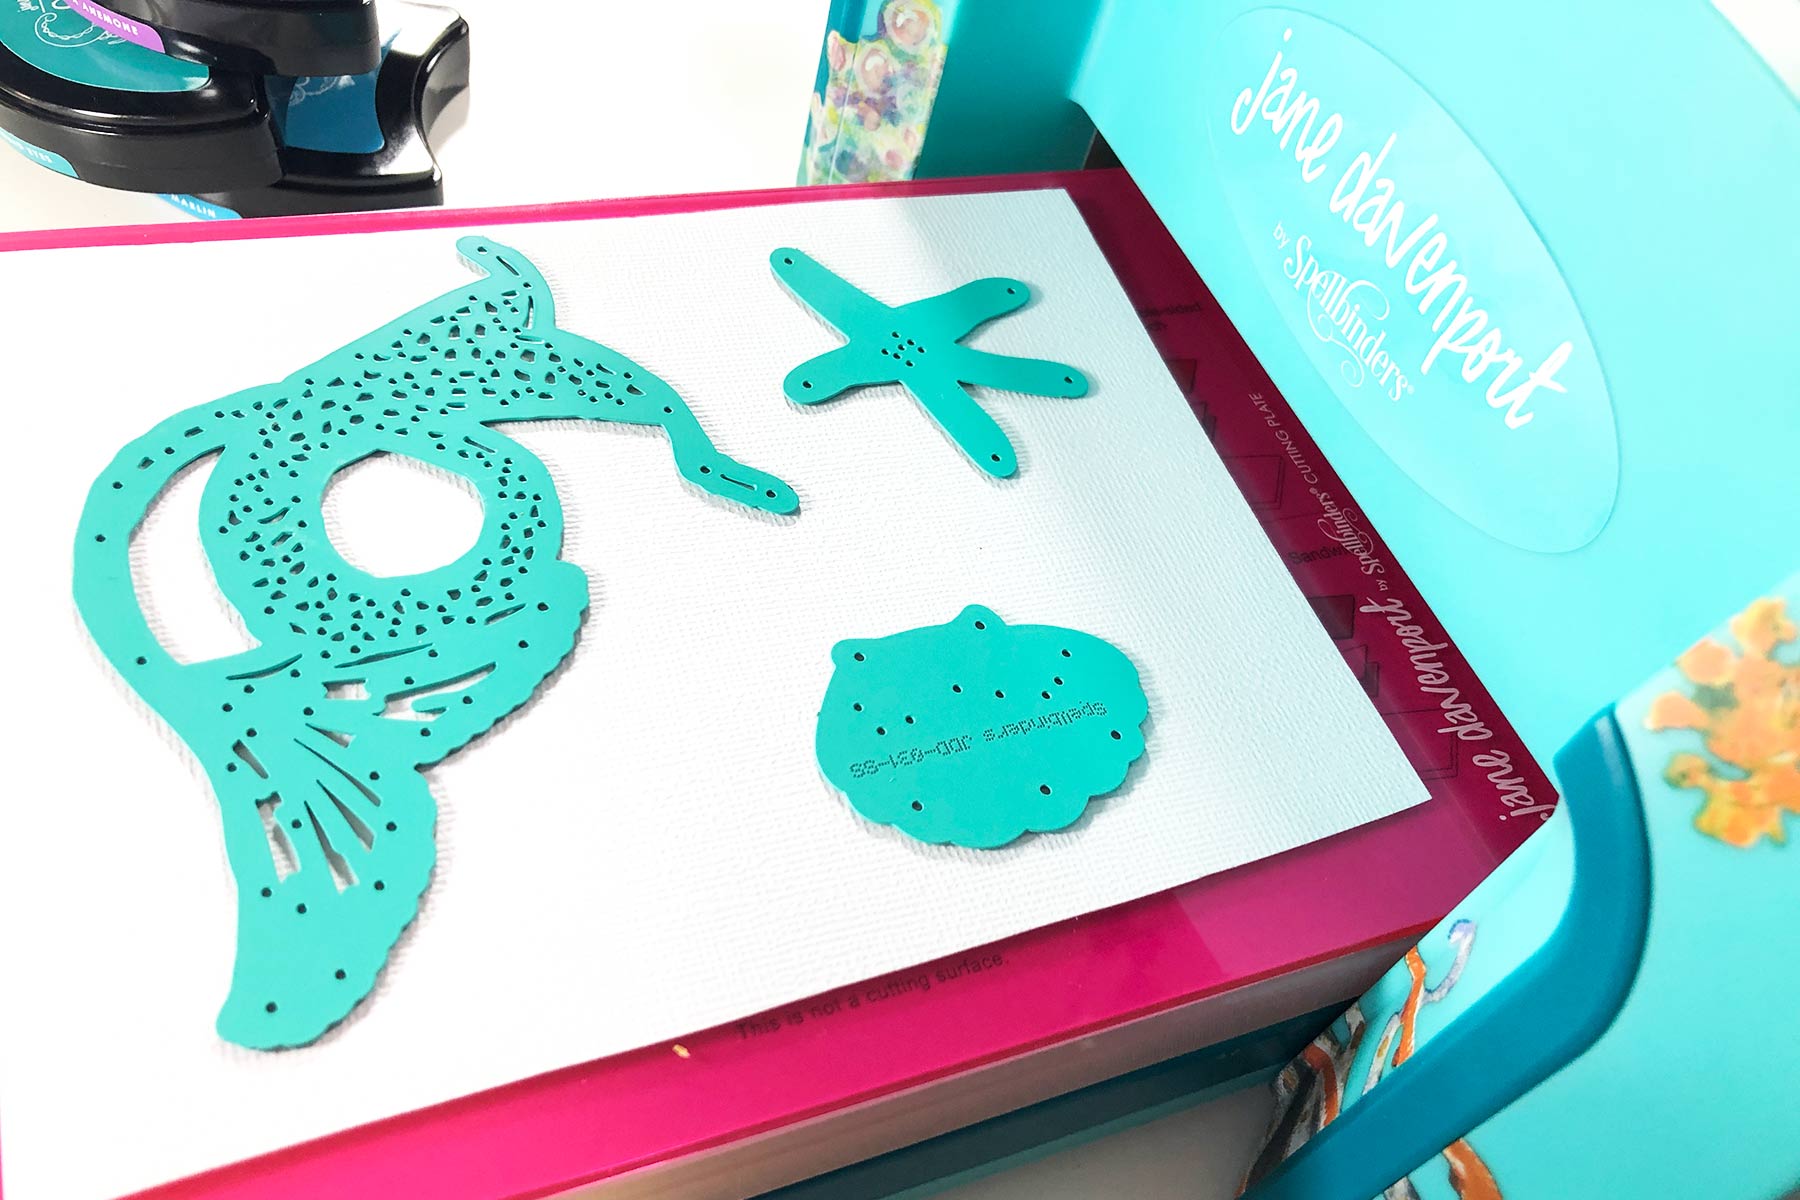
Each month I do a cover page in my bullet journal – this serves two purposes. The first is to mark the start of the month, while the second is to introduce whatever theme I’ll be using for the next few weeks. The Artomology collection is heavily inspired by mermaids and water, so I thought a simple aquatic cover page would be appropriate. This is my first time using a die cutting machine, I’m excited and also a little nervous.

Spellbinders Jane Davenport Artomology | Journal Cover Page with Cindy Guentert-Baldo #janedavenport #janedavenportartomology #Artomology #spellbinders #neverstopmaking #smoothmarkers #makeitwithmichaels #washisheets

Spellbinders Jane Davenport Artomology | Journal Cover Page with Cindy Guentert-Baldo #janedavenport #janedavenportartomology #Artomology #spellbinders #neverstopmaking #smoothmarkers #makeitwithmichaels #washisheets

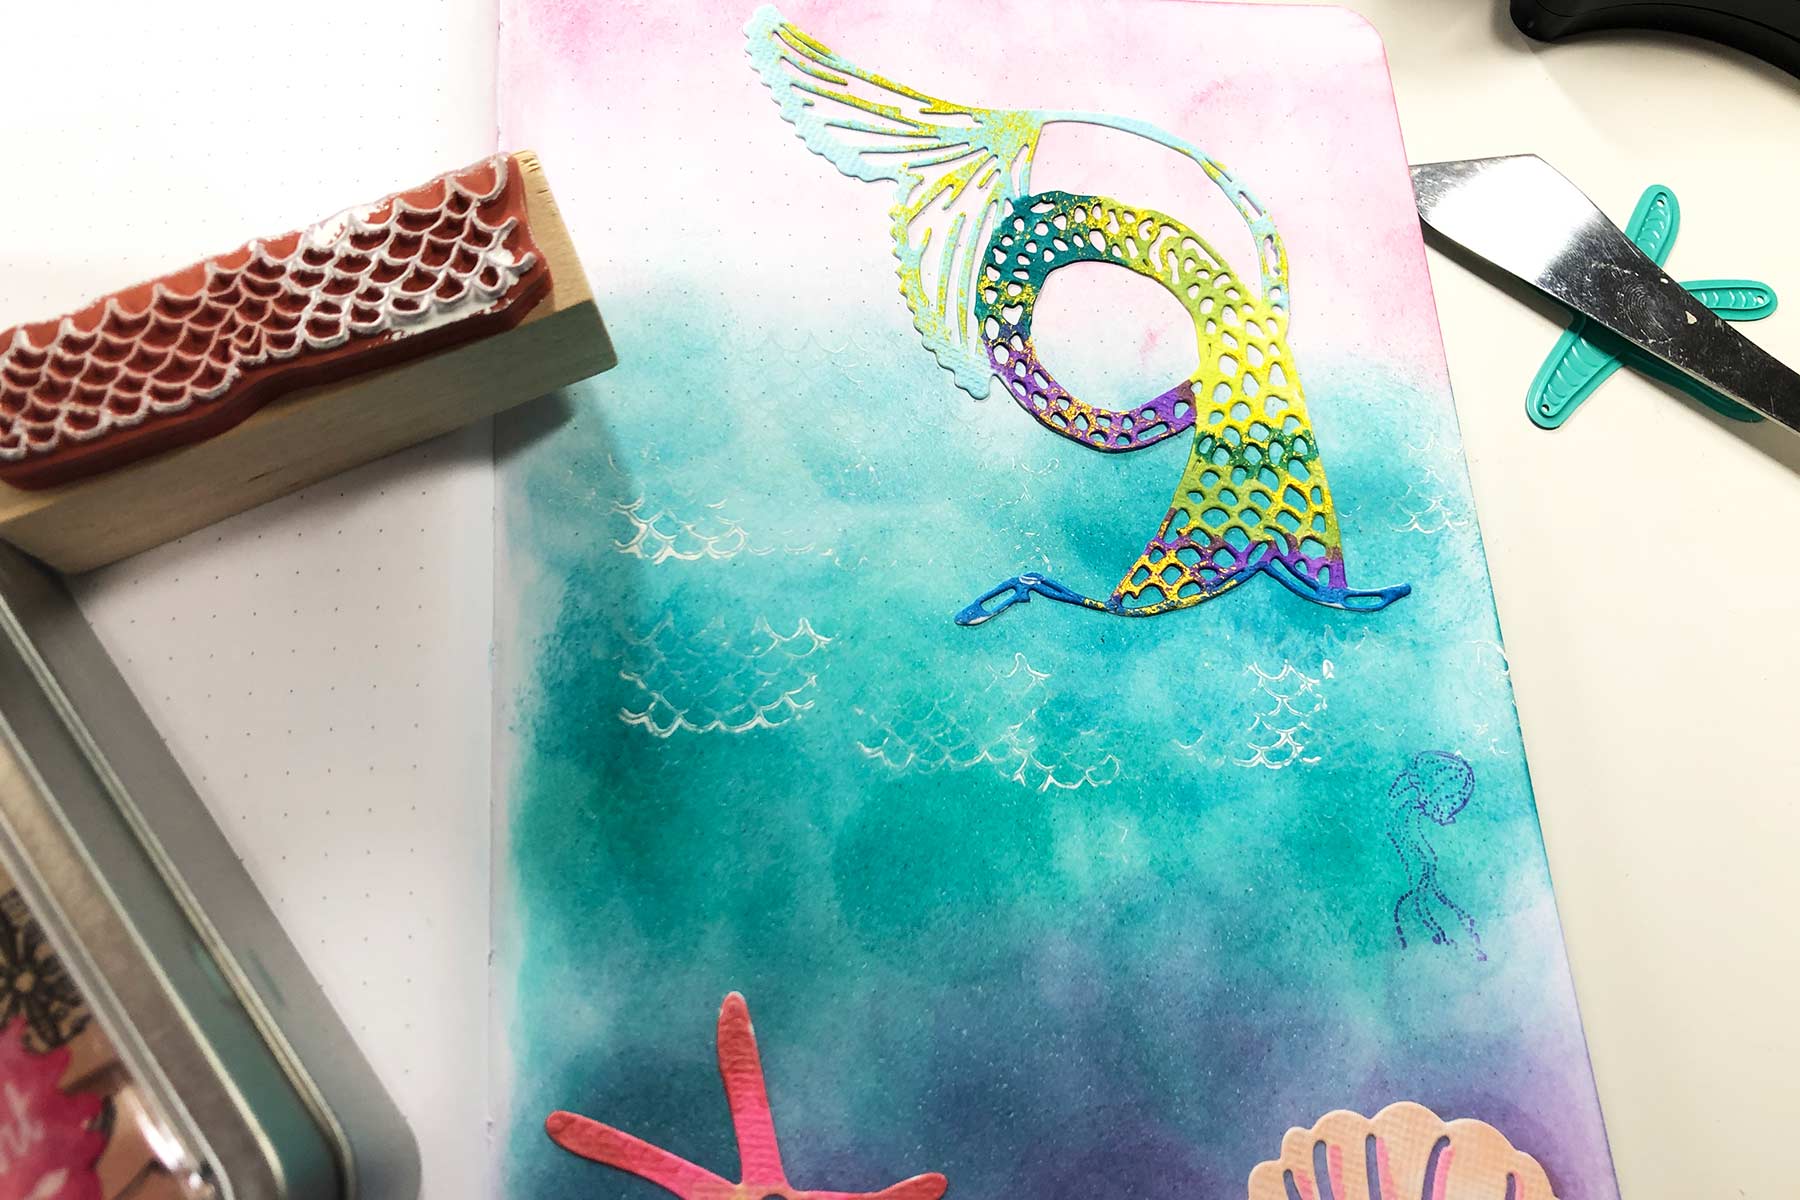
  • Step 3: I used the Smooth Markers to color the die cuts. Using a little cotton pad, I added some of the shimmering Gold Squid Ink to add a little sparkle.

Spellbinders Jane Davenport Artomology | Journal Cover Page with Cindy Guentert-Baldo #janedavenport #janedavenportartomology #Artomology #spellbinders #neverstopmaking #smoothmarkers #makeitwithmichaels #washisheets

  • Step 4: After placing the diecuts on the page, I used the white Squid Ink and the wooden stamps to add faint wave marks to add a little depth.
Spellbinders Jane Davenport Artomology | Journal Cover Page with Cindy Guentert-Baldo #janedavenport #janedavenportartomology #Artomology #spellbinders #neverstopmaking #smoothmarkers #makeitwithmichaels #washisheets

  • Step 5: To finish, I lettered the month using a brush pen and then added highlights with a white gel pen to the lettering and the diecuts.

Spellbinders Jane Davenport Artomology | Journal Cover Page with Cindy Guentert-Baldo #janedavenport #janedavenportartomology #Artomology #spellbinders #neverstopmaking #smoothmarkers #makeitwithmichaels #washisheets

Spellbinders Supplies:

Other Supplies:

Dot Grid Notebook / Tim Holtz Round Blending Tool / Textured White Cardstock Sticker Paper / Tombow Fudenosuke Brush Pen / Uniball Signo White Gel Pen Thank you so much for checking this out. I hope this inspired you to try something new! I had a lot of fun trying the diecutting machine out, and plan on using it in my next two posts here on Spellbinders. See you soon!

Leave a comment

Your email will not be published. Please note, comments need to be approved before they are published.


  • How to Color BetterPress Scenes with Watercolor and Colored Pencils, BP-383, STNB-020, DC378

    AF724

    How to Color BetterPress Scenes with Watercolor and Colored Pencils

    Want to move beyond simple ink blending when using layering stencils? In this tutorial, you'll learn how to combine BetterPress printing, stencil coloring, watercolor painting, and colored pencil shading to create a detailed scenic card. By mixing coloring mediums, you can build additional texture, depth, and realism while using supplies you may already have in your craft room. This project features the Scenic Kyoto Press...

  • How to Use Reverse Foiling for Elegant Christmas Cards, BP-345, BP-314, S4-1452, BP-312, S5-526, S5-647

    BP-312

    How to Use Reverse Foiling for Elegant Christmas Cards

    Get more from your hot foil supplies by learning how to use the reverse foiling technique. In this step-by-step Christmas card tutorial, you'll create a beautiful snowflake background using leftover foil, then pair it with a dimensional poinsettia arrangement and festive sentiment. Reverse foiling is a fantastic way to reduce waste while creating an entirely different look from your original foiled design. Using the A2...

  • How to Make Felt Christmas Ornaments with Festive Felt Dies, S7-302, S7-303, S7-305, PE-104

    Categories:Die Cutting

    How to Make Felt Christmas Ornaments with Festive Felt Dies

    Create charming handmade felt Christmas ornaments using the Festive Felt Christmas Dies by Lollie & Grace. In this step-by-step tutorial, you'll learn how to die-cut felt, assemble layered ornament designs, add decorative stitching, embellish with sequins and beads, and finish your ornaments with hanging loops for Christmas decorating. This project is perfect for holiday crafters who enjoy working with felt and creating handmade decorations. These festive...