Jane Davenport Artomology | Mixed Media Inspiration with Mayline
on October 07, 2018

Jane Davenport Artomology | Mixed Media Inspiration with Mayline

Hi friends! This is Mayline, thank you for joining me today. This is my last post with projects I made using Jane Davenport Artomology collection. Today I am sharing two cards and one mixed media. Let's take a look at my first card.
Spellbinders Jane Davenport Artomology | Mixed Media Inspiration with Mayline

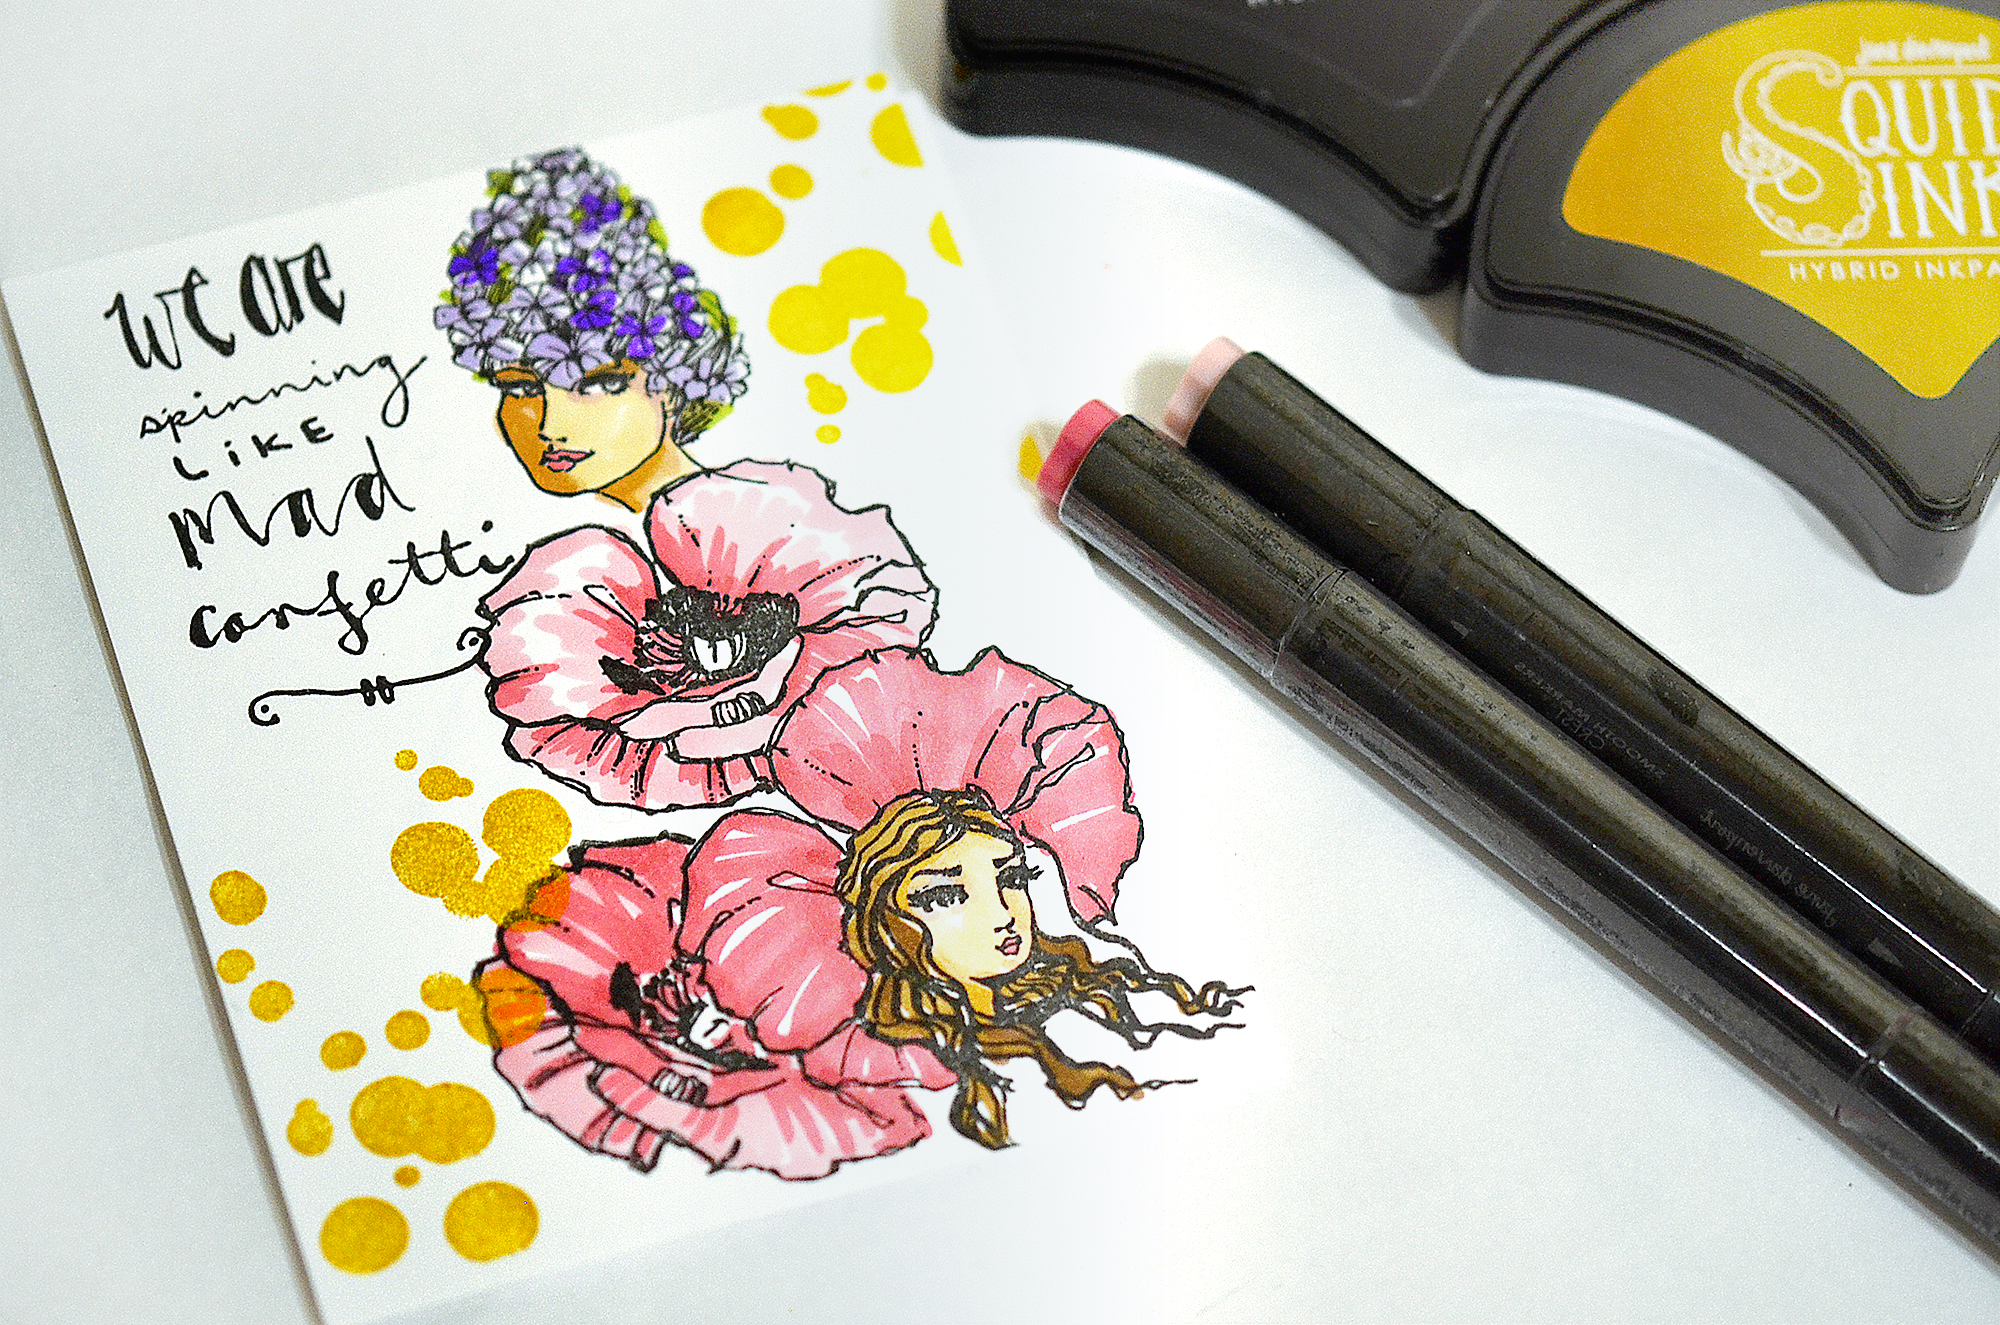
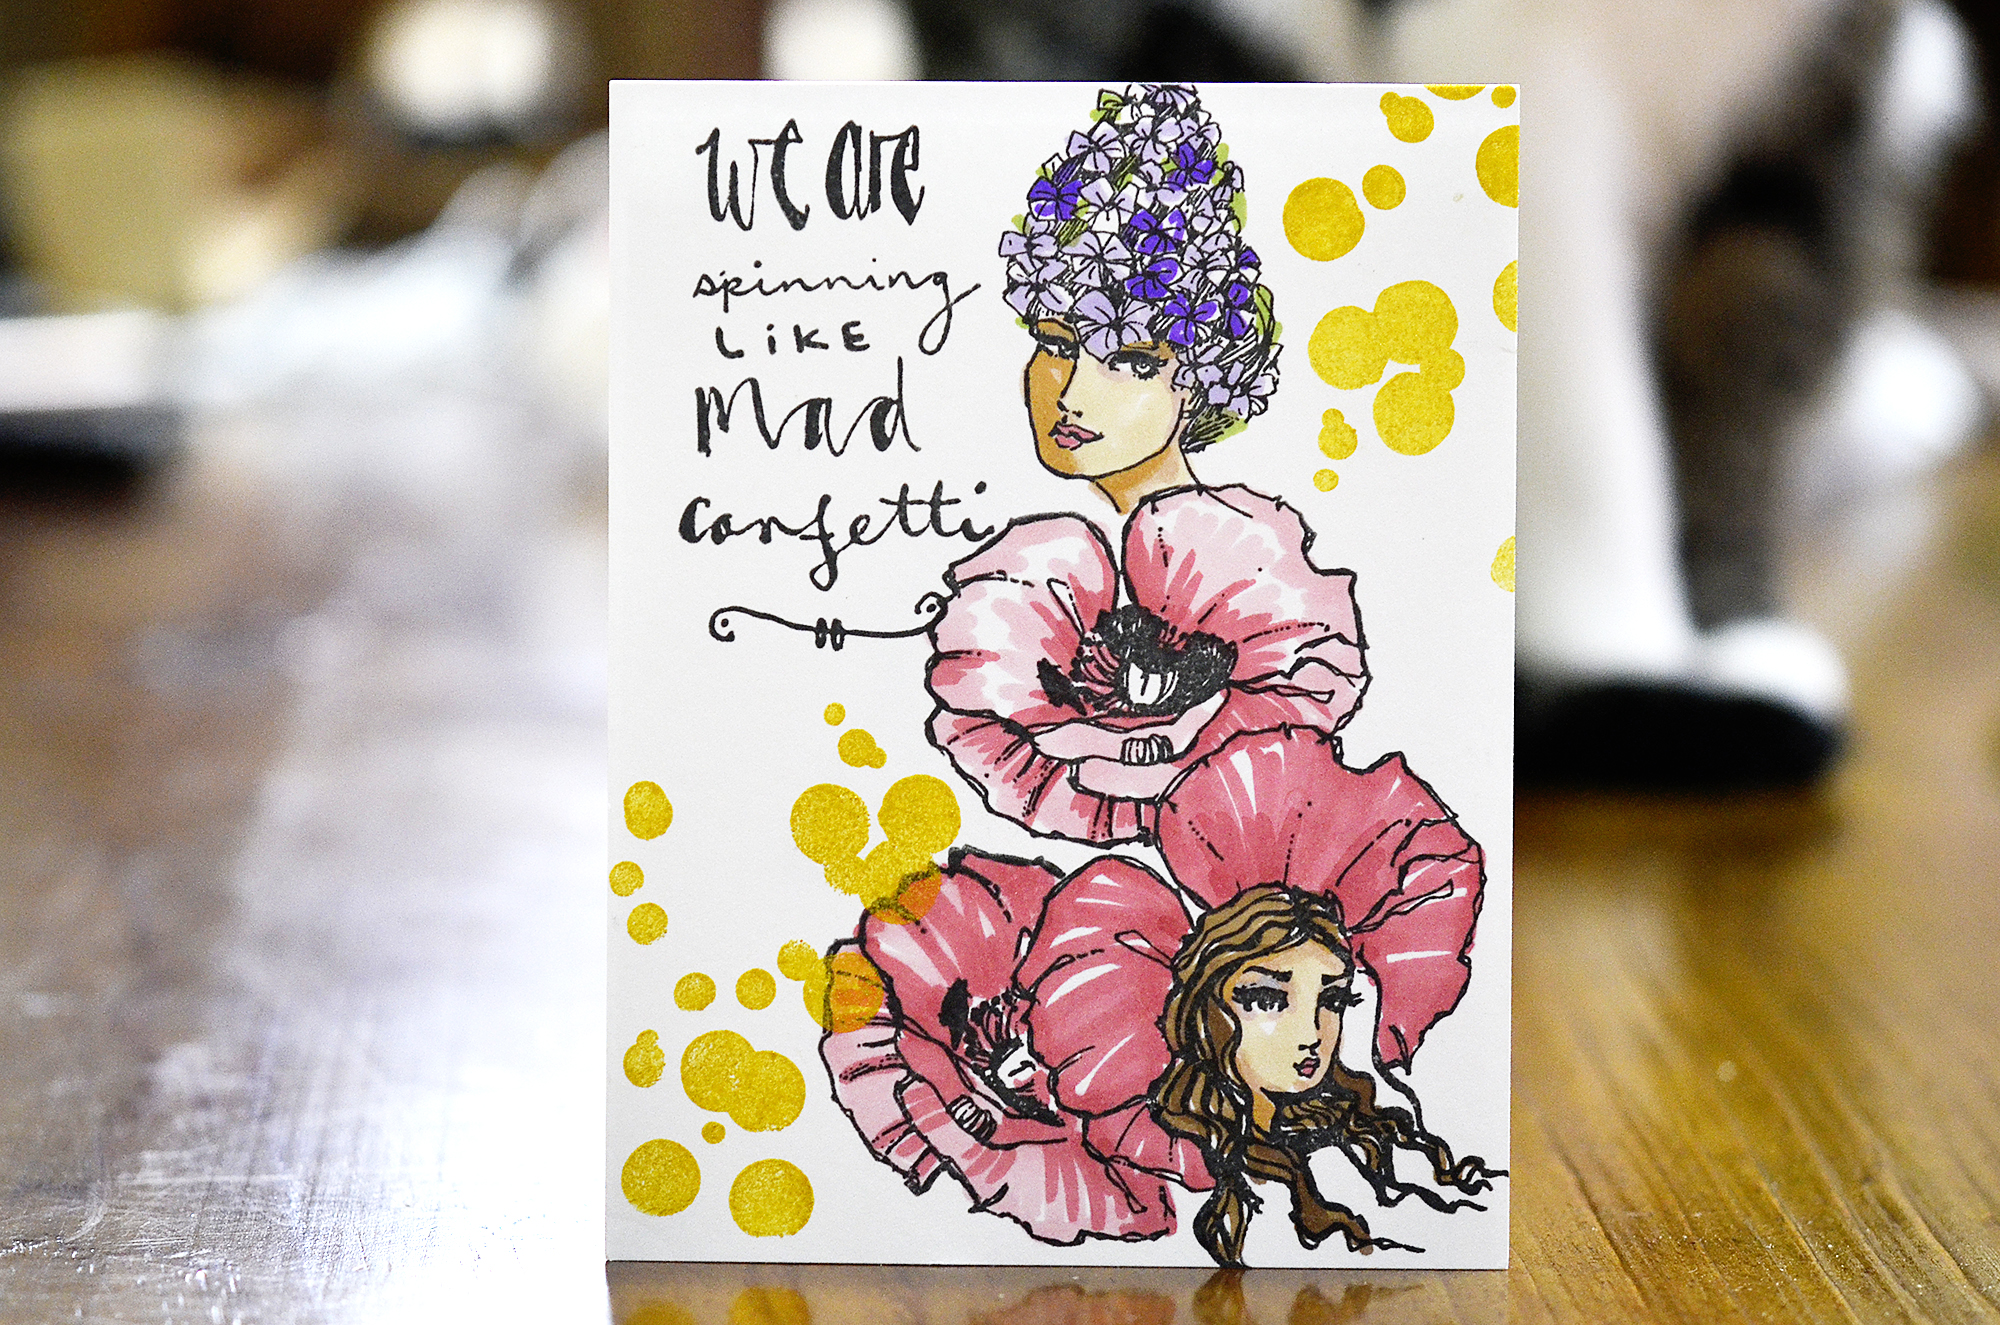
To start off, I stamped flower girl images and poppy images from Flower Girls Clear Stamps and Poppy Girl Clear Stamps using a masking technique on some white cardstock.

Spellbinders Jane Davenport Artomology | Mixed Media Inspiration with Mayline

I coloured them using Smooth Markers - Feathered Friends (EGG, FLOCK, HATCHLING, CREST, NEST, HOVER, WING) and Mermesmerizing (LORIKEET, MOUNTAIN GEM). I then stamped circles from Mad Confetti Clear Stamps using Squid Ink Gold Bullion. Lastly, I stamped a sentiment from Mad Confetti Clear Stamps on the panel.

Spellbinders Jane Davenport Artomology | Mixed Media Inspiration with Mayline

Here is my second card.

Spellbinders Jane Davenport Artomology | Mixed Media Inspiration with Mayline

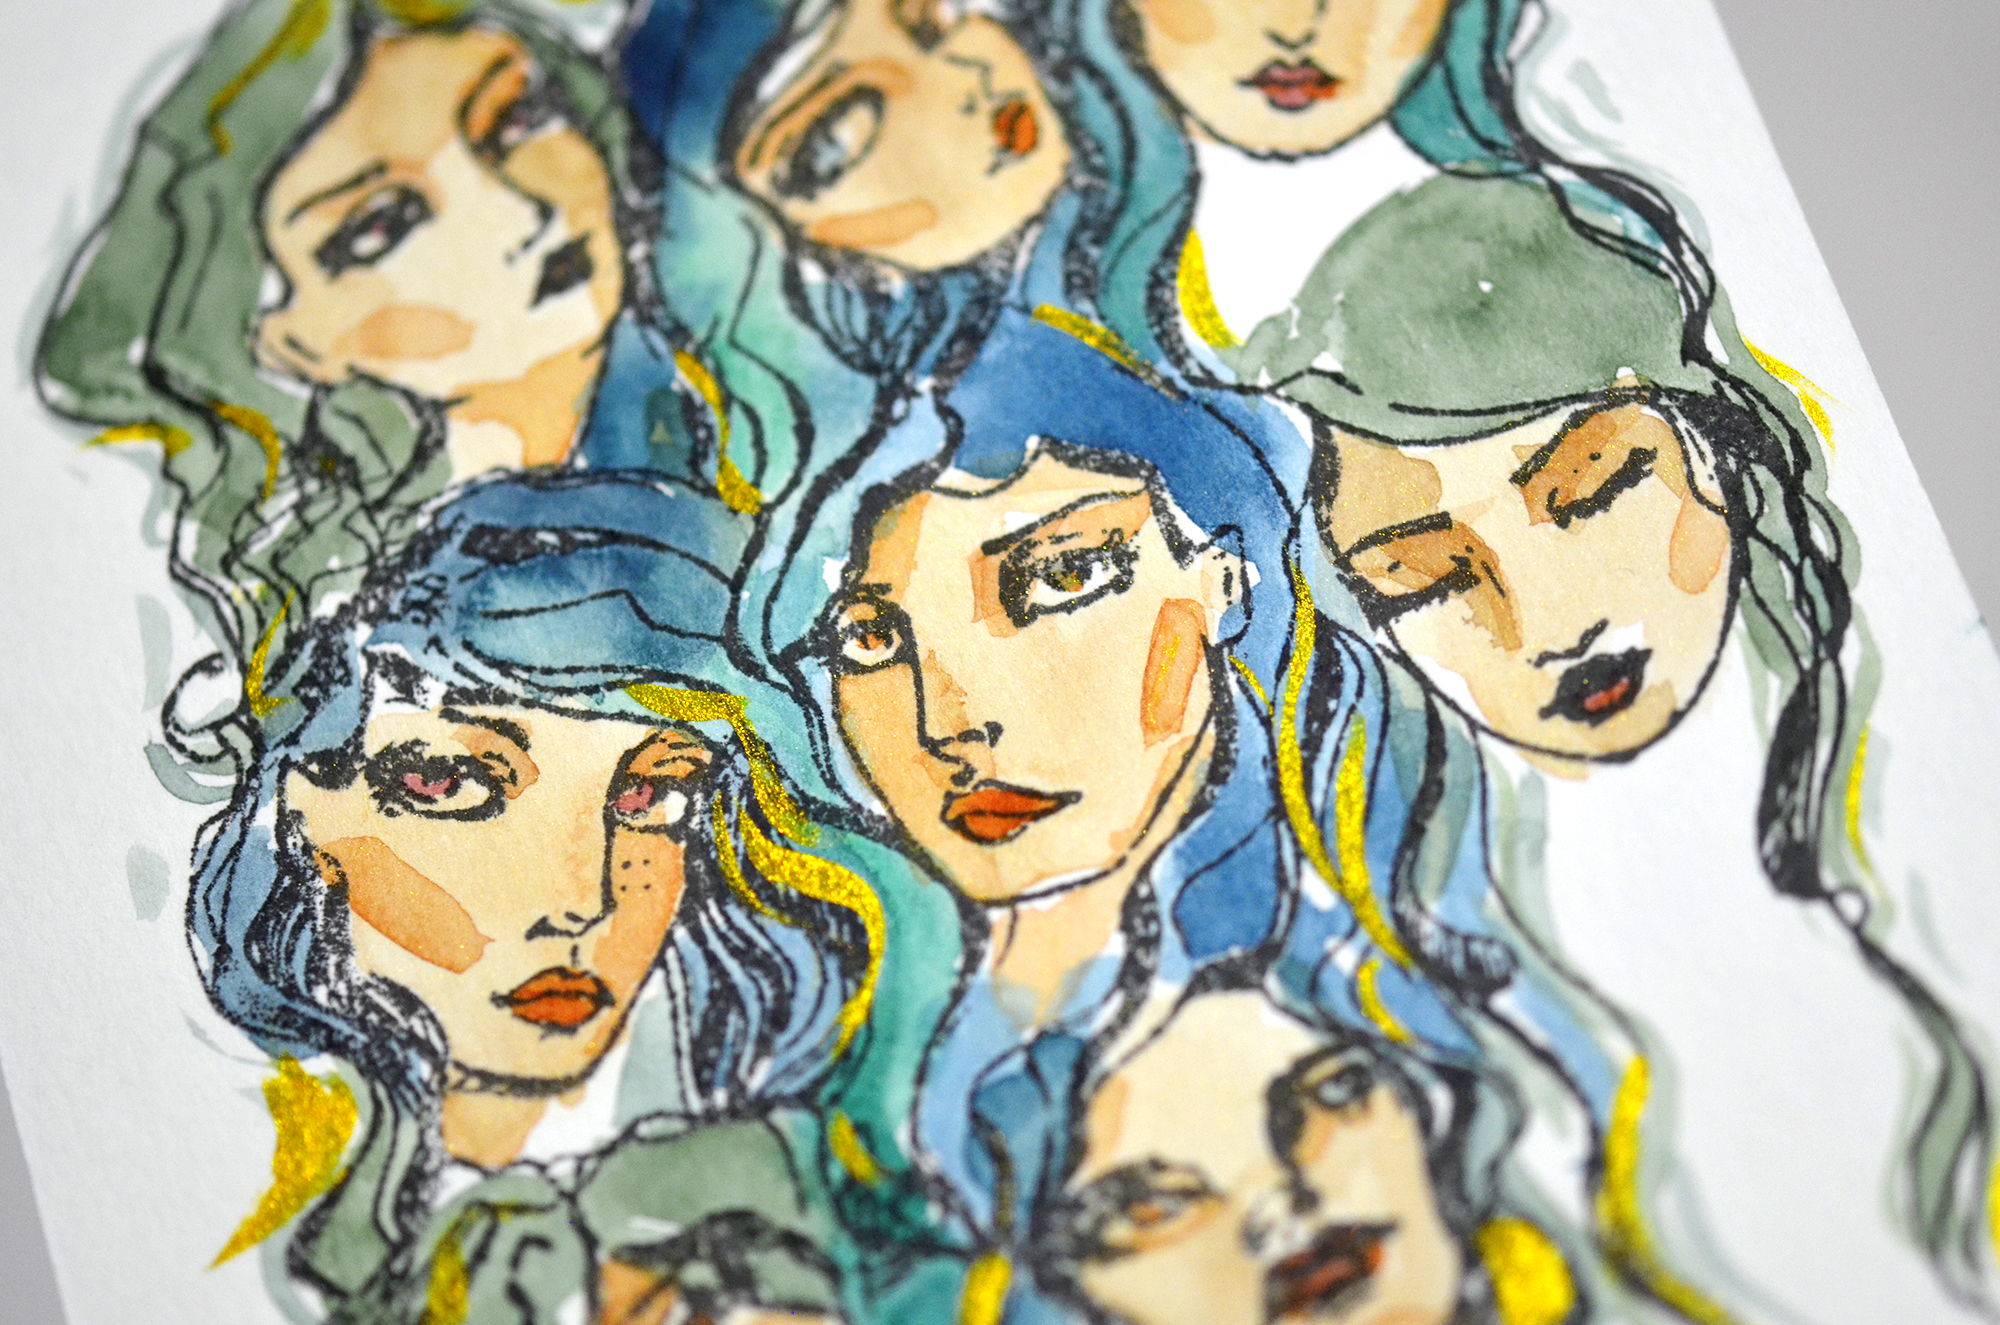
To start off, I stamped image from Girl Group Clear Stamps using Squid Ink Cave Black on A2 sized watercolor panel.

Spellbinders Jane Davenport Artomology | Mixed Media Inspiration with Mayline

Next I used watercolor paints to color images. After that, I drew lines using Squid Ink Gold Bullion. That's it!

Spellbinders Jane Davenport Artomology | Mixed Media Inspiration with Mayline

Here is my last project for today.

Spellbinders Jane Davenport Artomology | Mixed Media Inspiration with Mayline

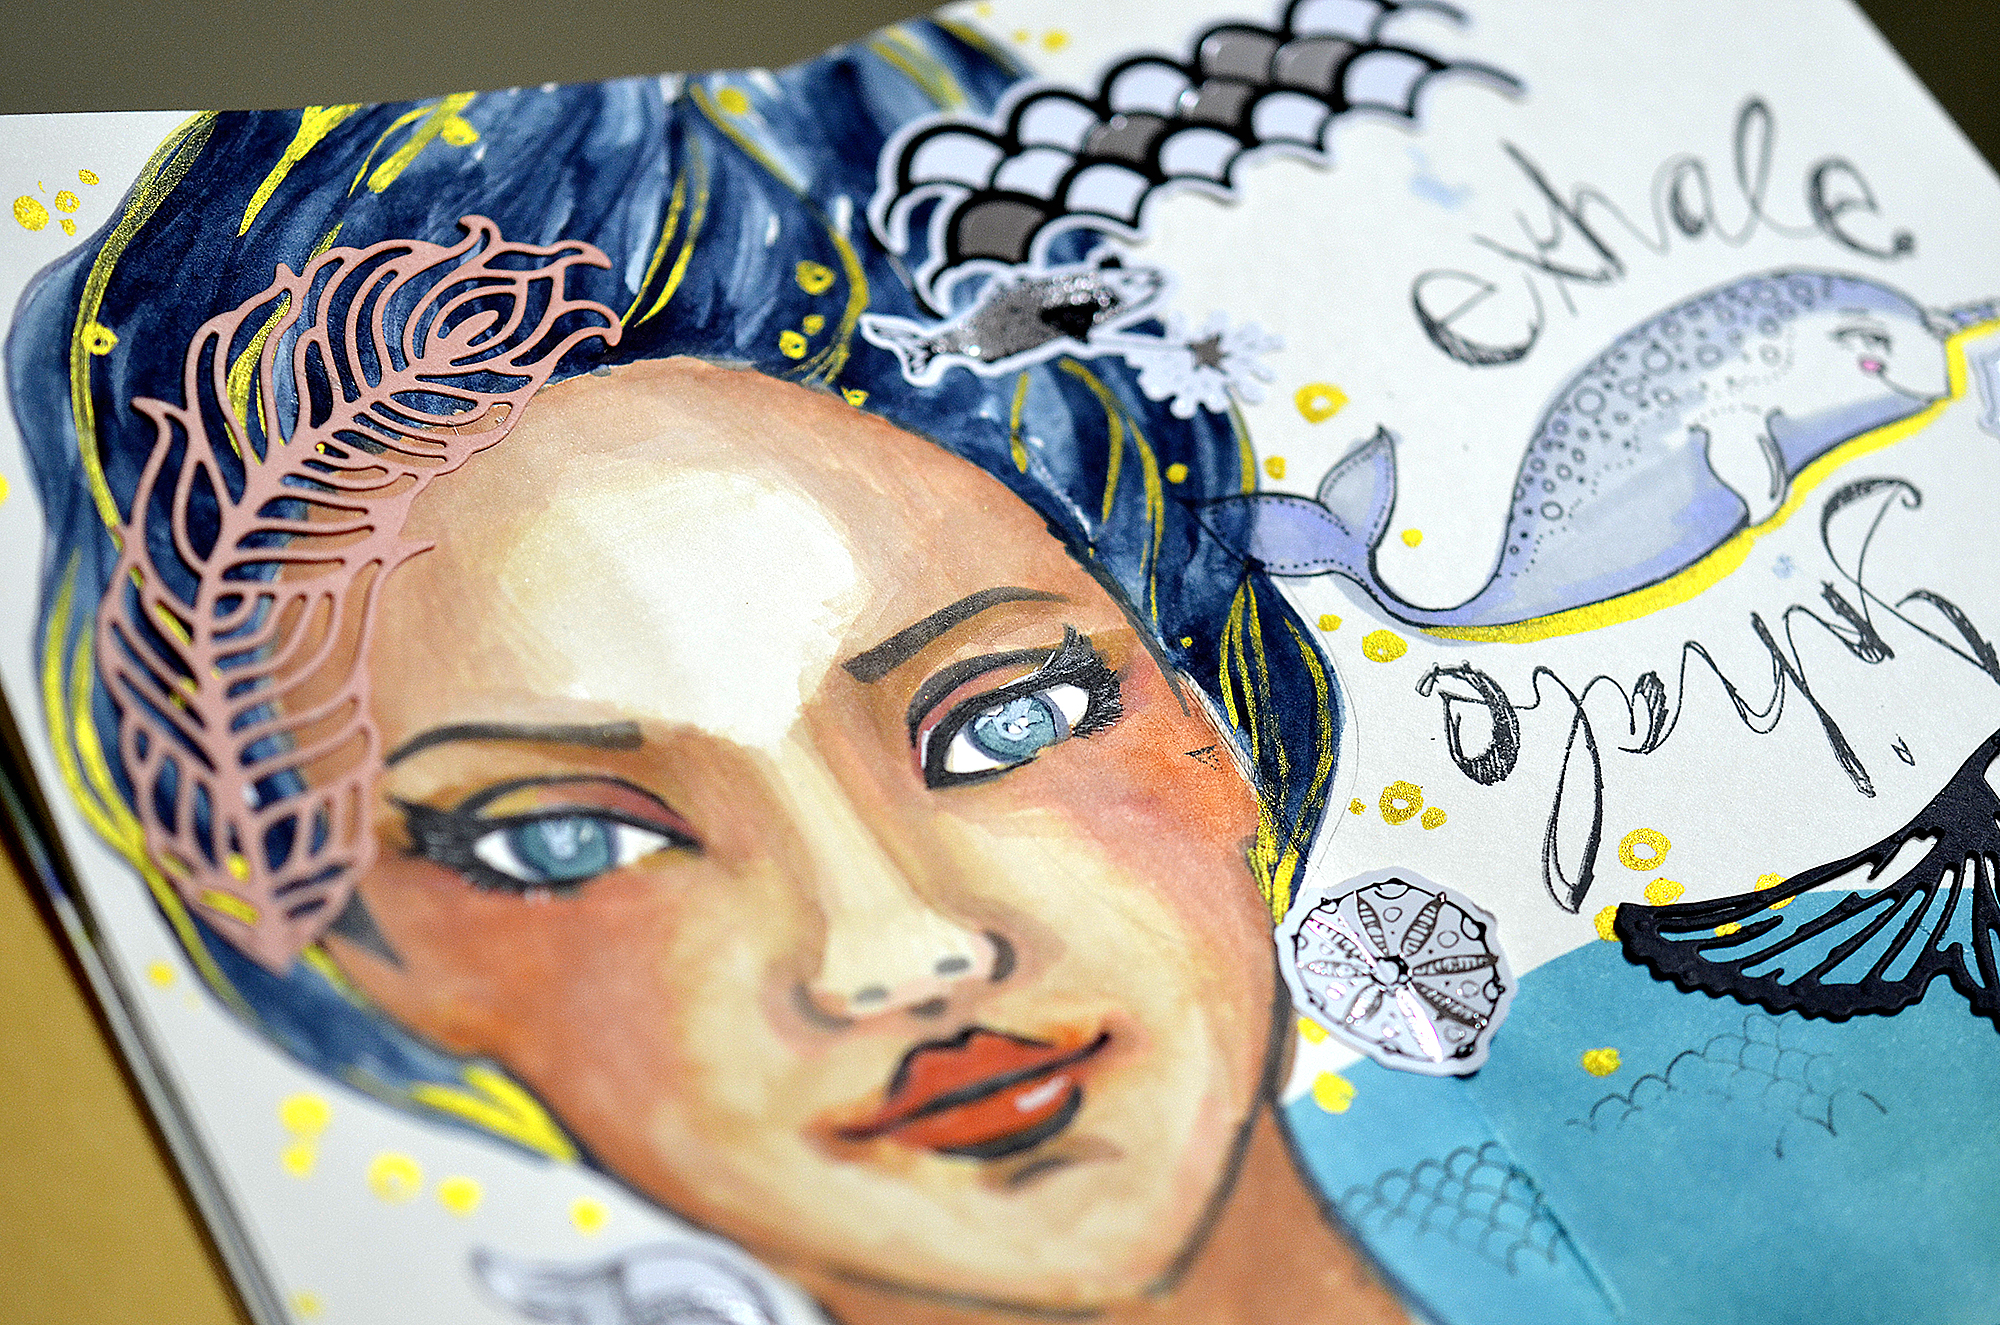
This project, I used Good Face Stencils. I placed one of good Girl stencils onto a paper and secure in place with low tack tape. I gently pressed a blender sponge through the stencil using Squid Ink Cave Black. I coloured face using Smooth Alcohol Markers - Feathered Friends.

Spellbinders Jane Davenport Artomology | Mixed Media Inspiration with Mayline

Next, I painted hair using watercolor paints and covered the girl's neck for using a blending technique. I cut some white paper in wave shape and masked the top of area. Then I blended the open area using Squid Ink Blue Marlin. To give some fun texture, I stamped Mermaid Scales pattern from Tin of Mermaids Wood Mount Stamps.

Spellbinders Jane Davenport Artomology | Mixed Media Inspiration with Mayline

Next, I stamped a narwhal images and exhale & inhale text from Relaxed Narwhal Clear Stamp using Squid Ink Cave Black. I then coloured it using Smooth Markers - Mermesmerizing 'DoDo' & Smooth Markers - Feathered Friends "Wing'. I used the Squid Ink Gold Bullion to draw lines and circles. Next, I used Fair Feathers Etched Dies and MerTail Etched Dies to cut paper in feather shape and mar-tail shape. Lastly I use the Colorist Stickers and the die-cut pieces to attach to the background.

Spellbinders Supplies:

Other Supplies:

White cardstock, 300g Watercolor Paper, Mixed media book, Glossy Accents, Watercolor Paints, black pen, white pen, blending tools.

Leave a comment

Your email will not be published. Please note, comments need to be approved before they are published.

3 comments

MEF,

I’m pretty good at card making but on the surface, this looks pretty tough?

Frangel flores,

Me gusta sus productos y dibujos

Frangel flores,

I loved this


  • How to Color BetterPress Scenes with Watercolor and Colored Pencils, BP-383, STNB-020, DC378

    AF724

    How to Color BetterPress Scenes with Watercolor and Colored Pencils

    Want to move beyond simple ink blending when using layering stencils? In this tutorial, you'll learn how to combine BetterPress printing, stencil coloring, watercolor painting, and colored pencil shading to create a detailed scenic card. By mixing coloring mediums, you can build additional texture, depth, and realism while using supplies you may already have in your craft room. This project features the Scenic Kyoto Press...

  • How to Use Reverse Foiling for Elegant Christmas Cards, BP-345, BP-314, S4-1452, BP-312, S5-526, S5-647

    BP-312

    How to Use Reverse Foiling for Elegant Christmas Cards

    Get more from your hot foil supplies by learning how to use the reverse foiling technique. In this step-by-step Christmas card tutorial, you'll create a beautiful snowflake background using leftover foil, then pair it with a dimensional poinsettia arrangement and festive sentiment. Reverse foiling is a fantastic way to reduce waste while creating an entirely different look from your original foiled design. Using the A2...

  • How to Make Felt Christmas Ornaments with Festive Felt Dies, S7-302, S7-303, S7-305, PE-104

    Categories:Die Cutting

    How to Make Felt Christmas Ornaments with Festive Felt Dies

    Create charming handmade felt Christmas ornaments using the Festive Felt Christmas Dies by Lollie & Grace. In this step-by-step tutorial, you'll learn how to die-cut felt, assemble layered ornament designs, add decorative stitching, embellish with sequins and beads, and finish your ornaments with hanging loops for Christmas decorating. This project is perfect for holiday crafters who enjoy working with felt and creating handmade decorations. These festive...