Jane Davenport NEW Artomology | Face Coloring with Mona Toth
on June 02, 2019

Jane Davenport NEW Artomology | Face Coloring with Mona Toth

Hi, it’s Mona Toth here, with a step by step face coloring photo tutorial. In this post I am featuring the newest products by Jane Davenport. I hope you will enjoy my post. Let's see my creations.

Jane Davenport NEW Artomology | Face Coloring with Mona Toth for Spellbinders

Step By Step Instructions:

Check out the step by step instructions below for this project. Click images to enlarge.
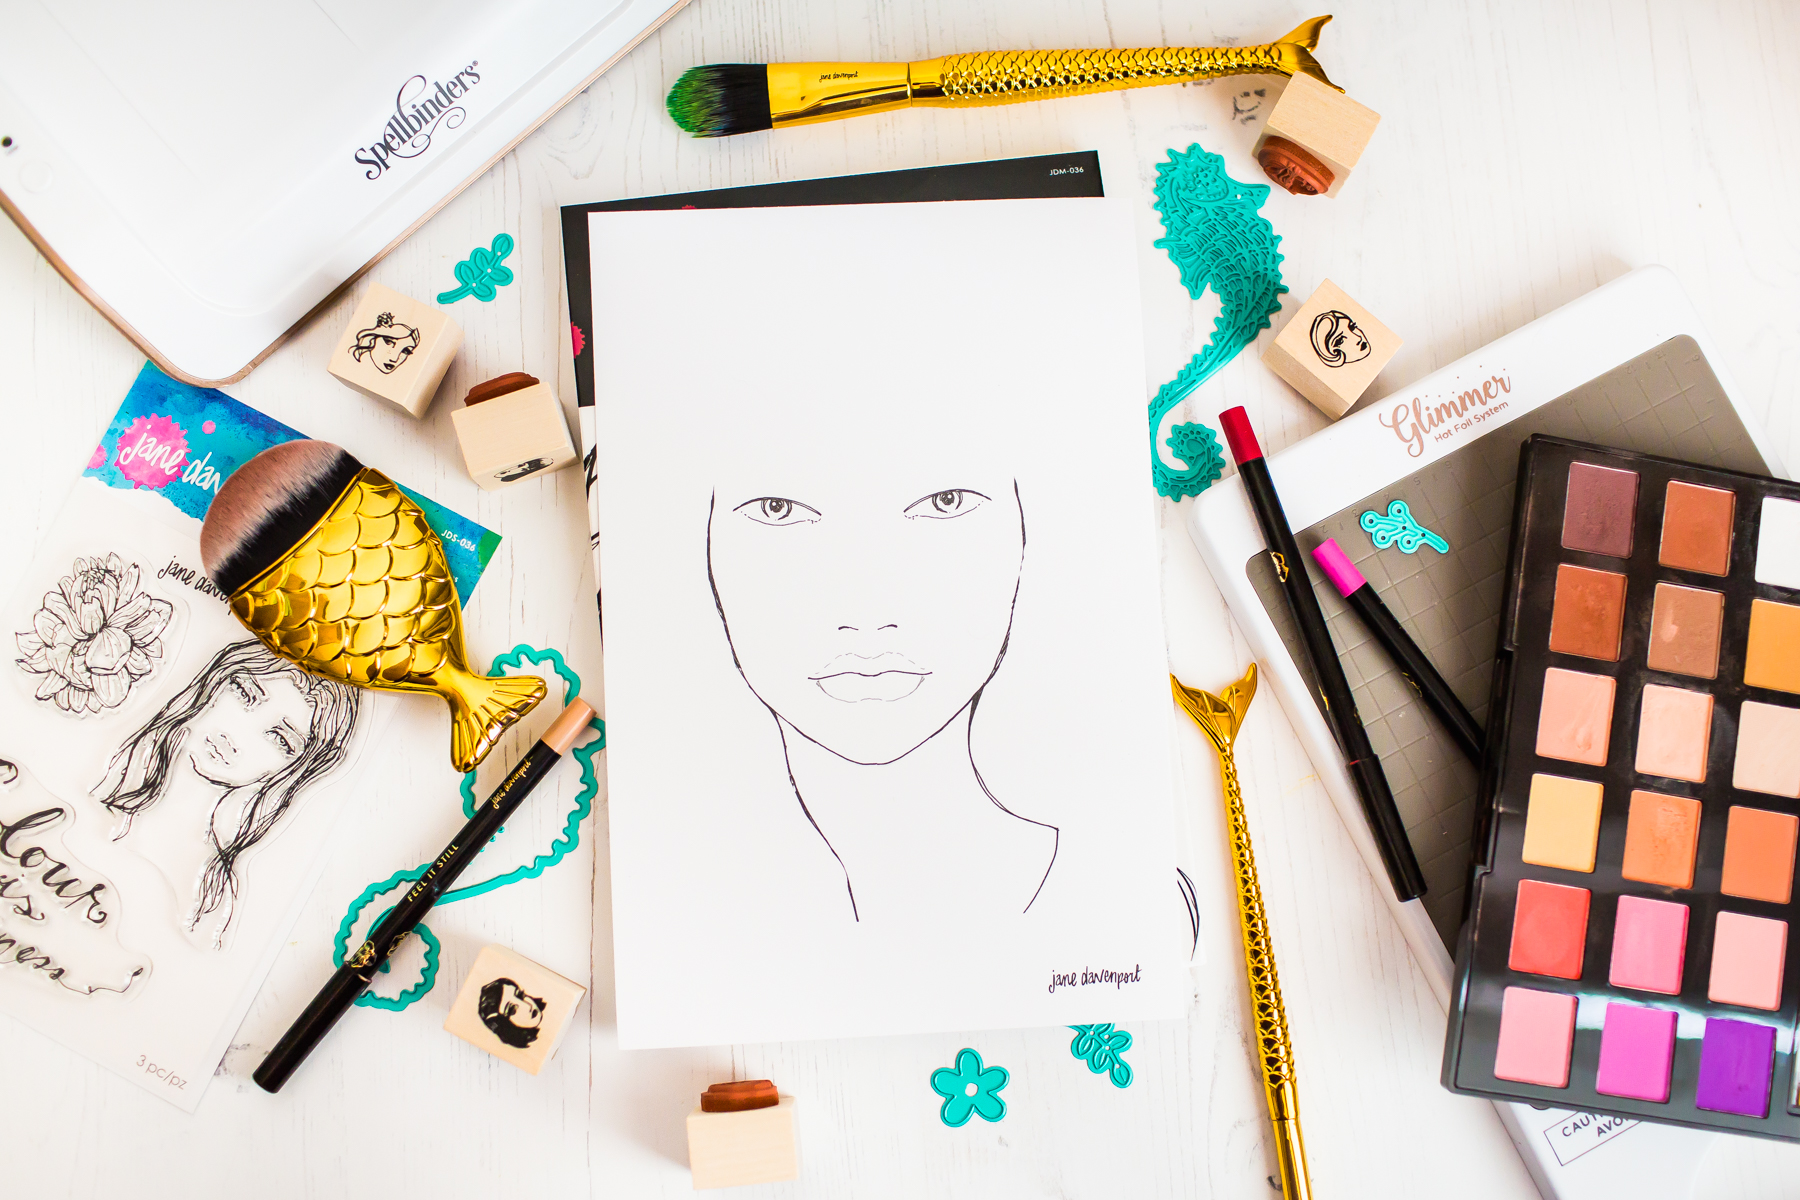
  • I prepared the face chart layout with sketch detailing.

Jane Davenport NEW Artomology | Face Coloring with Mona Toth for Spellbinders

  • I made tone mapping with Smooth Markers. This will help me where to contour and where to highlight.

Jane Davenport NEW Artomology | Face Coloring with Mona Toth for Spellbinders

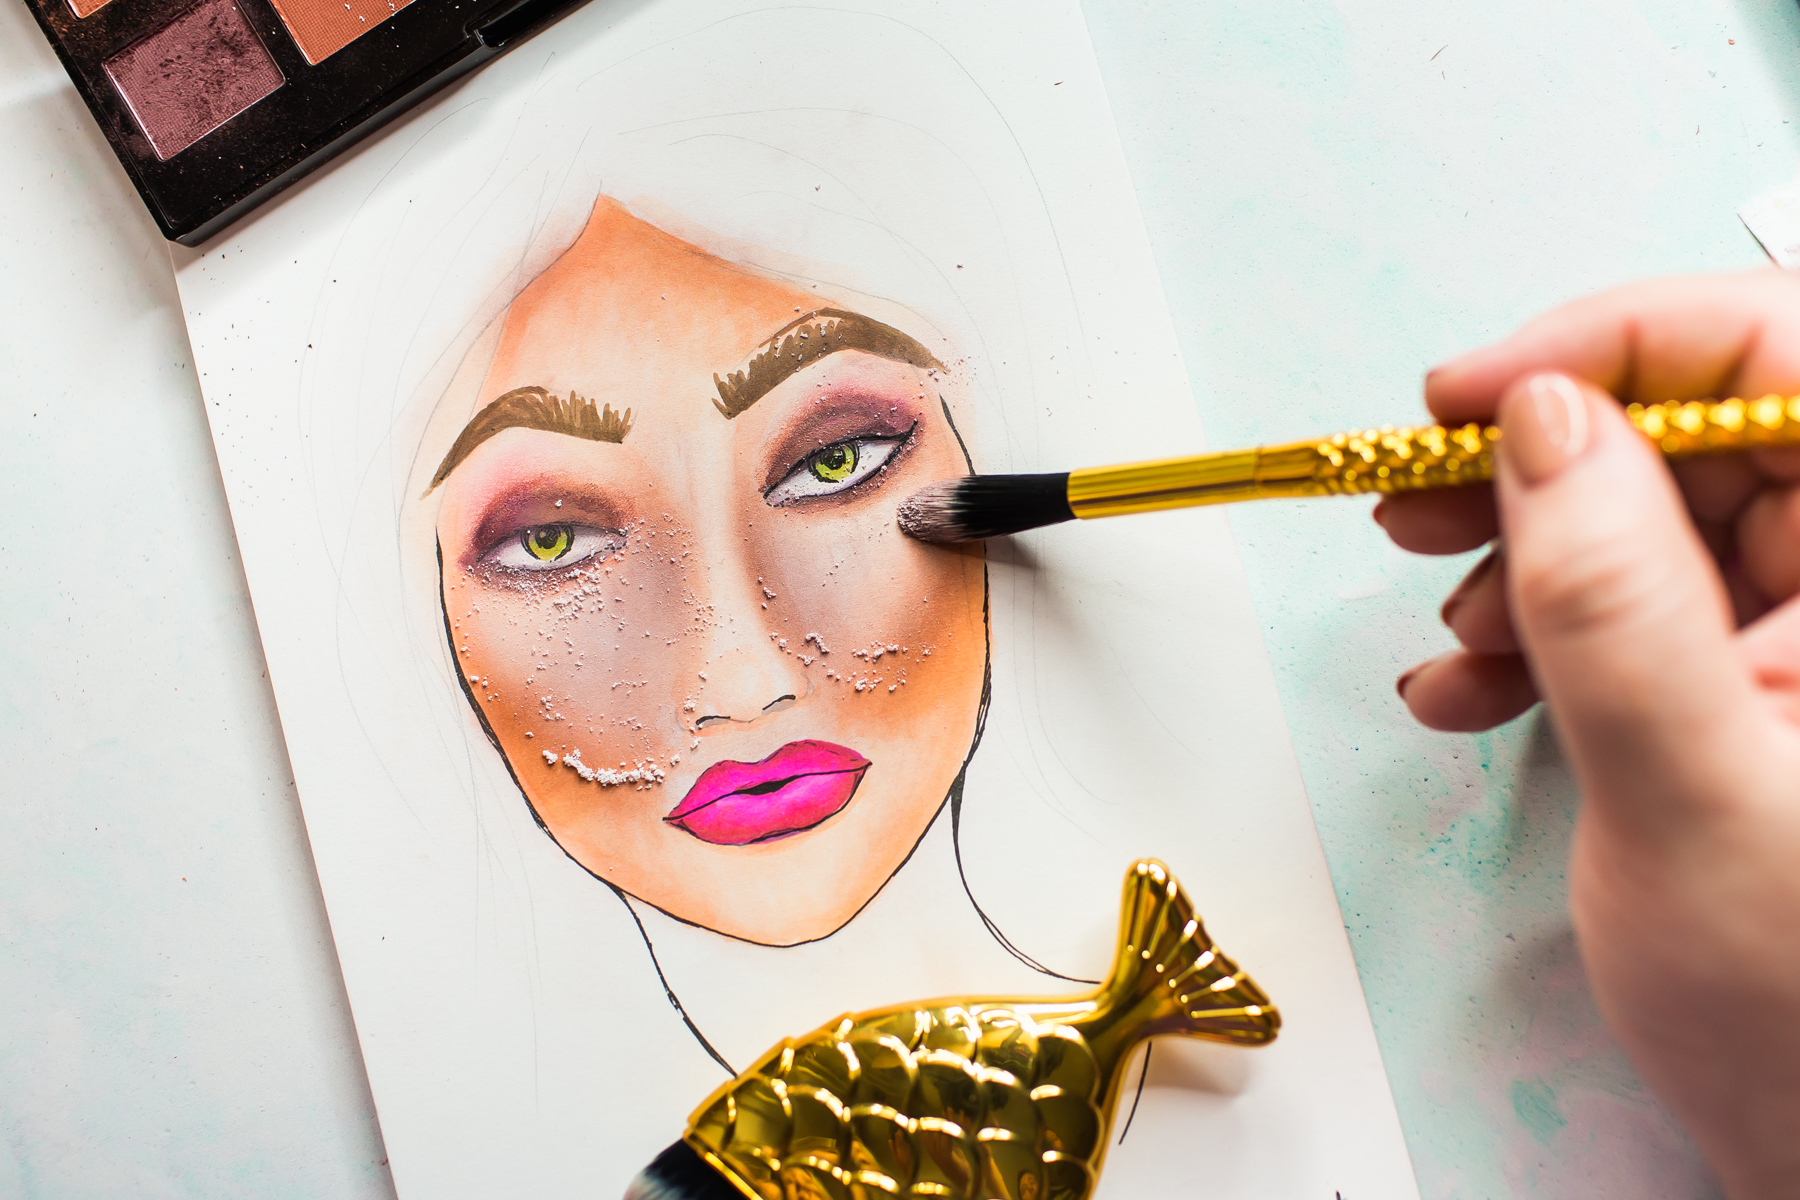
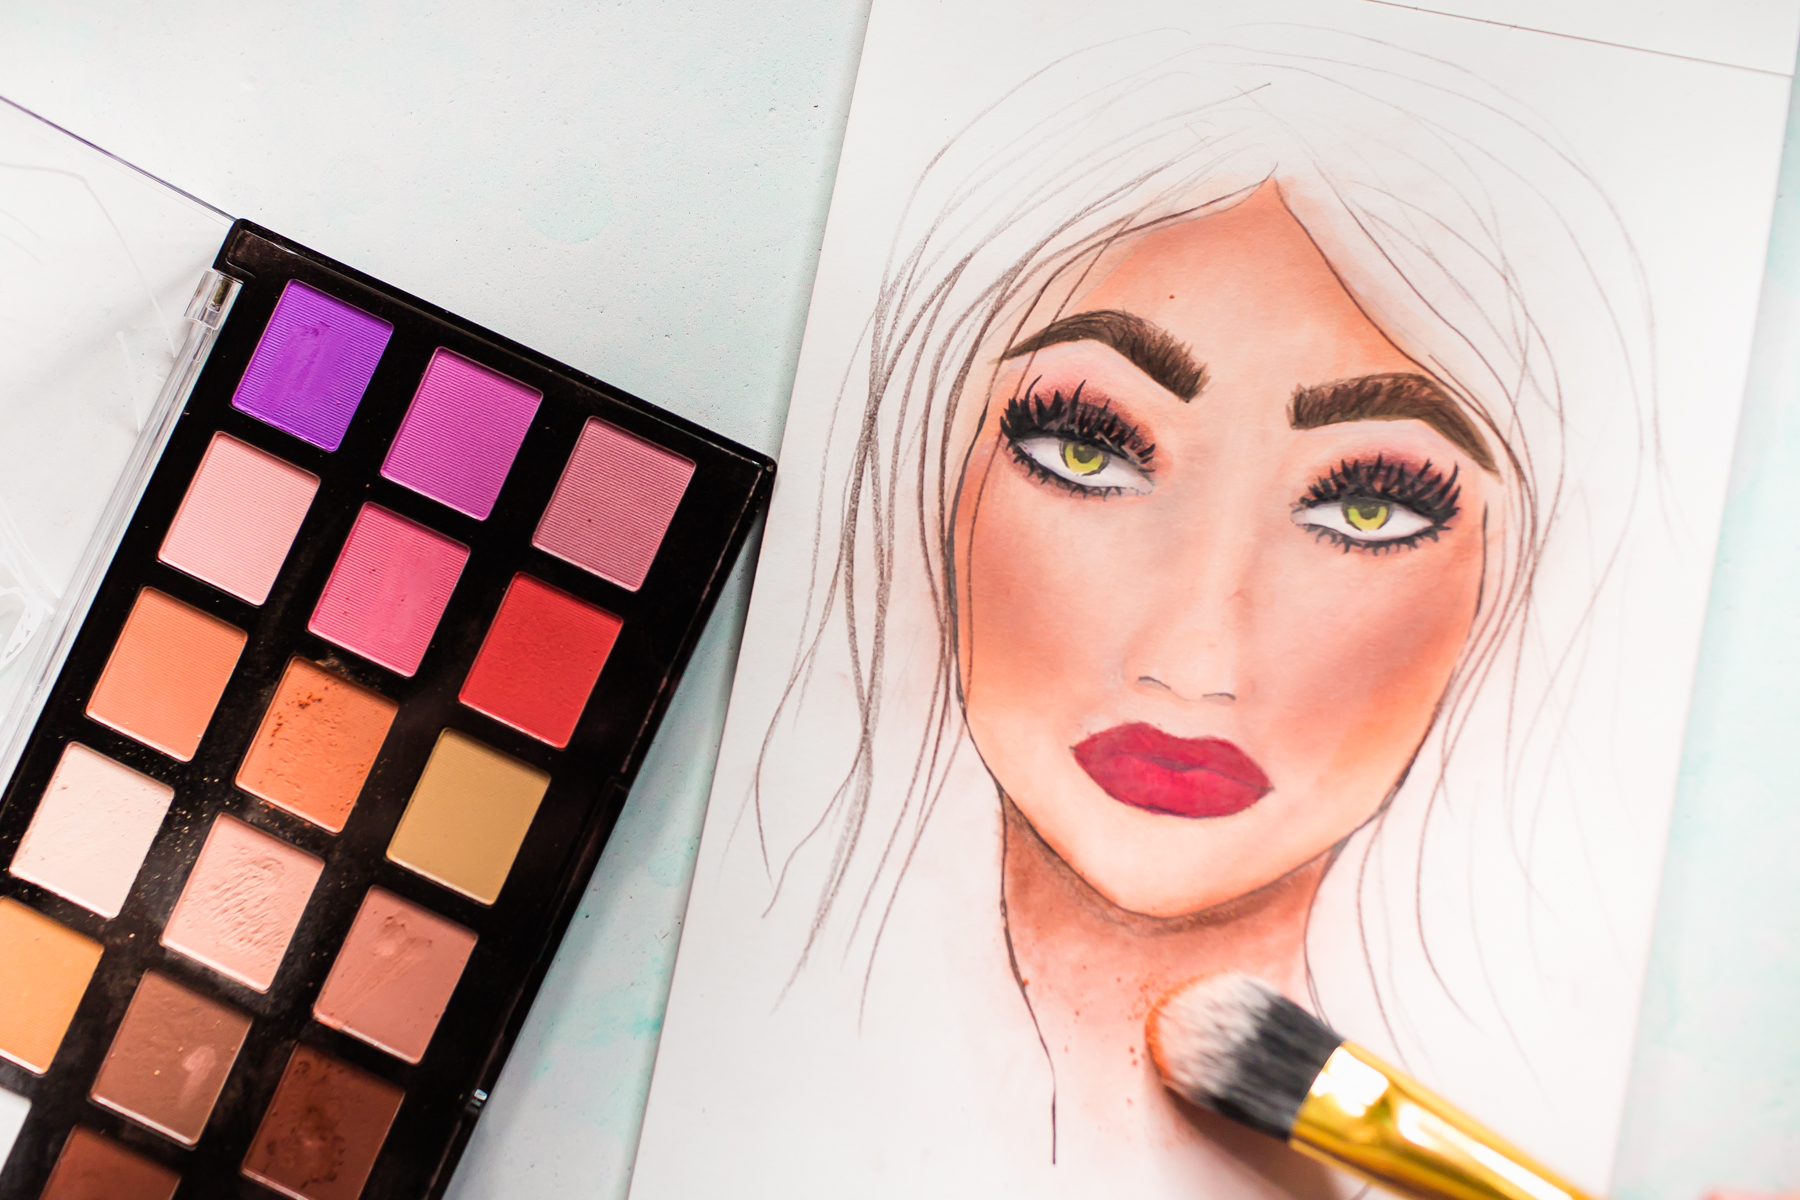
  • I colored the eyes and the full face with Palette Pastel paints. These makeup inspired colors are easy to use. If you want to apply an intensive coat, "paint" with your fingers, but if you want to make nice and smooth blending then use the Mermalicious Brush Set.

Jane Davenport NEW Artomology | Face Coloring with Mona Toth for Spellbinders Jane Davenport NEW Artomology | Face Coloring with Mona Toth for Spellbinders

Jane Davenport NEW Artomology | Face Coloring with Mona Toth for Spellbinders

  • Finished the makeup look with Dramasticks. I used them as lipstick and eye camouflage.

Jane Davenport NEW Artomology | Face Coloring with Mona Toth for Spellbinders

  • Next, I added details to the eyes and eyebrows with alcohol markers and colored pencils.
Jane Davenport NEW Artomology | Face Coloring with Mona Toth for Spellbinders

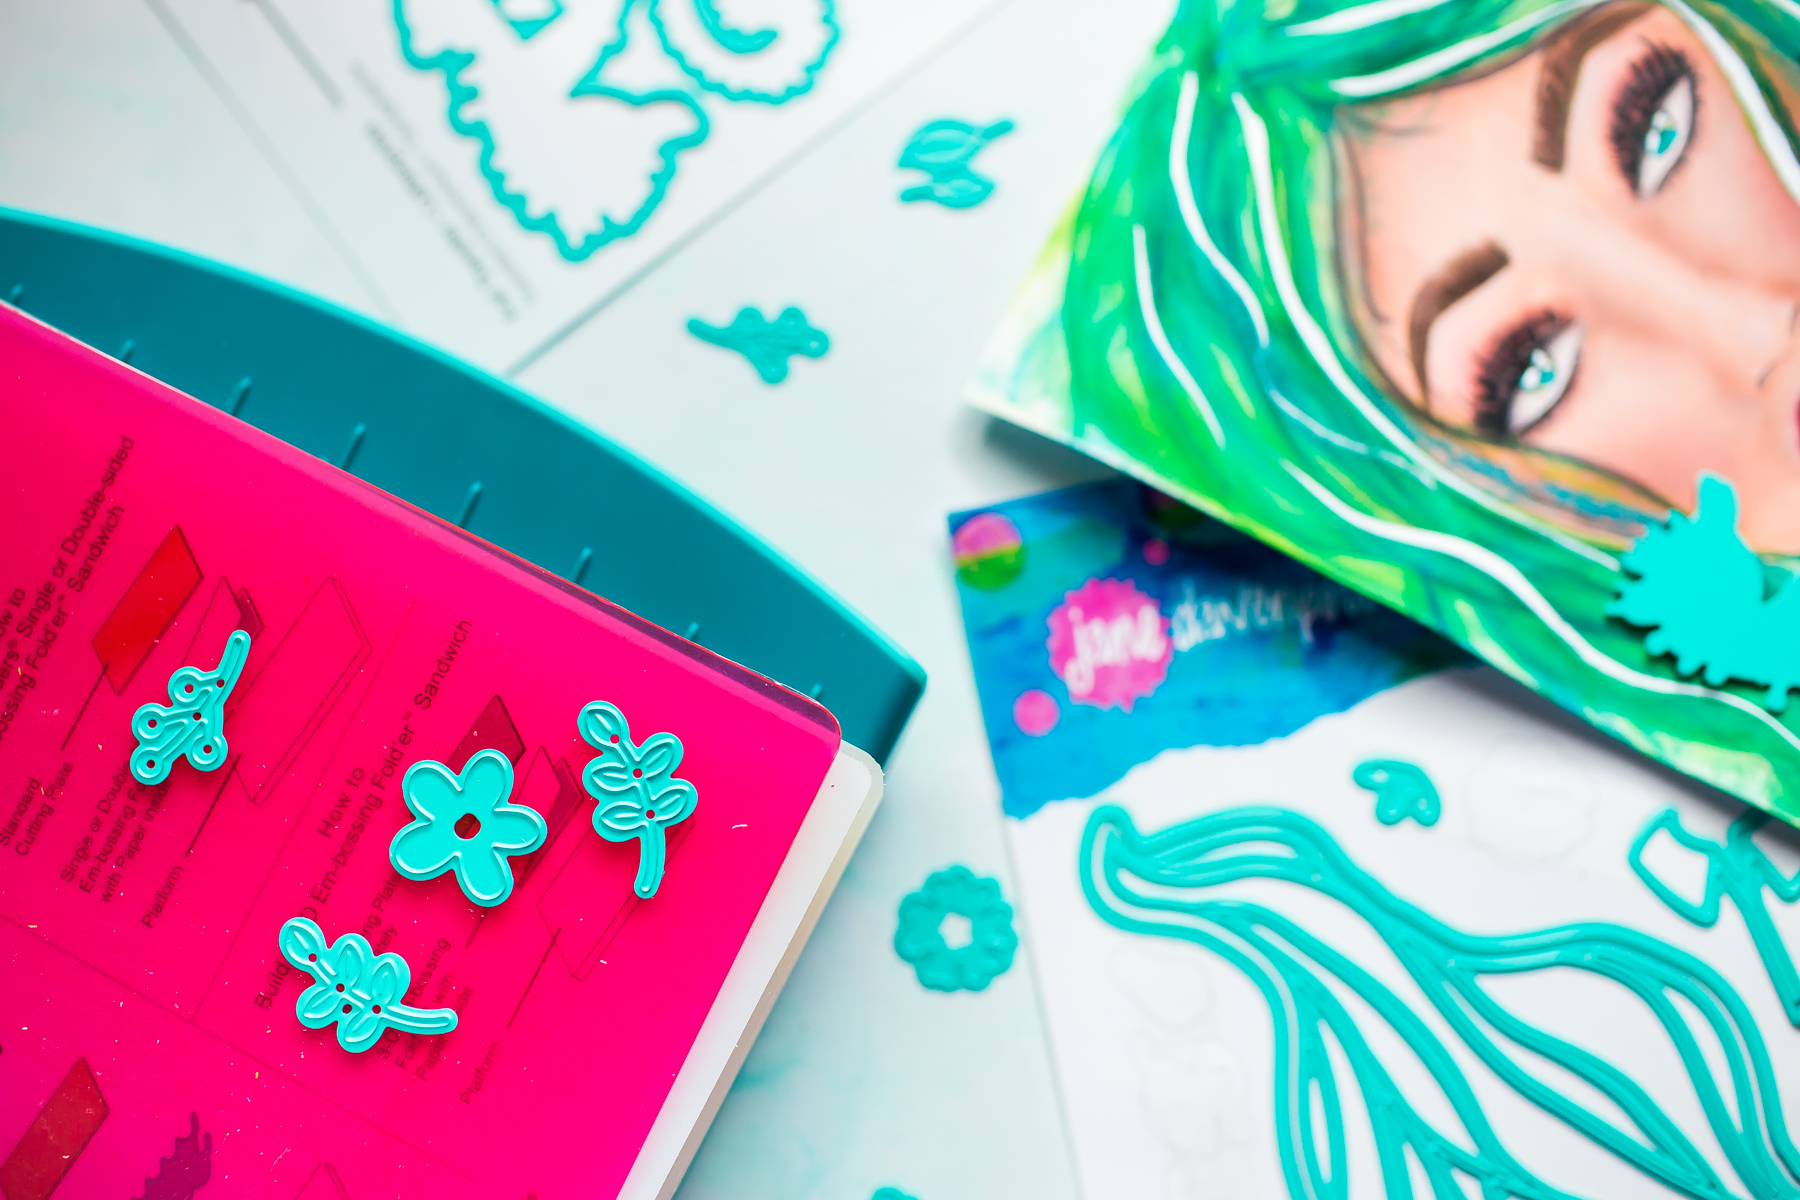
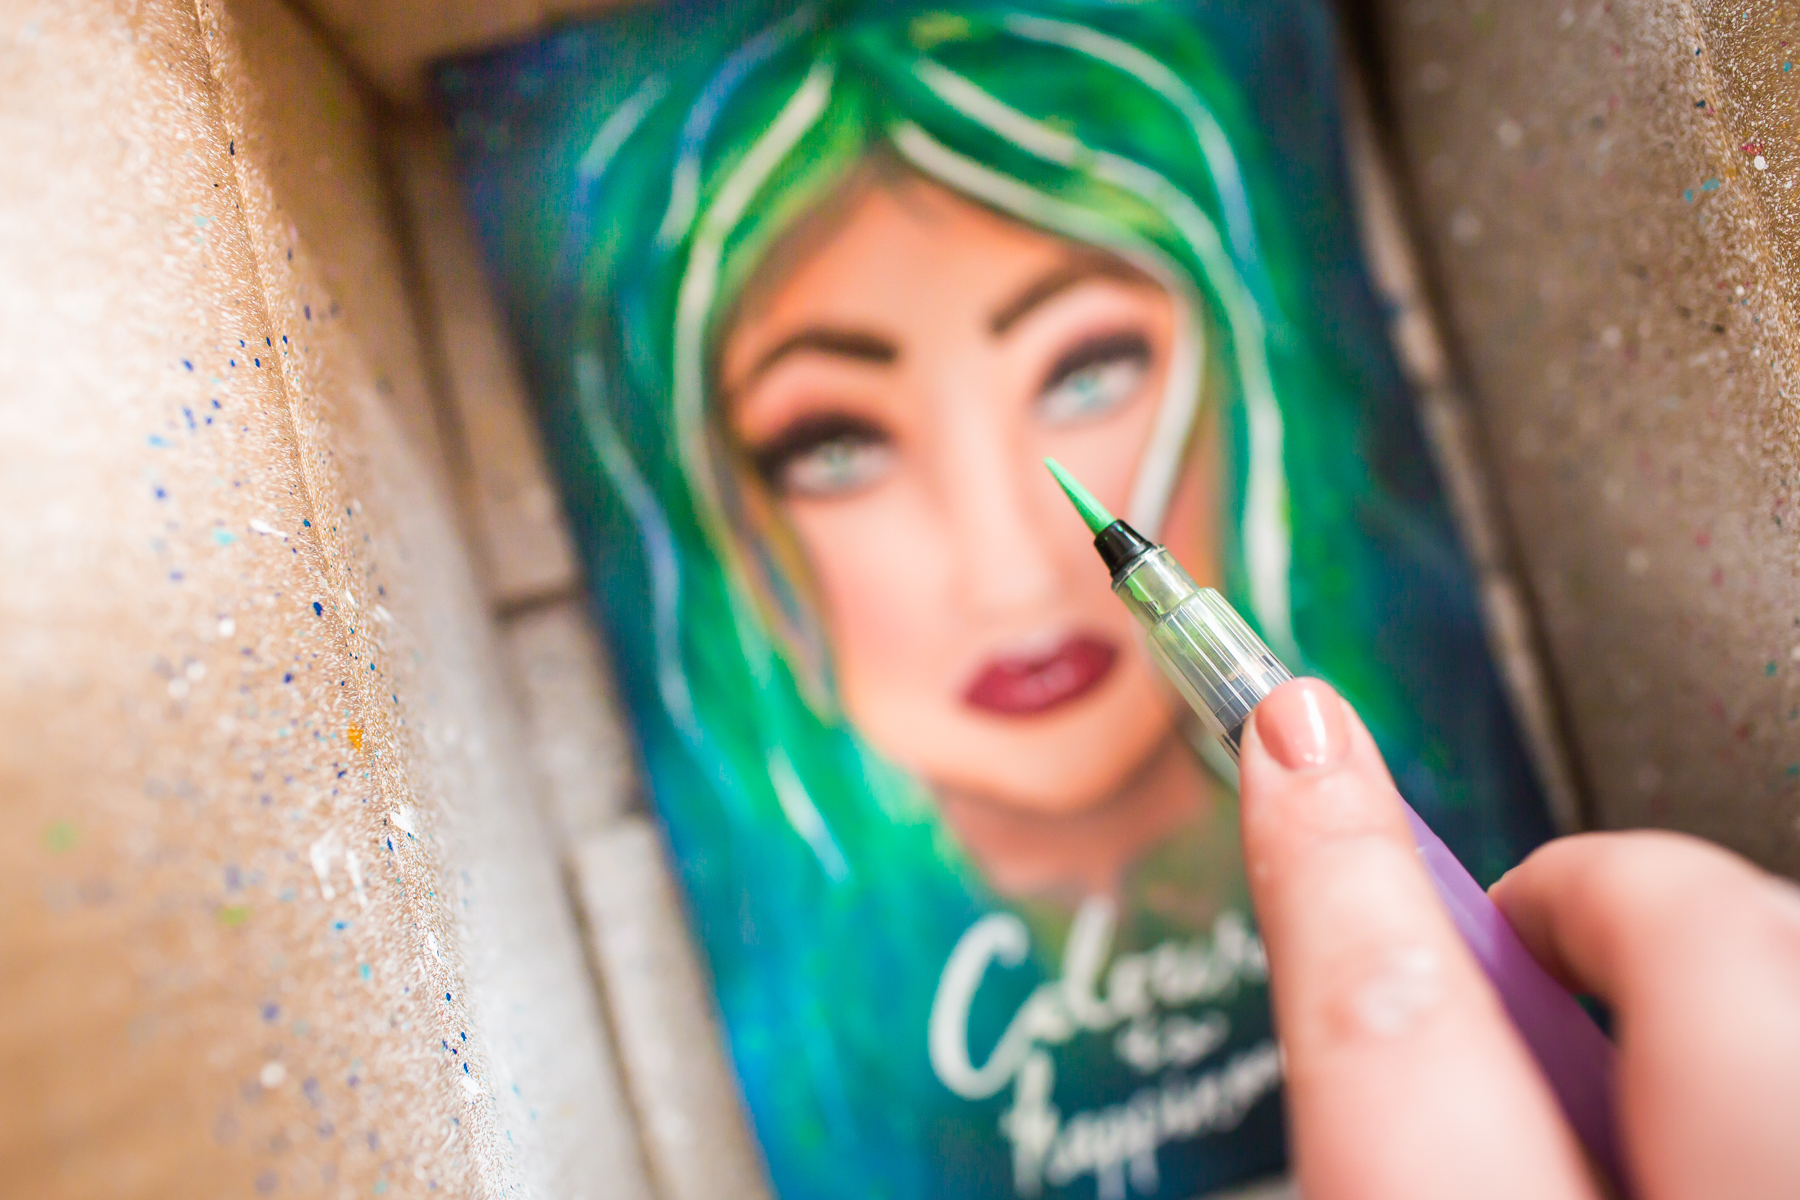
  • Next, I made water coloring on the page. I used green, blue and teal colors. Then I made highlight detailing with white paint.

Jane Davenport NEW Artomology | Face Coloring with Mona Toth for Spellbinders

  • After a quick ink blending I added watercolor splatters to the image.
Jane Davenport NEW Artomology | Face Coloring with Mona Toth for Spellbinders

Jane Davenport NEW Artomology | Face Coloring with Mona Toth for Spellbinders Jane Davenport NEW Artomology | Face Coloring with Mona Toth for Spellbinders

And the project is done!

Jane Davenport NEW Artomology | Face Coloring with Mona Toth for Spellbinders

Jane Davenport NEW Artomology | Face Coloring with Mona Toth for Spellbinders Jane Davenport NEW Artomology | Face Coloring with Mona Toth for Spellbinders

Spellbinders Supplies:

OTHER SUPPLIES:

Watercolor; Smooth Markers, White Paint; White Pen; adhesive. Thank you for reading my post, I hope that I have inspired you! I am very thankful to be a guest at Spellbinders, see you next time. Hugs, Mona.

Leave a comment

Your email will not be published. Please note, comments need to be approved before they are published.

3 comments

Paulette Still,

She is stunning, Mona! I love every detail. Jane’s products are so much fun.

Paola,

Going to have to try this with that face, I was wondering what looks it can have.

Amber,

These faces are gorgeous! I can’t wait to get my hands on there die cuts!


  • How to Color BetterPress Scenes with Watercolor and Colored Pencils, BP-383, STNB-020, DC378

    AF724

    How to Color BetterPress Scenes with Watercolor and Colored Pencils

    Want to move beyond simple ink blending when using layering stencils? In this tutorial, you'll learn how to combine BetterPress printing, stencil coloring, watercolor painting, and colored pencil shading to create a detailed scenic card. By mixing coloring mediums, you can build additional texture, depth, and realism while using supplies you may already have in your craft room. This project features the Scenic Kyoto Press...

  • How to Use Reverse Foiling for Elegant Christmas Cards, BP-345, BP-314, S4-1452, BP-312, S5-526, S5-647

    BP-312

    How to Use Reverse Foiling for Elegant Christmas Cards

    Get more from your hot foil supplies by learning how to use the reverse foiling technique. In this step-by-step Christmas card tutorial, you'll create a beautiful snowflake background using leftover foil, then pair it with a dimensional poinsettia arrangement and festive sentiment. Reverse foiling is a fantastic way to reduce waste while creating an entirely different look from your original foiled design. Using the A2...

  • How to Make Felt Christmas Ornaments with Festive Felt Dies, S7-302, S7-303, S7-305, PE-104

    Categories:Die Cutting

    How to Make Felt Christmas Ornaments with Festive Felt Dies

    Create charming handmade felt Christmas ornaments using the Festive Felt Christmas Dies by Lollie & Grace. In this step-by-step tutorial, you'll learn how to die-cut felt, assemble layered ornament designs, add decorative stitching, embellish with sequins and beads, and finish your ornaments with hanging loops for Christmas decorating. This project is perfect for holiday crafters who enjoy working with felt and creating handmade decorations. These festive...