on May 05, 2018

Perfect Match Inspiration | Friends of a Feather with Norine

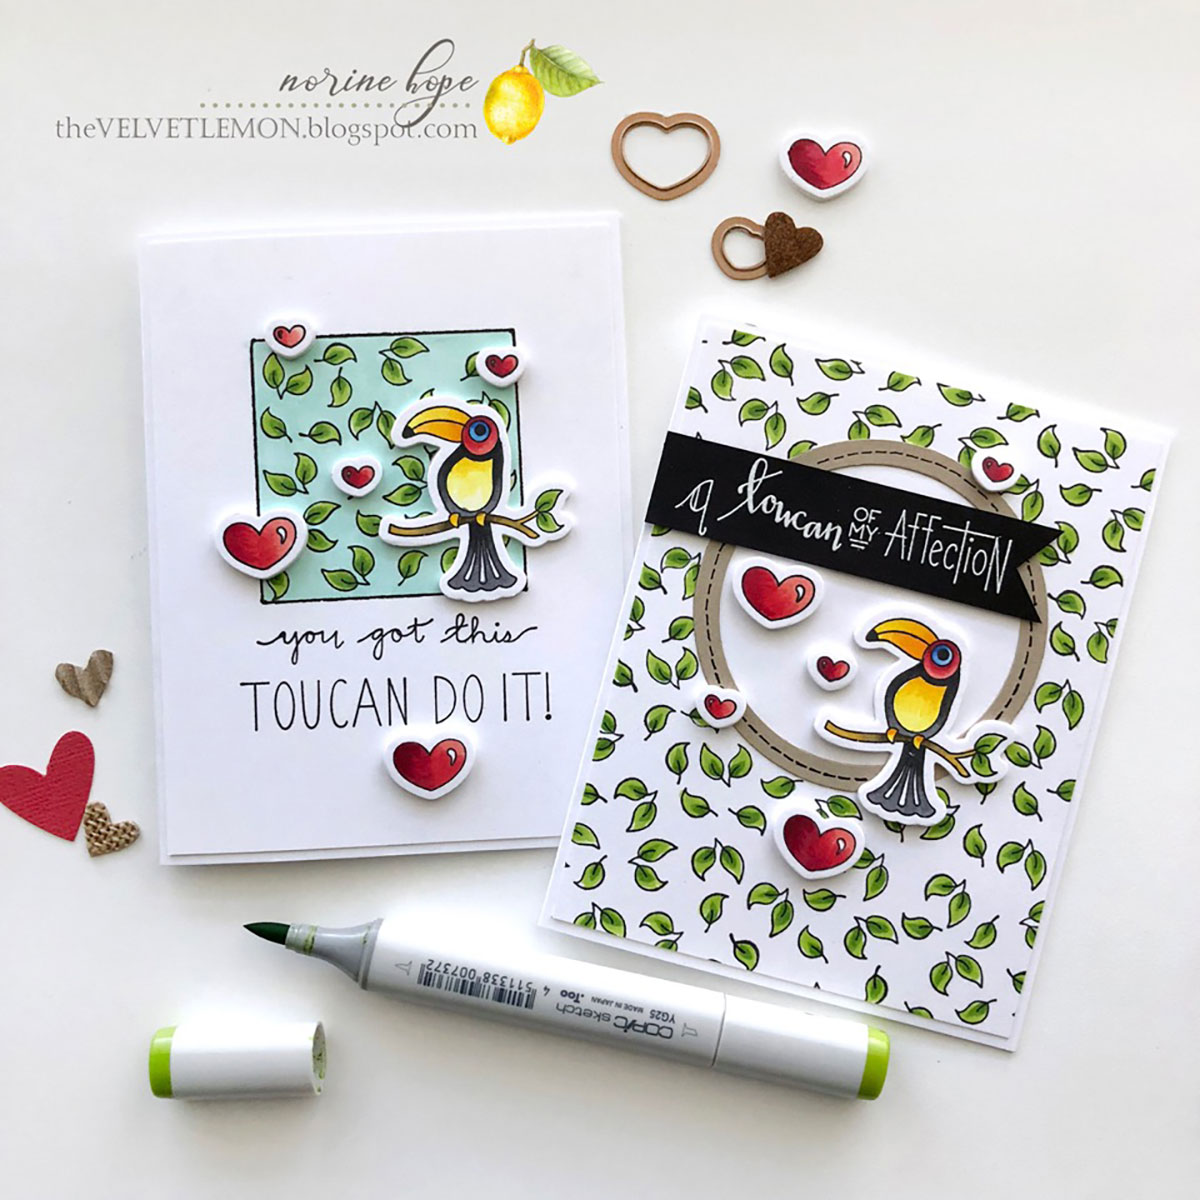
Hello again Spellbinder friends and fans!  Norine Borys from The Velvet Lemon back again!  I have loved being here on the blog this week, and I consider it a privilege to share with you the projects I’ve created with the new collection Perfect Match by Debi Adams, which was so generously provided by Spellbinders Paper Arts!  See here and here for my previous posts using this collection. Perfect Match Collection by Debi Adams- Inspiration Friends of a Feather with Norine for Spellbinders using: S4-116 - Standard Circles Small SDS-126 - Friends of a Feathers  #spellbinders #neverstopmaking #cardmaking #diecutting #handmadecard   Today’s cards feature the stamp and die set called Friends of a Feather! And again with the cute puns! They just don’t get old! This set is perfect for making encouragement cards and cards expressing love and affection! This time I pulled out and dusted off the Copic markers. They were feeling a little neglected I think.
Perfect Match Collection by Debi Adams- Inspiration Friends of a Feather with Norine for Spellbinders using: S4-116 - Standard Circles Small SDS-126 - Friends of a Feathers  #spellbinders #neverstopmaking #cardmaking #diecutting #handmadecard  

Perfect Match Collection by Debi Adams- Inspiration Friends of a Feather with Norine for Spellbinders using: S4-116 - Standard Circles Small SDS-126 - Friends of a Feathers  #spellbinders #neverstopmaking #cardmaking #diecutting #handmadecard  

Perfect Match Collection by Debi Adams- Inspiration Friends of a Feather with Norine for Spellbinders using: S4-116 - Standard Circles Small SDS-126 - Friends of a Feathers  #spellbinders #neverstopmaking #cardmaking #diecutting #handmadecard  

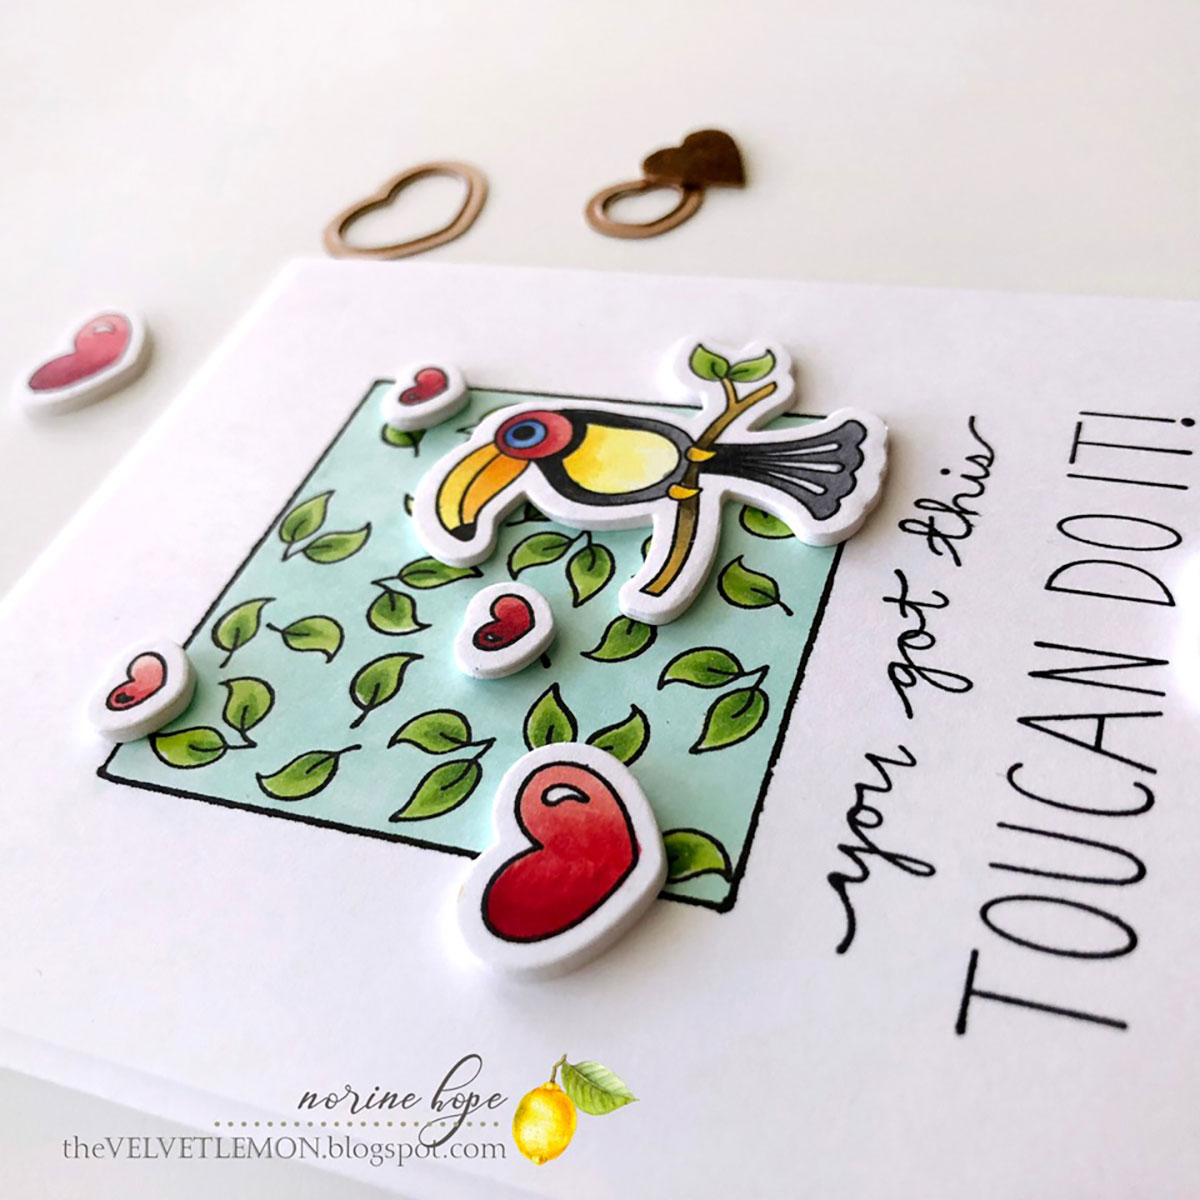
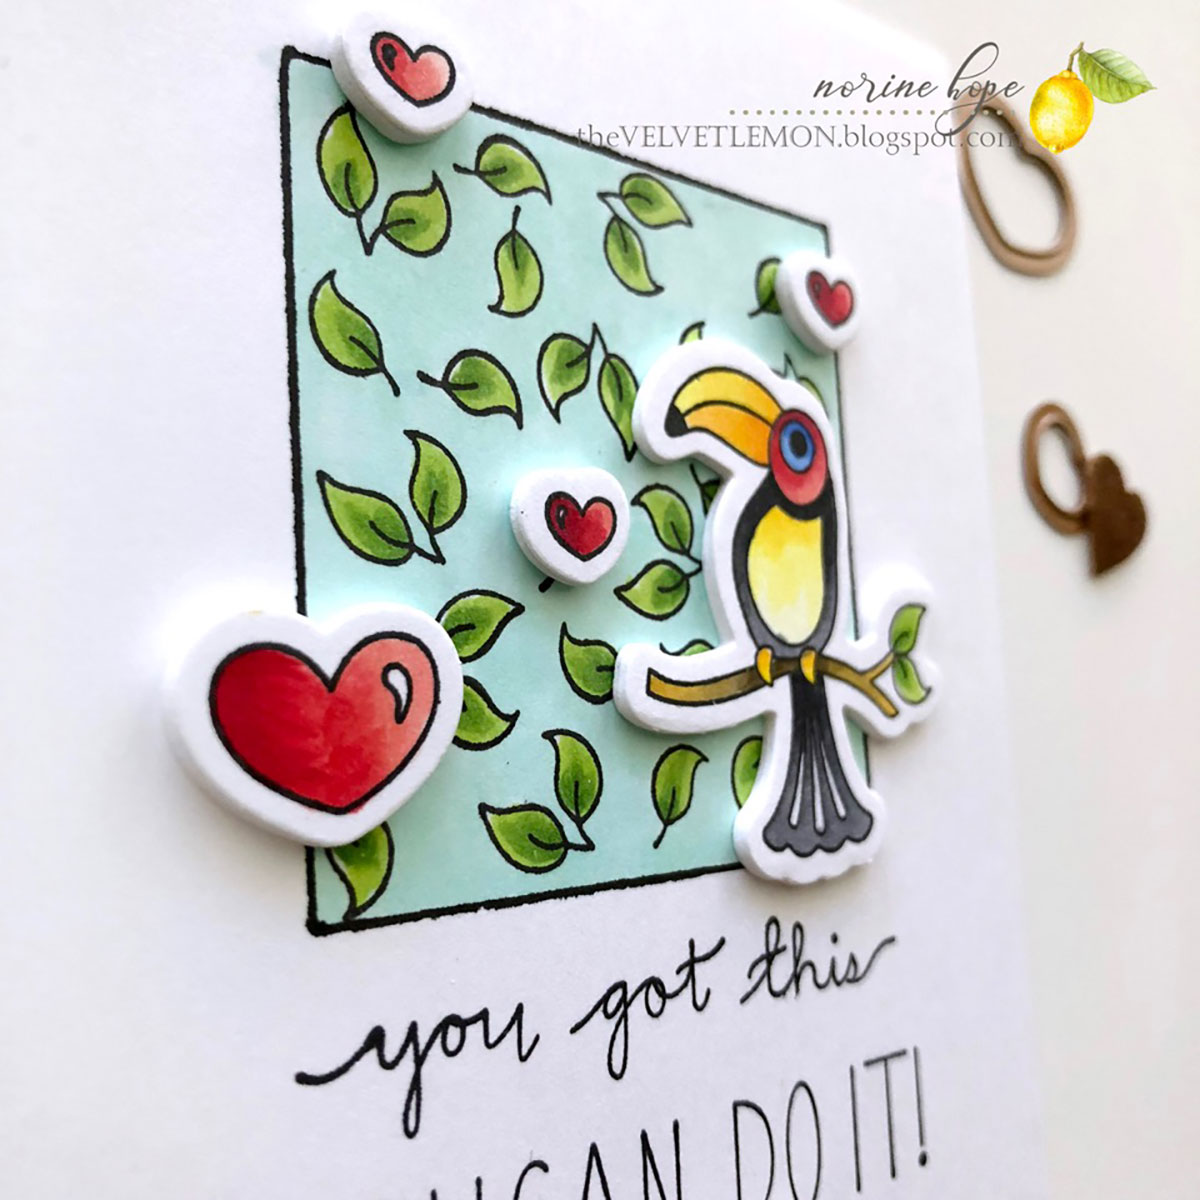
This card was created by first cutting a square window from some masking paper, with the Classic Squares Lg dies. I laid down the positive portion of the die-cut square onto a piece of Neenah Solar White card stock, in the exact position where I wanted it to be placed. Then I laid the surrounding negative portion down around the square. I did it this way, because I found that just laying the negative outside portion down by eyeball was not a good guarantee of it being centered or straight. Then I removed the inner portion of masking paper and filled the square opening with randomly stamped leaf images. I stamped with Simon Says Intense black ink - suitable for coloring with Copic markers. Before removing the outside mask, I used the inner edges of the paper to draw a black square. After removing the outside mask, I filled in the square with Copic ink. Then I lined up the two sentiments, one at a time, and stamped the sentiments.  (I love the combination of cursive and printed lettering). On a second piece of Neenah Solar White cardstock, I stamped a variety of hearts and the Toucan. I colored those in with Copic markers as well, referring to online images of Toucans to get some idea of correct coloration. Then I die-cut the colored images, plus three more layers of each of the hearts and the bird. I layered those die-cuts together with Tombow Mono Multi Liquid adhesive and adhered each to the card front. Finally, I adhered the card front to a card base of Neenah Solar White cardstock.

Perfect Match Collection by Debi Adams- Inspiration Friends of a Feather with Norine for Spellbinders using: S4-116 - Standard Circles Small SDS-126 - Friends of a Feathers  #spellbinders #neverstopmaking #cardmaking #diecutting #handmadecard  

Perfect Match Collection by Debi Adams- Inspiration Friends of a Feather with Norine for Spellbinders using: S4-116 - Standard Circles Small SDS-126 - Friends of a Feathers  #spellbinders #neverstopmaking #cardmaking #diecutting #handmadecard  

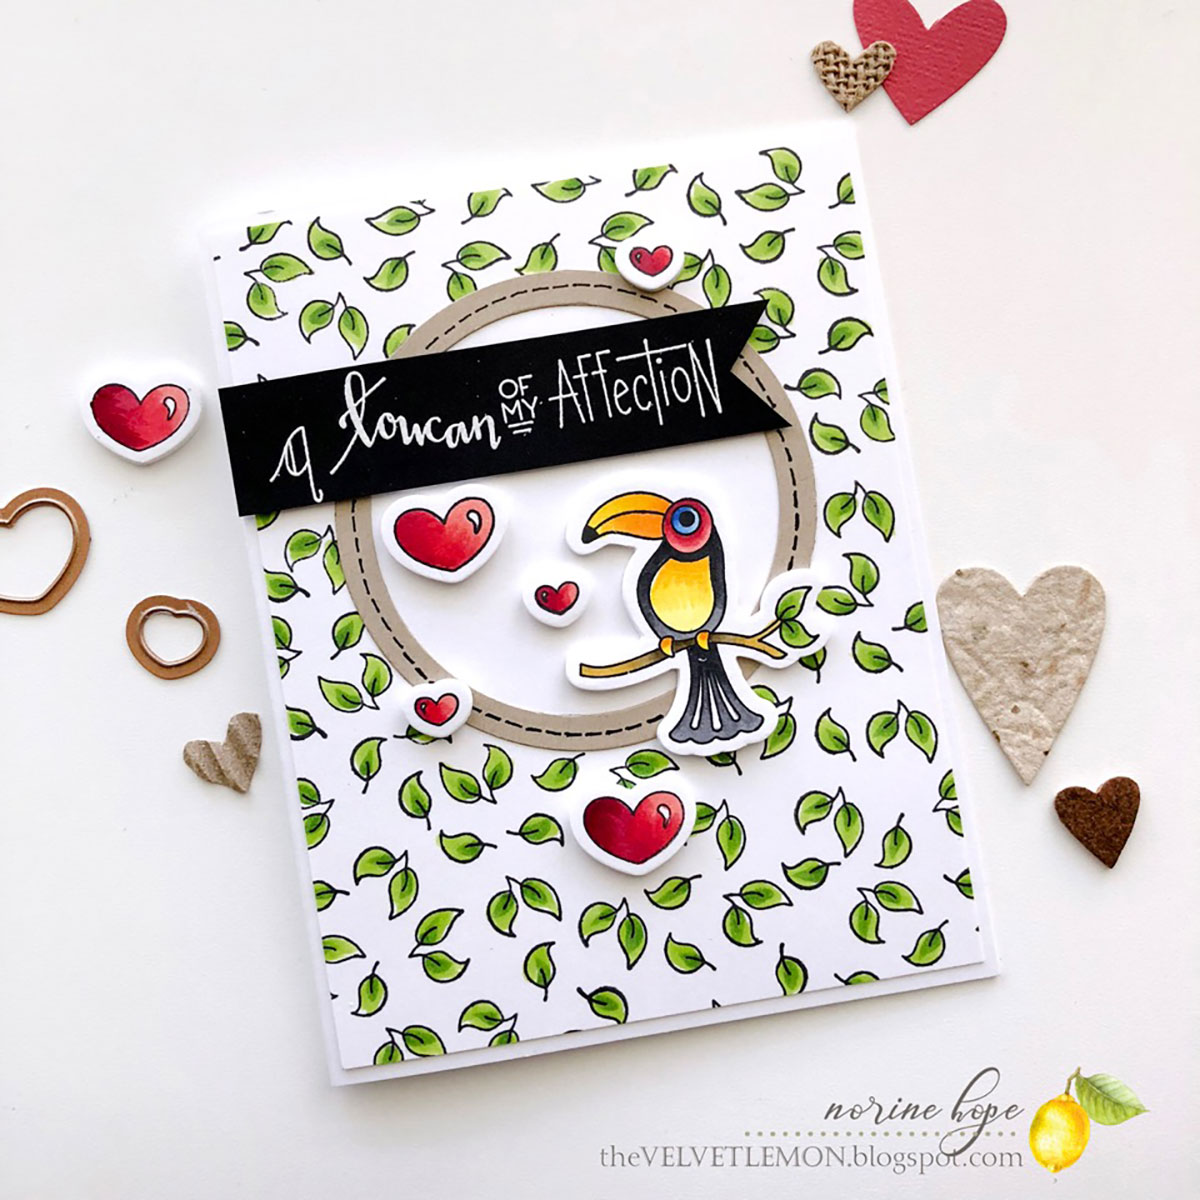
This last card might be my favorite from the whole week! For this card I did the reverse of what I’ve described above with the masking paper. I cut a circle from the masking paper using the Standard Circle dies, Sm. I placed that mask where I wanted the circle to be left bare. Then I filled in around the circle by stamping with the same two mini leaf stamps that I used on the card above. I colored all of the leaves, but this time I left the background white. Next I used 2 of the Standard Circle dies to cut a narrow circle frame from kraft cardstock, and drew a stitched line around the circle with a Copic Multiliner pen. I adhered the frame in place over the colored leaves background, framing the opening. Then I stamped the Toucan and several of the hearts onto Neenah Solar White cardstock. I colored each with Copic markers and die-cut them when finished. Once again, I die-cut 3 extra layers of cardstock or, in a few cases, a single layer of white fun foam. I glued each layer on top of each other and finally onto the card front itself.  This time, I stamped the sentiment onto black cardstock with Versafine ink and white embossing powder to heat emboss. I cut the sentiment strip into a fishtail banner and adhered it across the top of the stamped and colored card front.

Spellbinders Supplies:

Other Supplies:

Neenah Solar White card stock, Neenah Desert Storm card stock,  Copic markers, Simon Says Intense Black ink, Eclipse masking paper. This completes my week of guest blogging for Spellbinders!  I’ve been so grateful for the generosity of both product and spirit shown by each one I’ve been in contact with!  And I’ve loved working with the Perfect Match Collection, with it’s wonderfully simple drawings and cute puns! Thank you Spellbinders for inviting me, and thank YOU readers for stopping by today to see what I’ve created!  I hope my projects have inspired you in some way! SaveSave

Leave a comment

Your email will not be published. Please note, comments need to be approved before they are published.

4 comments

BeverlyBL,

Your cards are so cute, and I love your leafy backgrounds.

Rubeena Ianigro,

These are the CUTEST, Norine!! Love what you did with the products!

Pooja,

Wonderful cards !!

Susie Lessard,

We love puns at our house! Norine, you did a great job with these cards – love em’!


  • How to Color BetterPress Scenes with Watercolor and Colored Pencils, BP-383, STNB-020, DC378

    AF724

    How to Color BetterPress Scenes with Watercolor and Colored Pencils

    Want to move beyond simple ink blending when using layering stencils? In this tutorial, you'll learn how to combine BetterPress printing, stencil coloring, watercolor painting, and colored pencil shading to create a detailed scenic card. By mixing coloring mediums, you can build additional texture, depth, and realism while using supplies you may already have in your craft room. This project features the Scenic Kyoto Press...

  • How to Use Reverse Foiling for Elegant Christmas Cards, BP-345, BP-314, S4-1452, BP-312, S5-526, S5-647

    BP-312

    How to Use Reverse Foiling for Elegant Christmas Cards

    Get more from your hot foil supplies by learning how to use the reverse foiling technique. In this step-by-step Christmas card tutorial, you'll create a beautiful snowflake background using leftover foil, then pair it with a dimensional poinsettia arrangement and festive sentiment. Reverse foiling is a fantastic way to reduce waste while creating an entirely different look from your original foiled design. Using the A2...

  • How to Make Felt Christmas Ornaments with Festive Felt Dies, S7-302, S7-303, S7-305, PE-104

    Categories:Die Cutting

    How to Make Felt Christmas Ornaments with Festive Felt Dies

    Create charming handmade felt Christmas ornaments using the Festive Felt Christmas Dies by Lollie & Grace. In this step-by-step tutorial, you'll learn how to die-cut felt, assemble layered ornament designs, add decorative stitching, embellish with sequins and beads, and finish your ornaments with hanging loops for Christmas decorating. This project is perfect for holiday crafters who enjoy working with felt and creating handmade decorations. These festive...