Royal Flourish Inspiration | Foiled Cards with Hussena
on June 15, 2019

Royal Flourish Inspiration | Foiled Cards with Hussena

Hello everyone! This is Hussena from Quill and Punch Works and I am honored to be a guest designer today for Spellbinders! Today I have three projects to share with you using the Royal Flourish Collection by Becca Feeken. I am totally in love with the elegant designs of this collection and am so excited to show you my projects using it! Royal Flourish Collection by Becca Feeken is a beautiful grouping of delicate ornamentation of dots, floral and flourish designs to create that touch of elegance into your projects. Here is a look at my first project which features the Petite Looking Glass Frame Glimmer Hot Foil Plate.

Royal Flourish Inspiration | Foiled Cards with Hussena

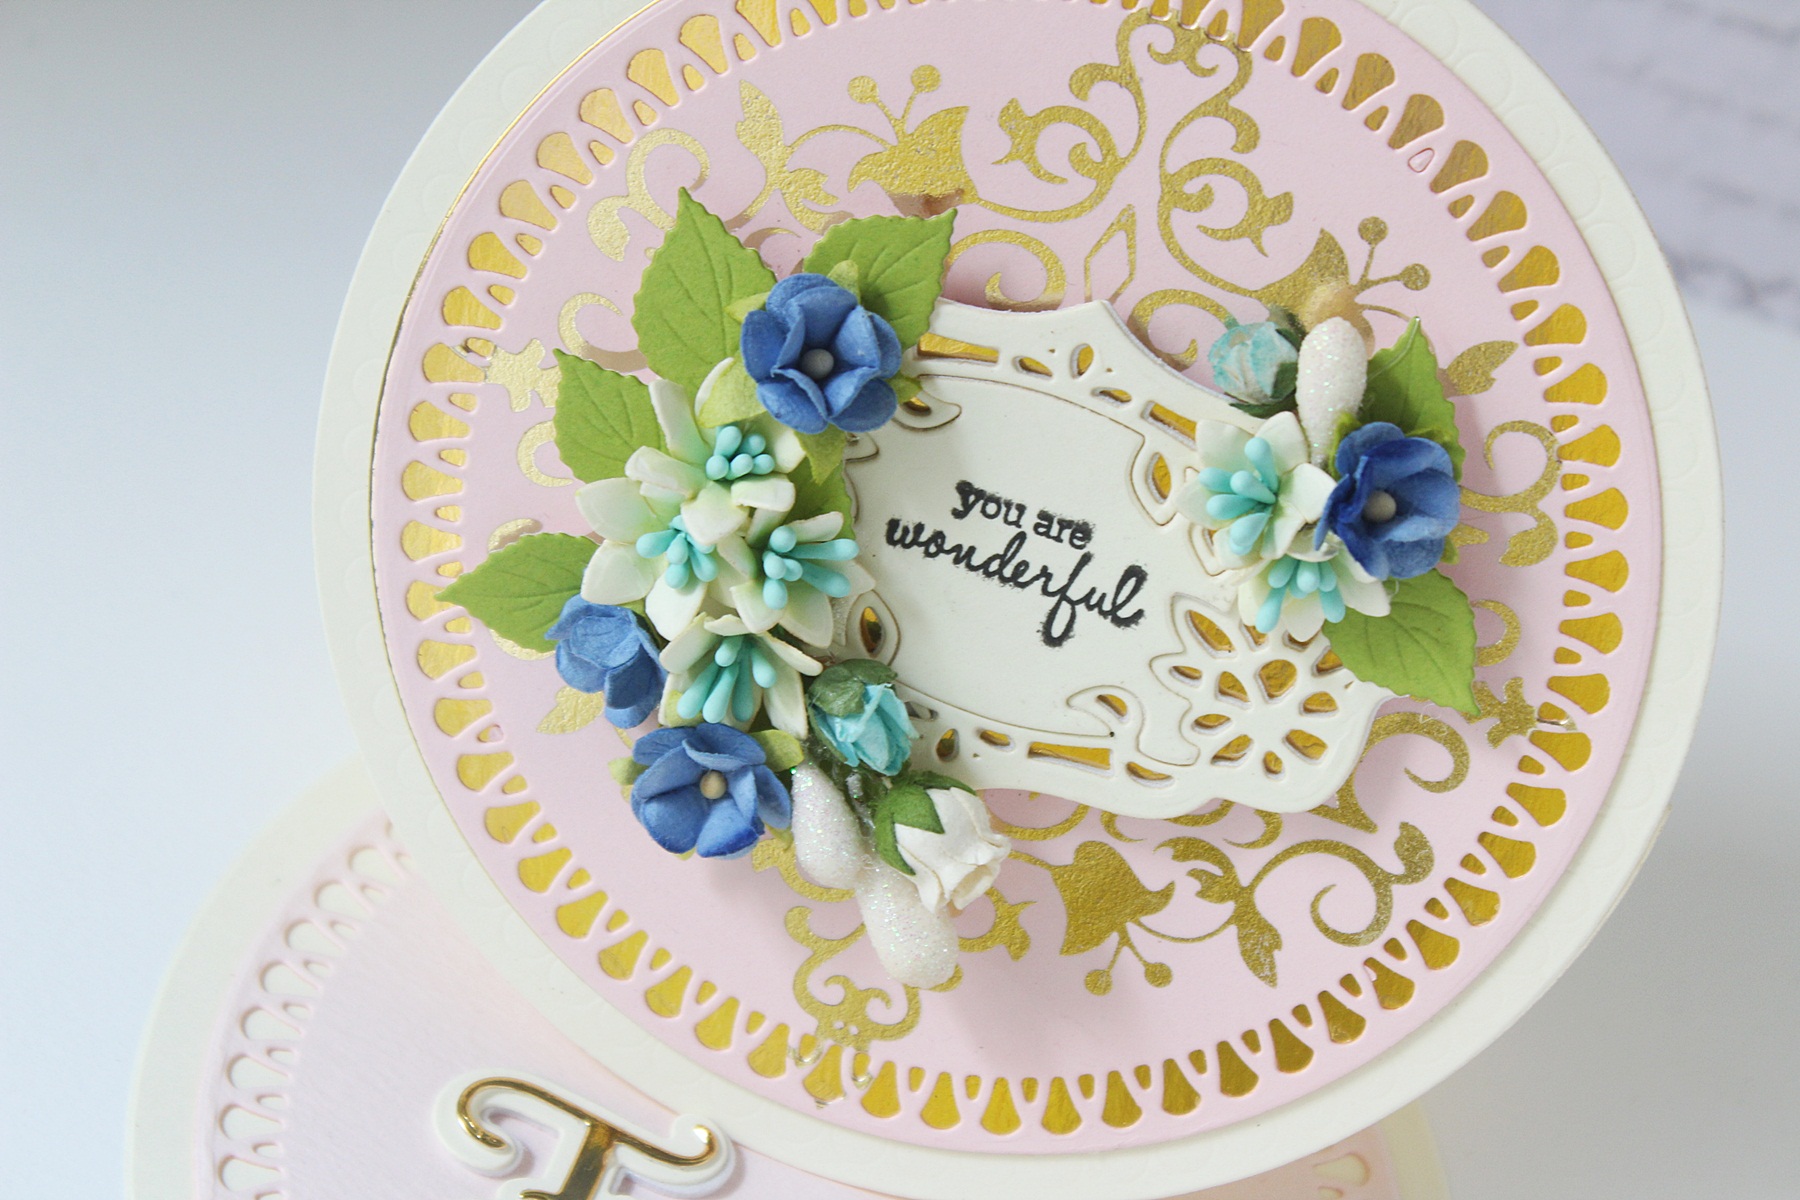
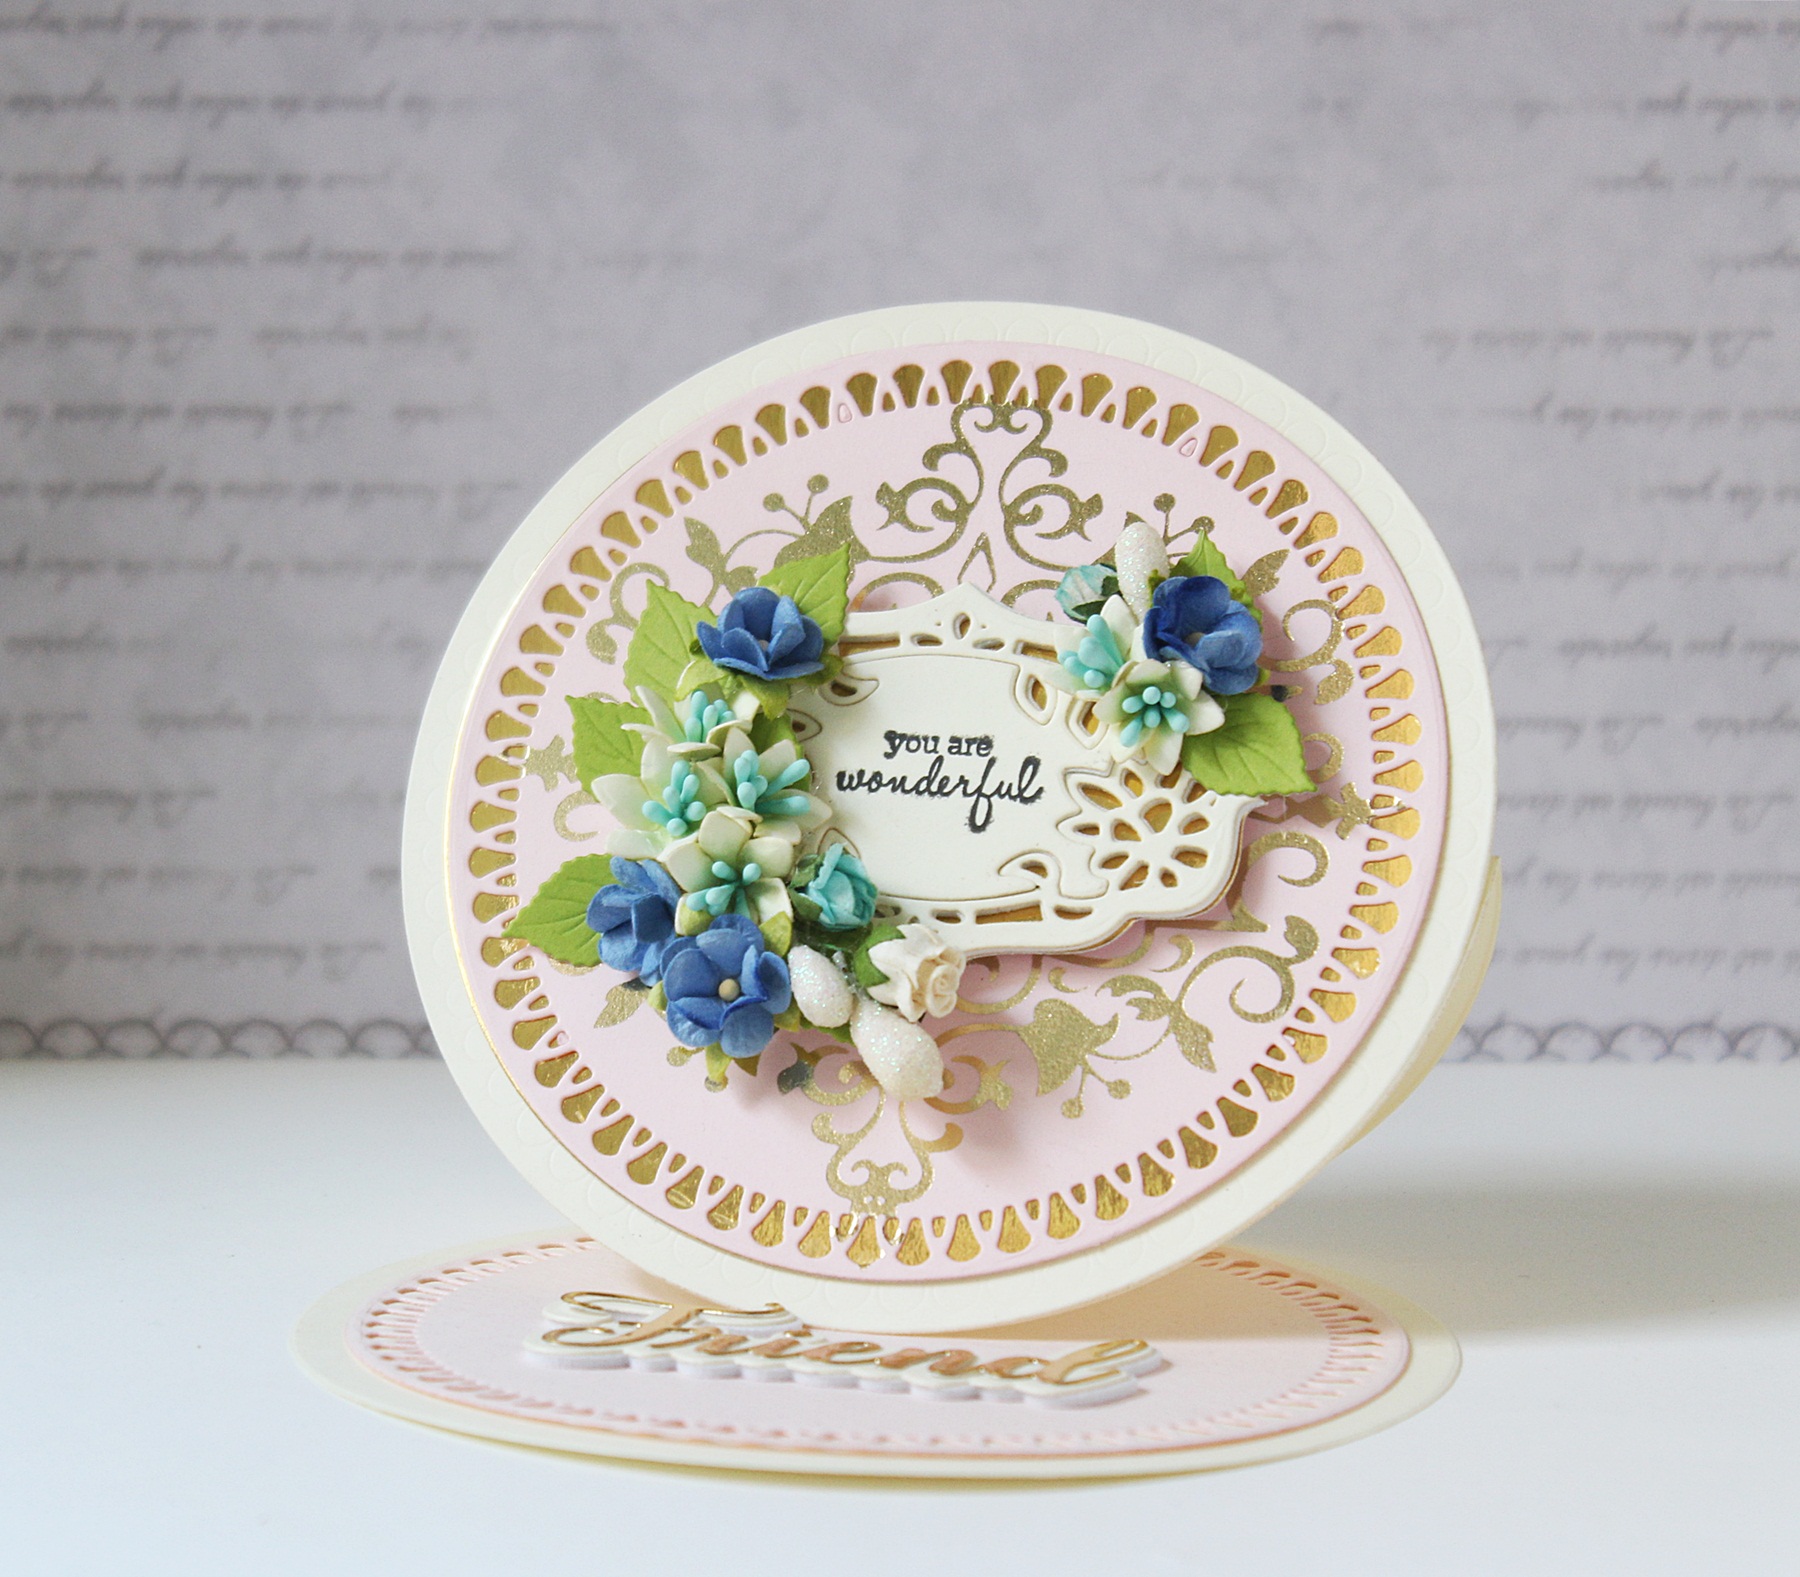
This was my first time making a Circle Easel Card and I am happy with the way it has turned out. To begin, I first die cut the large circle die from the Tiffany Lavaliere Dies using Buttercream Cardstock. Next, I die cut the coordinating design from the Brillante Rondelle Dies using Pink Cardstock. I layered this pink circle die cut with Gold Mirror Cardstock at the back so that I would get a foiled effect.

Royal Flourish Inspiration | Foiled Cards with Hussena

Once that was done, I started working on the focal for my card. I used the Petite Looking Glass Frame Glimmer Hot Foil Plate and Glimmer Hot Foil Roll - Gold to foil the design on my card panel. To embellish the center of the panel, I die cut the decorative label from the Antiquities Square Dies using Cream Cardstock. I die cut this 4-5 times so that I could adhere all the die cuts together to achieve a raised look. The sentiment comes from the Fun Stampers Journey Text Happy Stamp Set.

Royal Flourish Inspiration | Foiled Cards with Hussena

Here is a look at the Easel Card once it's opened. I die cut the word 'Friend' from Gold Mirror Cardstock and Buttercream Cardstock., as well as, White Fun Foam and layered them as shown below. This is actually a word die included in the Amazing Paper Grace April Die of the Month set.

Royal Flourish Inspiration | Foiled Cards with Hussena

I used a couple of Mulberry Retro flowers and handmade filler flowers to embellish the die cut frame. I also added some rose buds and green leaves to complete the floral arrangement. Here is a closer look at the flowers and the gorgeous foil.

Royal Flourish Inspiration | Foiled Cards with Hussena

And here's a final picture of this card. I hope I haven't bored you with so many pictures, but I wanted to show how it looks from different angles.

Royal Flourish Inspiration | Foiled Cards with Hussena

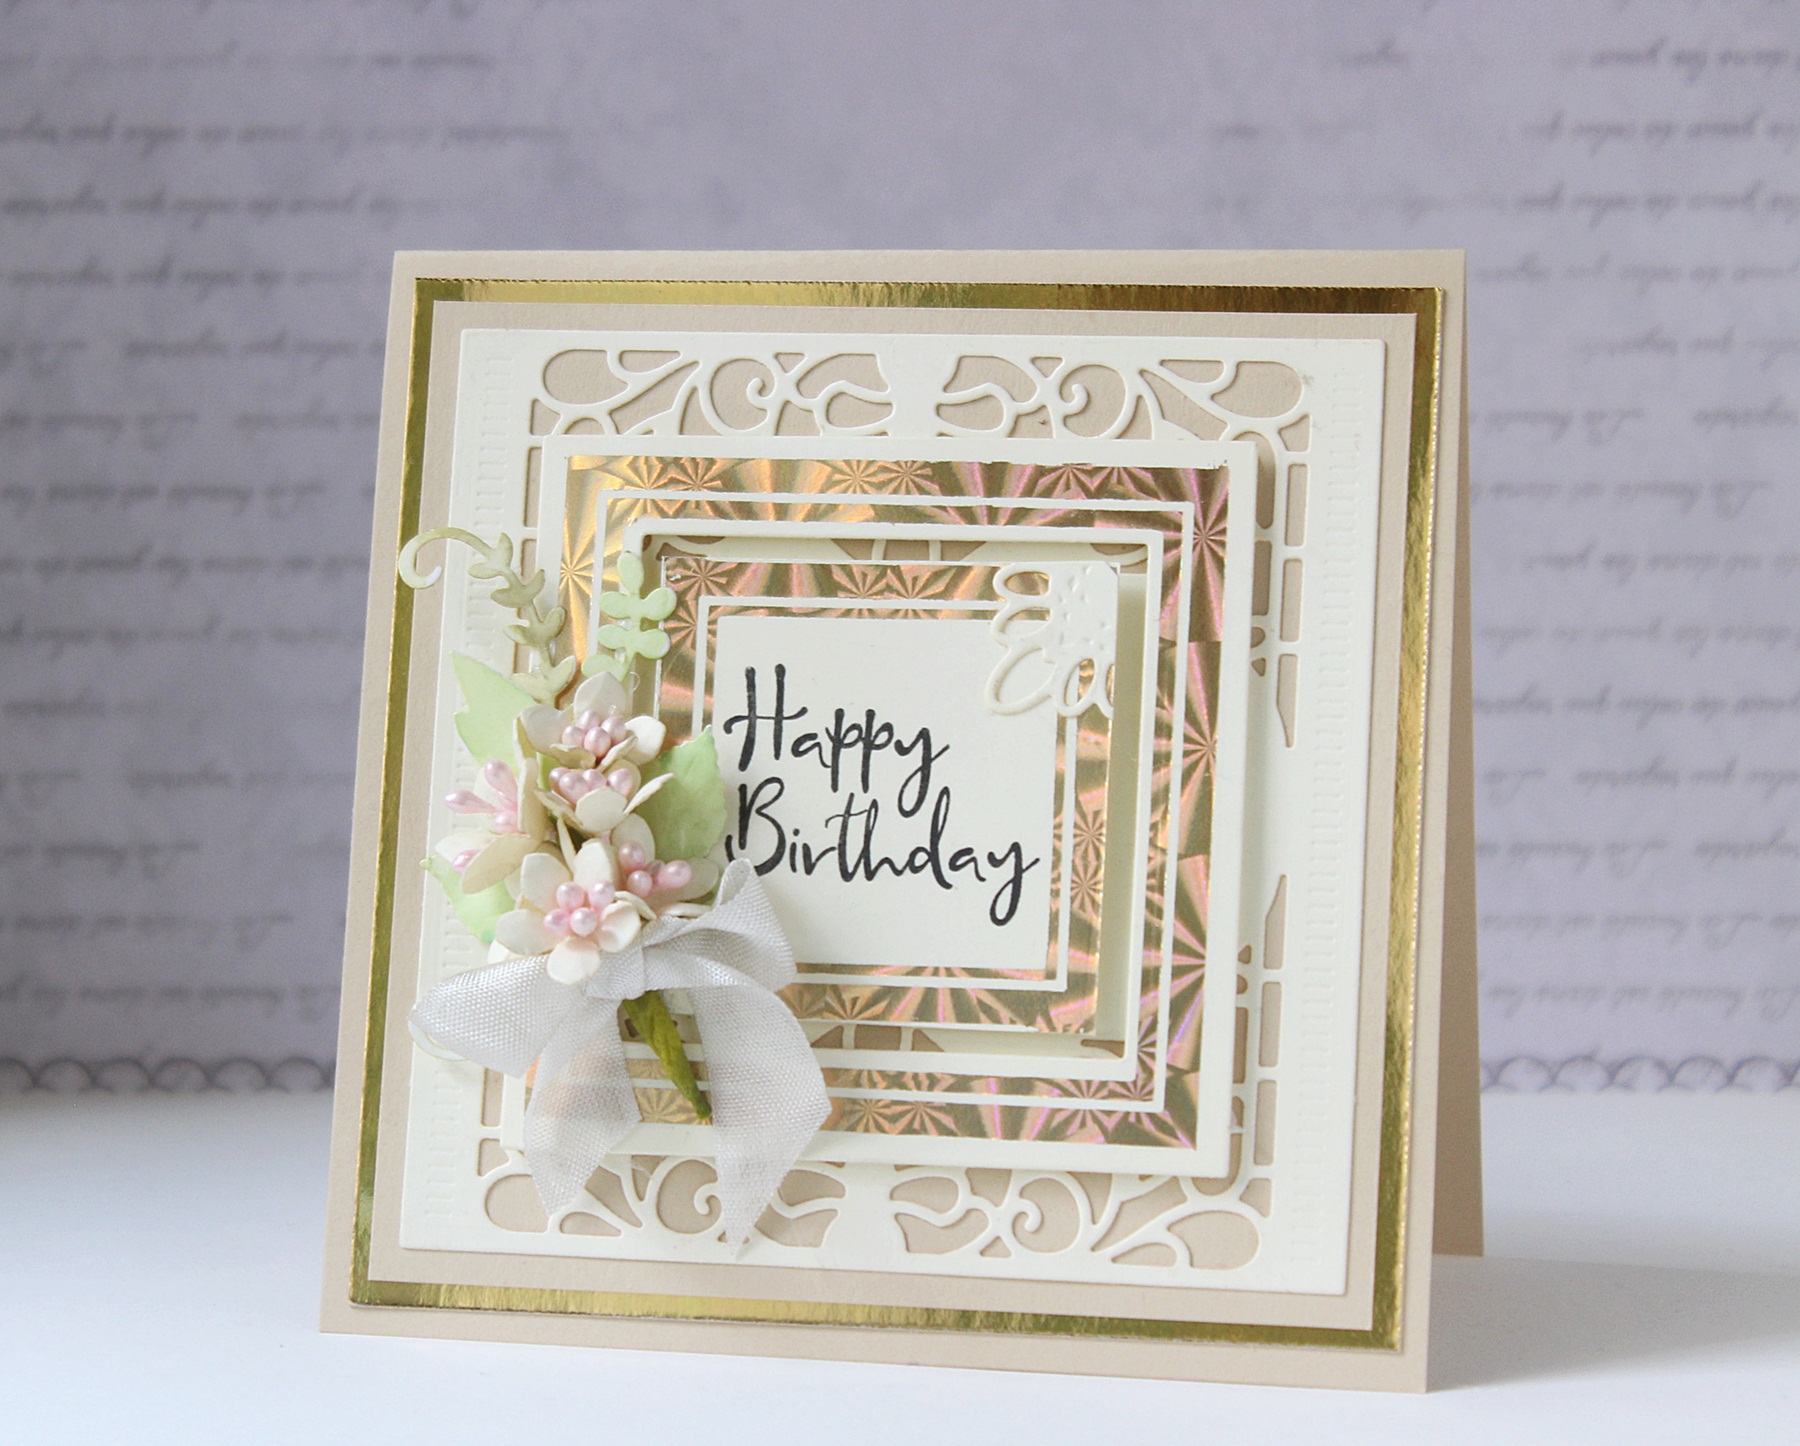
Moving on to my second card which uses the Crowned Rimmed Squares Glimmer Hot Foil Plate. It's been a while since I made Square Cards and the Crowned Rimmed Squares Glimmer Hot Foil Plate was the perfect opportunity to create one! This card is also different from my usual cards, in the sense, that there's no dimension whatsoever on it apart from the dimensional flowers. I have tried to keep it pretty clean and simple.

Royal Flourish Inspiration | Foiled Cards with Hussena

To create this card, I first die cut the decorative pattern die from the Antiquities Square Dies using Buttercream Cardstock. Then, I used the Crowned Rimmed Squares Glimmer Hot Foil Plate with the Glimmer Hot Foil Roll - Starburst to foil the square frames on my card panel. Next, I die cut these squares and mounted them over the intricate die cut pattern. I really love the pattern on the foil and think it adds some great interest to the otherwise plain card design.

Royal Flourish Inspiration | Foiled Cards with Hussena

I used the 'Happy Birthday' sentiment from the Fun Stampers Journey Inside & Out Stamp Set to stamp in the centre of the foiled squares. To embellish the panel, I added a small floral cluster to the left and some filler leaves and vines. I also created a bow using Seam Binding Ribbon and adhered it over the floral cluster for a finishing touch.

Royal Flourish Inspiration | Foiled Cards with Hussena

For my last card for today, I combined the Imperial Adorned Ovals Glimmer Hot Foil Plate and The Contessa's Seal Panel Glimmer Hot Foil Plate. To create this card, I started by foiling the elegant outer frame of The Contessa's Seal Panel Glimmer Hot Foil Plate using Glimmer Hot Foil Roll - Gold on White Cardstock. The foiled frame made the card look very rich and I didn't want to cover it up with too many layers or embellishments.

Royal Flourish Inspiration | Foiled Cards with Hussena

Next, I die cut a decorative frame from the Brillante Rondelle Dies using Pink Cardstock and White Fun Foam. I adhered that over the foiled panel and added another foiled oval piece over it. This oval was foiled using the Imperial Adorned Ovals Glimmer Hot Foil Plate. I then added my sentiment strip over it which was matted on Gold Mirror Cardstock.

Royal Flourish Inspiration | Foiled Cards with Hussena

Here's a picture showing you the dimension on this card. I also love that shiny gold foil.

Royal Flourish Inspiration | Foiled Cards with Hussena

The flowers on this card are handmade by me using the Shapeabilities Amazing Paper Grace Cinch and Go Flowers Etched Dies. I die cut them from pink cardstock, embossed the petals, and added pearl pollens to the centres. The leaves were lightly inked using green dye ink and are from the Cinch and Go Flowers III Etched Dies. I added a small flower on the left side as well to complete the card.

Royal Flourish Inspiration | Foiled Cards with Hussena

Spellbinders Supplies:

Other Supplies

Neenah Solar White 110 LB cardstock, Cream Linen Textured 12 x 12 Cardstock, Light Pink Textured Cardstock, White Fun Foam; Ink: Versafine Stamp Pad Onyx Black Ink, Adhesive: Scrapbook Adhesives 3D Foam Squares, Tombow Mono Multi Liquid Glue, Double Sided Foam Tape, Mini Glue Gun; McGill Inc. Paper Blossoms Tool kit, Pearl Pollens, Clay Pollens, Micro Rose Buds, Filler Flowers. I hope you liked my creations! If you did, please let me know which one is your favourite! :) To see more of my work with Spellbinders products, do visit me on my Instagram and subscribe to my Blog. Have a wonderful day ahead!

Leave a comment

Your email will not be published. Please note, comments need to be approved before they are published.

2 comments

Dorothy Reynaga,

Your card is absolutely gorgeous. You are so creative. I loved the color scheme & everything.

nancy f,

Beautiful card and your flowers are amazing!


  • How to Color BetterPress Scenes with Watercolor and Colored Pencils, BP-383, STNB-020, DC378

    AF724

    How to Color BetterPress Scenes with Watercolor and Colored Pencils

    Want to move beyond simple ink blending when using layering stencils? In this tutorial, you'll learn how to combine BetterPress printing, stencil coloring, watercolor painting, and colored pencil shading to create a detailed scenic card. By mixing coloring mediums, you can build additional texture, depth, and realism while using supplies you may already have in your craft room. This project features the Scenic Kyoto Press...

  • How to Use Reverse Foiling for Elegant Christmas Cards, BP-345, BP-314, S4-1452, BP-312, S5-526, S5-647

    BP-312

    How to Use Reverse Foiling for Elegant Christmas Cards

    Get more from your hot foil supplies by learning how to use the reverse foiling technique. In this step-by-step Christmas card tutorial, you'll create a beautiful snowflake background using leftover foil, then pair it with a dimensional poinsettia arrangement and festive sentiment. Reverse foiling is a fantastic way to reduce waste while creating an entirely different look from your original foiled design. Using the A2...

  • How to Make Felt Christmas Ornaments with Festive Felt Dies, S7-302, S7-303, S7-305, PE-104

    Categories:Die Cutting

    How to Make Felt Christmas Ornaments with Festive Felt Dies

    Create charming handmade felt Christmas ornaments using the Festive Felt Christmas Dies by Lollie & Grace. In this step-by-step tutorial, you'll learn how to die-cut felt, assemble layered ornament designs, add decorative stitching, embellish with sequins and beads, and finish your ornaments with hanging loops for Christmas decorating. This project is perfect for holiday crafters who enjoy working with felt and creating handmade decorations. These festive...