Shadowbox Collection Inspiration | Scrapbook Shadowboxes with Kathleen Graumüller
on February 02, 2019

Shadowbox Collection Inspiration | Scrapbook Shadowboxes with Kathleen Graumüller

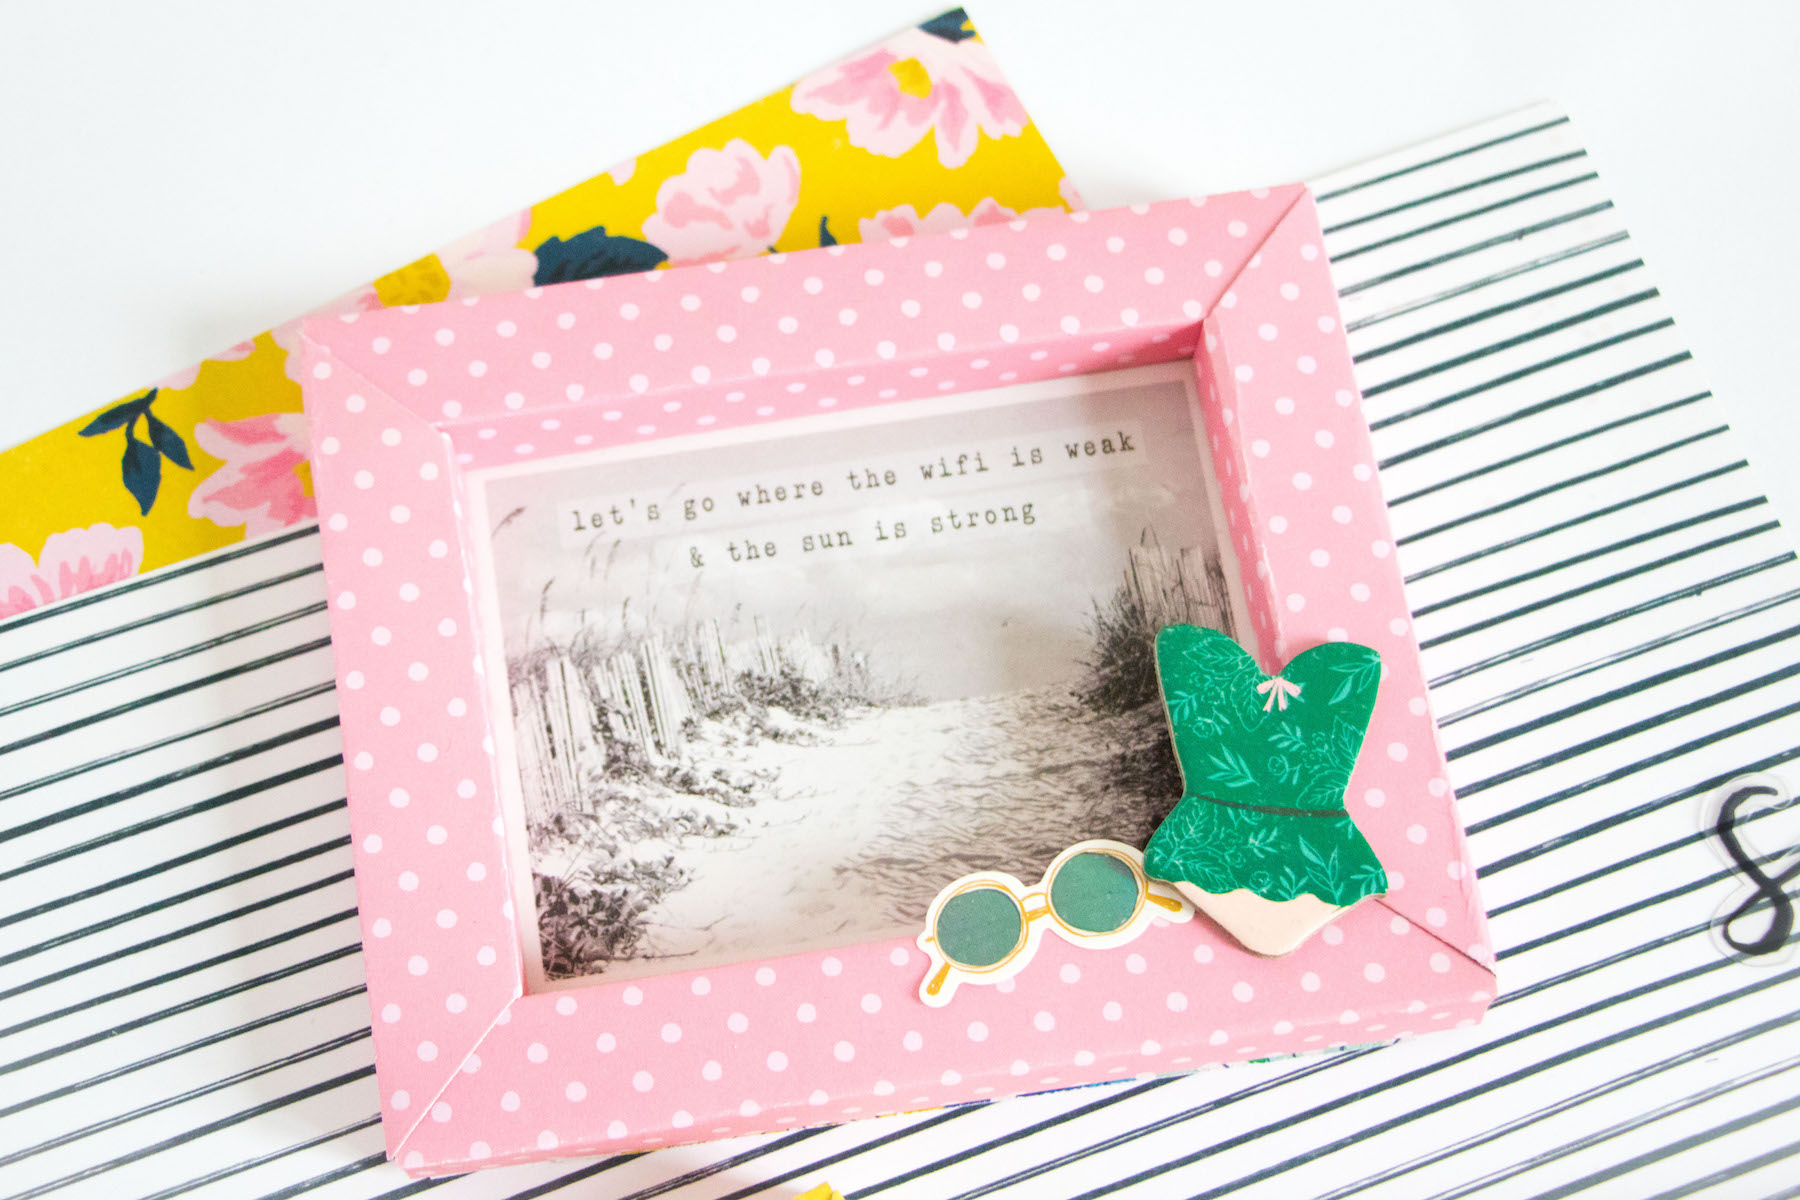
Hey there Spellbinders fans! I’m Kathleen, aka Scattered Confetti, and I am very happy to be here on the Spellbinders blog to share some of my projects with you! I got to work with the beautiful Shadow Box collection by Becca Feeken and created a set of shadow boxes with them that would work with my style. That’s what I love about dies, they allow you to really express your creativity and your very own style! Just by changing the paper and designs you use with the dies and by combining them in a different way, you can give a whole new look to a certain product.
Shadowbox Collection by Becca Feeken - Inspiration | Scrapbook Shadowboxes with Kathleen Graumüller for Spellbinders

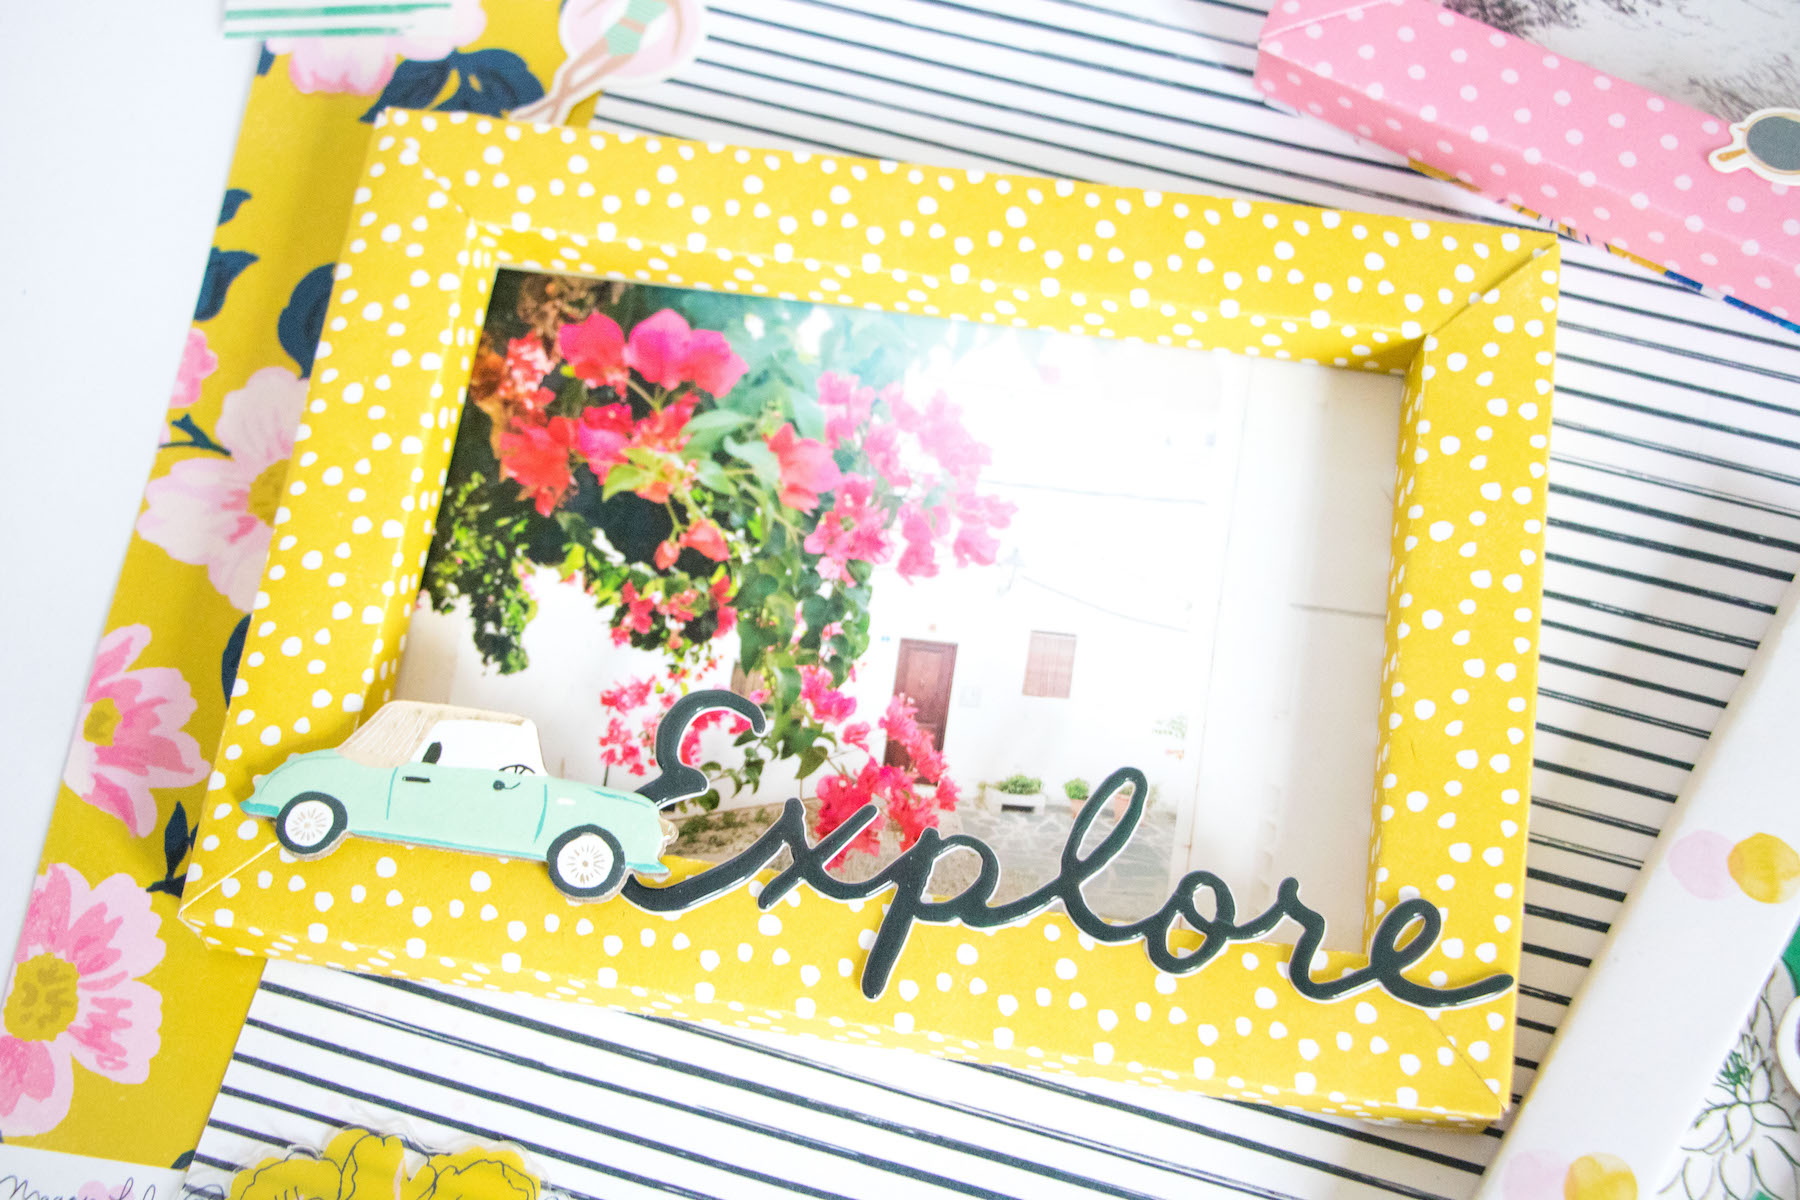
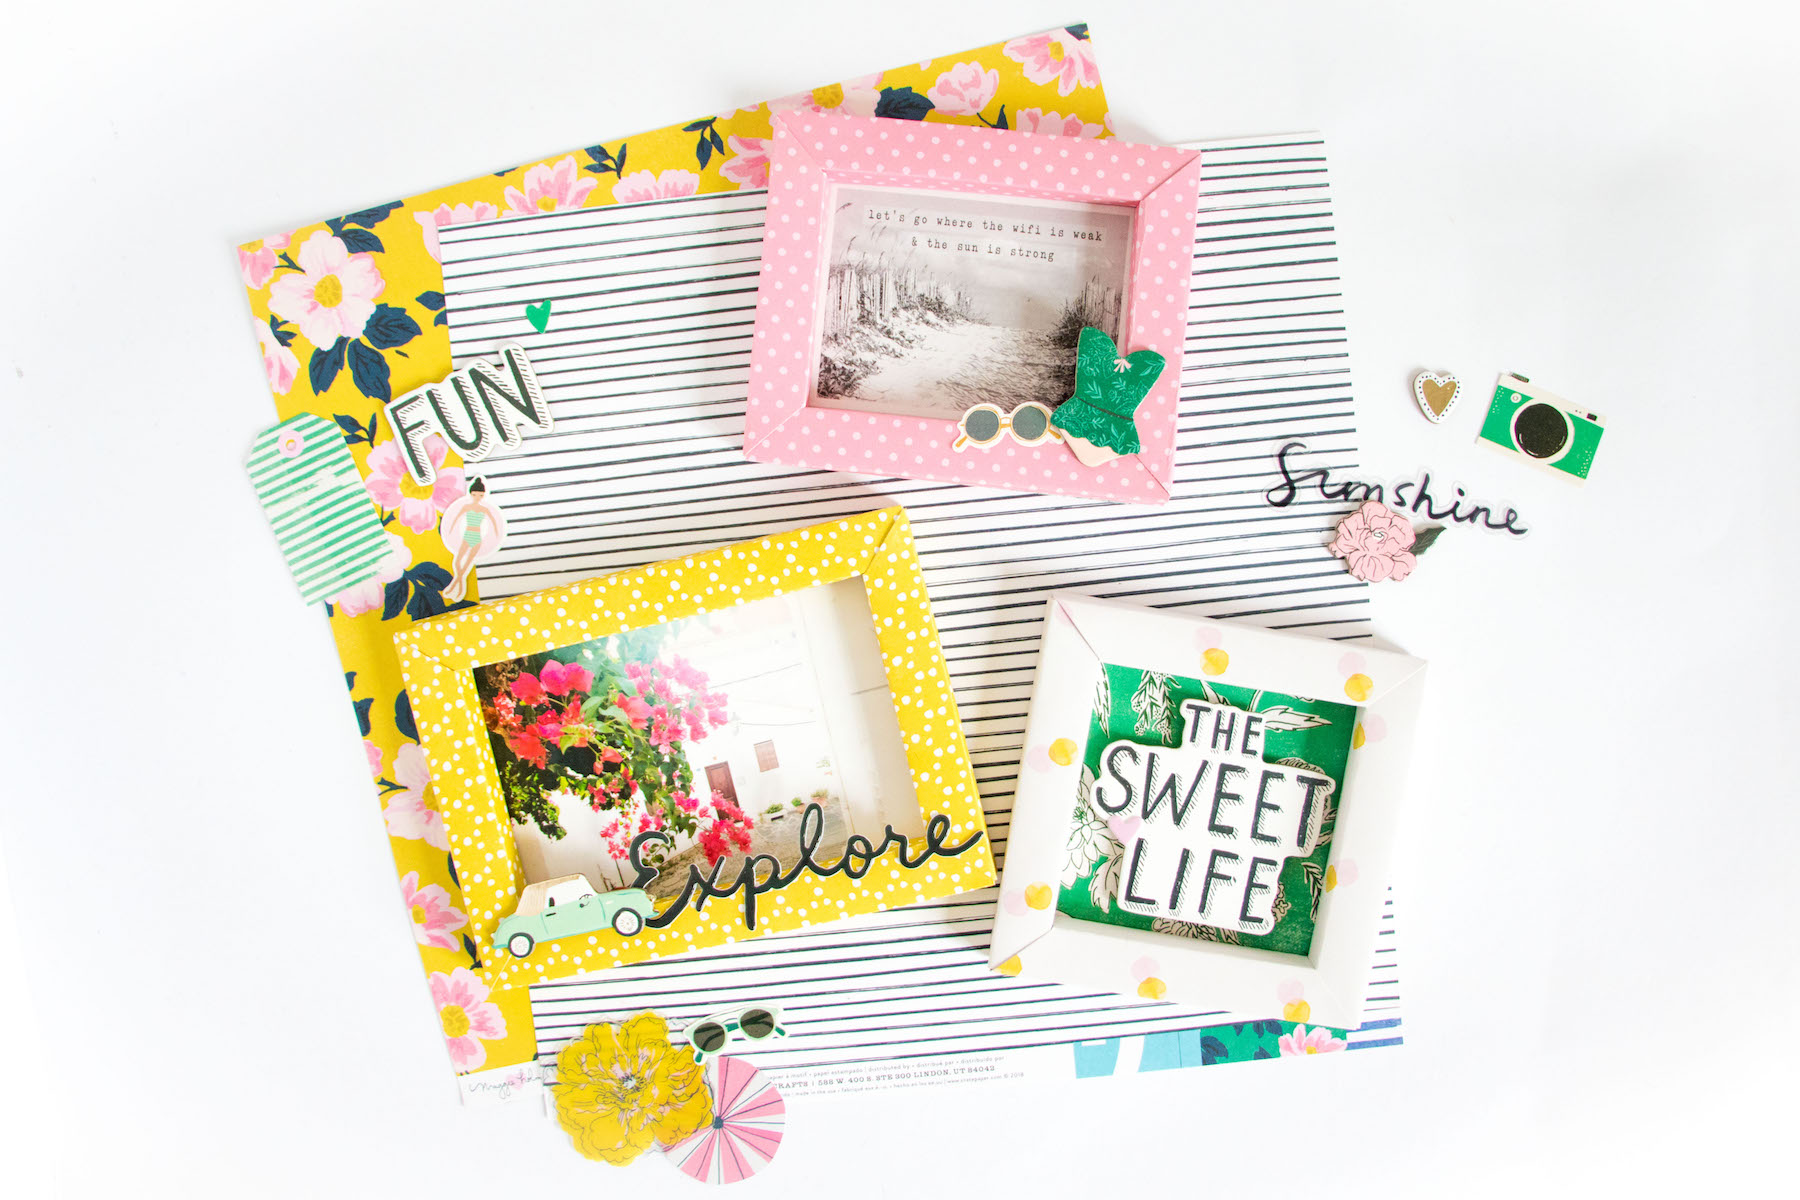
As soon as I saw the different sizes of dies for creating a shadow box, I knew I wanted to use them to create frames for some of my most favorite vacation photos. The new Sunny Days collection by Maggie Holmes matched the colors in my photos really well, so I chose three different patterned papers that coordinated with the photos and with each other.

Shadowbox Collection by Becca Feeken - Inspiration | Scrapbook Shadowboxes with Kathleen Graumüller for Spellbinders

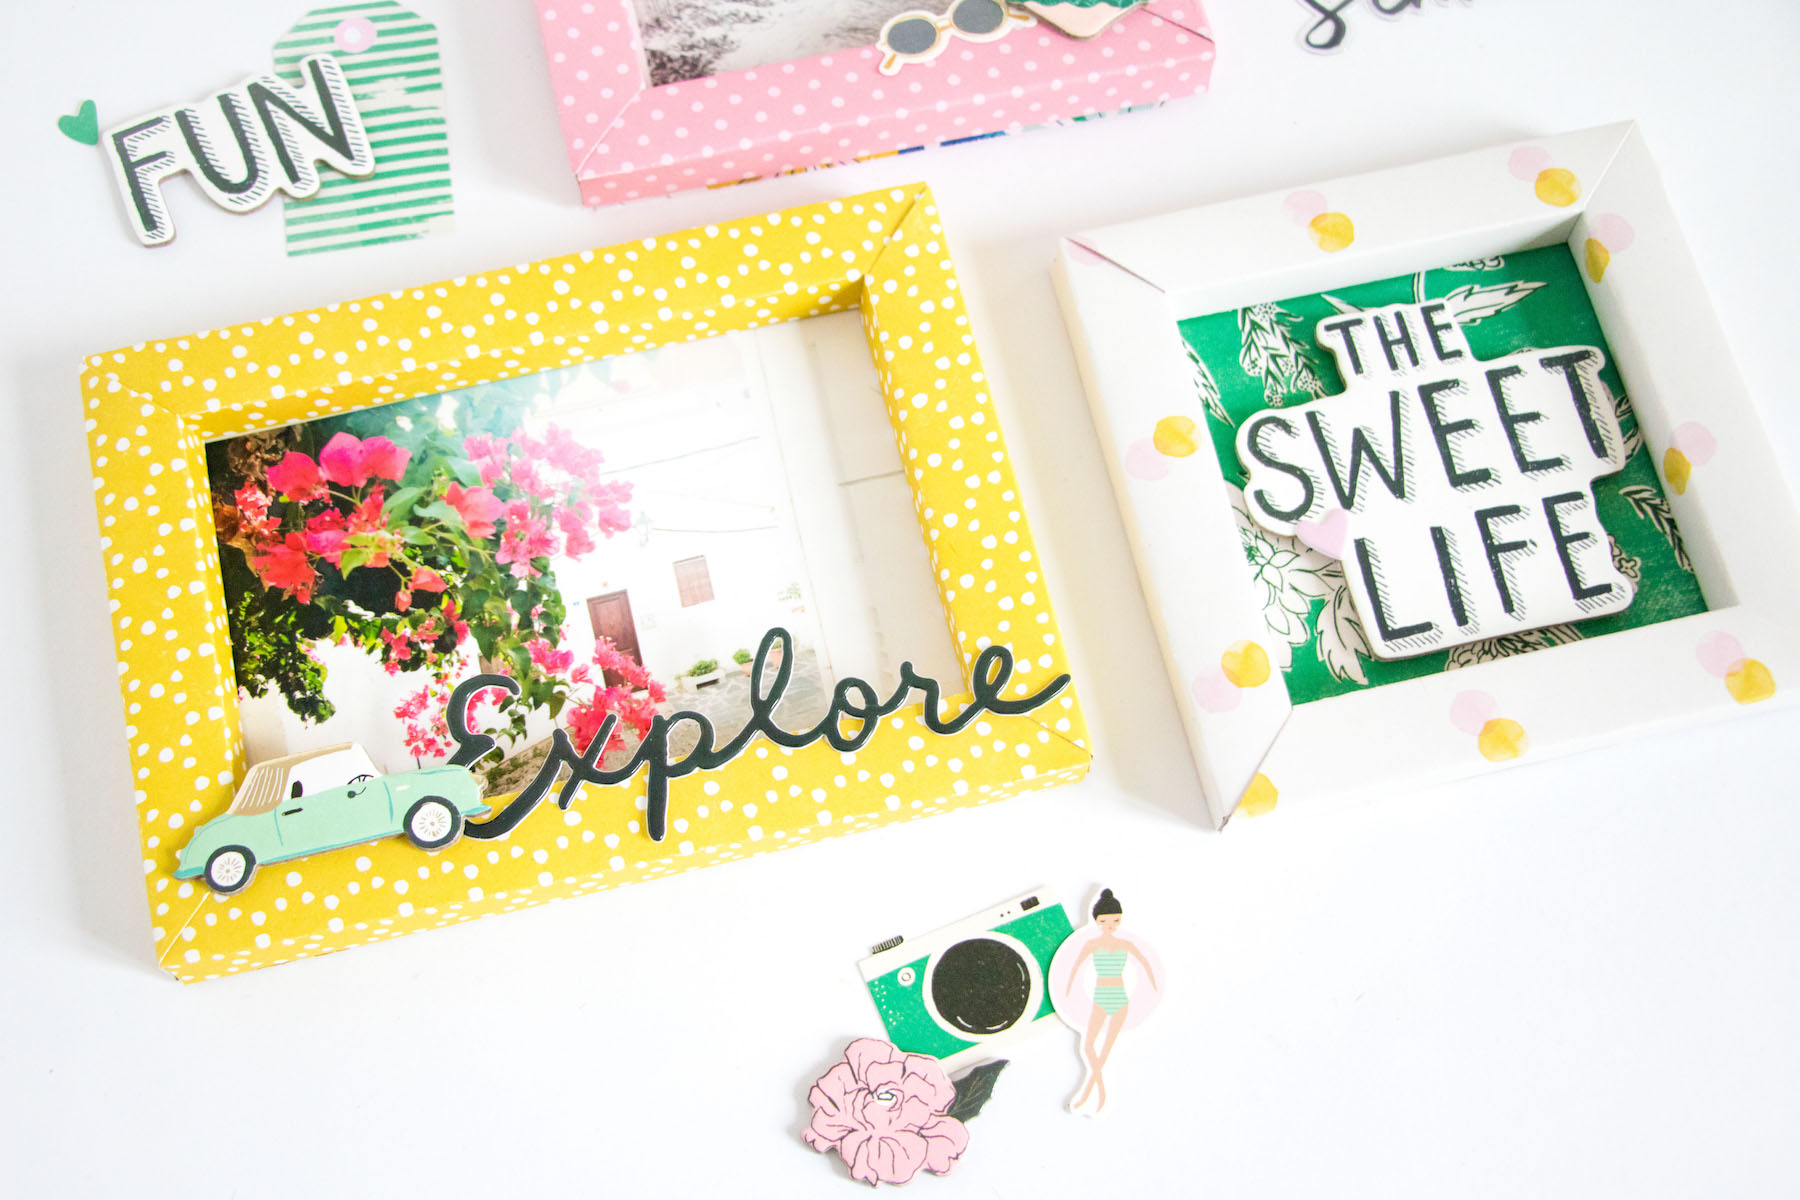
I used the Shadowbox Frame with the 3/4“ border for all three of the frames but varied the width of the frame for each one. The largest one measures 5“x7“ and the square frame is 5“x5“. Instead of backing the two rectangular frames with another paper, I used my photos. Only for the square frame I selected a patterned paper that would really pop and then placed the “The Sweet Life“ chipboard on top.

Shadowbox Collection by Becca Feeken - Inspiration | Scrapbook Shadowboxes with Kathleen Graumüller for Spellbinders

My favorite part then was embellishing the frames. Here I used a few different types of embellishments. I mixed word thickers (like the “explore“ word) with regular cardstock and chipboard stickers to include different textures and also different heights. That gives the project even more depth and creates a lot of interest.

Shadowbox Collection by Becca Feeken - Inspiration | Scrapbook Shadowboxes with Kathleen Graumüller for Spellbinders

Of course you can embellish your frames even more to whatever suits your taste. The Shadowbox Ribbon Threader Dies, Callista Rectangle Shadowbox Frame or the scalloped border of the Vintage Starburst Valance and Gatefold Dies would work great for that! By the way, if you are not sure how to use the Shadowbox Frame dies and how to put all of the single pieces together to create the actual frame, you can watch the process video below where I show you all the single steps! And if you thought that was all of it for today, you are mistaken ;) Since I didn’t get to use any of those really cute layered Scene Dies in the Shadowbox collection for my frames, I decided to use the Thinking of You Woodland Scene Dies and the Layered Sweet Birdie Thanks Scene Dies to create two tags that can be used as gift tags or maybe put on a card.

Shadowbox Collection by Becca Feeken - Inspiration | Scrapbook Shadowboxes with Kathleen Graumüller for Spellbinders

All I needed for these was one sheet of white cardstock (or you can also use watercolor paper), my Platinum 6 die cutting machine and some watercolors. First I die cut the different layers from the white cardstock and then I used my watercolors to color them.

Shadowbox Collection by Becca Feeken - Inspiration | Scrapbook Shadowboxes with Kathleen Graumüller for Spellbinders

On both tags I kept the top layer white because I really like how the colors pop against that white layer, and it also helps to make the sentiment stand out. Both top layers actually have more flourishes, but I cut parts of them off, because I wanted a look that’s a little bit simpler. This again goes to show that you can really play with the dies and the die cut images to make them suit your style!

Spellbinders Supplies:

Other supplies:

Crate Paper/Maggie Holmes „Sunny Days“ collection, double-sided adhesive tape, Tombow Mono Liquid Adhesive, White Cardstock, Prima Marketing Watercolors, Tonic Studios Nuvo Drops Glossy White I really hope that you like the projects I’ve shared today and that they inspire you to take a closer look at the Becca Feeken shadow box collection and try it out yourself. Frame your most treasured memories or create an art piece with them - whatever you choose to do, I’m sure you will like the shadow box dies as much as I do! Thank you so much for stopping by today. If you would like to see more of my work, hop on over to my Blog, Instagram or Youtube channel where you will find all kinds of scrapbooking and paper crafting projects.

Leave a comment

Your email will not be published. Please note, comments need to be approved before they are published.

11 comments

maria f.,

Delightful! Your projects always leave me smiling, Kathleen.


  • How to Color BetterPress Scenes with Watercolor and Colored Pencils, BP-383, STNB-020, DC378

    AF724

    How to Color BetterPress Scenes with Watercolor and Colored Pencils

    Want to move beyond simple ink blending when using layering stencils? In this tutorial, you'll learn how to combine BetterPress printing, stencil coloring, watercolor painting, and colored pencil shading to create a detailed scenic card. By mixing coloring mediums, you can build additional texture, depth, and realism while using supplies you may already have in your craft room. This project features the Scenic Kyoto Press...

  • How to Use Reverse Foiling for Elegant Christmas Cards, BP-345, BP-314, S4-1452, BP-312, S5-526, S5-647

    BP-312

    How to Use Reverse Foiling for Elegant Christmas Cards

    Get more from your hot foil supplies by learning how to use the reverse foiling technique. In this step-by-step Christmas card tutorial, you'll create a beautiful snowflake background using leftover foil, then pair it with a dimensional poinsettia arrangement and festive sentiment. Reverse foiling is a fantastic way to reduce waste while creating an entirely different look from your original foiled design. Using the A2...

  • How to Make Felt Christmas Ornaments with Festive Felt Dies, S7-302, S7-303, S7-305, PE-104

    Categories:Die Cutting

    How to Make Felt Christmas Ornaments with Festive Felt Dies

    Create charming handmade felt Christmas ornaments using the Festive Felt Christmas Dies by Lollie & Grace. In this step-by-step tutorial, you'll learn how to die-cut felt, assemble layered ornament designs, add decorative stitching, embellish with sequins and beads, and finish your ornaments with hanging loops for Christmas decorating. This project is perfect for holiday crafters who enjoy working with felt and creating handmade decorations. These festive...