Trio of Cards Using Sunflower Cool Vibes with Erum
Posted by Spellbinders Team on November 24, 2017

Trio of Cards Using Sunflower Cool Vibes with Erum

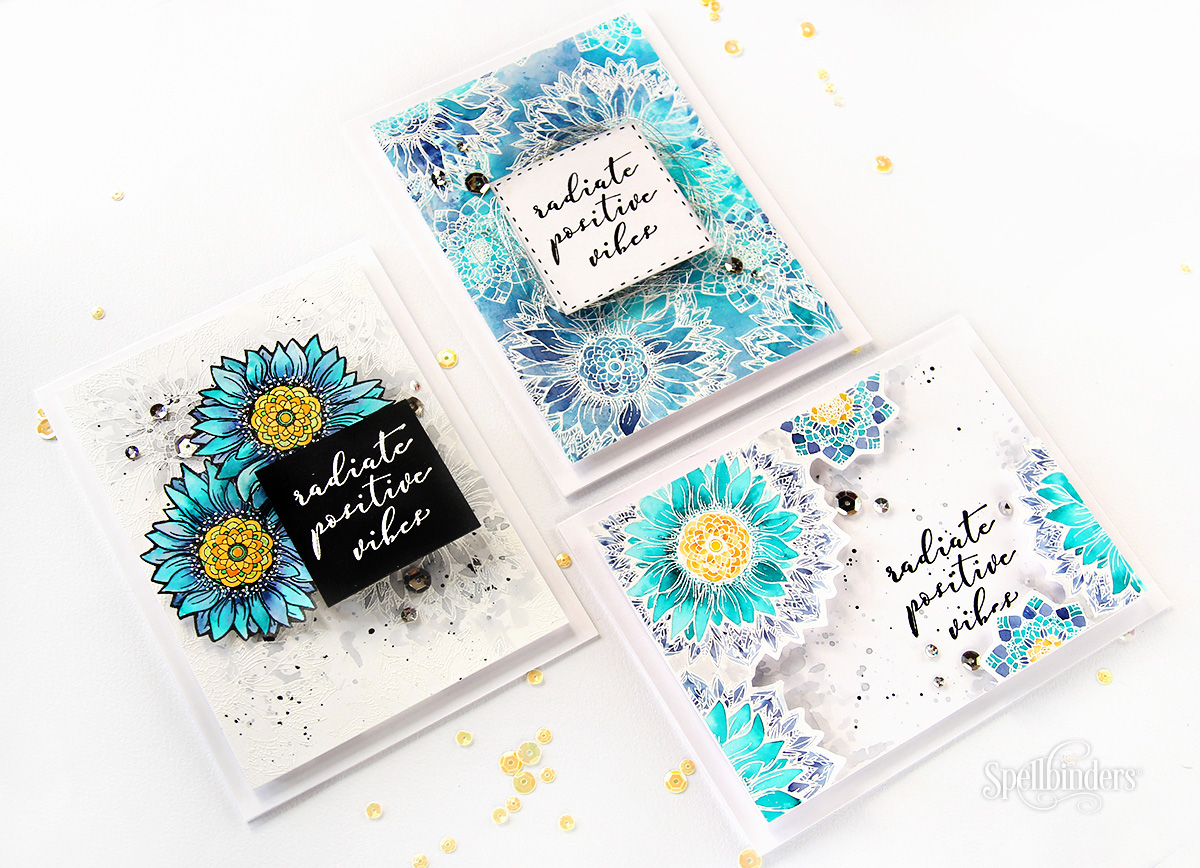
Hello everyone! This is Erum Tasneem and I am honoured to be guesting for one of my favorite companies. Today I have three cards to share with you using just Sunflower Cool Vibes Stamp set from the Cool Vibes Collection by Stephanie Low. I will be showing you three ways to use this stamp set.
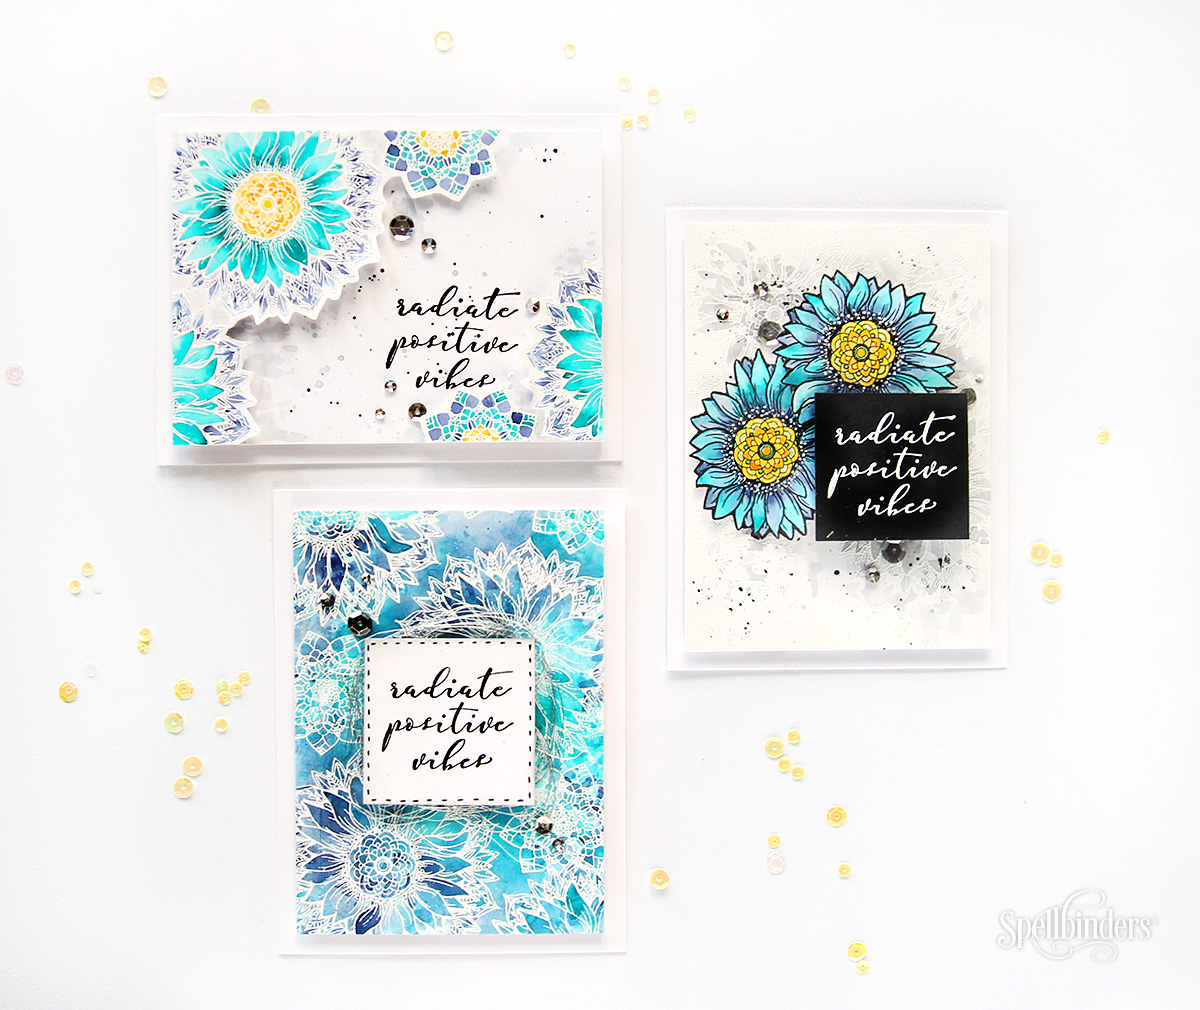
Sunflower Cool Vibes Stamp & Die Set designed by Stephanie Low. Handmade cards by Erum Tasneem for Spellbinders #spellbinders #cardmaking #stamping #watercolor

As you can see I kept the colours same on all three cards so that it doesn’t distract you from the design. Bonus that they look nice in the photo.

Sunflower Cool Vibes Stamp & Die Set designed by Stephanie Low. Handmade cards by Erum Tasneem for Spellbinders #spellbinders #cardmaking #stamping #watercolor

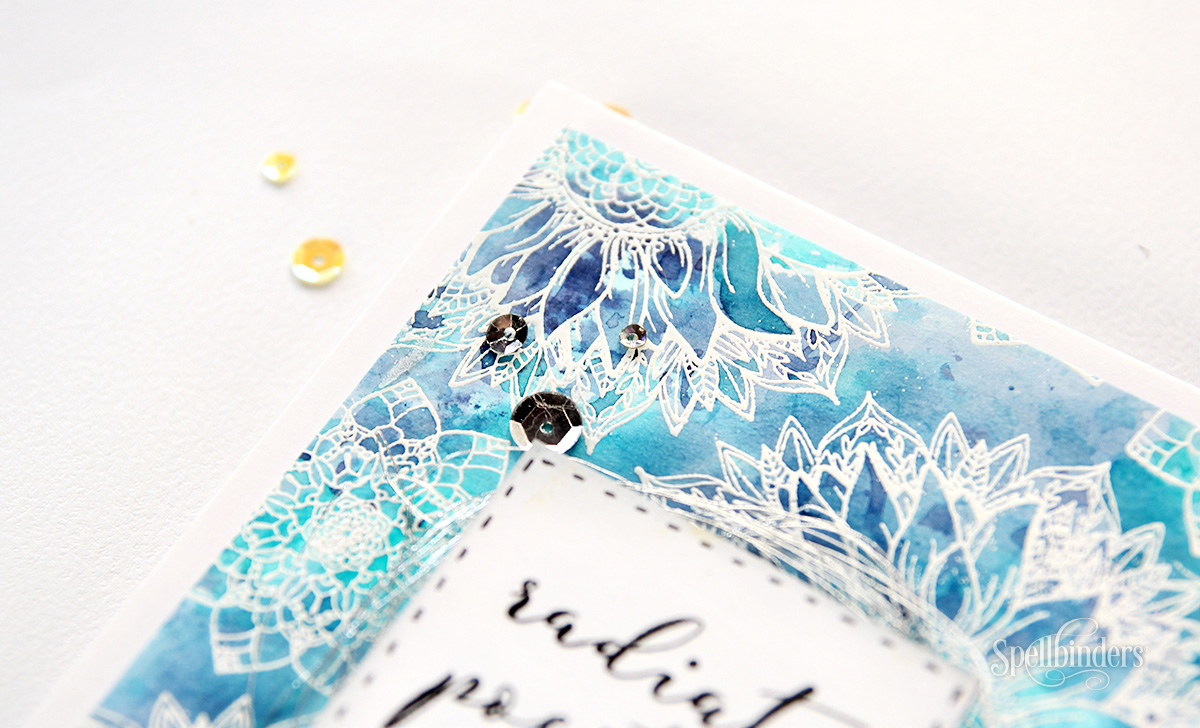
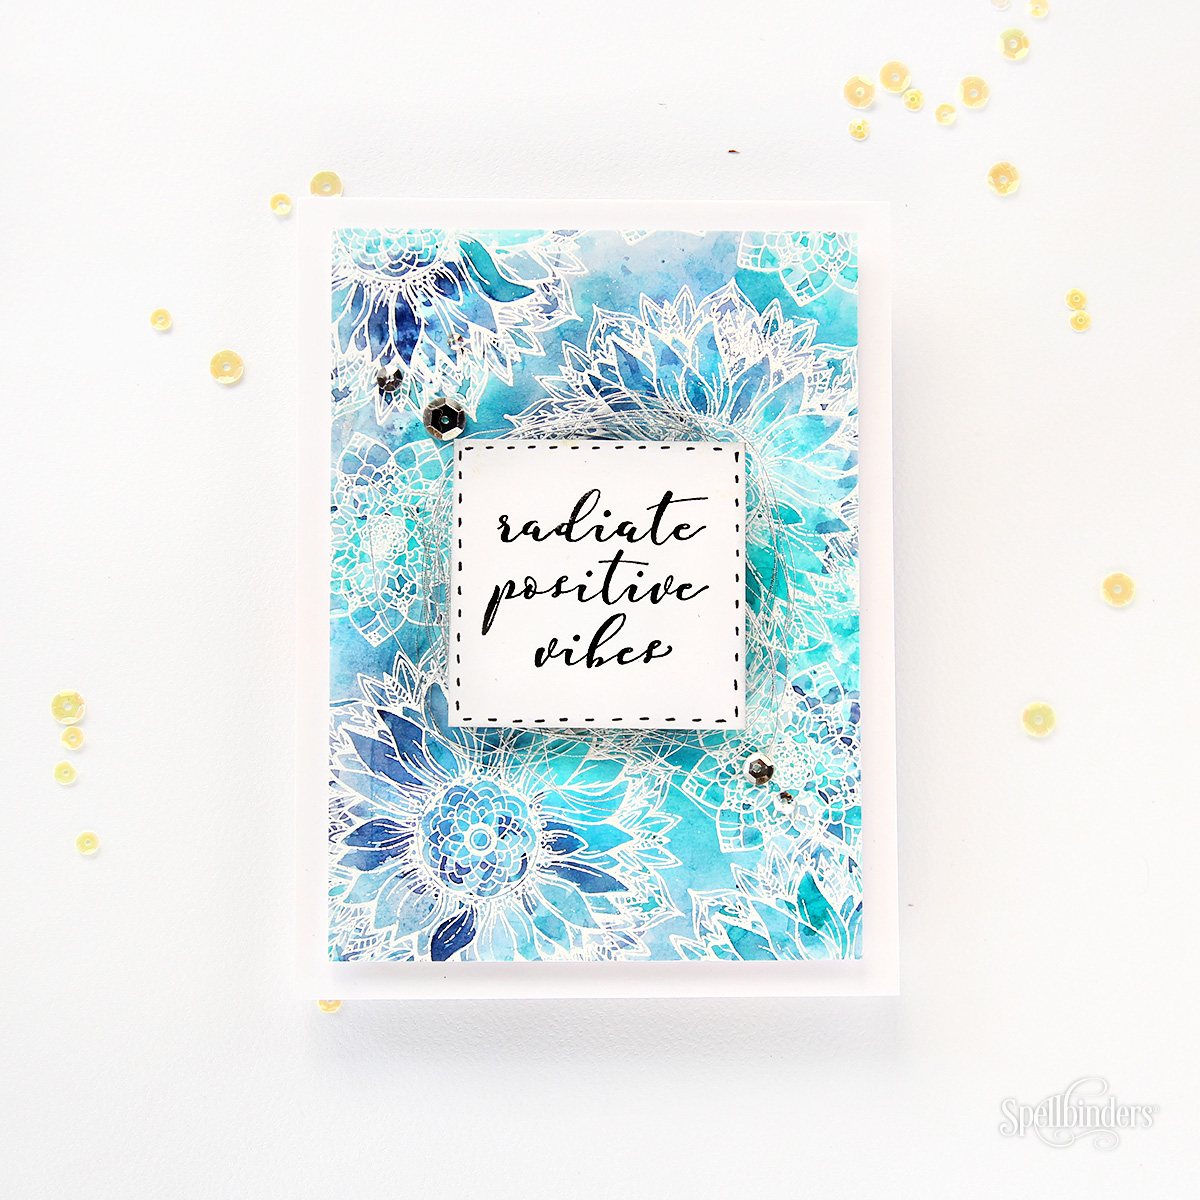
First and foremost, I have to say how beautiful this stamp set is! The intricate details all stamped perfectly and crisp. I used both stamps from this set several times with Versamark on watercolour paper. I then used Altenew Pure White Crisp Embossing Powder and heat set it.

Sunflower Cool Vibes Stamp & Die Set designed by Stephanie Low. Handmade cards by Erum Tasneem for Spellbinders #spellbinders #cardmaking #stamping #watercolor

Then, my most favourite part, I ink smooshed the background using Peacock Feathers and Chipped Sapphire Distress Inks. When the background was still a bit wet, I went in to drop some more of the same colours in a few places to add a bit more interest.

Sunflower Cool Vibes Stamp & Die Set designed by Stephanie Low. Handmade cards by Erum Tasneem for Spellbinders #spellbinders #cardmaking #stamping #watercolor

To add a little sparkle I rolled up some silver string, glued it on to my card front. I stamped the sentiment and popped it over the string with foam tape. I really wanted to add yellow enamel dots to my card instead of silver sequins but I ran out of them. I think the enamel dots would have looked so much better here and would’ve complimented the other two cards beautifully.

Sunflower Cool Vibes Stamp & Die Set designed by Stephanie Low. Handmade cards by Erum Tasneem for Spellbinders #spellbinders #cardmaking #stamping #watercolor

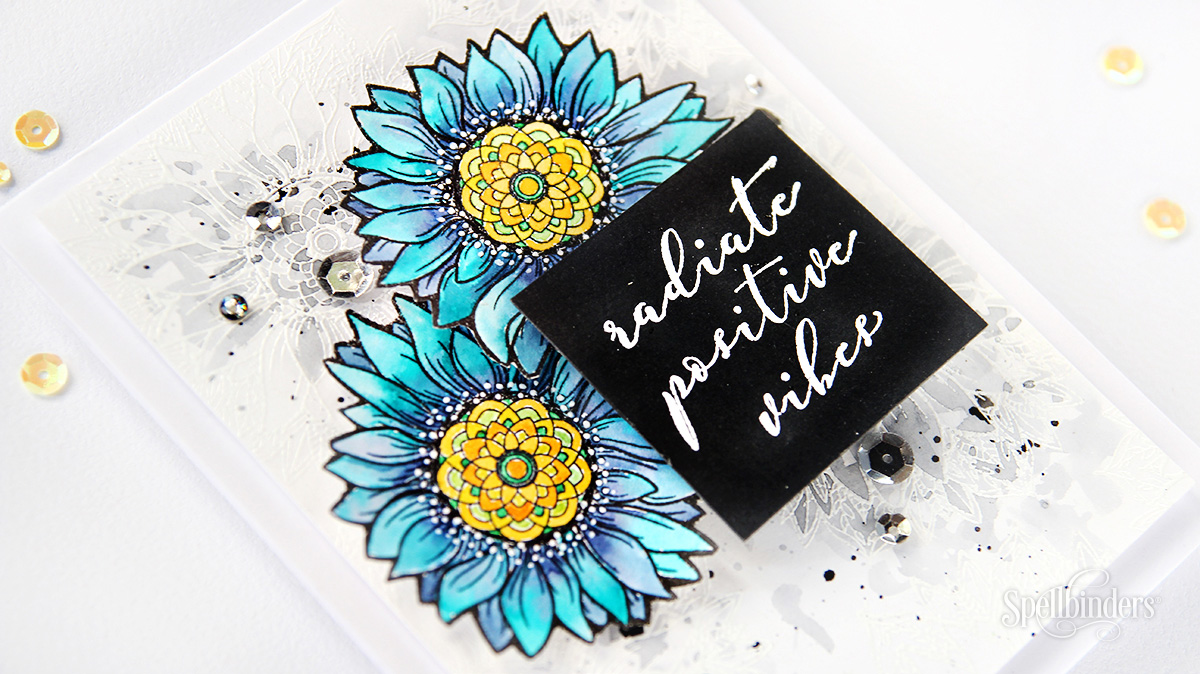
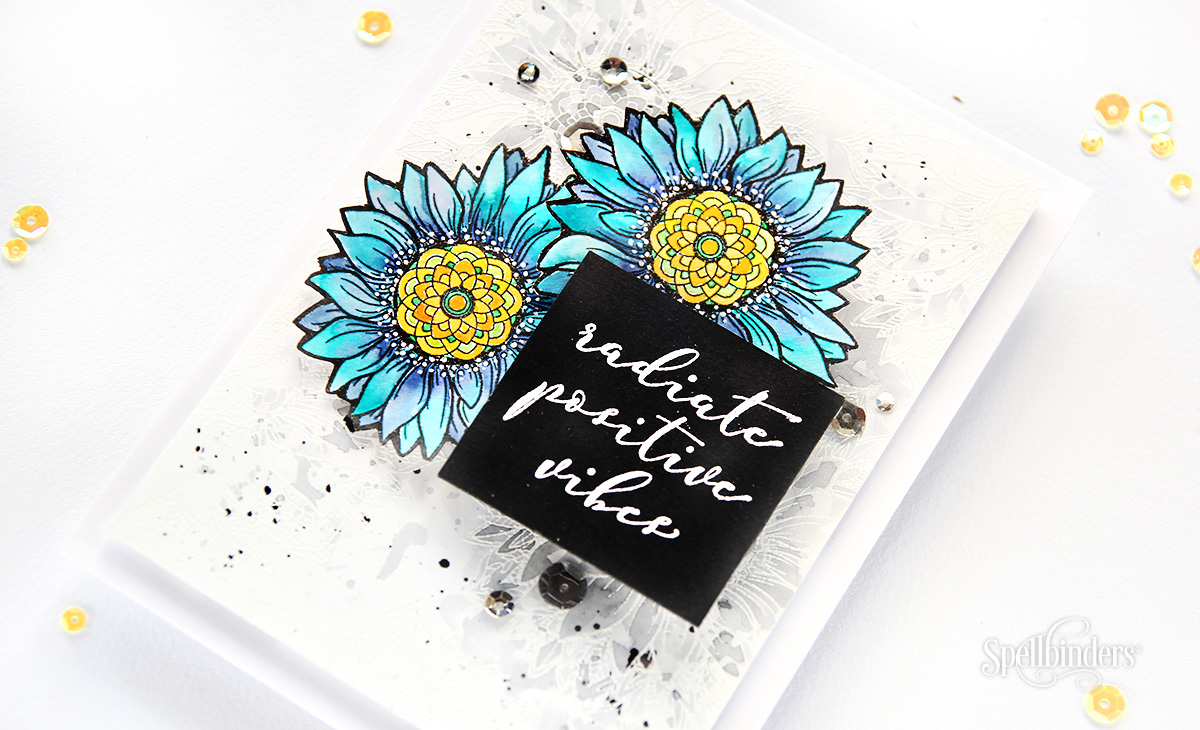
For my second card, I stamped the Sunflower twice on watercolour paper with Versafine Onyx Black Ink. I then watercoloured the petals using Peacock Feathers and Chipped Sapphire Distress Inks.

Sunflower Cool Vibes Stamp & Die Set designed by Stephanie Low. Handmade cards by Erum Tasneem for Spellbinders #spellbinders #cardmaking #stamping #watercolor

The flower center was coloured with a variety of yellows and greens from the distress ink family. I do love to watercolour with distress inks, they flow effortlessly. After the images were dry, I fussy cut them out and started working on my card front.

Sunflower Cool Vibes Stamp & Die Set designed by Stephanie Low. Handmade cards by Erum Tasneem for Spellbinders #spellbinders #cardmaking #stamping #watercolor

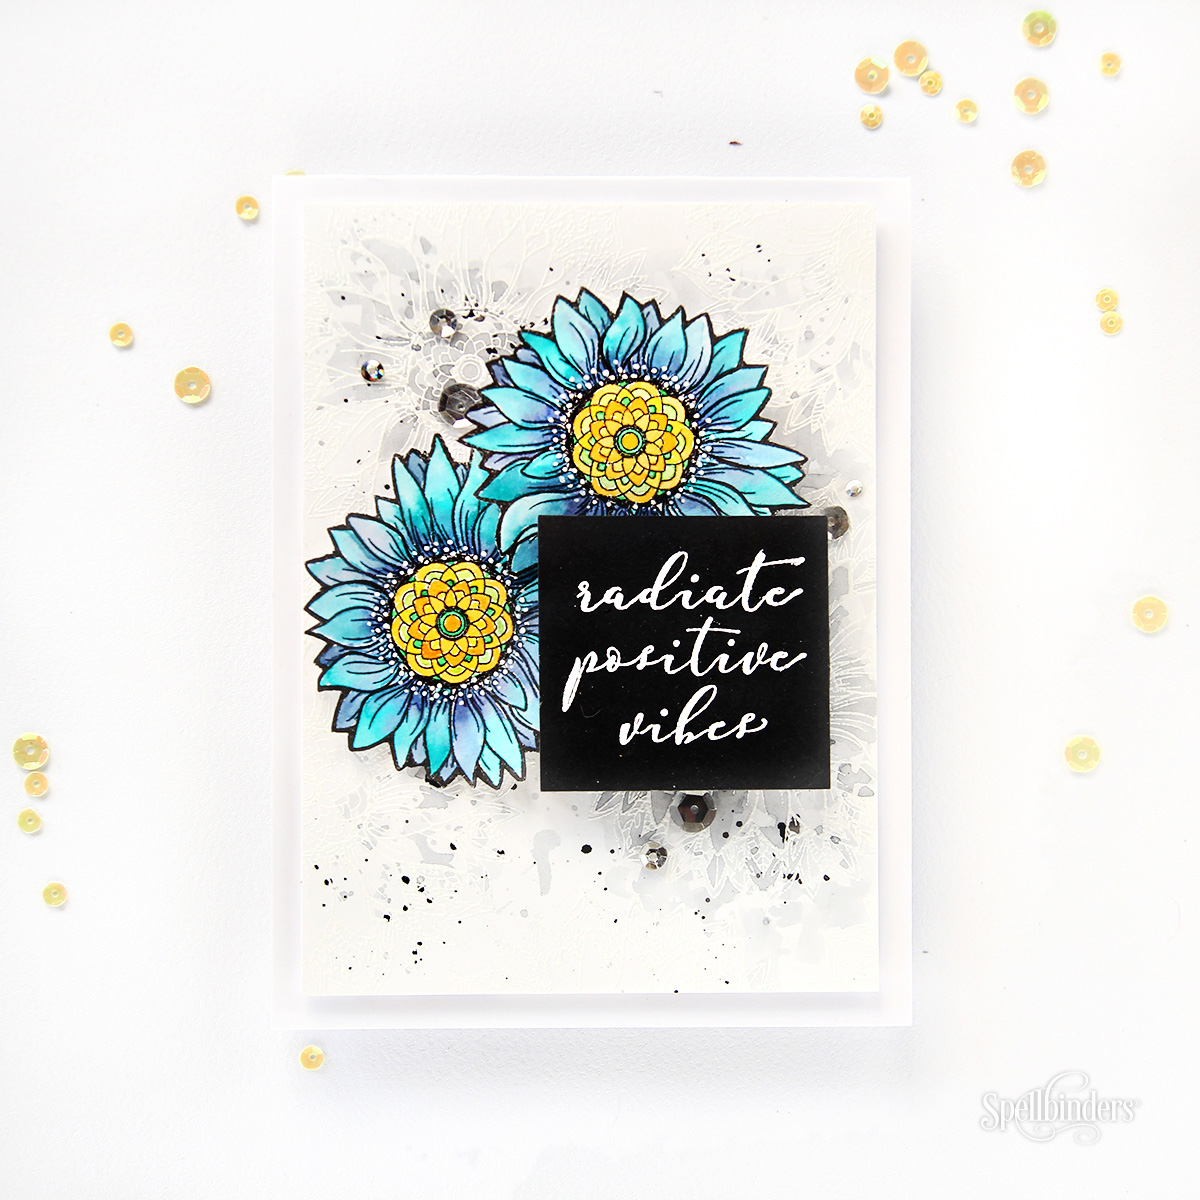
Again, I stamped the Sunflower repeatedly on to watercolour paper with Veramark and heat embossed it with Altenew Pure White Crisp Embossing Powder then heat set it. I already knew what the placement of my flowers and stamp would be, keeping that in mind I added grey watercolour to my background with varied concentration. By varied concentration I mean that the grey would appear dark in some places and light in others.

Sunflower Cool Vibes Stamp & Die Set designed by Stephanie Low. Handmade cards by Erum Tasneem for Spellbinders #spellbinders #cardmaking #stamping #watercolor

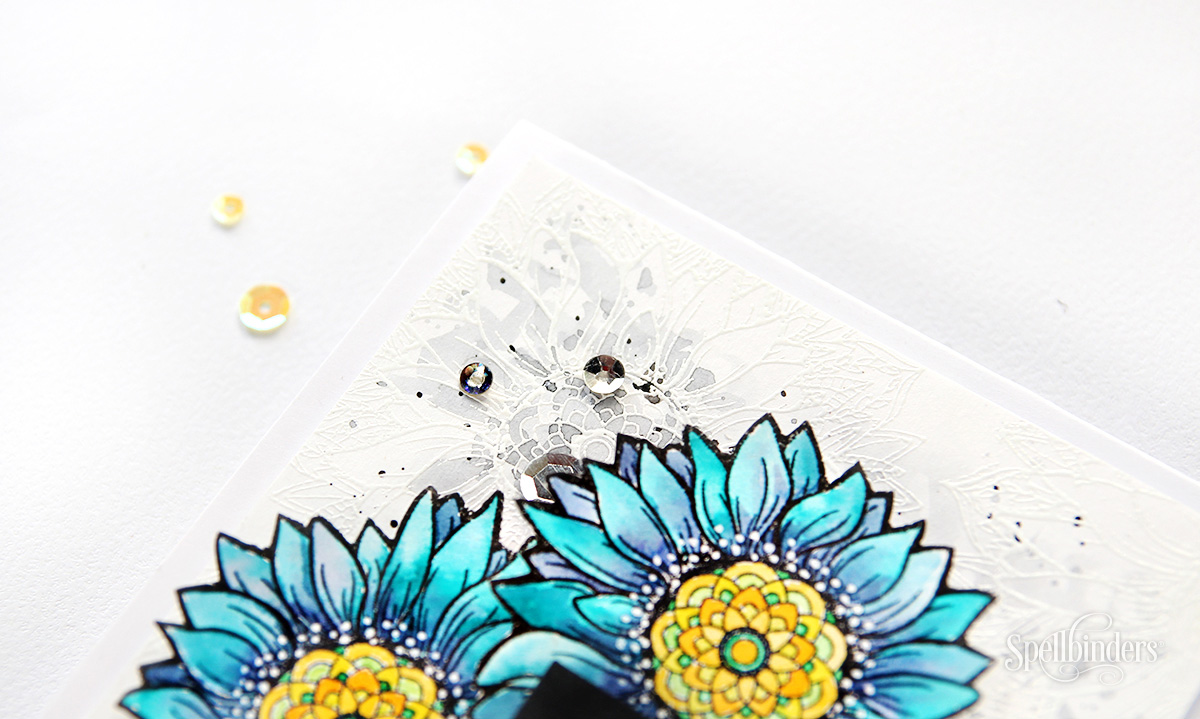
After my card front was dry, I popped my sunflowers on foam tape. I heat embossed the sentiment on black cardstock added a little more foam tape on this label so that it was on a higher level than the flowers. I played around with the placement of all three elements till I found the perfect position.

Sunflower Cool Vibes Stamp & Die Set designed by Stephanie Low. Handmade cards by Erum Tasneem for Spellbinders #spellbinders #cardmaking #stamping #watercolor

I then covered my stamped images and sentiment label with my hand (you can even use a piece of cardstock or do this step before adding the images) and added black and grey paint splatters. In the end I added a few silver sequins for the bling. Now onto my final card.

Sunflower Cool Vibes Stamp & Die Set designed by Stephanie Low. Handmade cards by Erum Tasneem for Spellbinders #spellbinders #cardmaking #stamping #watercolor

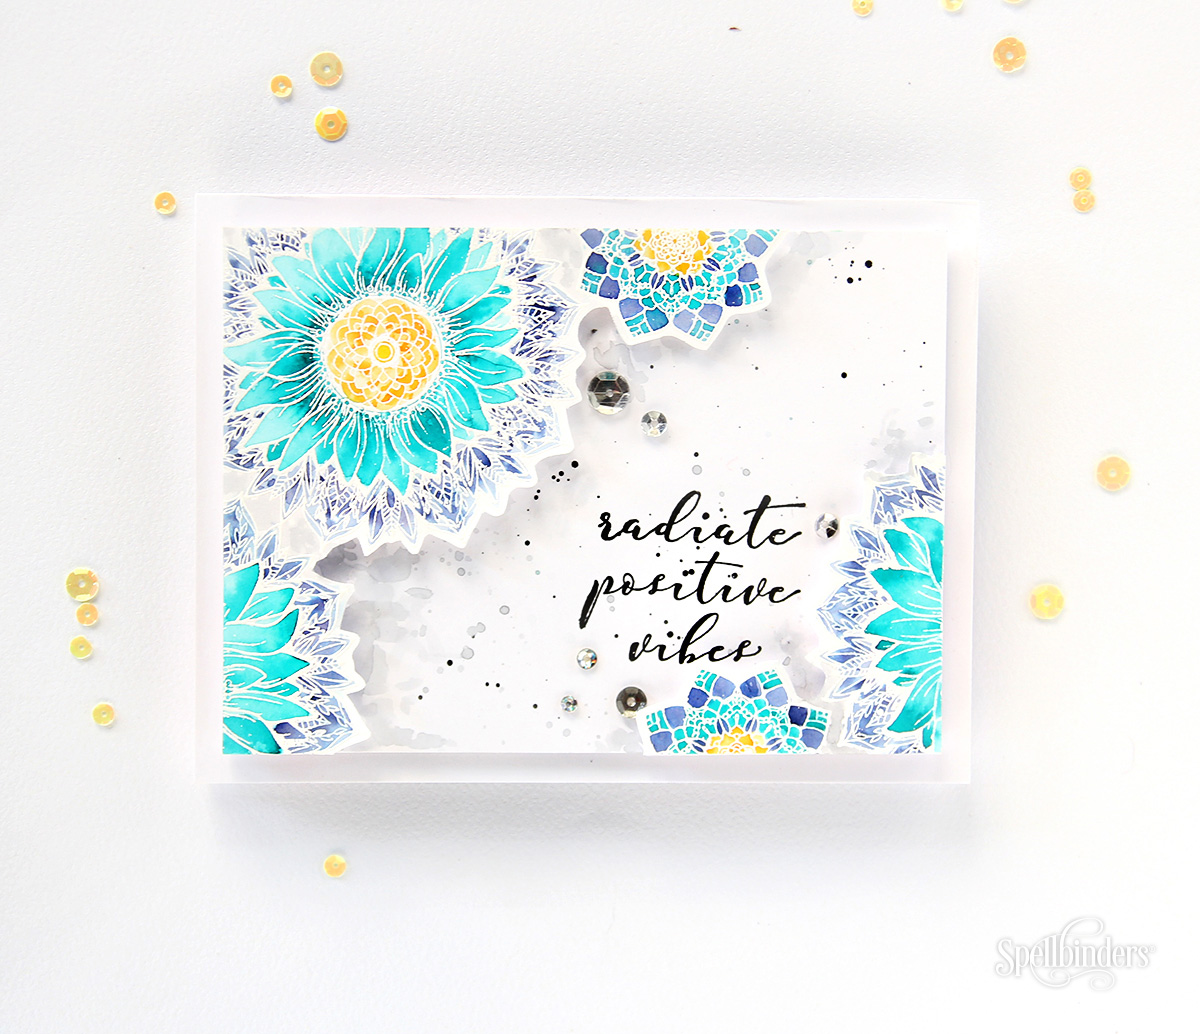
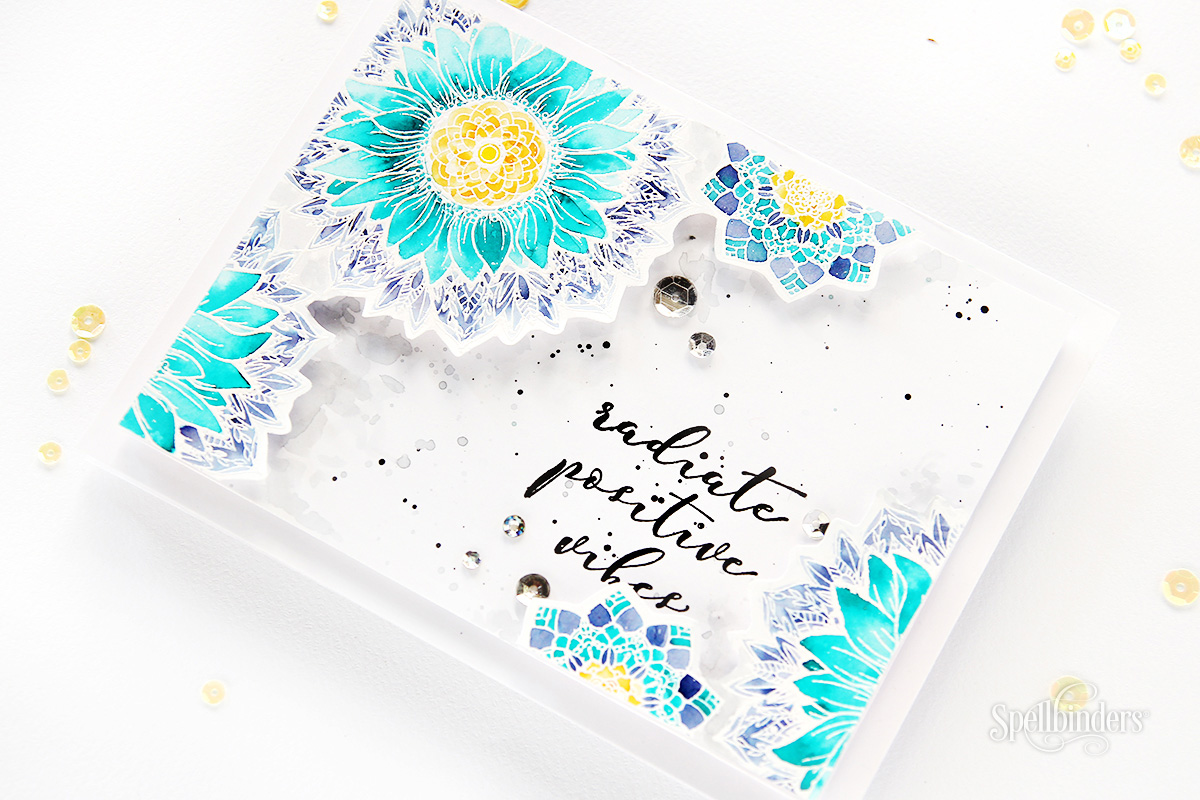
This one too has white heat embossed images and watercolouring! I stamped both the images from this stamp set on to watercolour paper with versamark in a way that it would make a corner border. Apart from this I stamped both the images again to add to the opposite corner.

Sunflower Cool Vibes Stamp & Die Set designed by Stephanie Low. Handmade cards by Erum Tasneem for Spellbinders #spellbinders #cardmaking #stamping #watercolor

Then I watercoloured the sunflower petals with Peacock Feathers only, the center with Spiced Marmalade and the outer design with Chipped Sapphire. For the smaller medallion, I used a mix of colours. This image reminds of ceramic tiles. After the images were dry, I fussy cut the design leaving a white border along the design.

Sunflower Cool Vibes Stamp & Die Set designed by Stephanie Low. Handmade cards by Erum Tasneem for Spellbinders #spellbinders #cardmaking #stamping #watercolor

I stamped the sentiment with Versafine Onyx Black Ink and added paint splatters to my card front. I then popped up the two pieces I fussy cut on each corner and added a few sequins.

Sunflower Cool Vibes Stamp & Die Set designed by Stephanie Low. Handmade cards by Erum Tasneem for Spellbinders #spellbinders #cardmaking #stamping #watercolor

There you have it! A trio of cards using just one stamp set!

Spellbinders Supplies:

Other Supplies:

Altenew Pure White Crisp Embossing Powder; Distress Inks. That is all from my side. I hope you enjoyed this post and I inspired you a bit to get inky! Thank you for having me Spellbinders I had SO much fun creating these cards.

Leave a comment

Please note, comments need to be approved before they are published.


  • Spellbinders Beginners Blog Post Series - Common Cardmaking Mistakes (and How to Fix Them)

    Beginner’s Guide to Cardmaking

    Common Cardmaking Mistakes and How to Fix Them: A Beginner's Guide

    Mistakes happen to every cardmaker, from beginners to experienced crafters. This comprehensive guide shares practical solutions for fixing common cardmaking mistakes, including stamping, die cutting, foiling, BetterPress, ink blending, stenciling, coloring, heat embossing, and more, so you can confidently rescue your handmade cards instead of starting over.

  • How to make a Polar Bear Christmas Card with Alcohol Markers, HUR93909, S7-291, S5-619

    CS-8-100

    How to make a Polar Bear Christmas Card with Alcohol Markers

    Hello, cardmaking friends! It’s Mona Tóth here, and I’m so happy to be back on the Spellbinders blog. Today, I’m sharing a Christmas step-by-step card tutorial featuring the Polar Friends Stamp and Die Set by Simon Hurley. This card was inspired by the Christmas advertisements I remember seeing on television when I was a child in the 1990s. They often featured polar bears surrounded by...

  • Interactive Scrapbook Layout Using the Turn the Page Collection by Esther Glas, SCSP-037, SCSE-054, SCSE-039, SCSR-016, E3D-186, STP-279, SDS-232, S2-473, S7-298, S7-295

    E3D-186

    Interactive Scrapbook Layout Using the Turn the Page Collection by Esther Glas

    Hello, crafty friend! I’m Adrienne Boese, better known online as Alice Scraps Wonderland. I love a good interactive scrapbook page! It can be something as simple as a pocket or something more intricate like a waterfall mechanism or flips. Today, we are going to focus on one of those simple techniques - a pocket!  It’s the perfect technique to dip your toes into the interactive...