Video: Easy, Approachable & Gorgeous Faces
on January 23, 2019

Video: Easy, Approachable & Gorgeous Faces

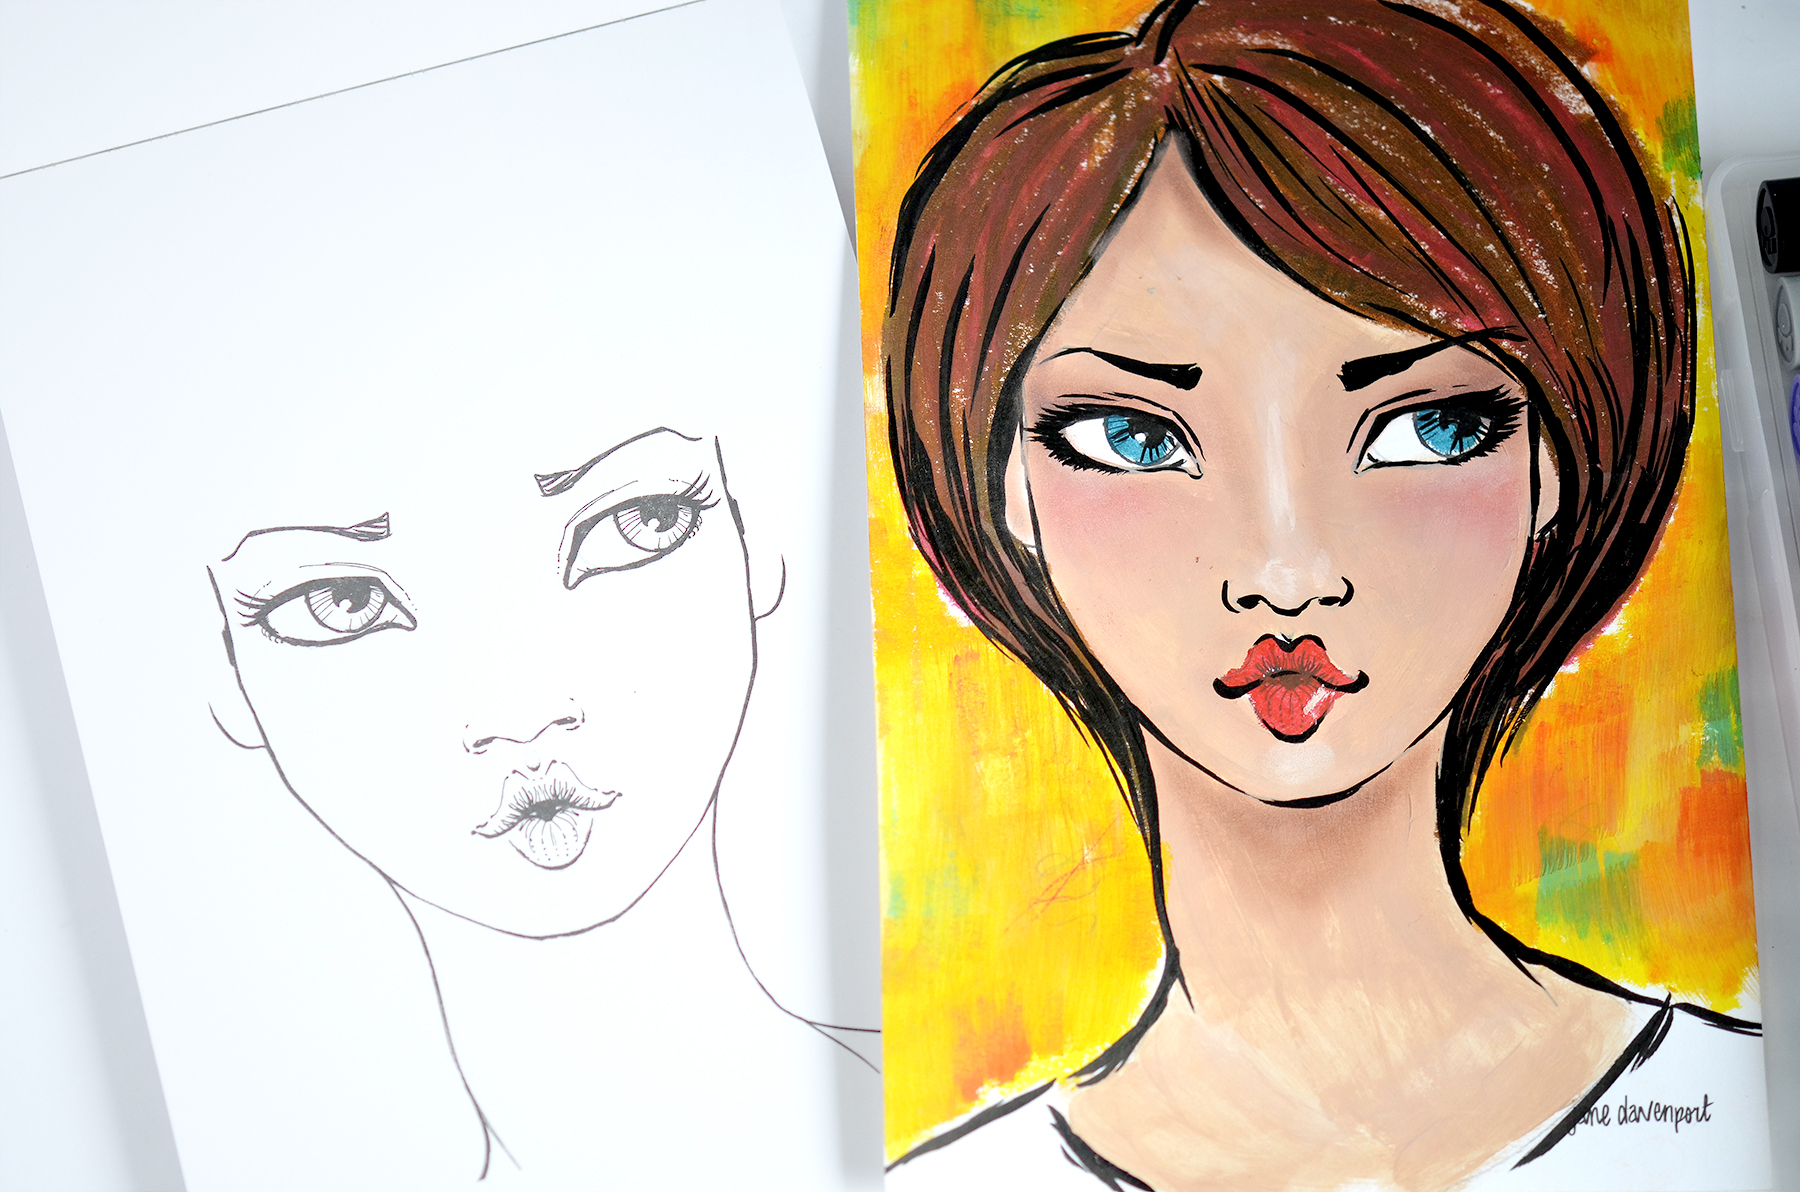
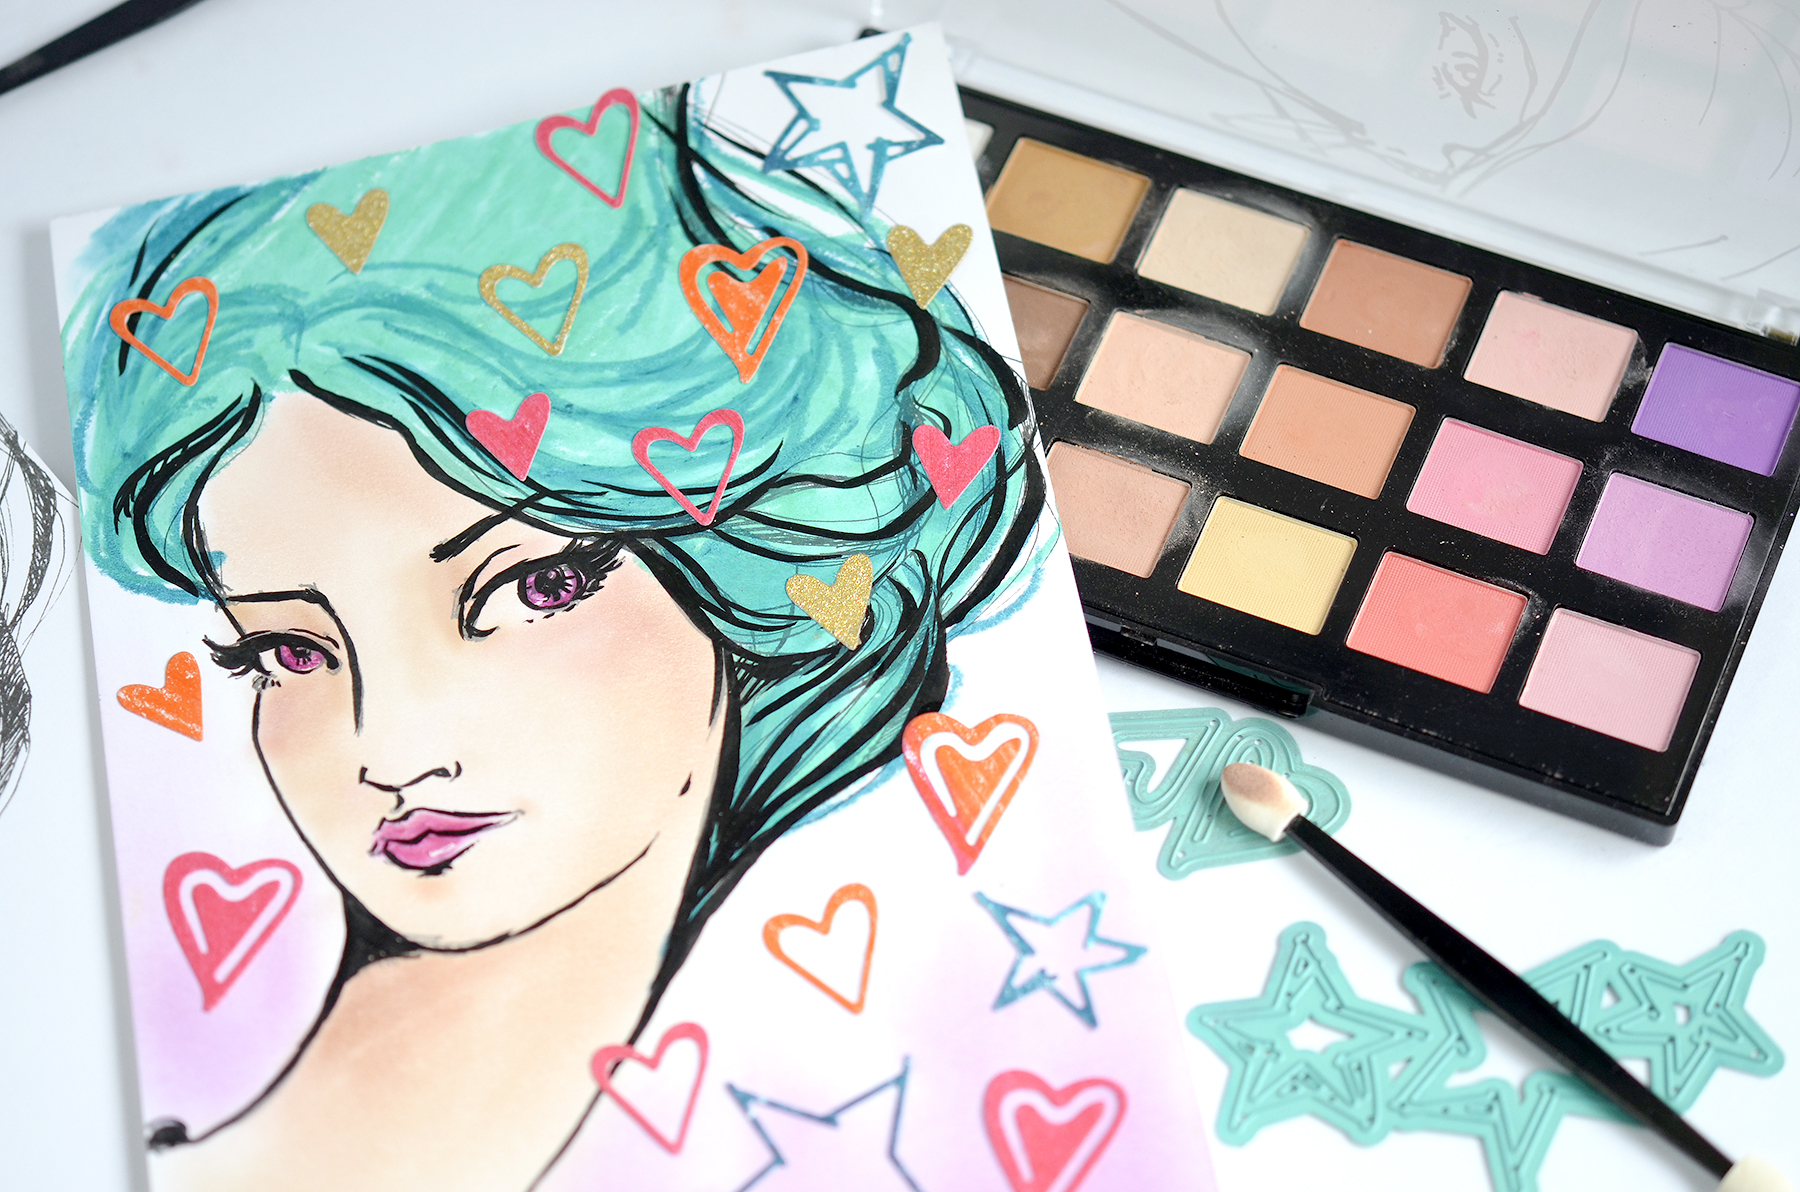
Hello and thank you for stopping by today! This is Mayline and I am honoured to have been invited as Guest Designer for Jane Davenport Making Faces Collection by Spellbinders. It is my second time to create the project for the Jane Davenport Collection. If you haven’t checked my previous project for Artomology Collection by Jane Davenport you can go to the first project, second project, and third project. Since I have used Jane’s collection I have fallen in love with mixed media. I was mostly creating cards and my preferred card style was clean and simple. I still love creating cards with CAS style and additionally I love creating a colourful mixed media artwork. When I played with Jane Davenport Collection’s products these projects have encouraged me to open new creative world easily and made me feel relief when I was starting something new crafty field that I haven't done before. Even though I don’t have much mixed media artwork experience but I feel comfortable to make projects with Jane’s collection. Today I am sharing two creations and two process videos. My process video helps you learn how to use and play with the Making Faces Collections. I hope my today’s projects will help you get inspired. Jane Davenport Making Faces Collection Inspiration with Mayline Jung for Spellbinders Here is my first project. I used the I Came, I Saw, I contoured Face Charts that has 6 designs of face drawing. When I was doing this one I felt like a makeup artist. Each step like  applying foundation, powder, eye shadow, lipstick… something like that. And the items look like make up. Don’t be afraid to apply the product on the surface because you already have done this before. You know what I mean ;) Just enjoy adding makeup to your girls!

Jane Davenport Making Faces Collection Inspiration with Mayline Jung for Spellbinders

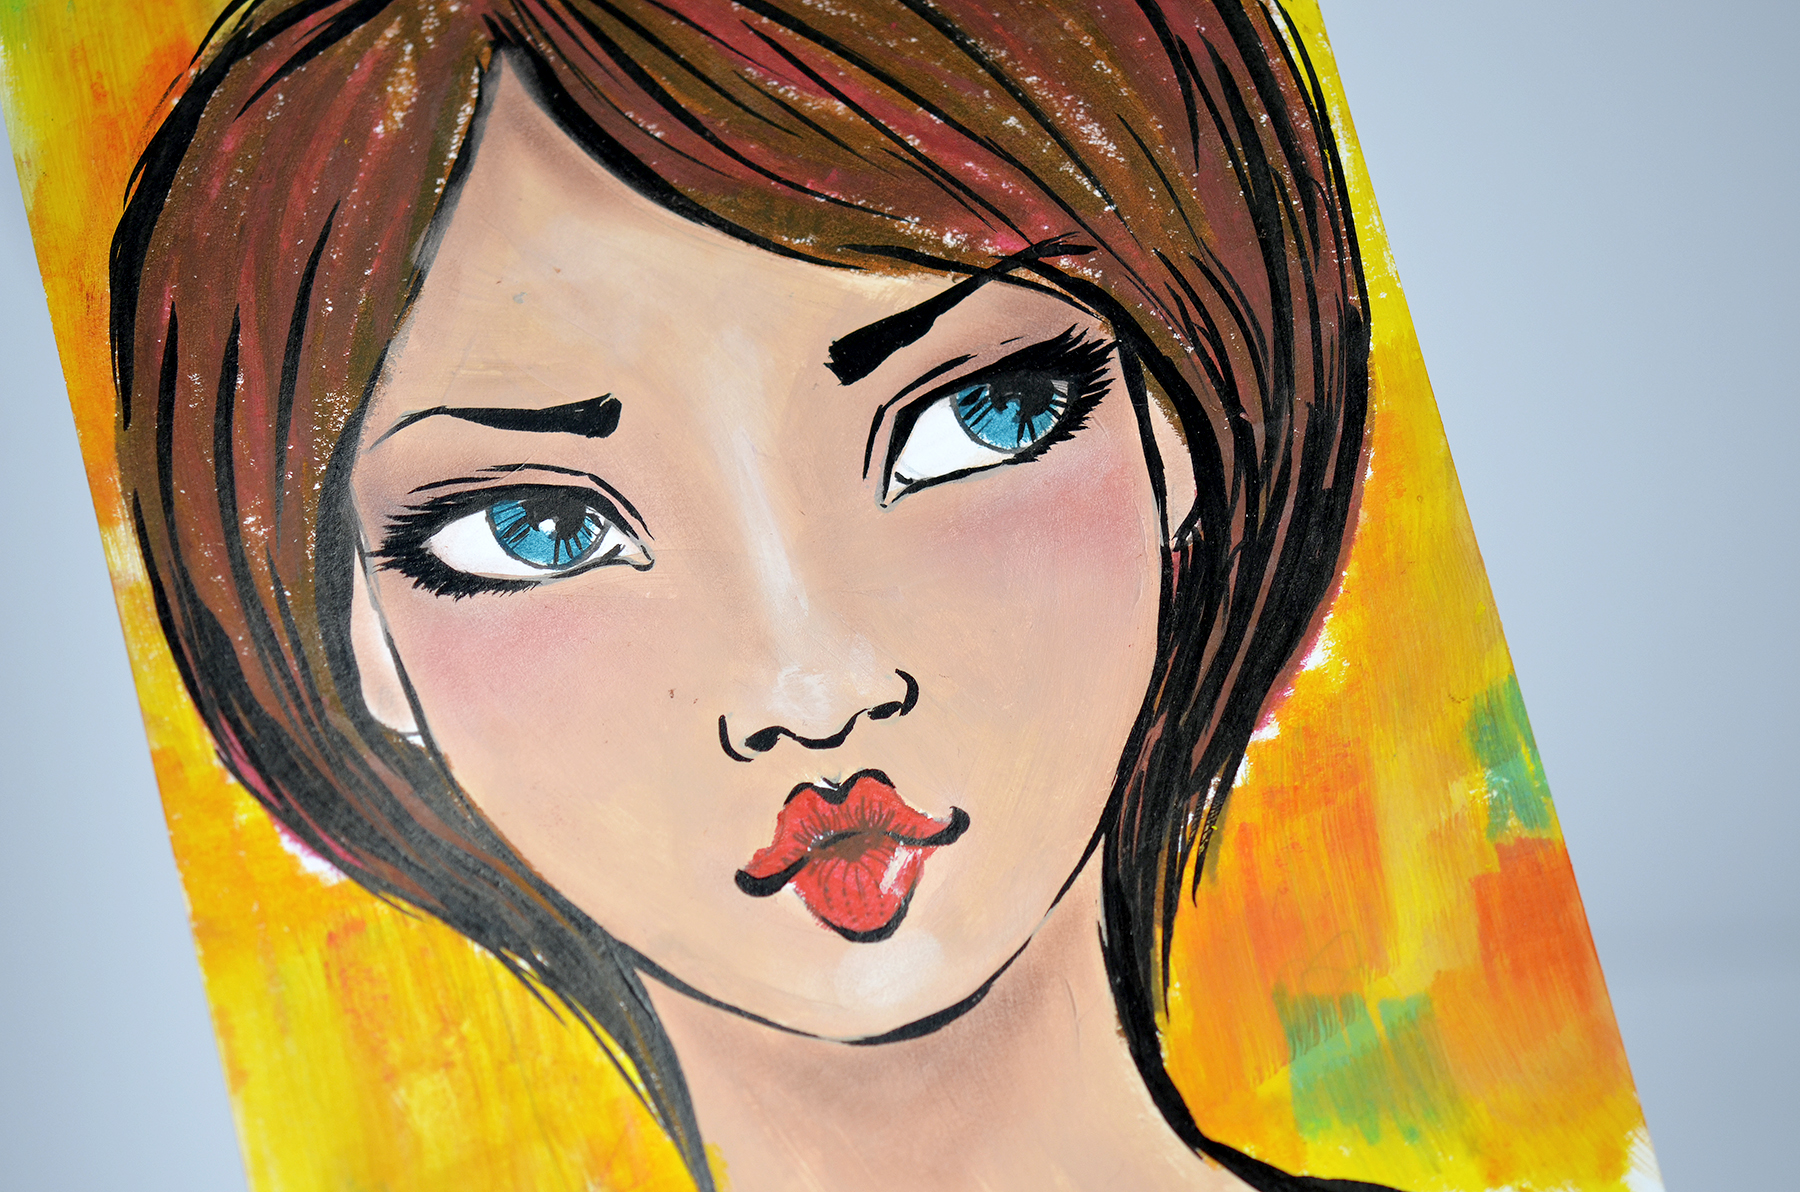
When I colored the face, first I used a skin tone paints from Matchmaker set and then I applied “Birthday Suit” pastels on the image to make the face looks smooth and eliminate the brush strokes. After that, I  created shadows by adding colors that I wanted. These step worked well for me to make a smooth skin surface and create my favorite makeup look.

Jane Davenport Making Faces Collection Inspiration with Mayline Jung for Spellbinders

Here is a video showing you how I made this project & close-up photos. Here is my second project.

Jane Davenport Making Faces Collection Inspiration with Mayline Jung for Spellbinders

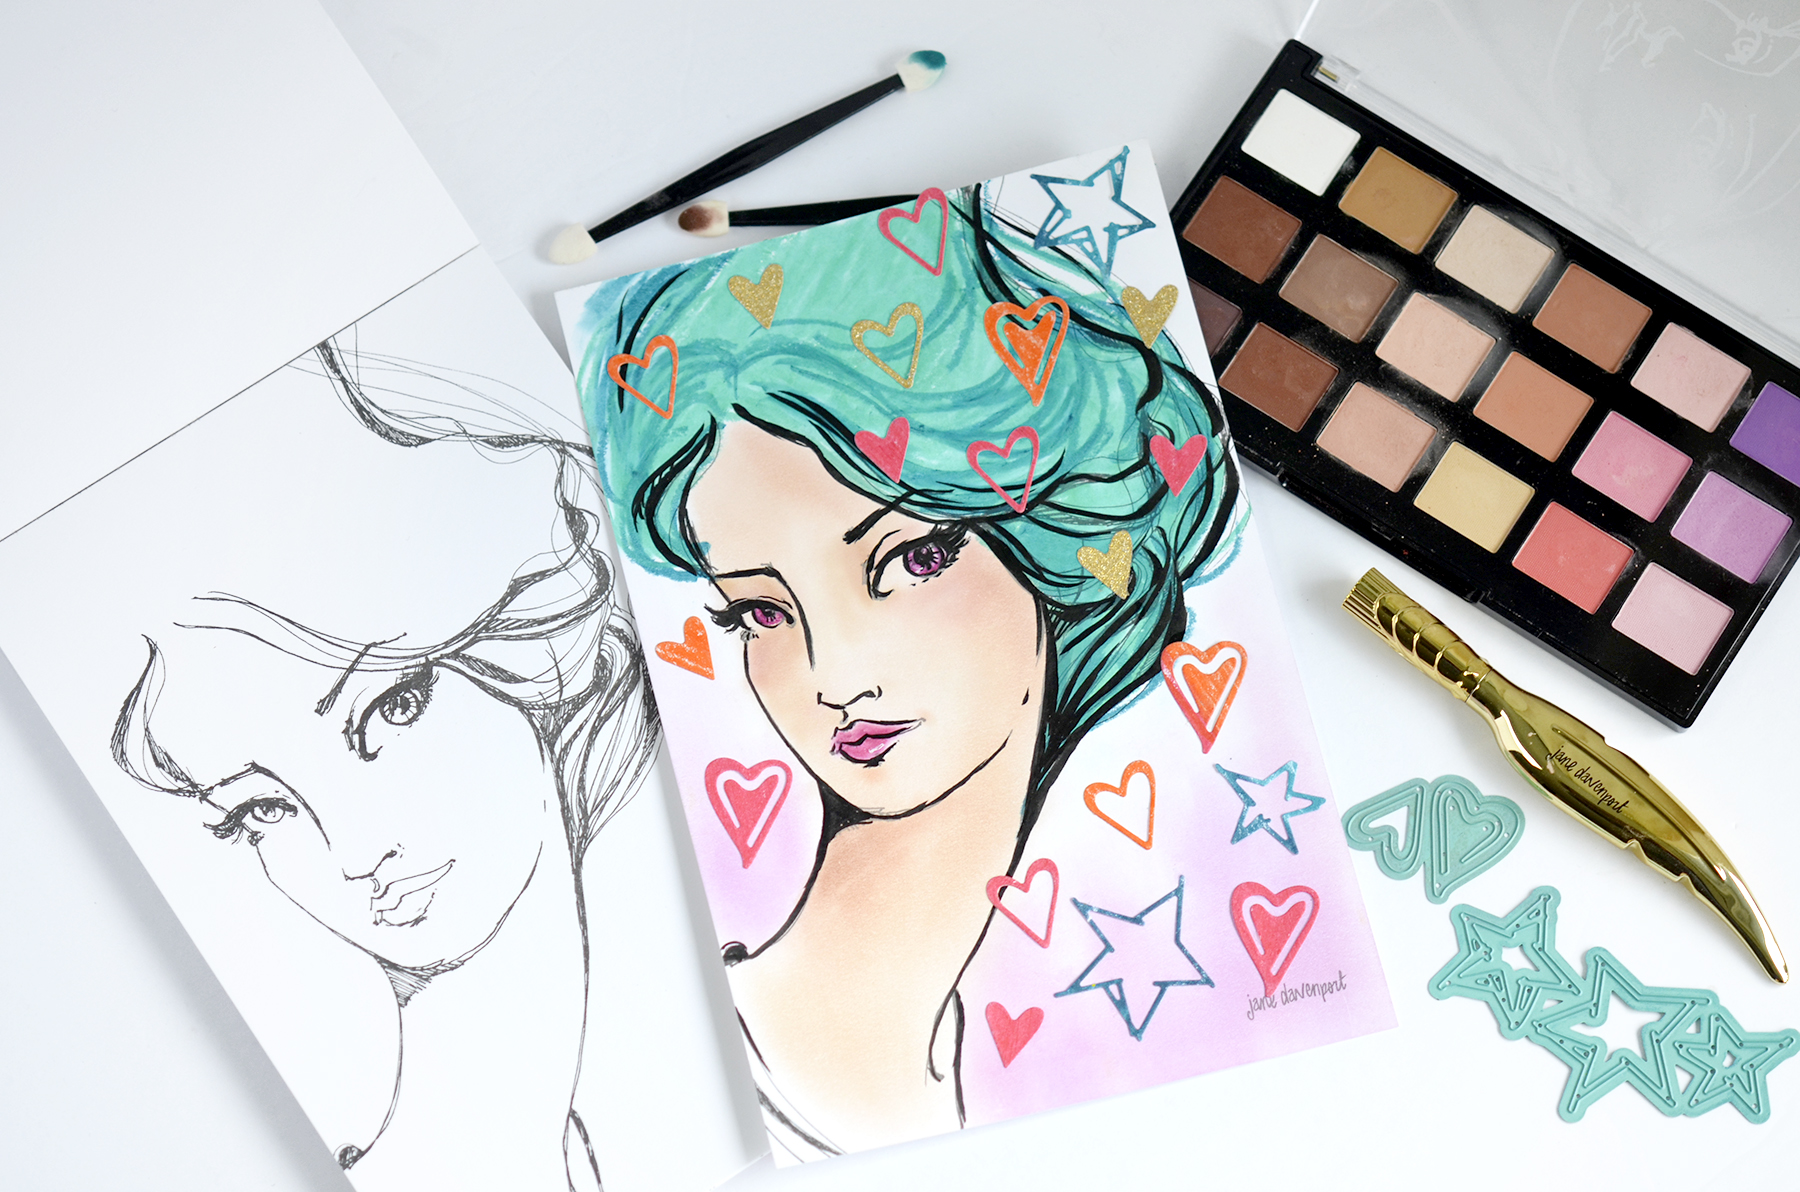
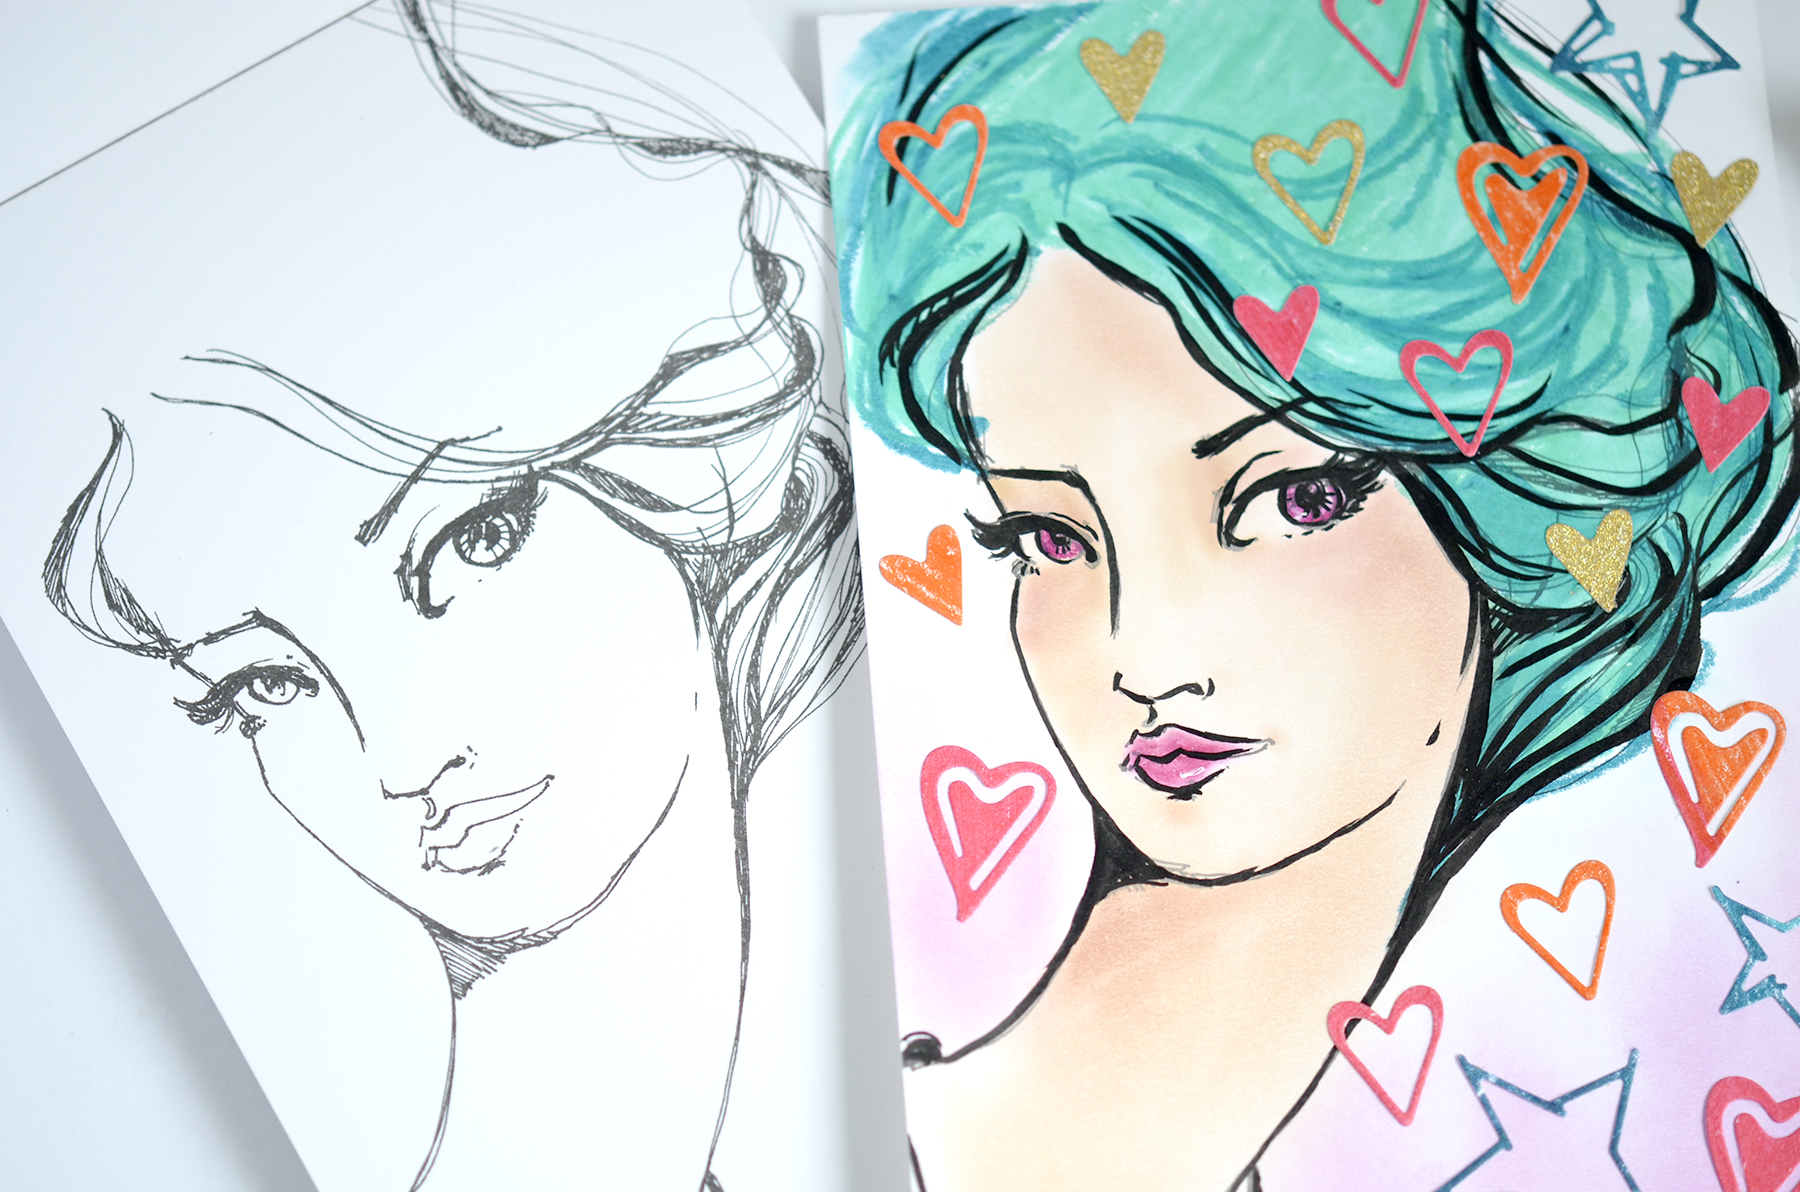
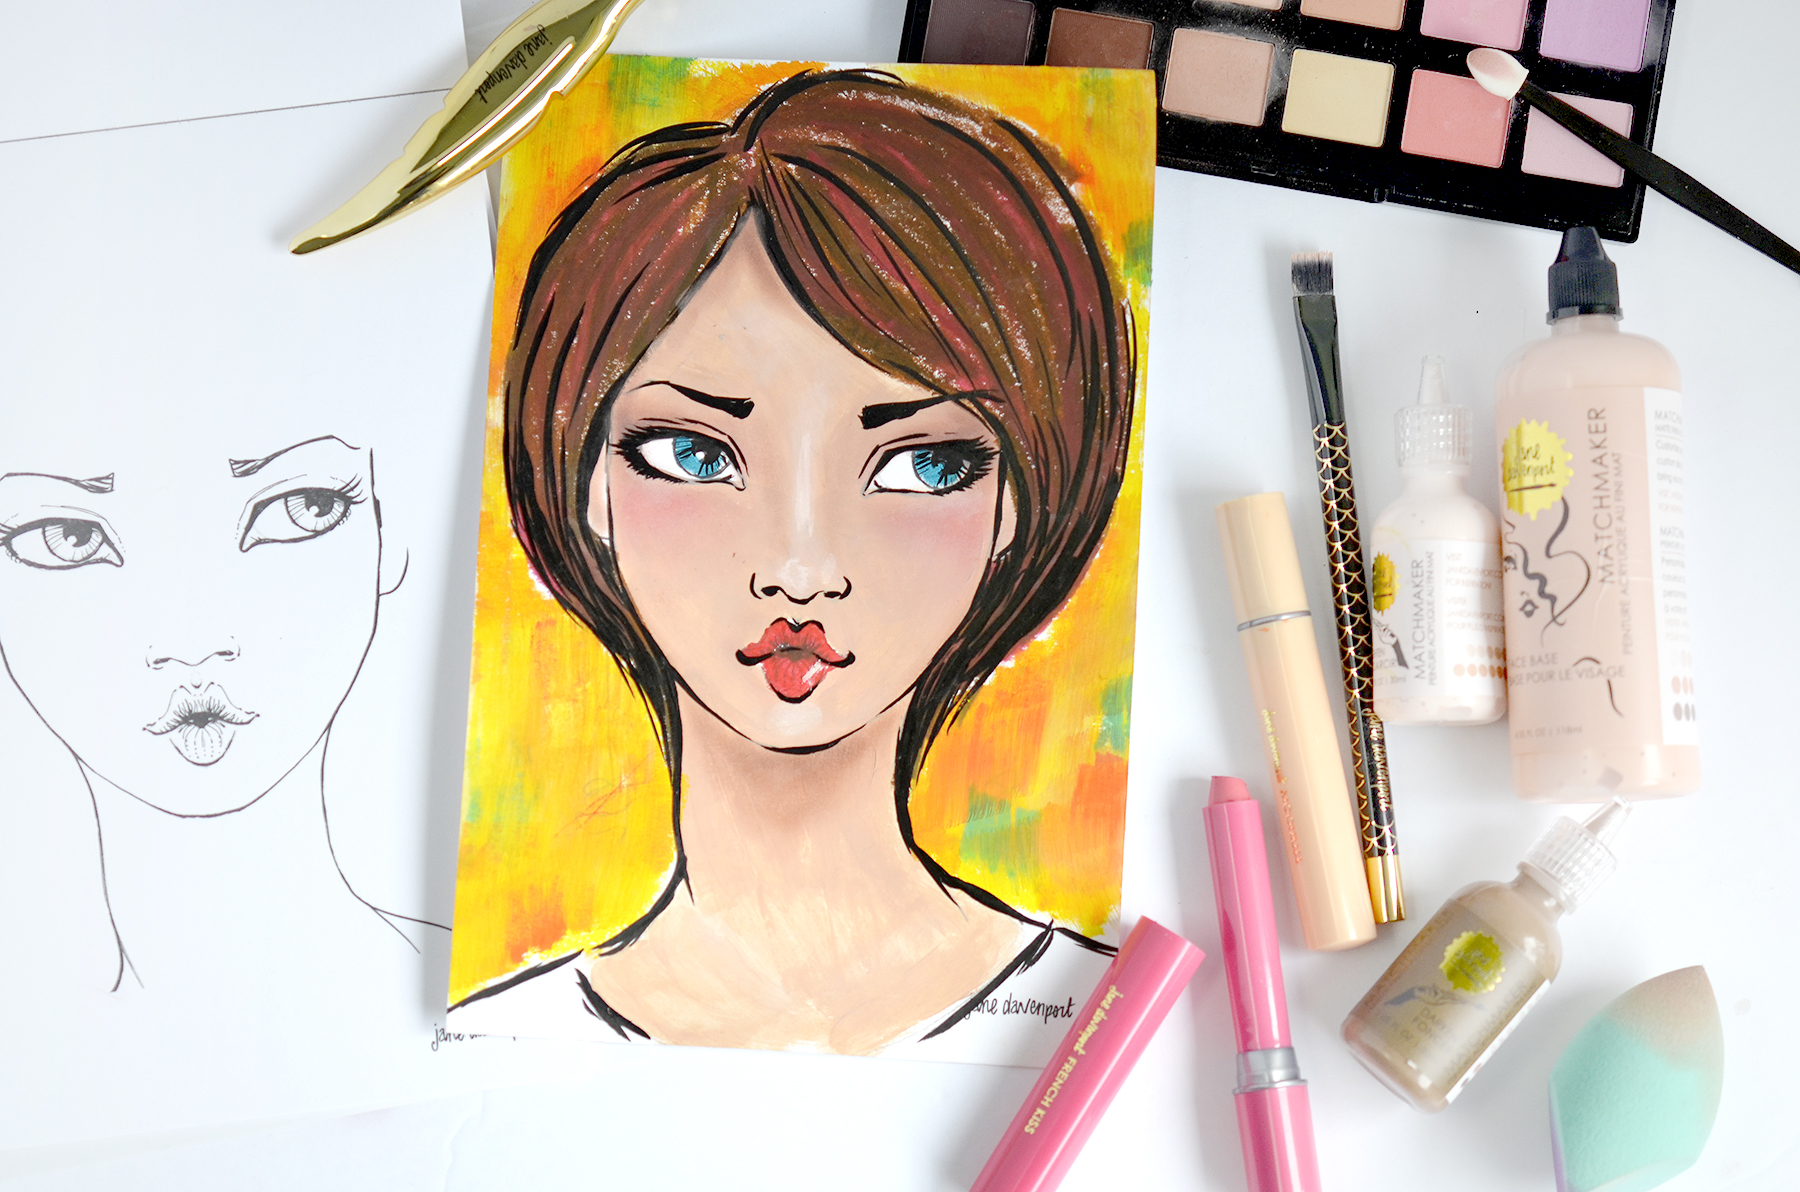
I used the same face charts product but I selected a different image. When I colored the face I used Making Faces Palette Pastels “Birthday Suit” only. These pastels are smooth and blend effortlessly blend on the surface. You can build as many layers of color as you want. Also, if you are not confident to use liquid paints you can use just the pastels to color the image.

Jane Davenport Making Faces Collection Inspiration with Mayline Jung for Spellbinders

I love to use a black pen, called  “Licensed To Quill Pen” on the image. This pen helped the image be more defined against the background. You don’t need to worry about using a black pen. The image lines are visible so you just draw along the image.

Jane Davenport Making Faces Collection Inspiration with Mayline Jung for Spellbinders

Here is a video showing you how I made this project & close-up photos. I hope you enjoyed!

Spellbinders Supplies:

That’s all for today! Thanks Spellbinders for giving me the opportunity to work with Jane Davenport Making Faces Collection.
Jane Davenport Making Faces Collection Inspiration with Mayline Jung for Spellbinders

Leave a comment

Your email will not be published. Please note, comments need to be approved before they are published.


  • How to Color BetterPress Scenes with Watercolor and Colored Pencils, BP-383, STNB-020, DC378

    AF724

    How to Color BetterPress Scenes with Watercolor and Colored Pencils

    Want to move beyond simple ink blending when using layering stencils? In this tutorial, you'll learn how to combine BetterPress printing, stencil coloring, watercolor painting, and colored pencil shading to create a detailed scenic card. By mixing coloring mediums, you can build additional texture, depth, and realism while using supplies you may already have in your craft room. This project features the Scenic Kyoto Press...

  • How to Use Reverse Foiling for Elegant Christmas Cards, BP-345, BP-314, S4-1452, BP-312, S5-526, S5-647

    BP-312

    How to Use Reverse Foiling for Elegant Christmas Cards

    Get more from your hot foil supplies by learning how to use the reverse foiling technique. In this step-by-step Christmas card tutorial, you'll create a beautiful snowflake background using leftover foil, then pair it with a dimensional poinsettia arrangement and festive sentiment. Reverse foiling is a fantastic way to reduce waste while creating an entirely different look from your original foiled design. Using the A2...

  • How to Make Felt Christmas Ornaments with Festive Felt Dies, S7-302, S7-303, S7-305, PE-104

    Categories:Die Cutting

    How to Make Felt Christmas Ornaments with Festive Felt Dies

    Create charming handmade felt Christmas ornaments using the Festive Felt Christmas Dies by Lollie & Grace. In this step-by-step tutorial, you'll learn how to die-cut felt, assemble layered ornament designs, add decorative stitching, embellish with sequins and beads, and finish your ornaments with hanging loops for Christmas decorating. This project is perfect for holiday crafters who enjoy working with felt and creating handmade decorations. These festive...