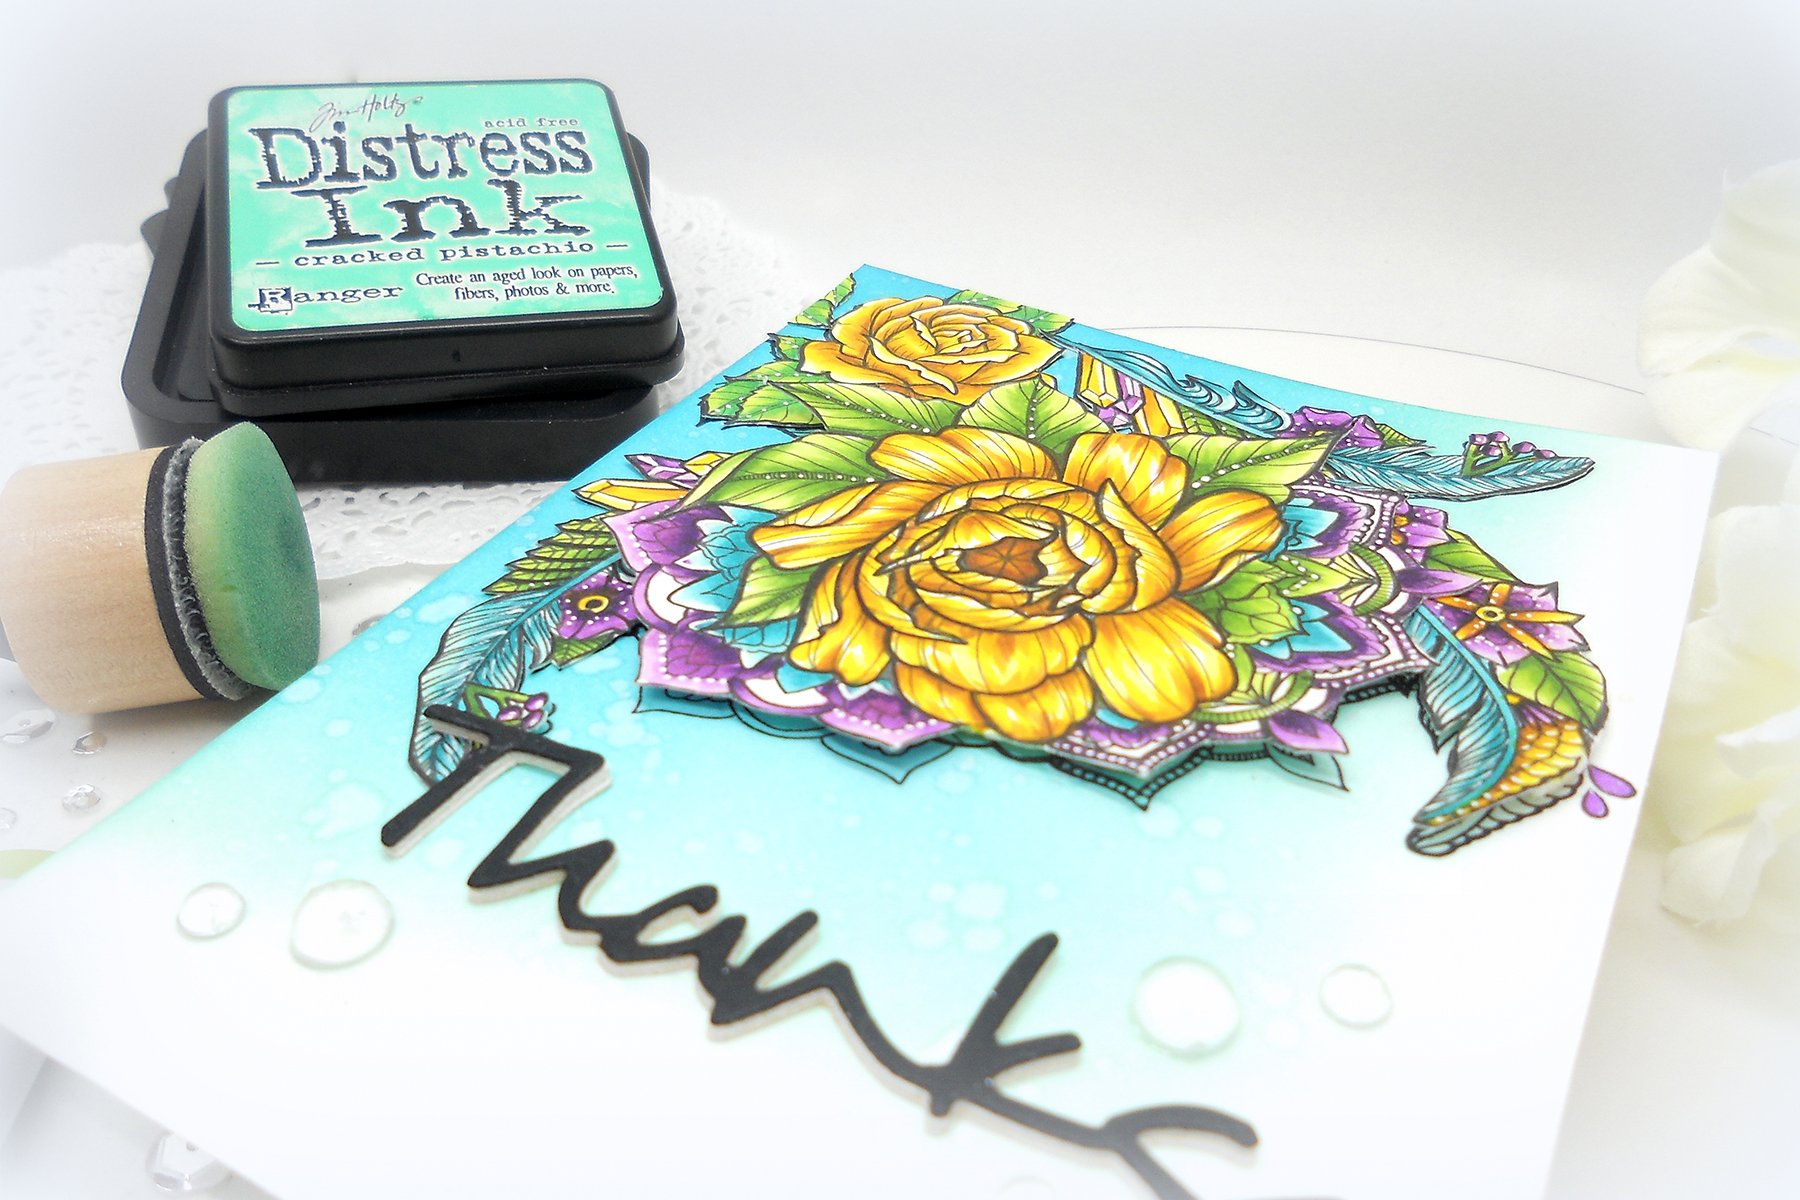
Video Friday | Feathers and Florals with Kelly
on February 16, 2018

Video Friday | Feathers and Florals with Kelly

It's Kelly Latevola here and I'm back with a fun floral arrangement that uses a ton of products from Stephanie Low's Cool Vibes Designer Series . I love so many of the elements in this series it was hard to choose which to use!
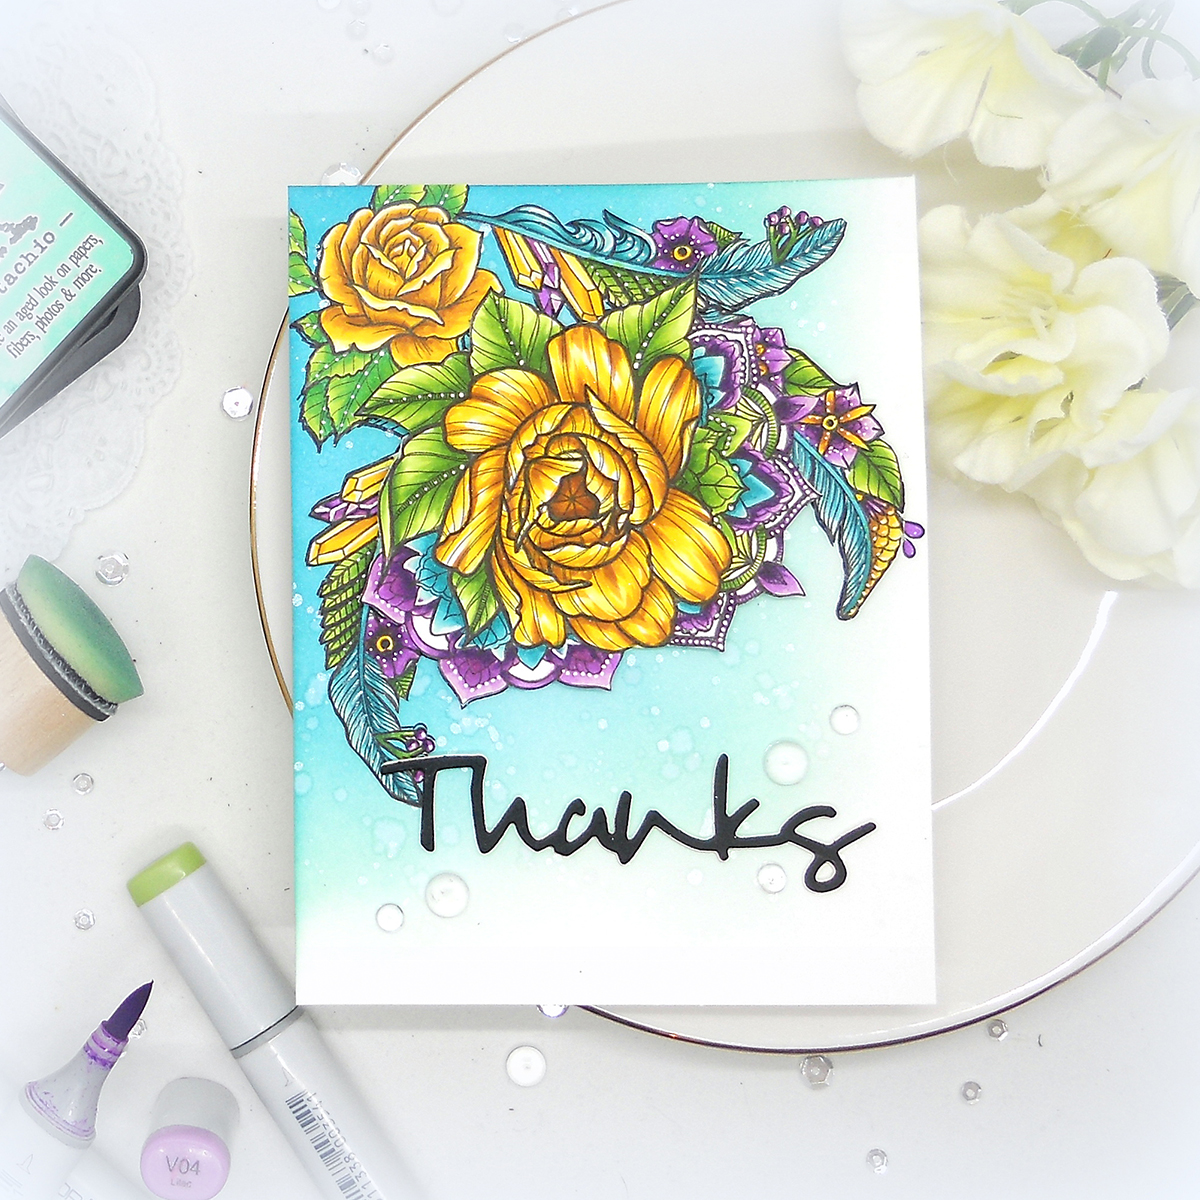
Video Friday | Feathers and Florals with Kelly Latevola for Spellbinders using Stephanie Low's Cool Vibes Designer Series SDS-099 Medium Peony, SDS-100 Feathers, SDS-098 Moon Flower, S4-563 Simply Said Phrase Set One #spellbinders #stamping #neverstopmaking #diecutting #handmadecard

I started by stamping out all my images in Copic safe ink then I dove right into the coloring. I went with a golden yellow and then added purple since they are complimentary colors. I love purple with teal and bright green so those were easy additions to round out my color palette.

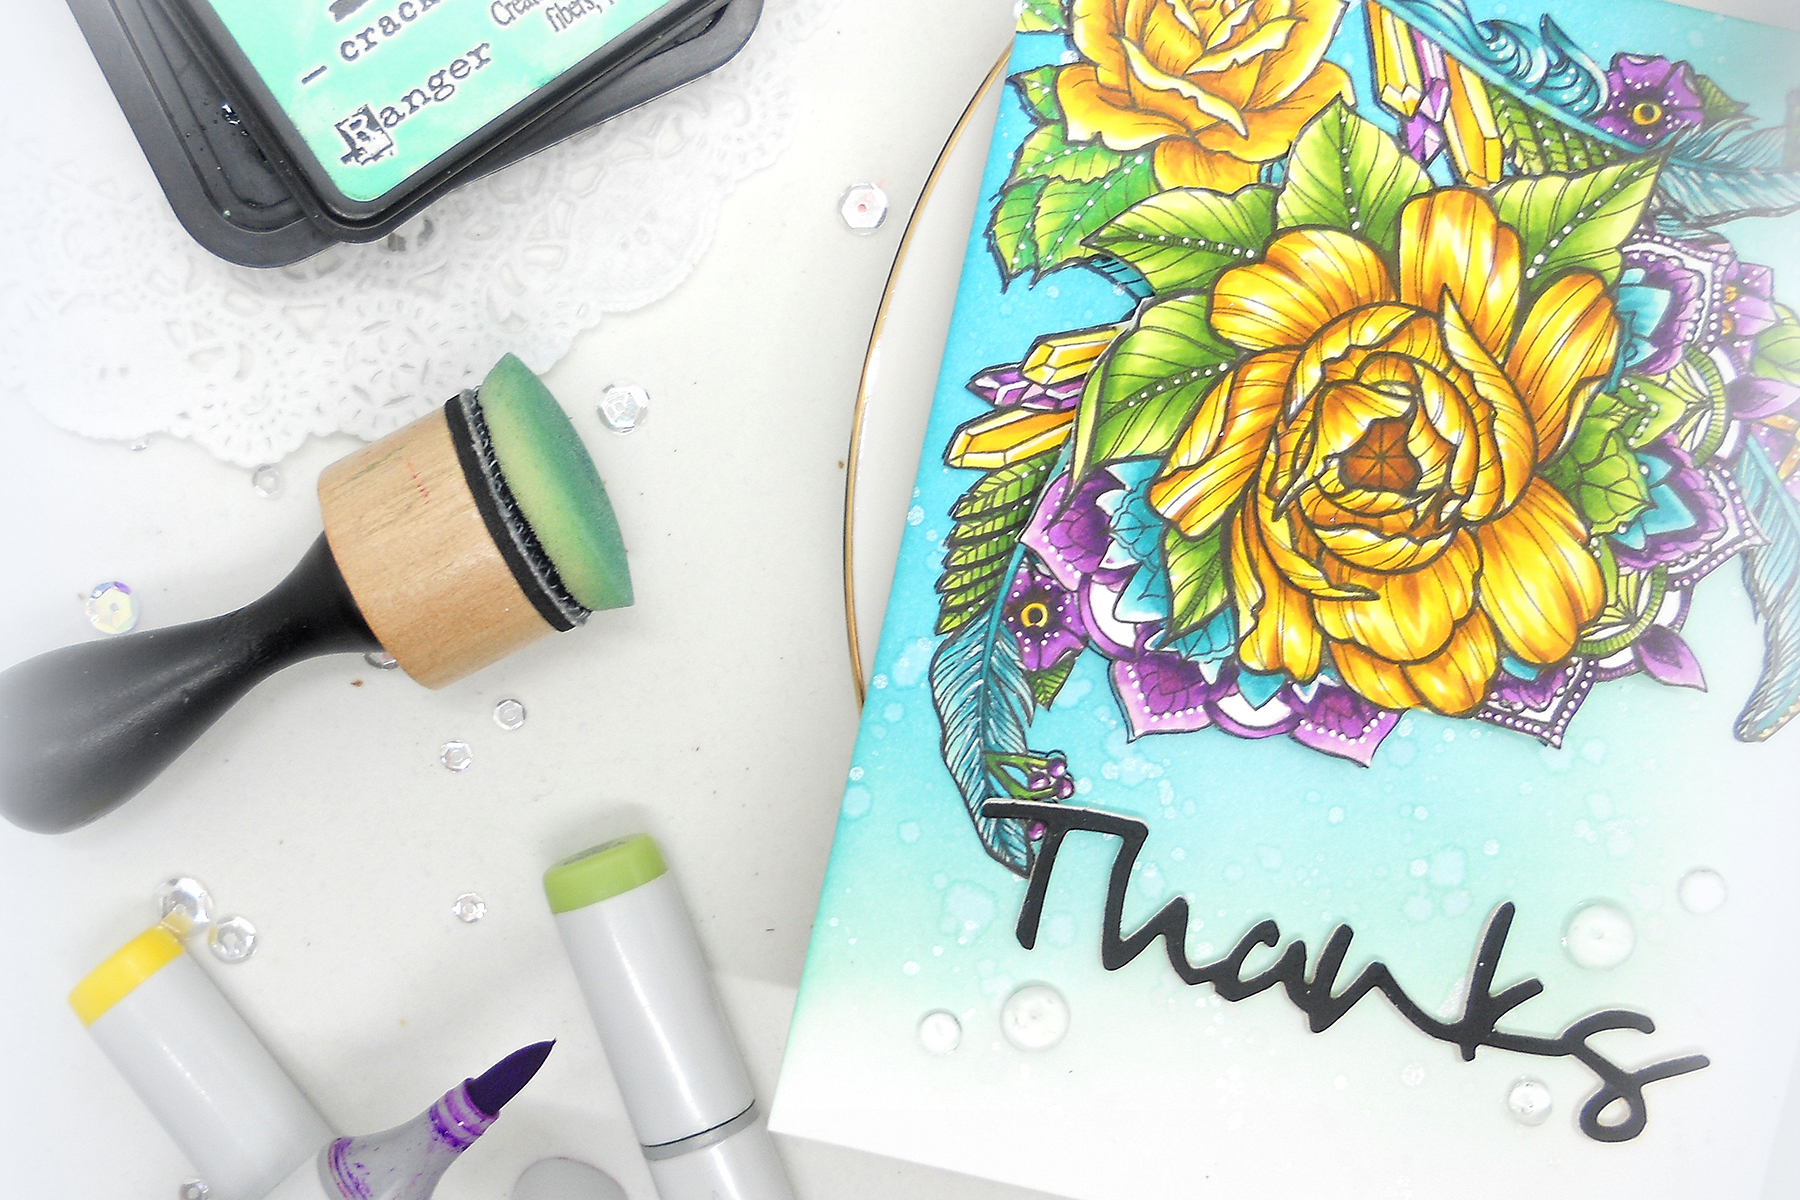
Video Friday | Feathers and Florals with Kelly Latevola for Spellbinders using Stephanie Low's Cool Vibes Designer Series SDS-099 Medium Peony, SDS-100 Feathers, SDS-098 Moon Flower, S4-563 Simply Said Phrase Set One #spellbinders #stamping #neverstopmaking #diecutting #handmadecard

Once the coloring was finished I put the coordinating dies in place and ran them though my Platinum machine . I also die cut my Thanks sentiment out of black cardstock to tie in all the black outline stamping.

Video Friday | Feathers and Florals with Kelly Latevola for Spellbinders using Stephanie Low's Cool Vibes Designer Series SDS-099 Medium Peony, SDS-100 Feathers, SDS-098 Moon Flower, S4-563 Simply Said Phrase Set One #spellbinders #stamping #neverstopmaking #diecutting #handmadecard

I set my images aside to create my background. I used several distress ink colors to create a gradient from the top left fading off to the bottom right. I did my signature water and perfect pearls splattered in the background to add interest. I arranged my flowers and feathers and began adhering them to my background using both flat and dimensional adhesive. A few clear droplets completed the card . . . or so I thought.

VIDEO TUTORIAL

Watch video tutorial below or on Youtube to learn how to make this project: Like I said in the video there definitely wasn't anything "wrong" with the first card. It just felt a bit disjointed to me. Which version is your favorite?

Video Friday | Feathers and Florals with Kelly Latevola for Spellbinders using Stephanie Low's Cool Vibes Designer Series SDS-099 Medium Peony, SDS-100 Feathers, SDS-098 Moon Flower, S4-563 Simply Said Phrase Set One #spellbinders #stamping #neverstopmaking #diecutting #handmadecard

Spellbinders Supplies:

Other Supplies:

Intense Black Ink, Neenah 80lb Solar White Card Stock, Black Card Stock Distress Ink: Cracked Pistachio, Peacock Feathers, and Mermaid Lagoon Ink Blending Tool, Ranger Craft Mat, Copic Markers, Y02, Y08, YR24, E99, E57, YG01, YG03, YG17, YG67, G05, G17, BG11, BG45, BG49, V01, V04, V06, V09, Clear Wink of Stella, Clear Droplets, Scotch Foam Tape, Perfect Pearls, #2 Round Brush, White Gel Pen, EK Success Journaling Pen Tombow Mono Multi Glue, Thanks so much for stopping in! I hope this gave you a little bit of faith that everyone starts and stops again. It happens to all of us. As long as you end up with something YOU love in the end that's all that matters! Have a great weekend!

Leave a comment

Your email will not be published. Please note, comments need to be approved before they are published.


  • How to Color BetterPress Scenes with Watercolor and Colored Pencils, BP-383, STNB-020, DC378

    AF724

    How to Color BetterPress Scenes with Watercolor and Colored Pencils

    Want to move beyond simple ink blending when using layering stencils? In this tutorial, you'll learn how to combine BetterPress printing, stencil coloring, watercolor painting, and colored pencil shading to create a detailed scenic card. By mixing coloring mediums, you can build additional texture, depth, and realism while using supplies you may already have in your craft room. This project features the Scenic Kyoto Press...

  • How to Use Reverse Foiling for Elegant Christmas Cards, BP-345, BP-314, S4-1452, BP-312, S5-526, S5-647

    BP-312

    How to Use Reverse Foiling for Elegant Christmas Cards

    Get more from your hot foil supplies by learning how to use the reverse foiling technique. In this step-by-step Christmas card tutorial, you'll create a beautiful snowflake background using leftover foil, then pair it with a dimensional poinsettia arrangement and festive sentiment. Reverse foiling is a fantastic way to reduce waste while creating an entirely different look from your original foiled design. Using the A2...

  • How to Make Felt Christmas Ornaments with Festive Felt Dies, S7-302, S7-303, S7-305, PE-104

    Categories:Die Cutting

    How to Make Felt Christmas Ornaments with Festive Felt Dies

    Create charming handmade felt Christmas ornaments using the Festive Felt Christmas Dies by Lollie & Grace. In this step-by-step tutorial, you'll learn how to die-cut felt, assemble layered ornament designs, add decorative stitching, embellish with sequins and beads, and finish your ornaments with hanging loops for Christmas decorating. This project is perfect for holiday crafters who enjoy working with felt and creating handmade decorations. These festive...