Video Friday | Paper Diorama / Figurine Holder with Olga
Hi there, it's
Olga
and I am back with another 3D project tutorial. I have literally gasped when I first saw
Becca Feeken's new 3D card dies
. This is the type of dies that I have been waiting for - the one that allows you to easily create a diorama or a shadow box template just by cutting out all elements and then assembling it.
My favorite die set from this collection is
Grand Arch 3D Card
just because it has a simple rectangle for an outline which makes it super versatile and suitable for all styles.
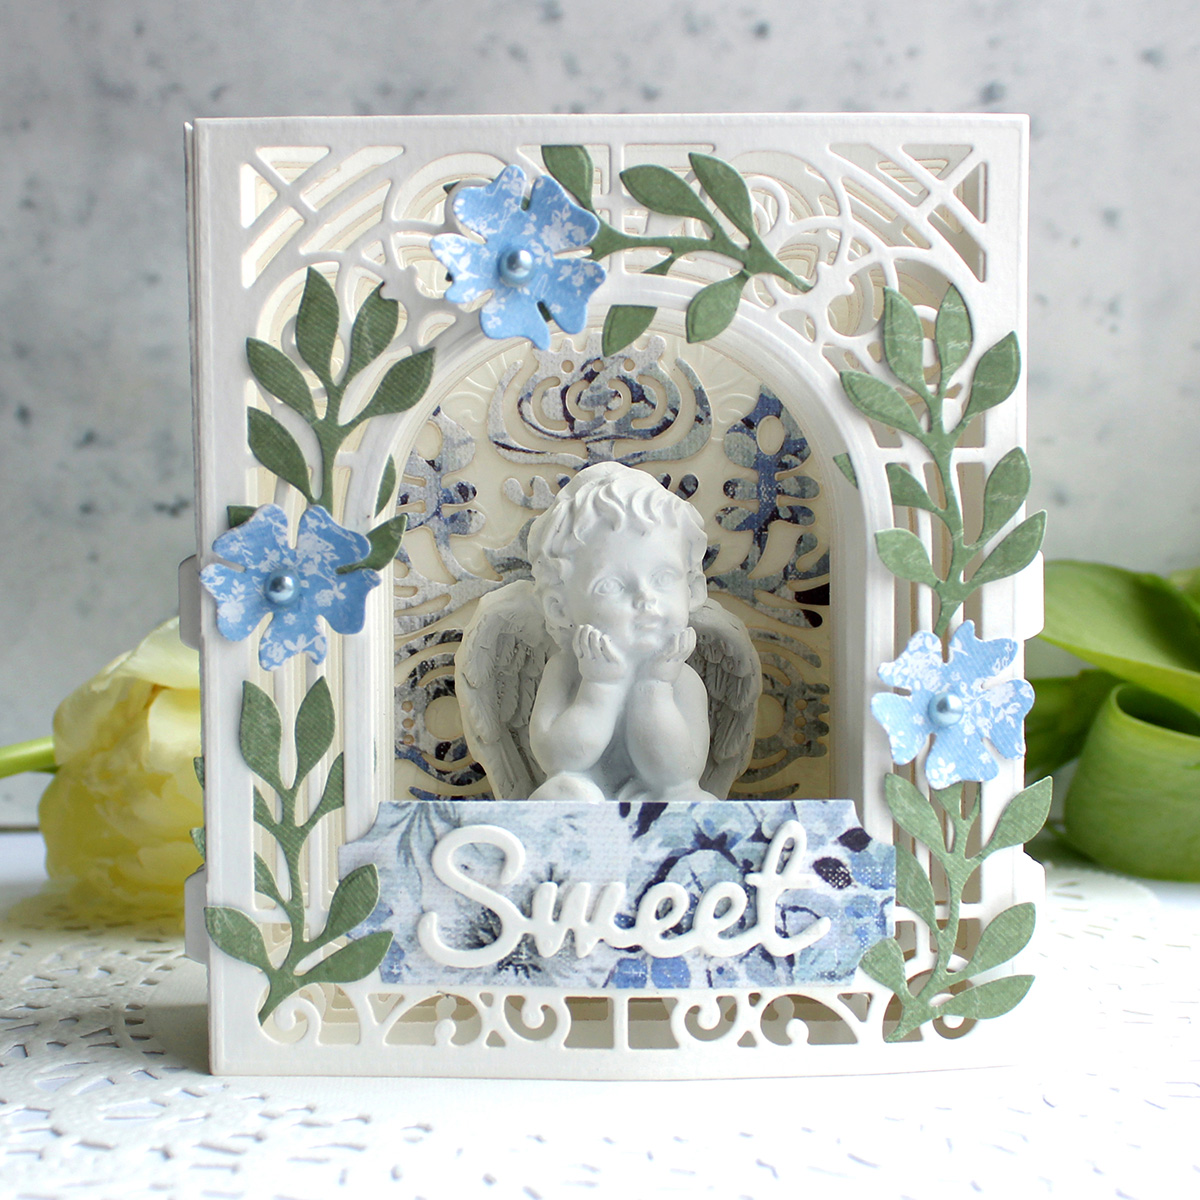
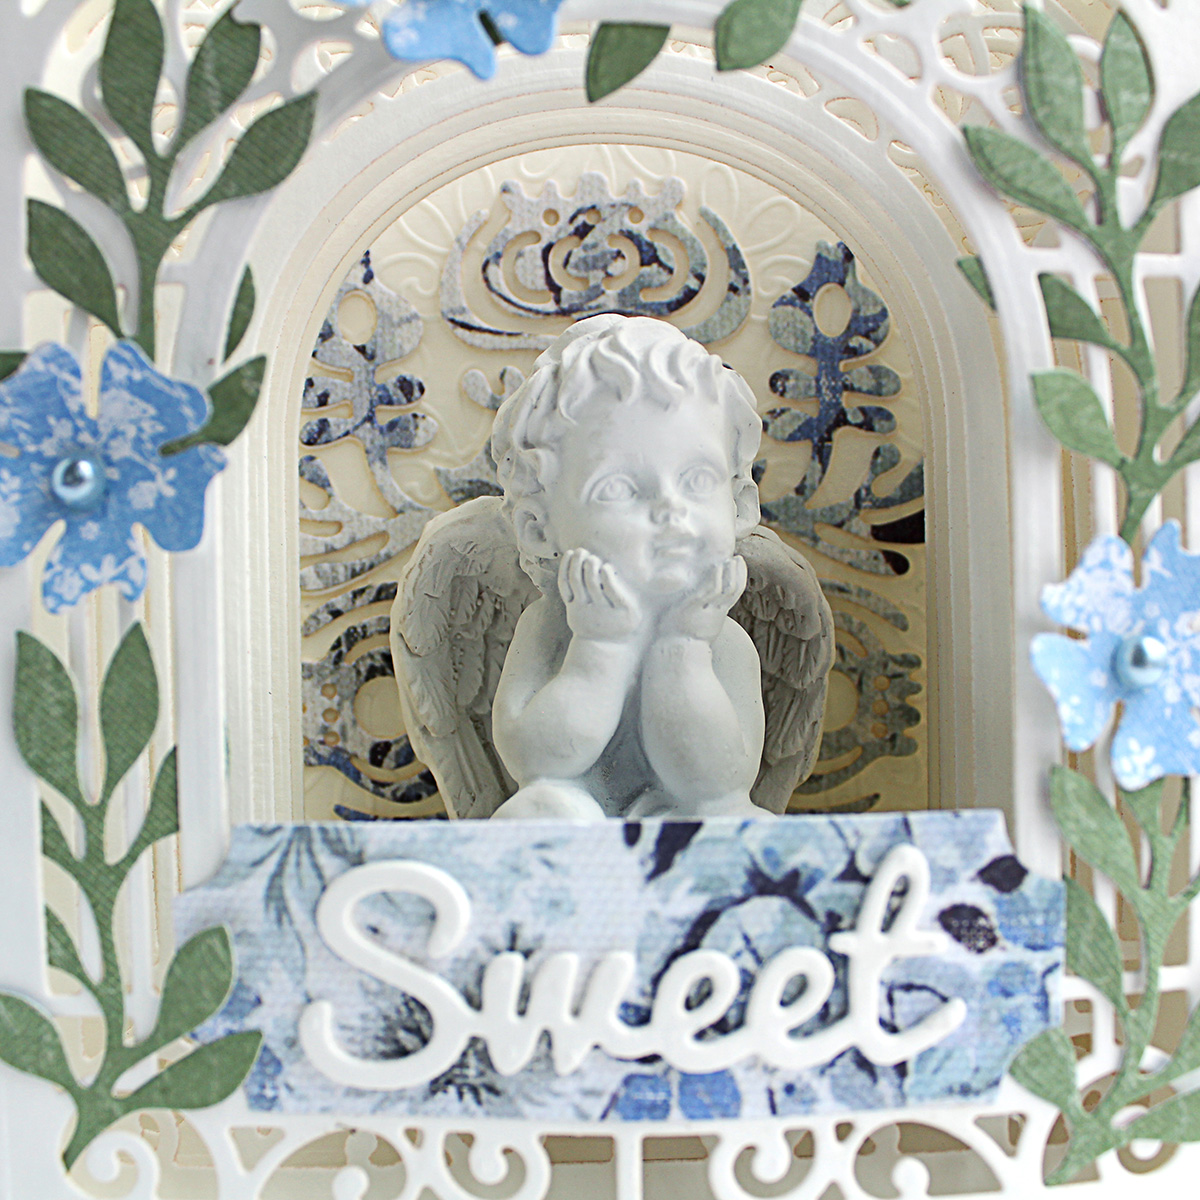
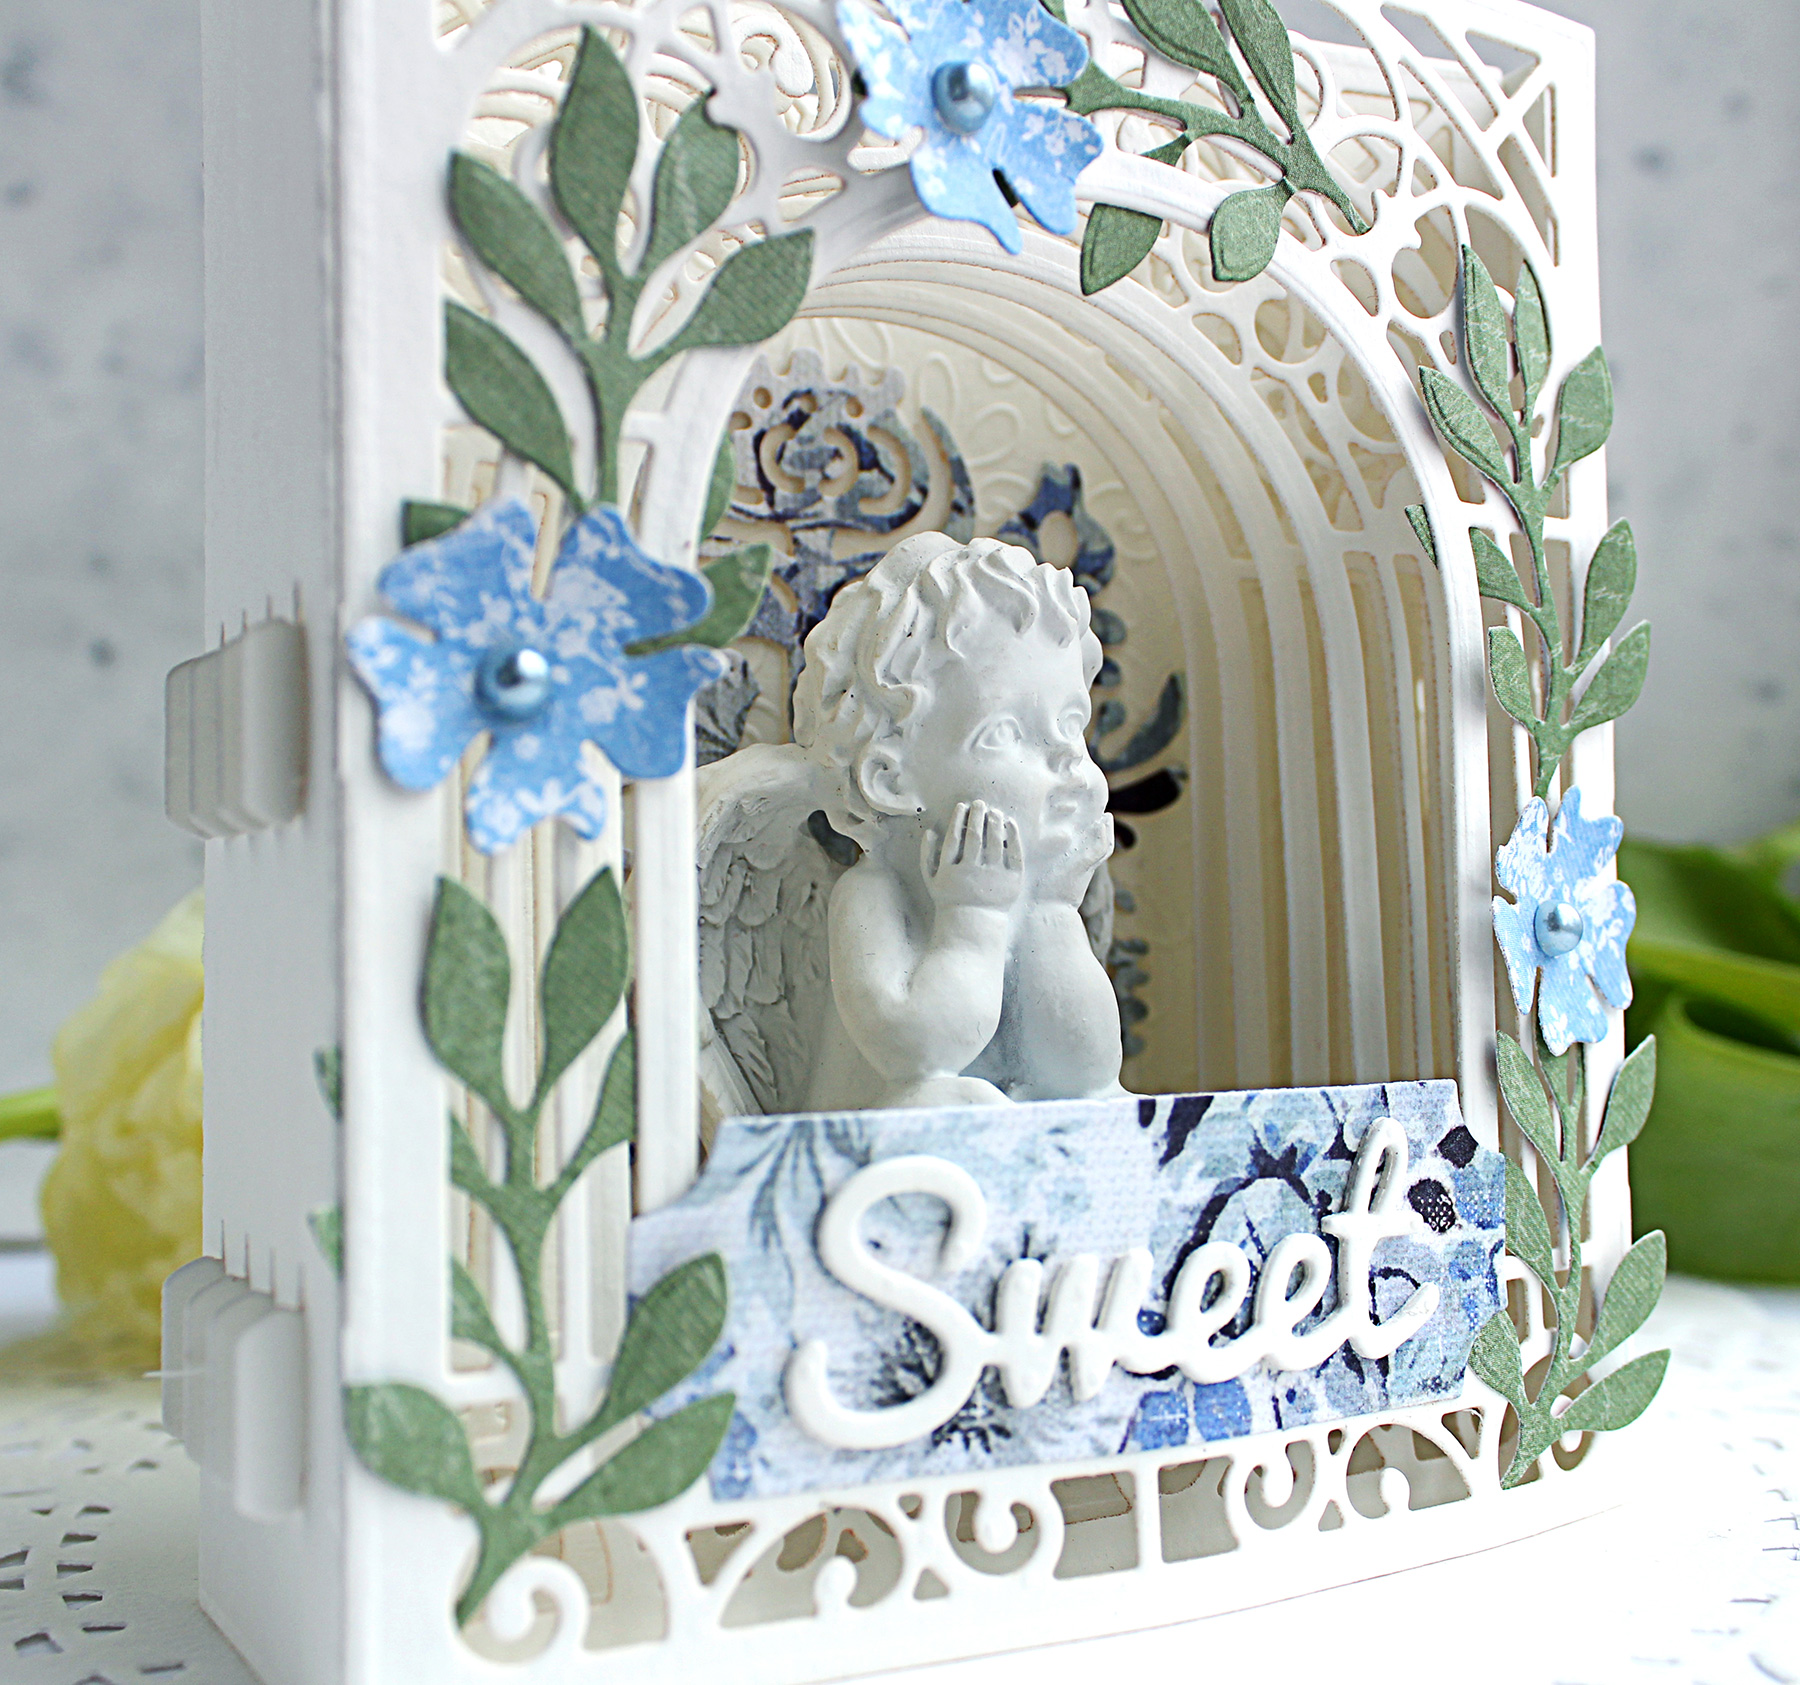
I have used this gorgeous die set to create a diorama that holds a plaster figurine. You could also place any other small things inside like a pot with a succulent or a cactus, a tiny vase with real or artificial flowers or any other treasured memorabilia.
I have also used some other Spellbinders dies that coordinate great with the 3D card template - the gorgeous
Nordic Tree
made a perfect background and it fits right inside the arch! I combined the flowers and leaves from different sets to twirl around the trellis and I finally added a die cut sentiment to a label and placed it at the bottom of the arch.
This project might look super complicated when you first see it - but I assure you it is much much easier to make than it seems because most of work is already done for you by the die creators and it is really just about die cutting and putting it together!
VIDEO TUTORIAL
Watch the video tutorial for the step by step guide on how to make this project. Watch below or on
Youtube
:
300gsm watercolor paper by Canson, "Country Living" 6x6 paper pad by Maja Design, patterned paper sheet by Fab Scraps, plaster figurine.
I hope you enjoyed today's project and got inspired! Thank you so much for visiting and if you have any questions I'll be happy to answer them! Have a beautiful and sweet weekend!
Want to move beyond simple ink blending when using layering stencils? In this tutorial, you'll learn how to combine BetterPress printing, stencil coloring, watercolor painting, and colored pencil shading to create a detailed scenic card. By mixing coloring mediums, you can build additional texture, depth, and realism while using supplies you may already have in your craft room. This project features the Scenic Kyoto Press...
Get more from your hot foil supplies by learning how to use the reverse foiling technique. In this step-by-step Christmas card tutorial, you'll create a beautiful snowflake background using leftover foil, then pair it with a dimensional poinsettia arrangement and festive sentiment. Reverse foiling is a fantastic way to reduce waste while creating an entirely different look from your original foiled design. Using the A2...
Create charming handmade felt Christmas ornaments using the Festive Felt Christmas Dies by Lollie & Grace. In this step-by-step tutorial, you'll learn how to die-cut felt, assemble layered ornament designs, add decorative stitching, embellish with sequins and beads, and finish your ornaments with hanging loops for Christmas decorating. This project is perfect for holiday crafters who enjoy working with felt and creating handmade decorations. These festive...