Video: Hot Foil Resist and Watercolor with Flower Pattern Glimmer Hot Foil Plate & ColorSticks by Jane Davenport
Hello, Spellbinders' fans! I'm Yana Smakula, a creative designer at Spellbinders, in this video I’m sharing a hot foil and watercolor project using some of our newest products.
For my project today I decided to combine two awesome techniques - Hot Foiling & Watercolor. Foil, once applied to the paper, creates a resist effect. You can blend ink over it, spray your background with colorful spray inks or watercolor over for a gorgeous, one of a kind look.
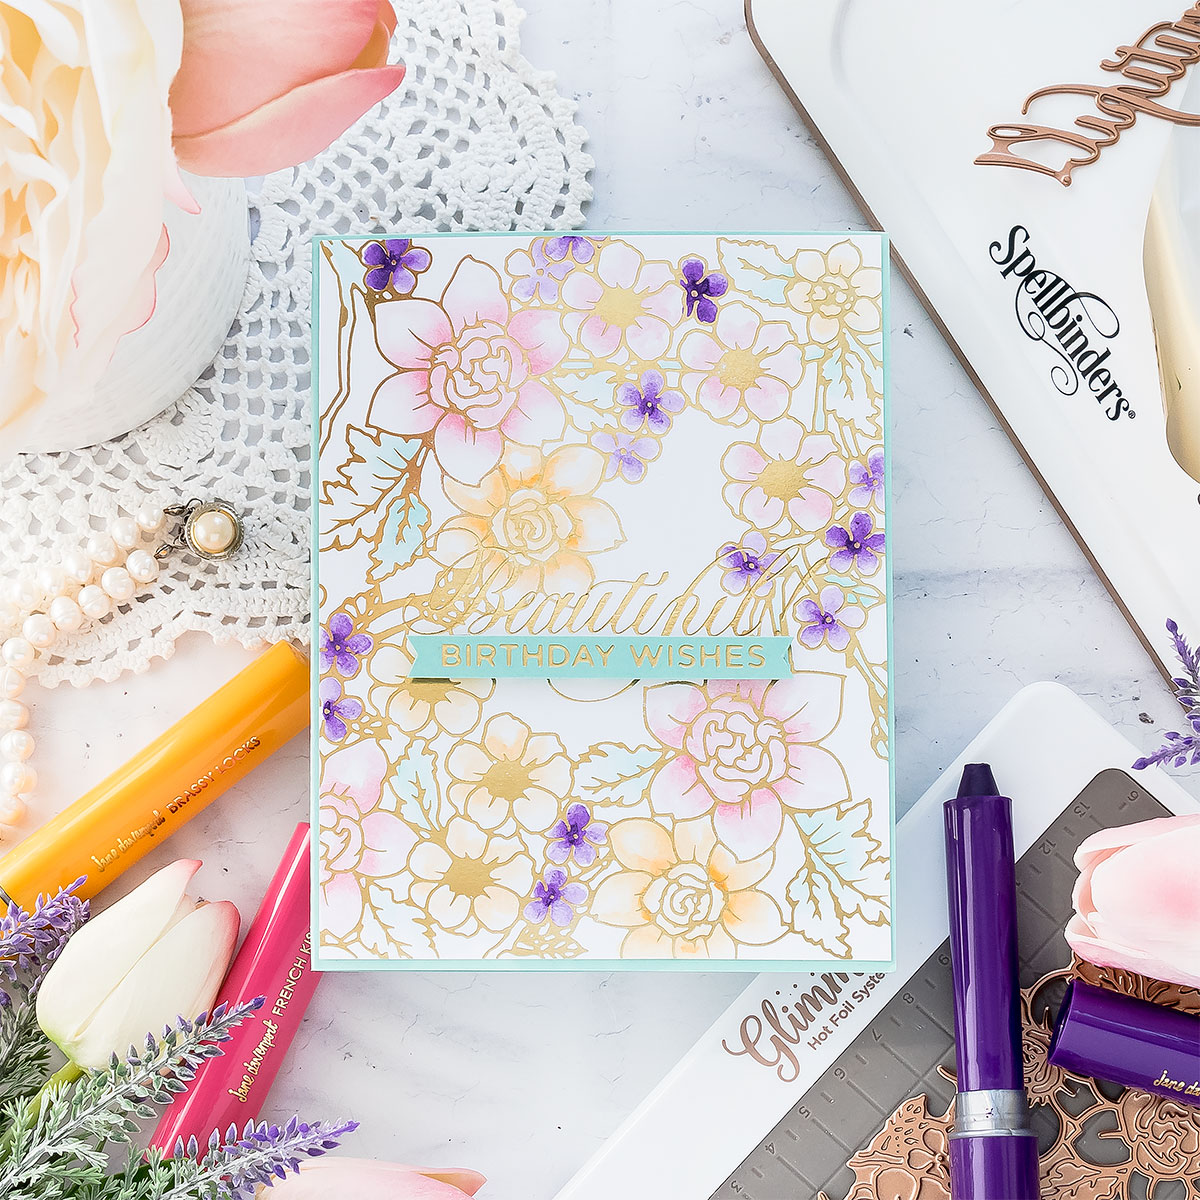
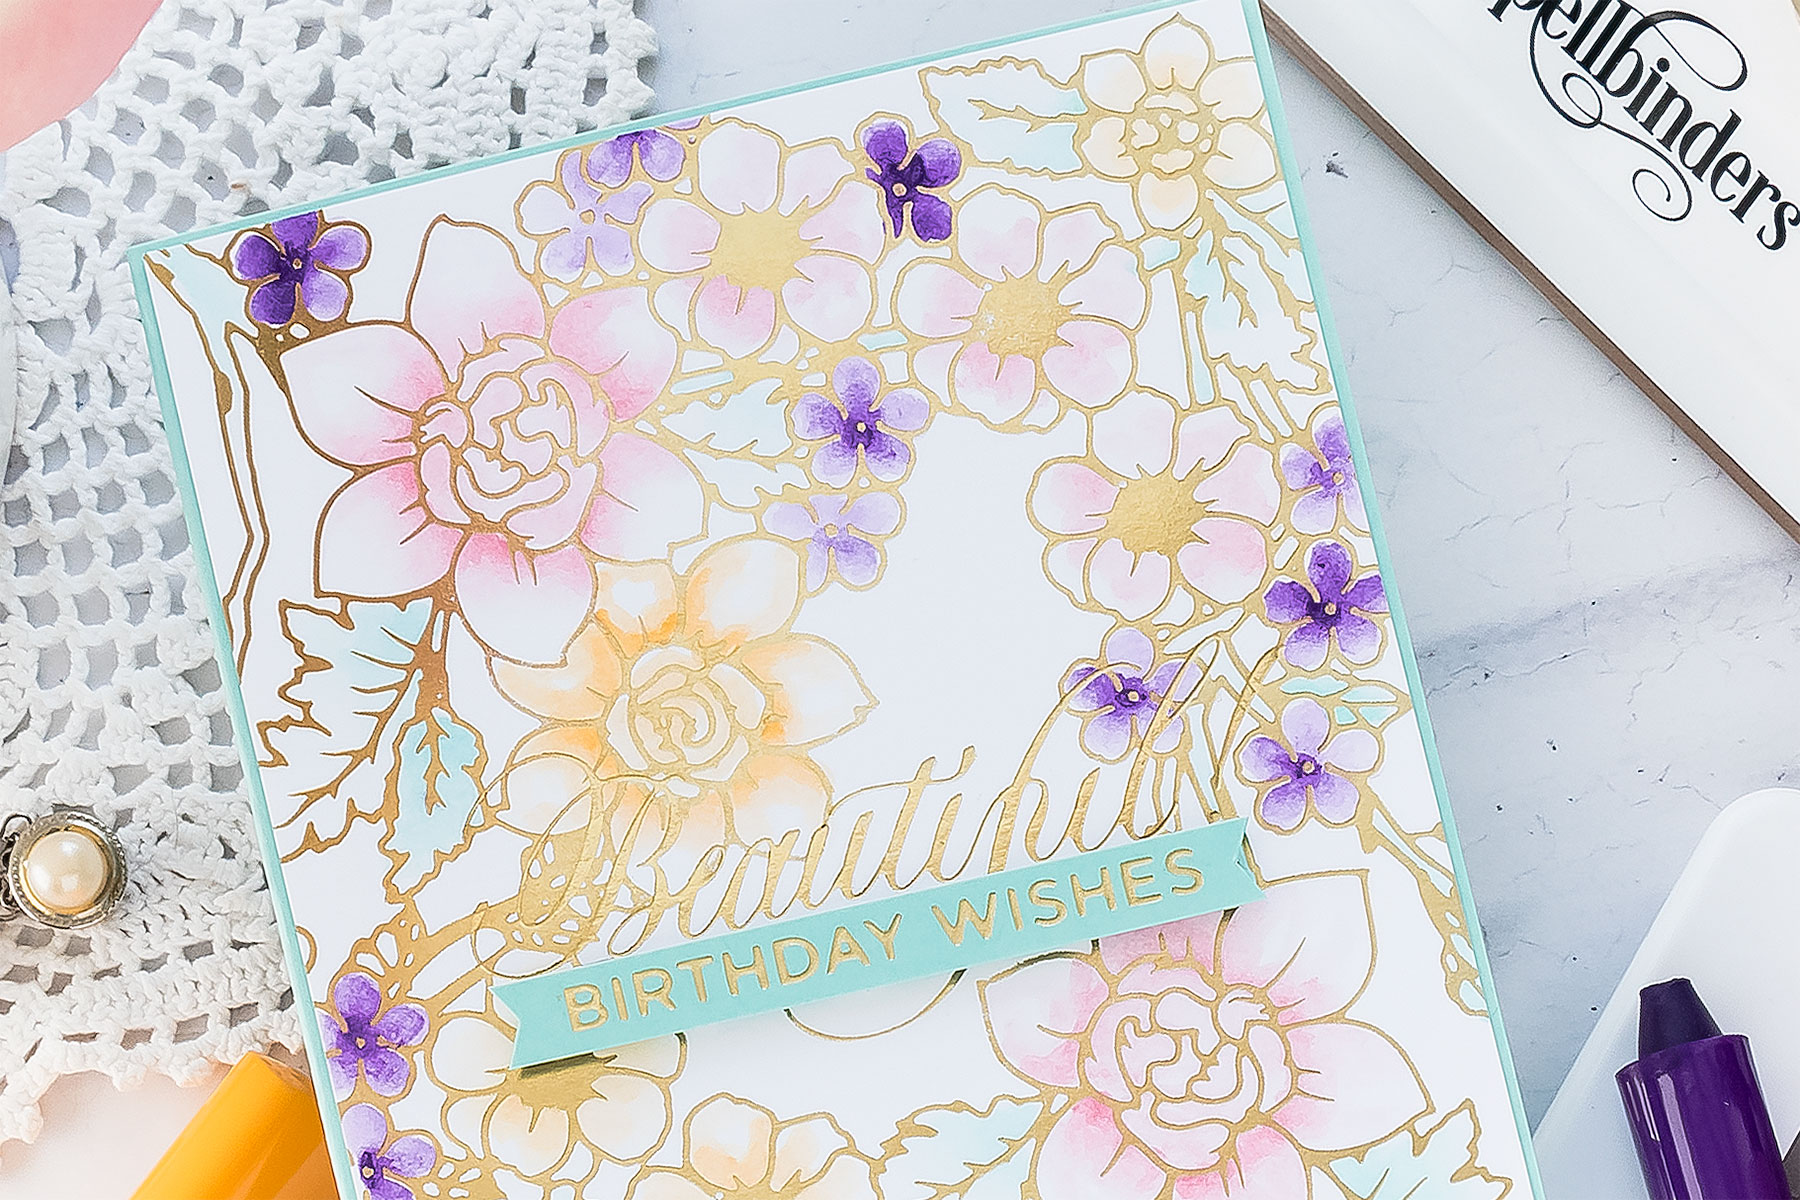
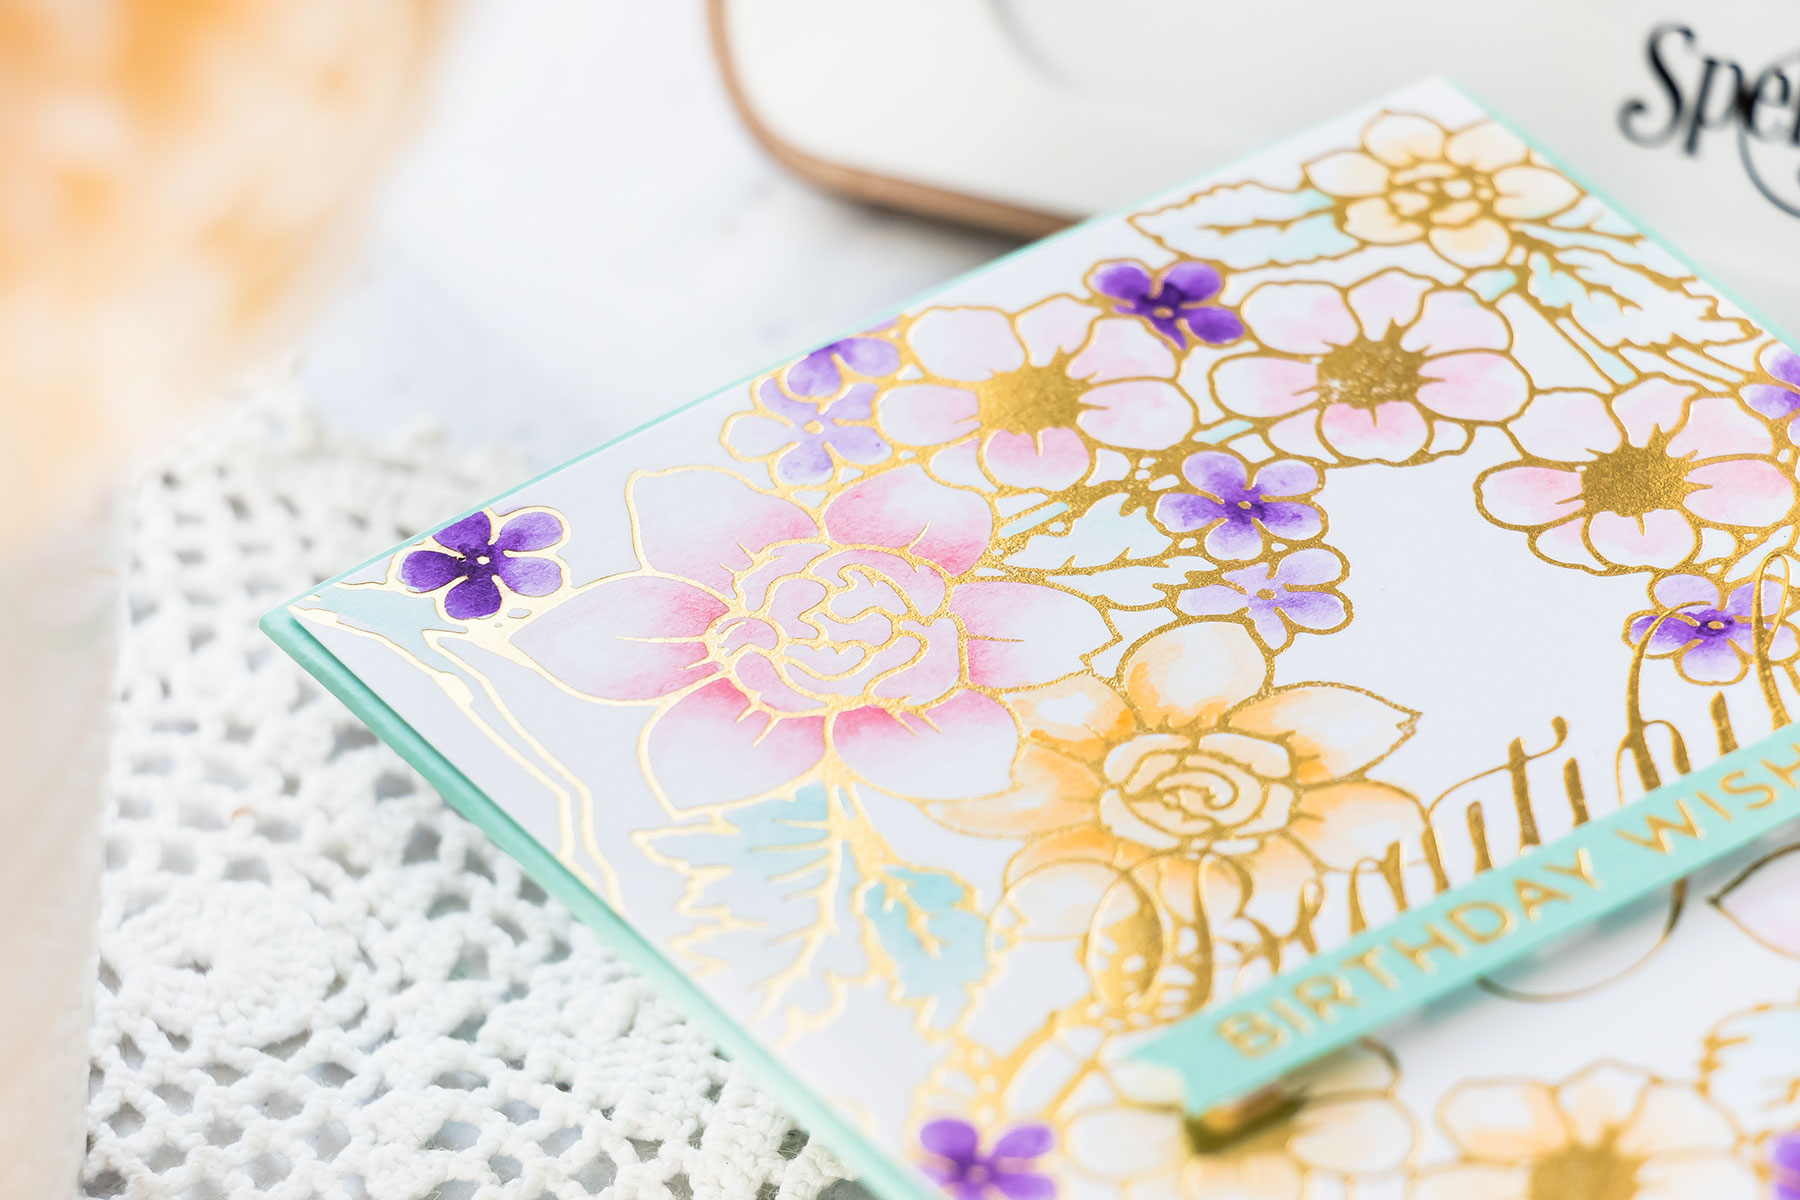
To begin, I foiled
Flower Pattern Glimmer Hot Foil Plate
in
Polished Brass foil
on
white card stock
. Next, I picked several colors of
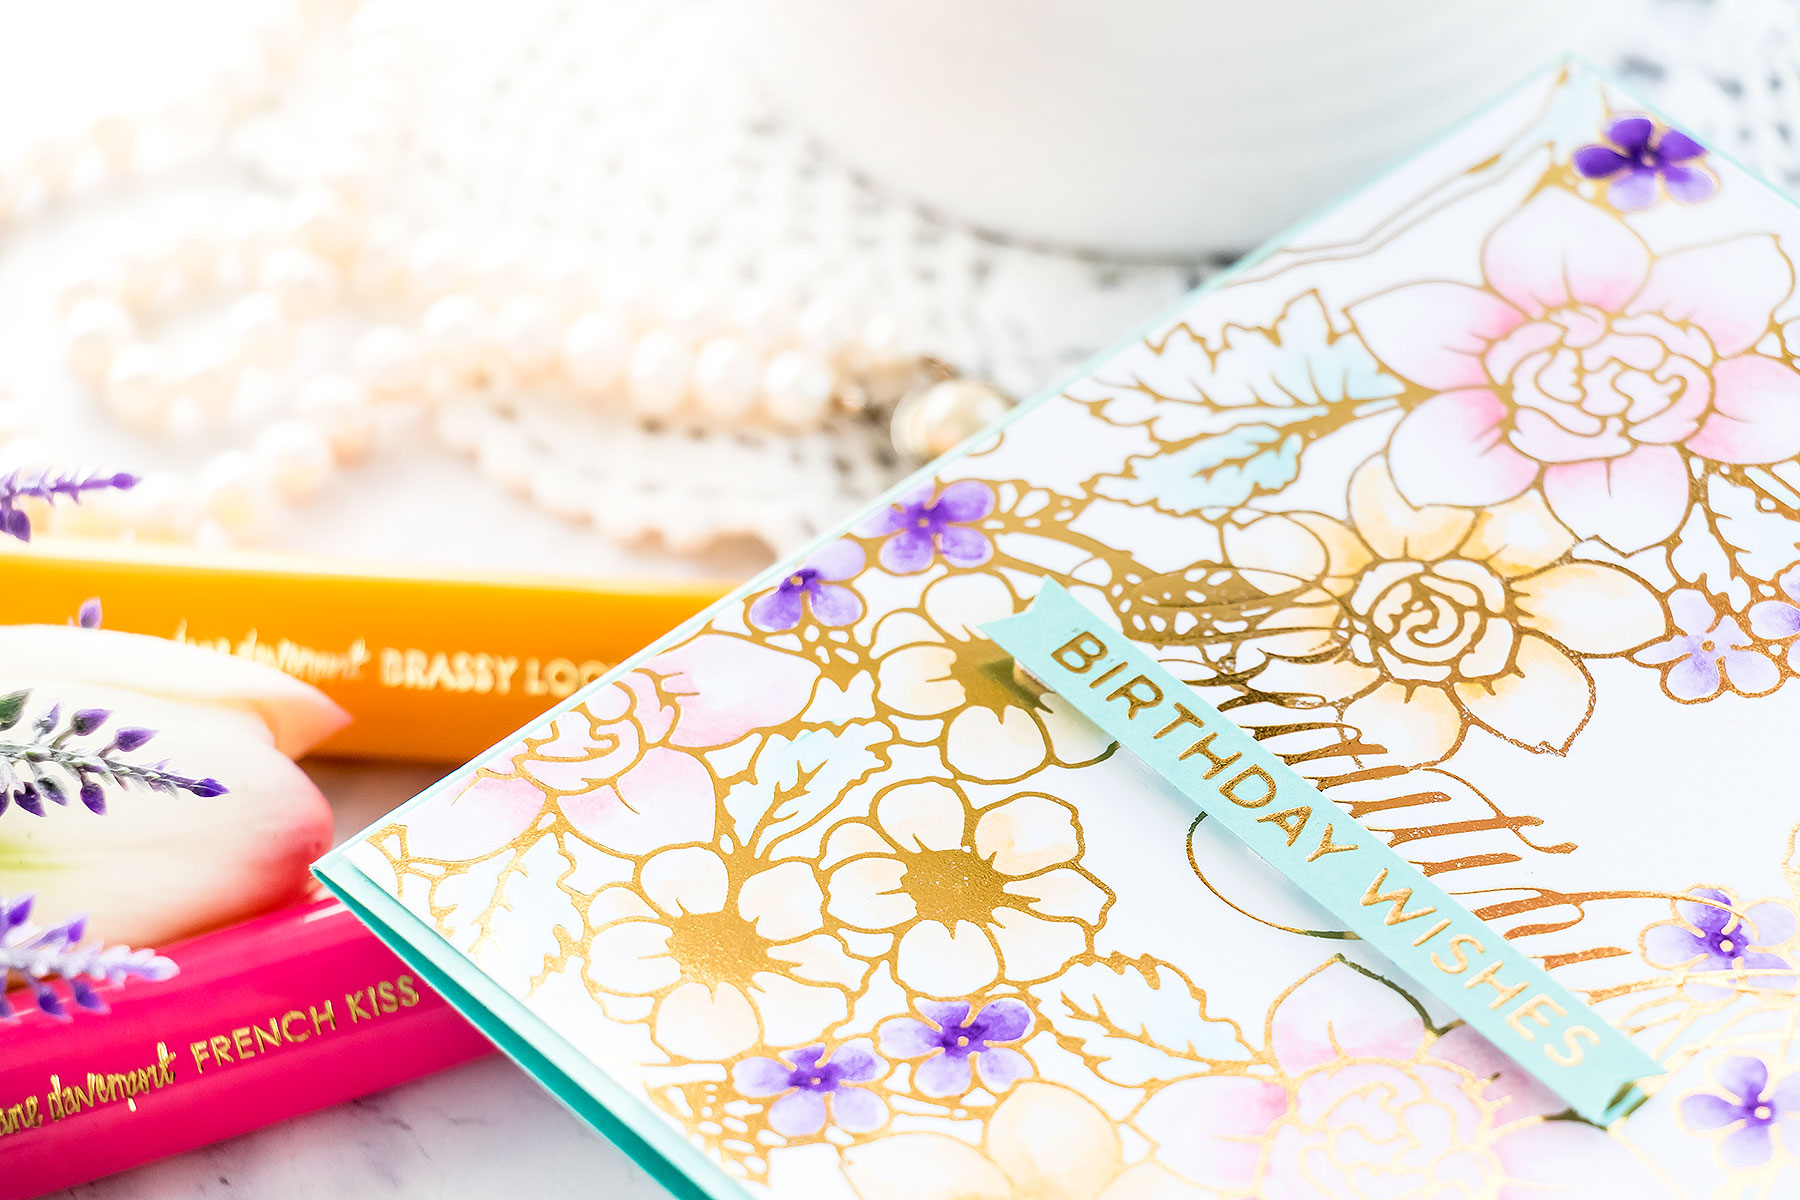
Jane Davenport ColorSticks
to watercolor my piece with.
ColorSticks are very creamy sticks of gorgeous colors that you can use for mixed media projects, journals, and also for your handmade cards. You can color with these directly on paper or use a water brush to pick up the color and apply it onto the paper for a lighter look.
I used ColorSticks in French Kiss, Brassy Looks, Violet Eyes, and Aquamarine.
I used regular card stock for this piece, not watercolor paper. You certainly can foil on watercolor paper, it is best to use smooth paper or hot pressed paper for best results. I would not recommend using cold pressed watercolor paper as it has texture and the texture will prevent you from having a perfect foil transfer.
That being said because I was coloring on regular, non-watercolor paper I was being mindful of how much water I added to the paper. Regular paper can’t take and hold a lot of water without buckling heavily, so make sure you use just a bit of water here when applying colors using the color sticks.
I trimmed my panel to 4 1/8" x 5 3/8” and adhered to a
Cool Pool card base
. Next, I foiled a sentiment directly on my colored panel. I should have foiled it before I adhered the panel to the card base, but regardless, it worked out great in the end.
I picked the Beautiful Hot Foil plate from
Hey Beautiful set by Paul Antonio
and foiled it in same color foil. I finished this card by adding a “
Birthday Wishes
” sentiment foiled on the same Cool Pool card stock cut to a thin strip and foam mounted on a card.
VIDEO TUTORIAL
Watch the video tutorial below or on
YouTube
to learn how to make this project:
Want to move beyond simple ink blending when using layering stencils? In this tutorial, you'll learn how to combine BetterPress printing, stencil coloring, watercolor painting, and colored pencil shading to create a detailed scenic card. By mixing coloring mediums, you can build additional texture, depth, and realism while using supplies you may already have in your craft room. This project features the Scenic Kyoto Press...
Get more from your hot foil supplies by learning how to use the reverse foiling technique. In this step-by-step Christmas card tutorial, you'll create a beautiful snowflake background using leftover foil, then pair it with a dimensional poinsettia arrangement and festive sentiment. Reverse foiling is a fantastic way to reduce waste while creating an entirely different look from your original foiled design. Using the A2...
Create charming handmade felt Christmas ornaments using the Festive Felt Christmas Dies by Lollie & Grace. In this step-by-step tutorial, you'll learn how to die-cut felt, assemble layered ornament designs, add decorative stitching, embellish with sequins and beads, and finish your ornaments with hanging loops for Christmas decorating. This project is perfect for holiday crafters who enjoy working with felt and creating handmade decorations. These festive...