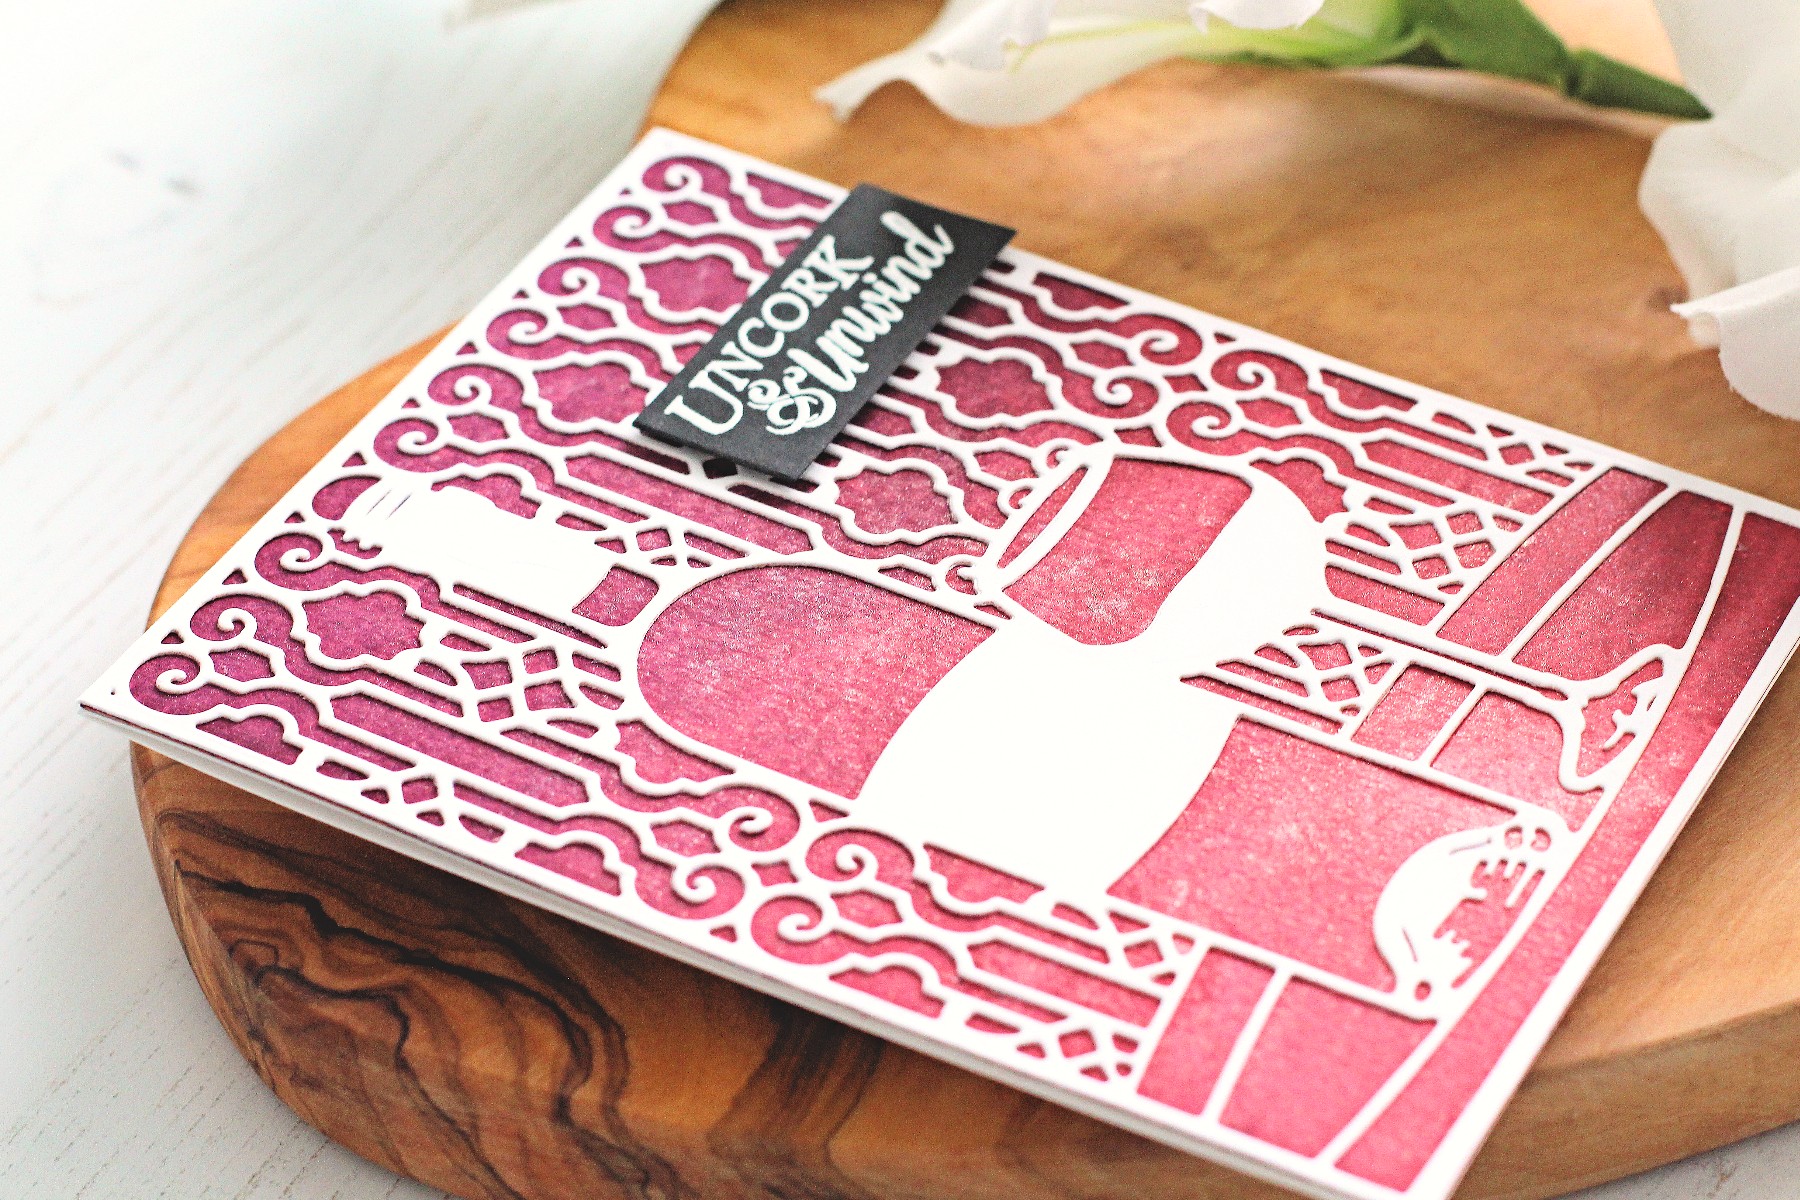
Wine Country Inspiration | Uncork & Unwind Card with Michelle Short
on August 25, 2018

Wine Country Inspiration | Uncork & Unwind Card with Michelle Short

Hello there! This is Michelle Short and I am delighted to be back today to share another card using the fabulous Wine Country collection by Stacey Caron. In case you missed my post yesterday, you can see that here. Today I am using two more sets from the collection.

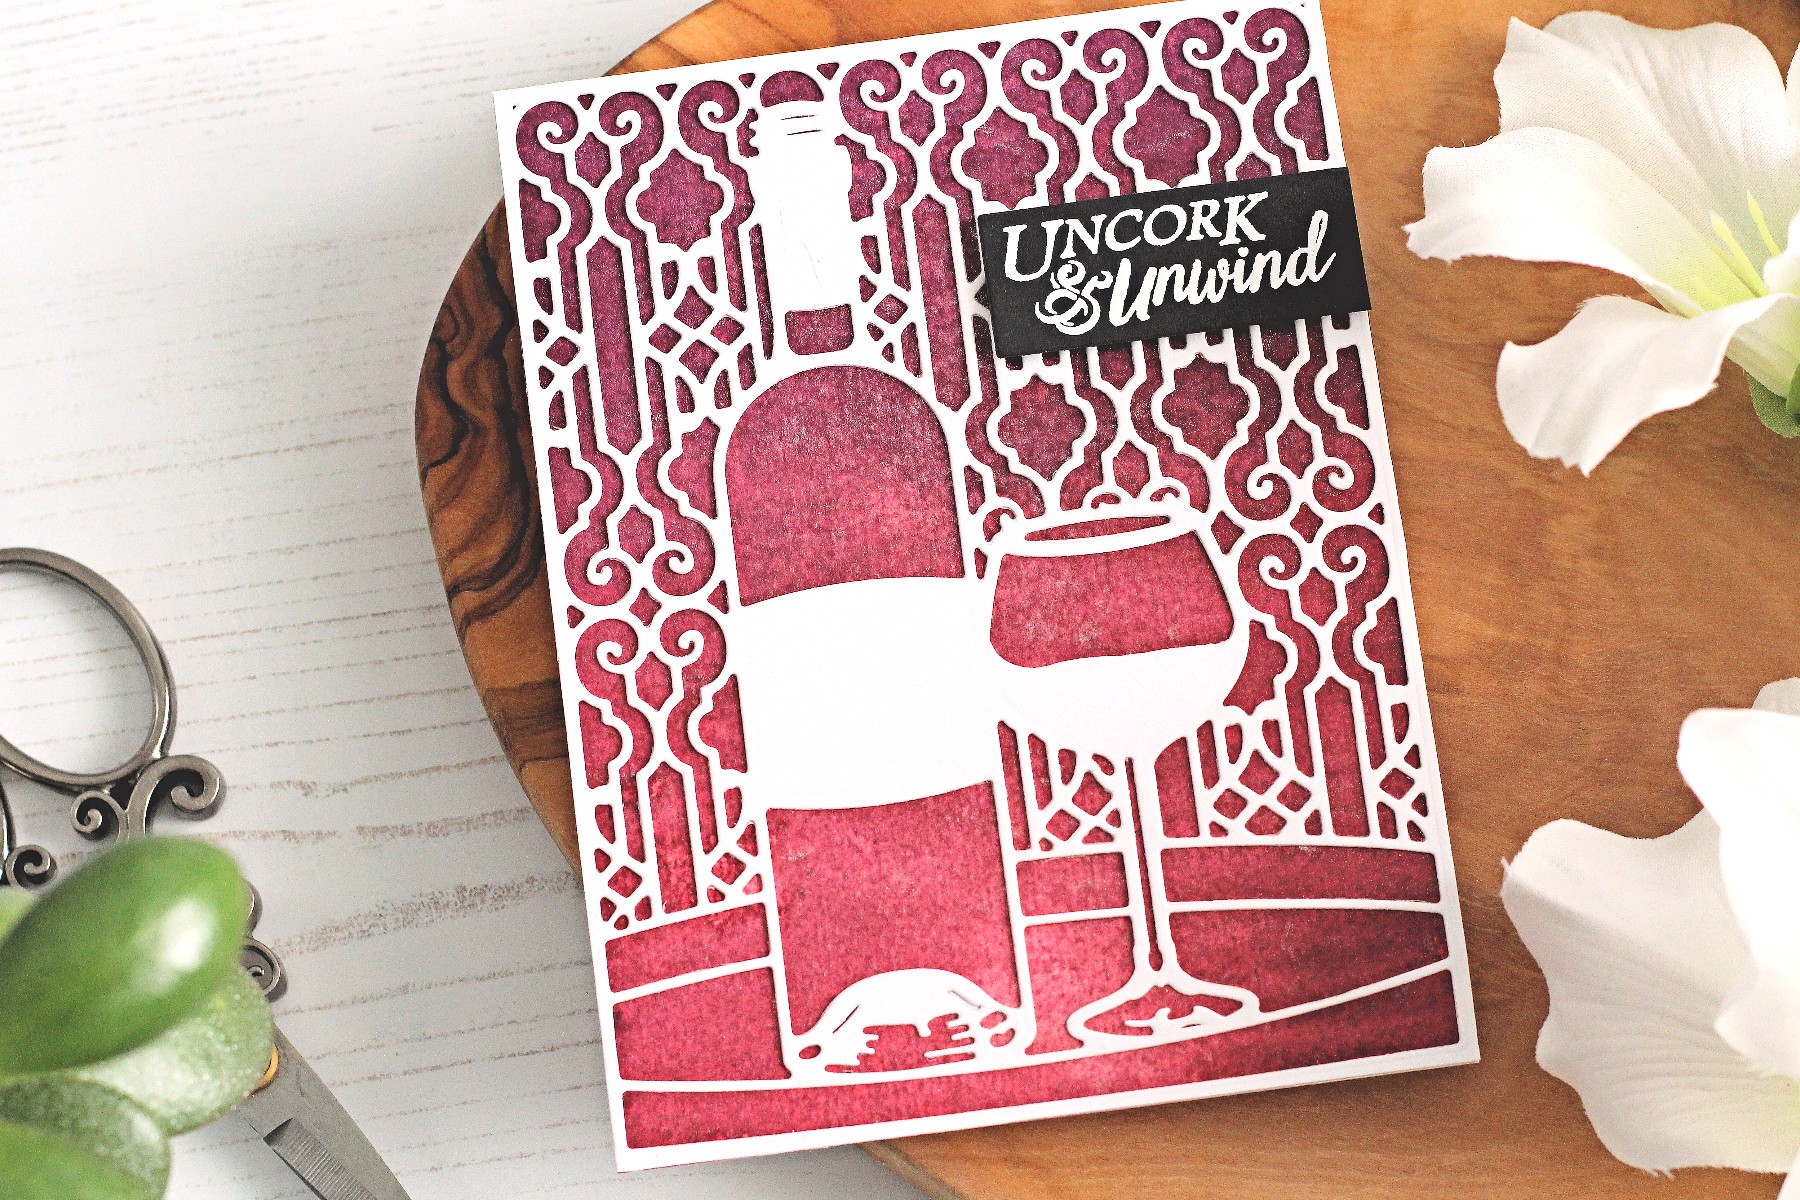
Spellbinders Wine Country collection by Stacey Caron - Inspiration | Uncork & Unwind Card with Michelle Short featuring S5-346 Time for Wine, SDS-135 Barrel of Sentiments,  PE-100 Platinum 6 Die Cutting and Embossing Machine,  T-001 Tool ‘N One #spellbinders #diecutting #handmadecard #neverstopmaking

I started my card off by die-cutting the Time for Wine A2 Card Front Die. I cut this from a panel of 5.5” x 4.25” white cardstock. I used just the main die for this, but in the set, there is also a frame die that will cut an A2 card panel for you. Using the Tool ‘N One, I popped out all of the pieces from inside the die cut and used the piercing end to get rid of any stray card fibers left from die cutting.

Spellbinders Wine Country collection by Stacey Caron - Inspiration | Uncork & Unwind Card with Michelle Short featuring S5-346 Time for Wine, SDS-135 Barrel of Sentiments,  PE-100 Platinum 6 Die Cutting and Embossing Machine,  T-001 Tool ‘N One #spellbinders #diecutting #handmadecard #neverstopmaking

I then created my background. I took a piece of watercolour paper and using a direct to paper technique, I applied Aged Mahogany and Seedless Preserves Distress Inks to the panel. I sprayed the piece heavily with shimmer spray and set aside to dry. Whilst it was drying, I stamped the sentiment. I took the sentiment from the Barrel of Sentiments set and stamped this using Versamark Ink on to black cardstock. I applied white embossing powder and heat set. This was then cut in to a strip using a craft knife and ruler.

Spellbinders Wine Country collection by Stacey Caron - Inspiration | Uncork & Unwind Card with Michelle Short featuring S5-346 Time for Wine, SDS-135 Barrel of Sentiments,  PE-100 Platinum 6 Die Cutting and Embossing Machine,  T-001 Tool ‘N One #spellbinders #diecutting #handmadecard #neverstopmaking

Once the background was dry, I adhered it with tape runner to an A2 white card base. I then added the frame piece on top with liquid glue. To finish off, I added the sentiment strip with foam tape. I really love how the background sparkles against the white frame!

Spellbinders Supplies:

Other supplies:

Papertrey Ink Stamper’s Select White Cardstock, Papertrey Ink True Black Cardstock, Versamark Ink Pad, Hero Arts White Embossing Powder, Tim Holtz Watercolor cardstock, Tim Holtz Aged Mahogany Distress Ink, Tim Holtz Seedless Preserves Distress Ink, Tsukineko Sheer Shimmer Craft Spray – Sparkle. Thank you so much for stopping by today, I hope you have enjoyed seeing my cards using the Wine Country Collection the last two days. Have a great day!

Leave a comment

Your email will not be published. Please note, comments need to be approved before they are published.


  • How to Color BetterPress Scenes with Watercolor and Colored Pencils, BP-383, STNB-020, DC378

    AF724

    How to Color BetterPress Scenes with Watercolor and Colored Pencils

    Want to move beyond simple ink blending when using layering stencils? In this tutorial, you'll learn how to combine BetterPress printing, stencil coloring, watercolor painting, and colored pencil shading to create a detailed scenic card. By mixing coloring mediums, you can build additional texture, depth, and realism while using supplies you may already have in your craft room. This project features the Scenic Kyoto Press...

  • How to Use Reverse Foiling for Elegant Christmas Cards, BP-345, BP-314, S4-1452, BP-312, S5-526, S5-647

    BP-312

    How to Use Reverse Foiling for Elegant Christmas Cards

    Get more from your hot foil supplies by learning how to use the reverse foiling technique. In this step-by-step Christmas card tutorial, you'll create a beautiful snowflake background using leftover foil, then pair it with a dimensional poinsettia arrangement and festive sentiment. Reverse foiling is a fantastic way to reduce waste while creating an entirely different look from your original foiled design. Using the A2...

  • How to Make Felt Christmas Ornaments with Festive Felt Dies, S7-302, S7-303, S7-305, PE-104

    Categories:Die Cutting

    How to Make Felt Christmas Ornaments with Festive Felt Dies

    Create charming handmade felt Christmas ornaments using the Festive Felt Christmas Dies by Lollie & Grace. In this step-by-step tutorial, you'll learn how to die-cut felt, assemble layered ornament designs, add decorative stitching, embellish with sequins and beads, and finish your ornaments with hanging loops for Christmas decorating. This project is perfect for holiday crafters who enjoy working with felt and creating handmade decorations. These festive...