
Zenspired Holidays Inspiration | Joyful Season Christmas Card
on November 13, 2018

Zenspired Holidays Inspiration | Joyful Season Christmas Card

Hello and welcome back to our Cardmaking Inspiration series! We hope you’ve been enjoying these mini posts sharing simple cardmaking ideas and step by step instructions on how to make them! Today we welcome Elena Salo as a guest on our blog sharing a fun “Joyful Season” handmade Christmas card using stamps from Zenspired Holidays collection by Joanne Fink.
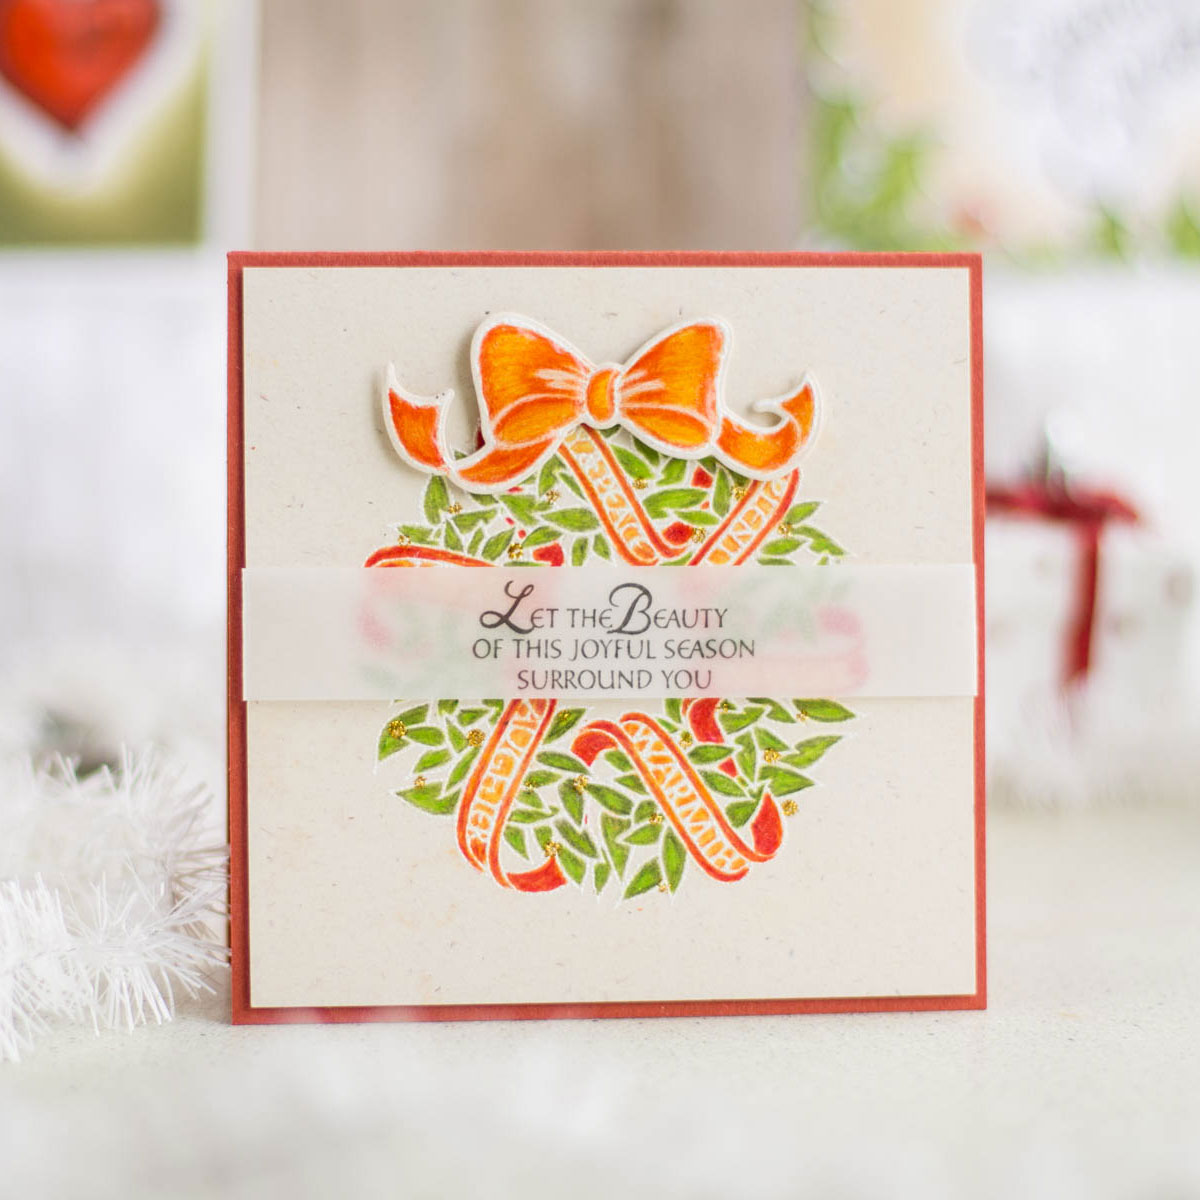
Zenspired Holidays Inspiration | Joyful Season Handmade Christmas Card by Elena Salo for Spellbinders #spellbinders #christmascard #neverstopmaking

This project was published in the Die-Cutting Essentials Magazine, Issue #43.
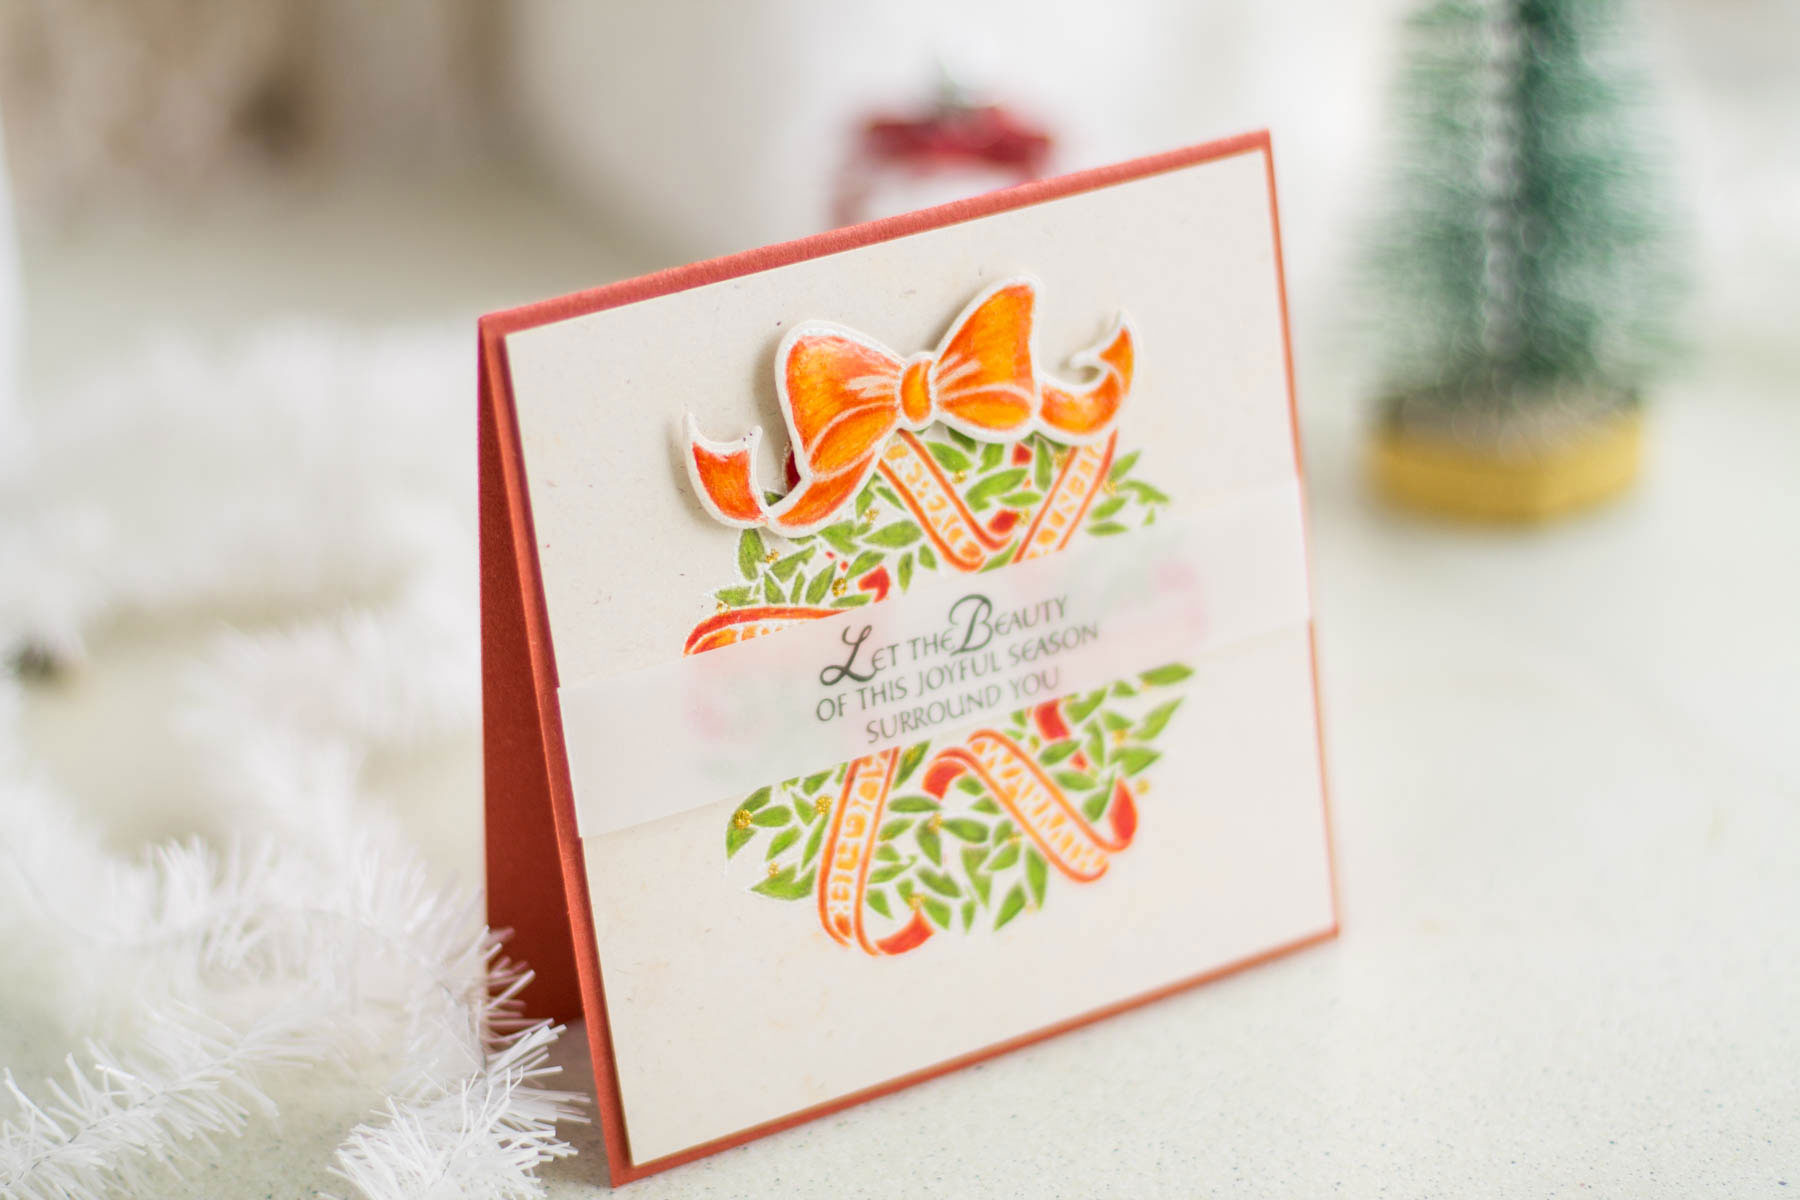
Zenspired Holidays Inspiration | Joyful Season Handmade Christmas Card by Elena Salo for Spellbinders #spellbinders #christmascard #neverstopmaking

Step By Step Instructions:

We have a full set of step by step instructions describing how to create this card.
  • Create 5 x 5" top folding card base out of dark orange cardstock.
  • Cut a panel out of beige cardstock that is slightly smaller than the card base.
  • Stamp and white heat emboss  image using Sentiments Wreath stamp in the center of the panel.
  • Color wreath with colored pencils.
  • Stamp and white heat emboss bow from the Christmas Candy Canes stamp set. Color with pencils, cover with glossy accent and foam mount on the top of the wreath.
  • Stamp a partial sentiment from Joyful Season Angel stamp set on the piece of vellum. Trim into a trip, add the onto the panel, wrap ends around the pane.
  • Adhere panel onto the card base.

Spellbinders Supplies:

Other Supplies:

Dark Orange & Beige Cardstock; Vellum; Hero Arts India Ink Black Ink; Hero Arts Unicorn Pigment Ink Pad; Hero Arts White Embossing Powder; Double-sided Foam Adhesive; Liquid Glue; Ranger Glossy Accent; Sakura White Gel Pen.

Zenspired Holidays Inspiration | Joyful Season Handmade Christmas Card by Elena Salo for Spellbinders #spellbinders #christmascard #neverstopmaking

Leave a comment

Your email will not be published. Please note, comments need to be approved before they are published.


  • How to Make a Colorful Foiled Butterfly Card with Glimmer II

    BP-351

    How to Make a Colorful Foiled Butterfly Card with Glimmer II

    Combine hot foiling, alcohol-marker coloring, ink blending, and dimensional shaping to create a colorful butterfly card that sparkles from every angle. In this step-by-step tutorial, you’ll learn how to foil detailed butterflies and a floral background with the Glimmer II Hot Foil System, add bold color, and shape the butterfly wings for a realistic raised effect. The Bright Butterflies and Thanks In Bloom Press +...

  • How to Heat Emboss with BetterPress Plates: Snowman Christmas Card

    BP-001

    How to Heat Emboss with BetterPress Plates: Snowman Christmas Card

    BetterPress plates can do more than create letterpress impressions and hot-foiled designs. In this detailed Christmas card tutorial, you’ll learn how to apply clear sticky ink to a BetterPress plate and use white embossing powder to produce a crisp, heat-embossed snowflake background. The tutorial also covers pressing and die cutting a sentiment, assembling three detailed snowmen, and arranging the finished elements on an A2 card....

  • How to Use the Reverse Foiling Technique on a Colorful Window Card

    BP-001

    How to Use the Reverse Foiling Technique on a Colorful Window Card

    Create a bright, modern card while learning how to use the negative foil left behind after hot foiling. In this step-by-step tutorial, you’ll foil the detailed Windows with a View design, use a solid plate to reverse foil the remaining image, and turn selected windows into dimensional embellishments. An ink-blended striped background, BetterPress sentiment, and sparkling gems complete the design. This project is ideal for...































