

Posted by Emily Midgett
on October 21, 2022

Hi there! Emily Midgett here with you today, and I have some angelic inspiration for you using the Stained Glass Angel Hot Foil Plate and the Stained Glass Angel Fancy Die. I love when I can get lots of mileage out of my stamps and dies, and these coordinating products work beautifully together! I started out to make a hot foiled shaker card, and ended up with enough leftovers that I could create a second card lickety split. Let's get started with the details!

I normally am all about color, but there is something so classic about crisp white and gold, and when you add in a few sparkly, shiny elements...well, swoon! Is it really a holiday card if you don't have any sparkles?

For my original card, I wanted to create a shaker using the negative space from the Stained Glass Angel Fancy Die to highlight the shiny hot foiled Stained Glass Angel Hot Foil Plate. I began by hot foiling the angel on an A2 panel of Deluxe Smooth White cardstock using some iridescent gold hot foil.
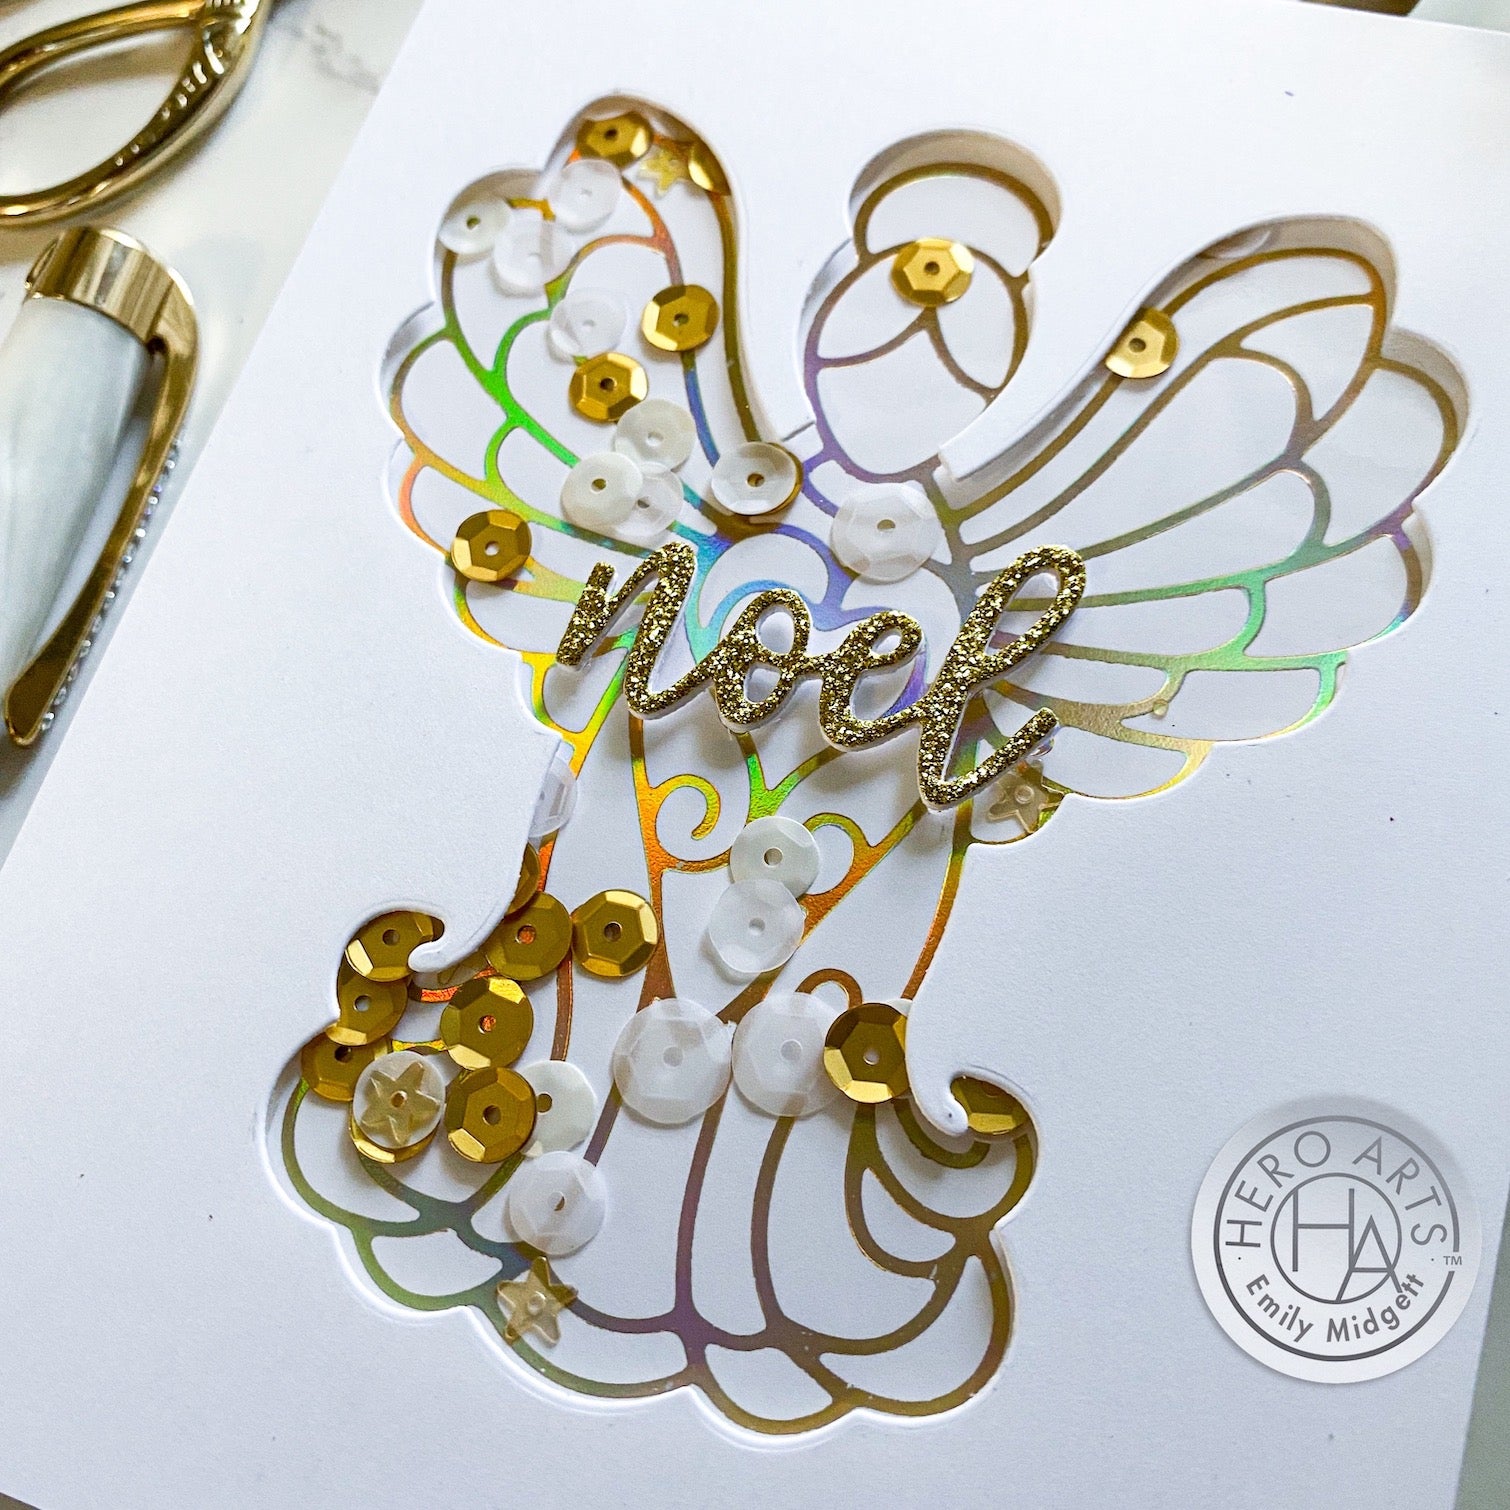
I wanted to create a window to allow my shiny angel to be the focal point of the card, so I pulled out the Stained Glass Angel Fancy Die, which coordinates perfectly with the hot foil plate! I didn't get the hot foil image perfectly centered, so I was a little more careful when placing the die on the center of the new A2 white card front. I reserved the die cut itself, then backed the frame panel with some spare packaging from a pack of cardstock. (Great way to reuse some of the things we would normally throw away!) I added lots of foam tape to the panel, making sure to create a complete line around the edge of the die cut window to make sure that none of the shaker bits would fall out.

I filled the shaker with some sequins from the Champagne Sequins Mix. I removed the release paper from the foam tape, then adhered the window to the hot foiled card front. (I trimmed down the excess once I had the window centered exactly over the top of the hot foiled angel.) For the greeting, I used the Christmas Words Fancy Die to die cut "noel" three times: once from gold glitter cardstock, twice from white cardstock scraps. I adhered all of the die cuts together, then added them in the center of my shaker window with some Precision Glue. A simple, but super elegant, holiday card with just enough shine and sparkle to make it really festive!

Who doesn't love a twofer? I had saved the white angel die cut from the center of my shaker window and thought it would be perfect to make a simple and quick holiday card, nice and flat for easy mailing! I trimmed down a panel of heavyweight vellum, then added the white Stained Glass Angel Fancy Die cut using some more liquid glue. I trimmed down a full size A2 card front from gold glitter cardstock, then added my angel and vellum panel, hiding some tiny dots of glue behind the solid angel die cut to keep the vellum nice and clean.

To keep this card simple and easy to mail, I added a very simple greeting, again cutting the Christmas Words Fancy Die three times, this time from Pitch Black cardstock. I adhered them all together, then added them to the center of the angel. The stark black cardstock really pops from the white and gold! Simple, easily mass-produced, and the sturdy dimensional die cut will hold up really nicely in the mail without any extra stabilizing!
Well, that's all for my projects today! I love getting a twofer using just a few products...helps make your supplies stretch even further without a ton of extra time invested. Thanks so much for reading today, and have a marvelous day!

|























































































