Around the World with the Global Team - Hero Arts
Posted by Hero Arts on July 26, 2022

Around the World with the Global Team

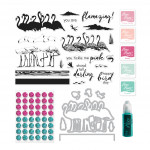
Good morning! Today we're sharing some crafty inspiration from our amazing friends on the Global Team! All of their fabulous creations feature products from the July My Monthly Hero release.

First up we have this stunning rainbow card created by Lisa! We love the way she paired a super colorful background with classic white and gold using the Tropical Florals Fancy Cies and a sentiment from the Message Strips Stamp & Cut XL.

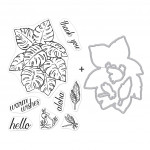
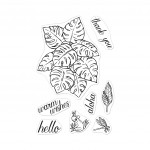
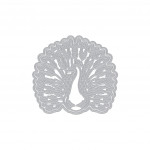
Michelle's elegant card features the Peacock Fancy Cie with beautiful ink blending and Copic coloring. She added dimension by popping up his head and neck and some of his feathers A subtle tone on tone background using the Monstera stamp set creates even more visual interest for this lovely card!

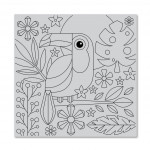
Next is this cheery card by Jen featuring the Large Toucan Bold Prints background stamp. Her bright colors, splatters, and pearls create a really bold and eye-catching look!

Anna's jungle of leaves from the Tropical Florals Fancy Die set is the perfect habitat for her beautiful flamingo from the Lawn Ornaments Fancy Dies! A sentiment from the July My Monthly Hero kit is a great way to finish this stunning card.

We love an unusual card design and Sandi's awesome rocker card is truly captivating! She paired the flamingos from the July My Monthly Hero kit with the Tropical Florals Fancy Dies to create this vibrant and fun design.

And last, but certainly not least, Erica created a clean and simple card using the July My Monthly Hero kit. Those hot pink flamingos take center stage and you don't really need much else to make an impactful card!

We hope our Global Team has inspired you with their stunning creations and we look forward to sharing more of their fabulous work with you soon. Thanks so much for visiting and have a fantastic week!

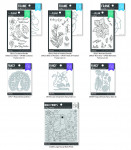
Click on products to shop:
July 2022 My Monthly Hero
HA ]
Get Them All July Add-Ons
HA ]
CG885 Large Toucan Bold Prints
HA ]
SB321 Monstera Bundle
HA ]
CM631 Monstera
HA ]
DF066 Monstera Frame Cuts (C)
HA ]
SB322 Birds of Paradise Bundle
HA ]
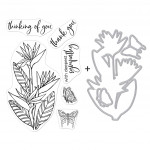
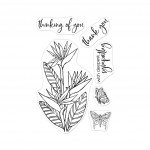
CM632 Birds of Paradise
HA ]
DF067 Birds of Paradise Frame Cuts (C)
HA ]
SB323 Cockatoo Bundle
HA ]
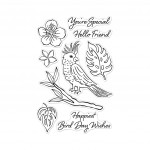
CM633 Cockatoo
HA ]
DF068 Cockatoo Frame Cuts (D)
HA ]
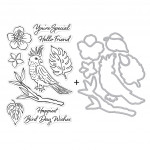
DF069 Tropical Florals Fancy Dies (E)
HA ]
DF070 Lawn Ornaments Fancy Dies (C)
HA ]
DF071 Peacock Fancy Die (C)
HA ]

Leave a comment

Please note, comments need to be approved before they are published.


  • Infinity Trees Christmas Card Tutorial with Stamping and Ink Blending

    BP-377

    Infinity Trees Christmas Card Tutorial with Stamping and Ink Blending

    Hey there, crafty friends! It's Marie again from Marie Nicole Designs. Are you ready for Christmas? I believe that it is never too early to begin your Christmas crafting. I try to make Christmas cards throughout the year so when December rolls around, and I’m already overwhelmed by all the events going on, I have a stash already made. Today, I’ll be sharing an easy Christmas...

  • Gift Boxes Christmas Card Tutorial with Gift Boxes and Bags Etched Dies

    BP-001

    Gift Boxes Christmas Card Tutorial with Gift Boxes and Bags Etched Dies

    Hello crafters! It’s Lisa Tilson here with you today to share a card using the Snowflake Kisses Collection by Lisa Horton. I am going to be doing a step-by-step photo tutorial showing you how to create a Christmas card using the Gift Boxes and Bags Etched Dies and I’m using a more unconventional colour palette to make it. Sometimes it’s fun to create with colours...

  • Debossed Snowflake Christmas Card Tutorial with Snowflake Background Etched Dies

    Categories:Die Cutting

    Debossed Snowflake Christmas Card Tutorial with Snowflake Background Etched Dies

    Hello there, Michelle Short here to share a step-by-step tutorial using the Snowflake Background Etched Dies from the Lisa Horton Snowflake Kisses Collection. The Snowflake Background Etched Dies are two layers which you can cut as a base layer and a top layer. For my card today, instead of having die cut layers, I thought that I would deboss the design. DEBOSSING THE DIE Place...