Glow-in-the-Dark Lacquer Pen - Hero Arts
Posted by Pocono Pam on September 21, 2023

Glow-in-the-Dark Lacquer Pen

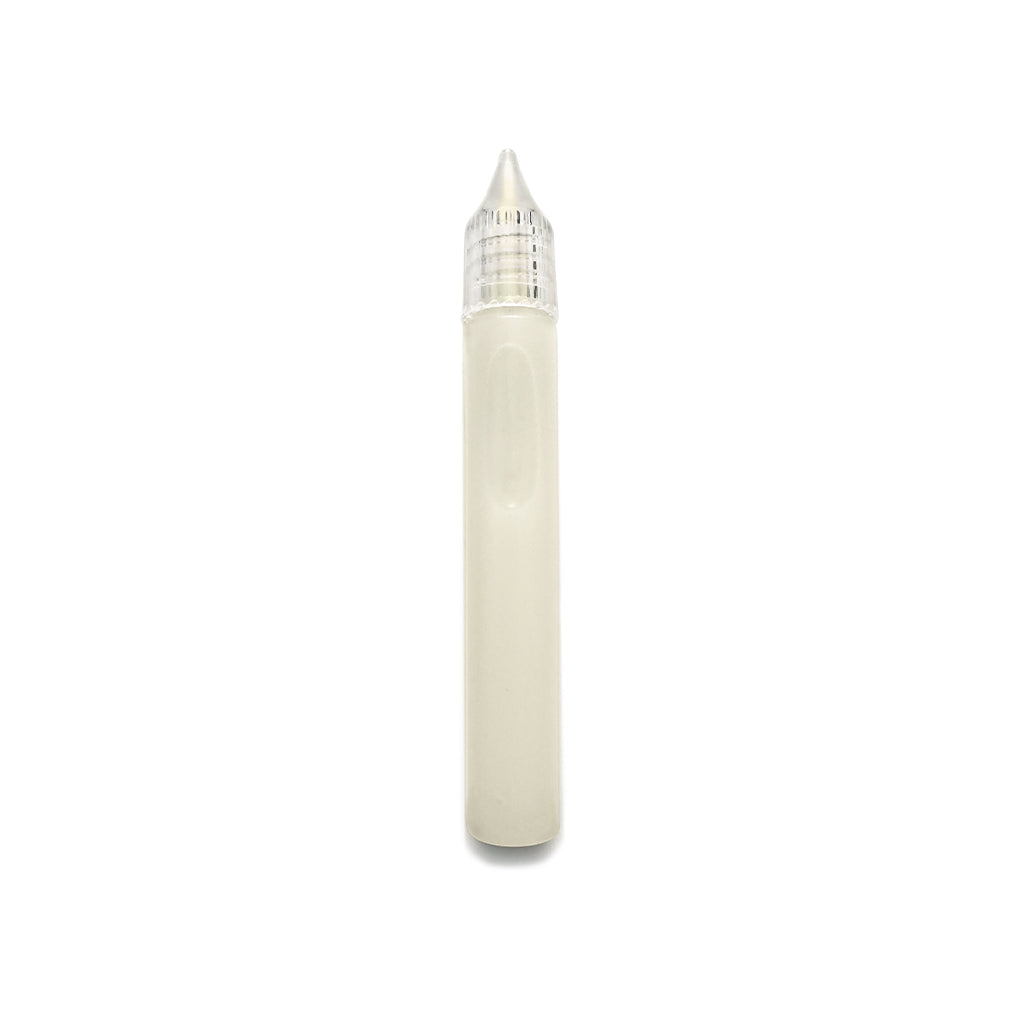
Hola everyone! Pocono Pam here sharing a card I created with the fun new Glow-in-the- Dark Lacquer Pen. It is a simple embellishment that will add a sprinkle of magic to your projects.

In the dark, it was difficult to capture the glowing element in my photo. My grandchildren did squeal however when they saw the glowing pumpkins.
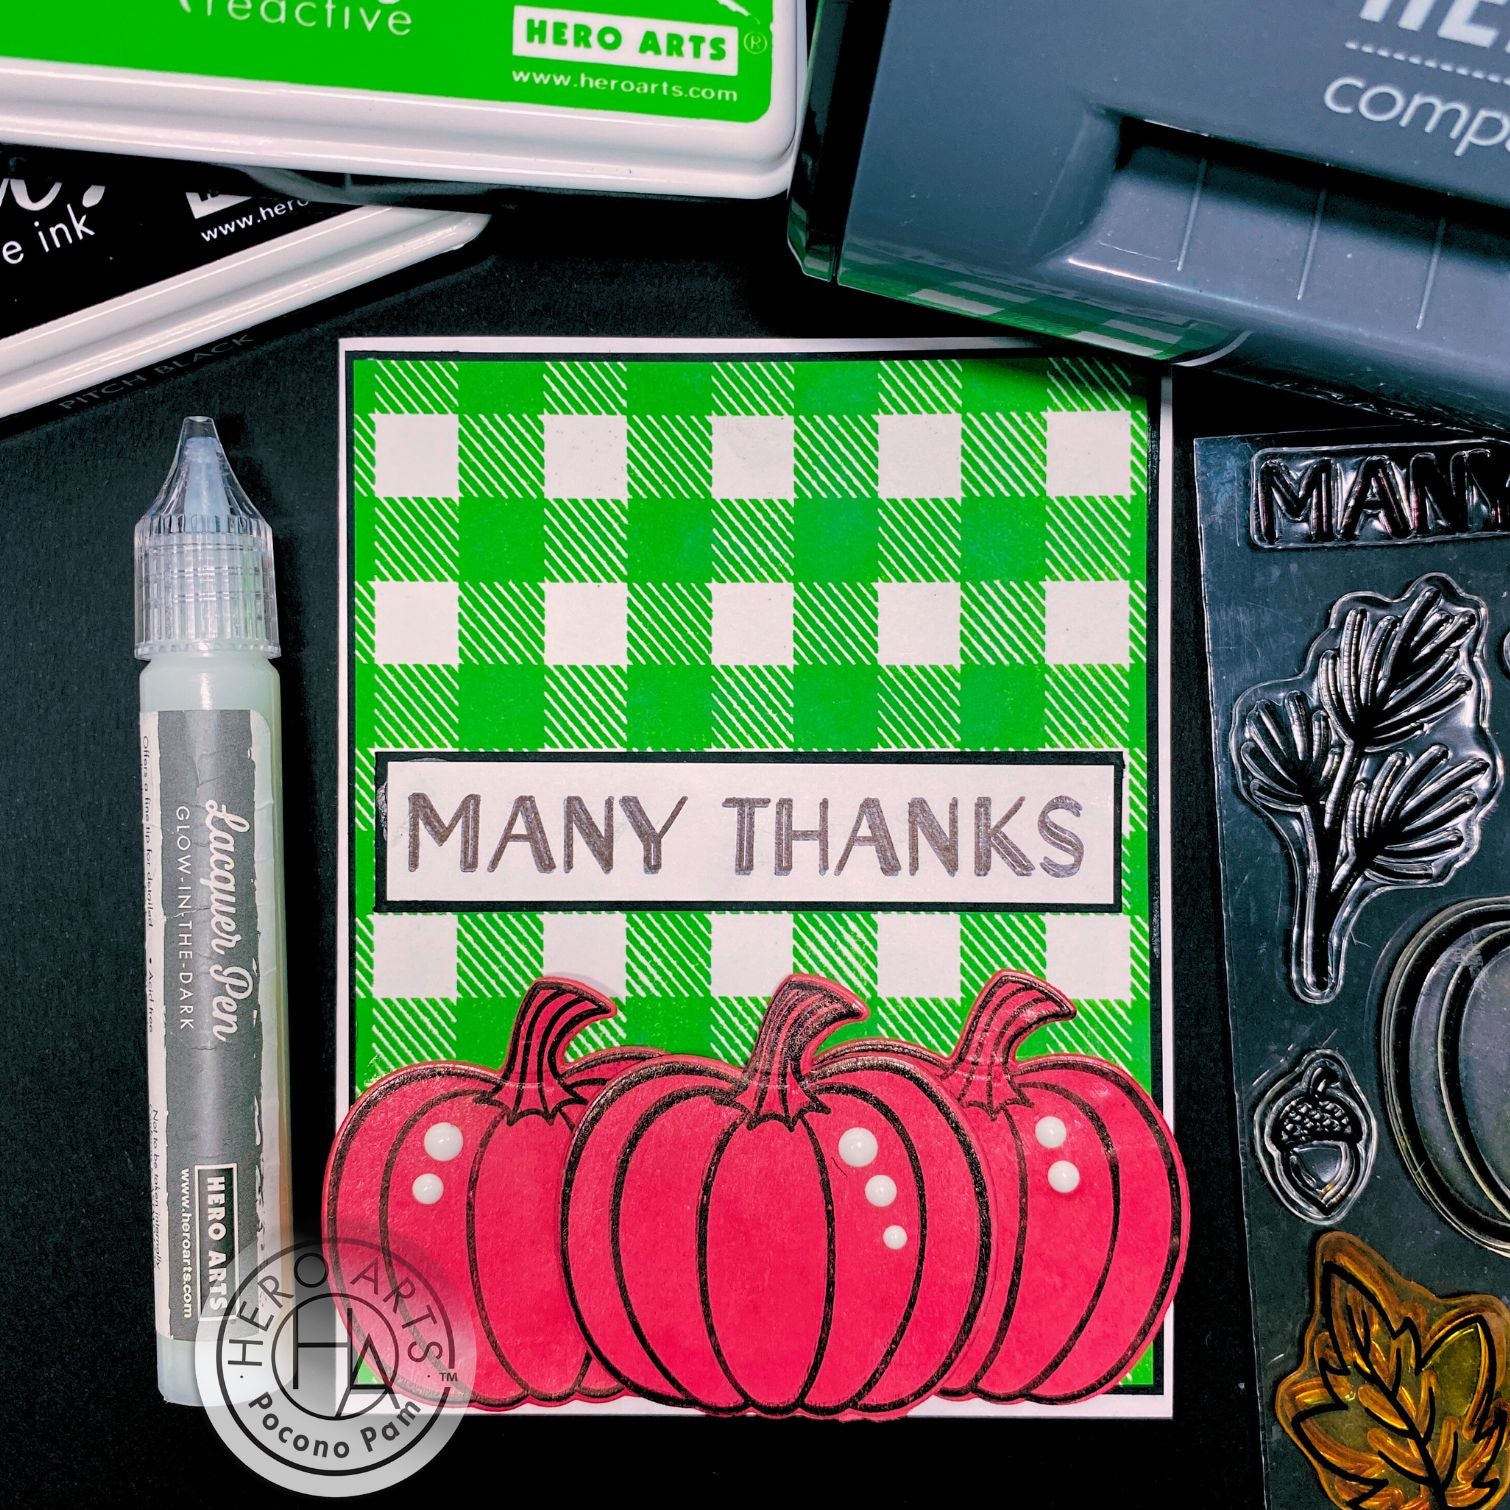
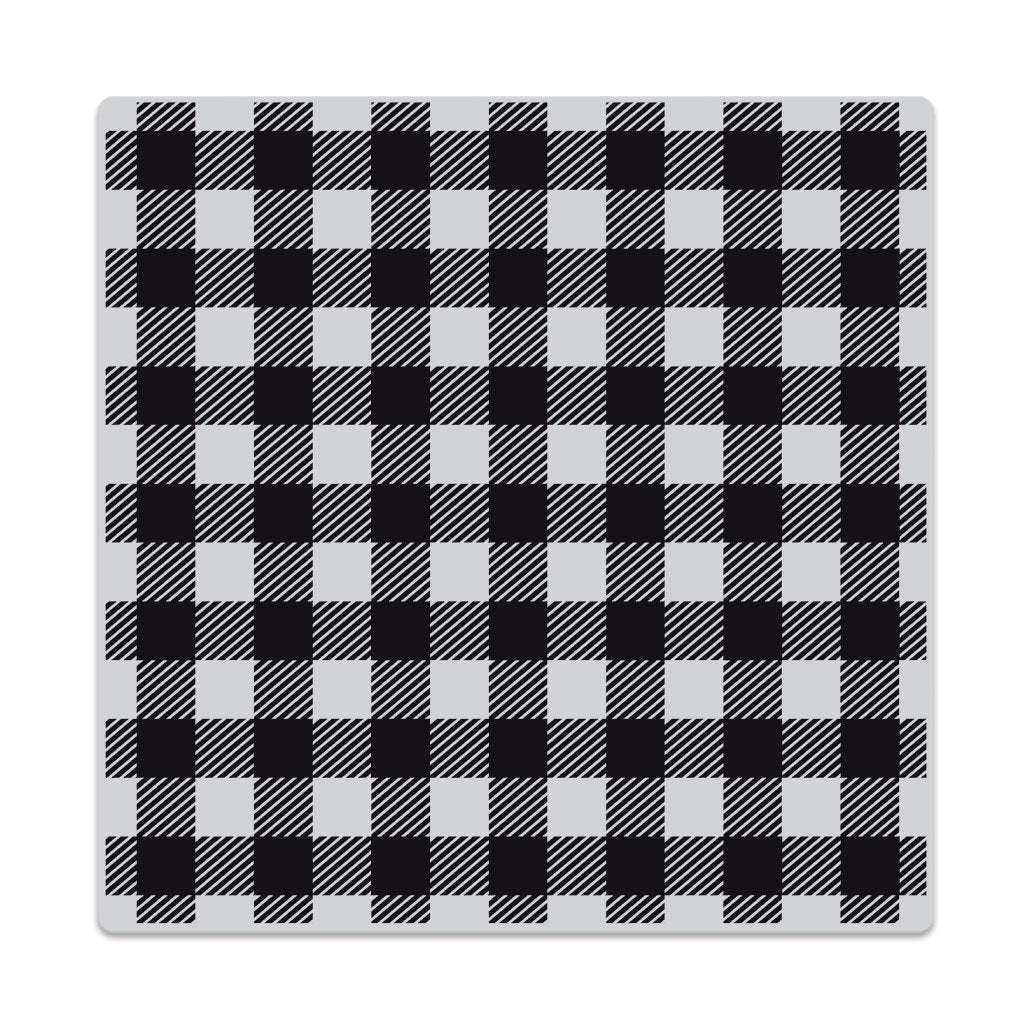
To create my card, I stamped Buffalo Check Pattern Bold Prints in Green Apple Reactive ink onto a 4" x 5 1/4" white cardstock panel and matted it with Pitch Black cardstock. I adhered the panel to an A2 card base.

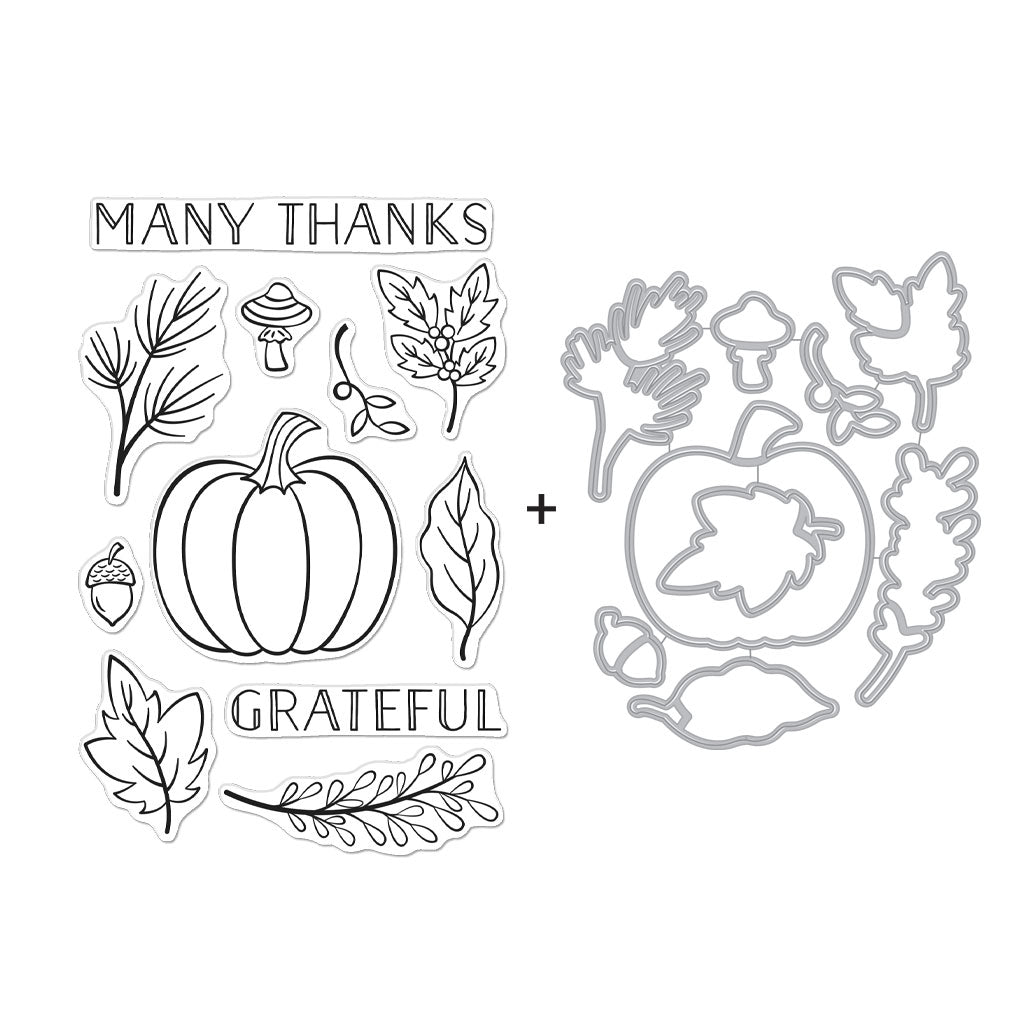
Next, I spread the Glow-in-the-Dark Lacquer onto a 4" x 4" piece of Coral cardstock and let dry. I then stamped and die-cut the pumpkin from the Grateful Pumpkin Bundle set three times. I adhered the pumpkins on the card front, popping the center pumpkin with foam dots for dimension. I added enamel dots to the pumpkins.

To complete my card, I stamped a sentiment from the Grateful Pumpkin Bundle onto white cardstock, trimmed and matted it with Pitch Black cardstock and adhered it to the card front. Look at the amazing glow from the pen! I cannot wait to use it on other projects!

Leave a comment and let us now how you would use the Glow-in-the-Dark Lacquer Pen.

Thanks for stopping by today. Enjoy the test of your week.

Click on products to shop:

NK483 Glow-In-The-Dark Lacquer Pen |...
HA ]
SB326 Grateful Pumpkin Bundle | Hero...
HA ]
CG855 Buffalo Check Pattern Bold...
HA ]
AF425 Green Apple Reactive Ink | Hero...
HA ]
PS331 Hero Hues Premium Cardstock...
HA ]
PS323 Hero Hues Premium Cardstock...
HA ]
PS325 Hero Hues Dove white | Hero Arts
HA ]
PS406 Hero Hues Dove White Side...
HA ]
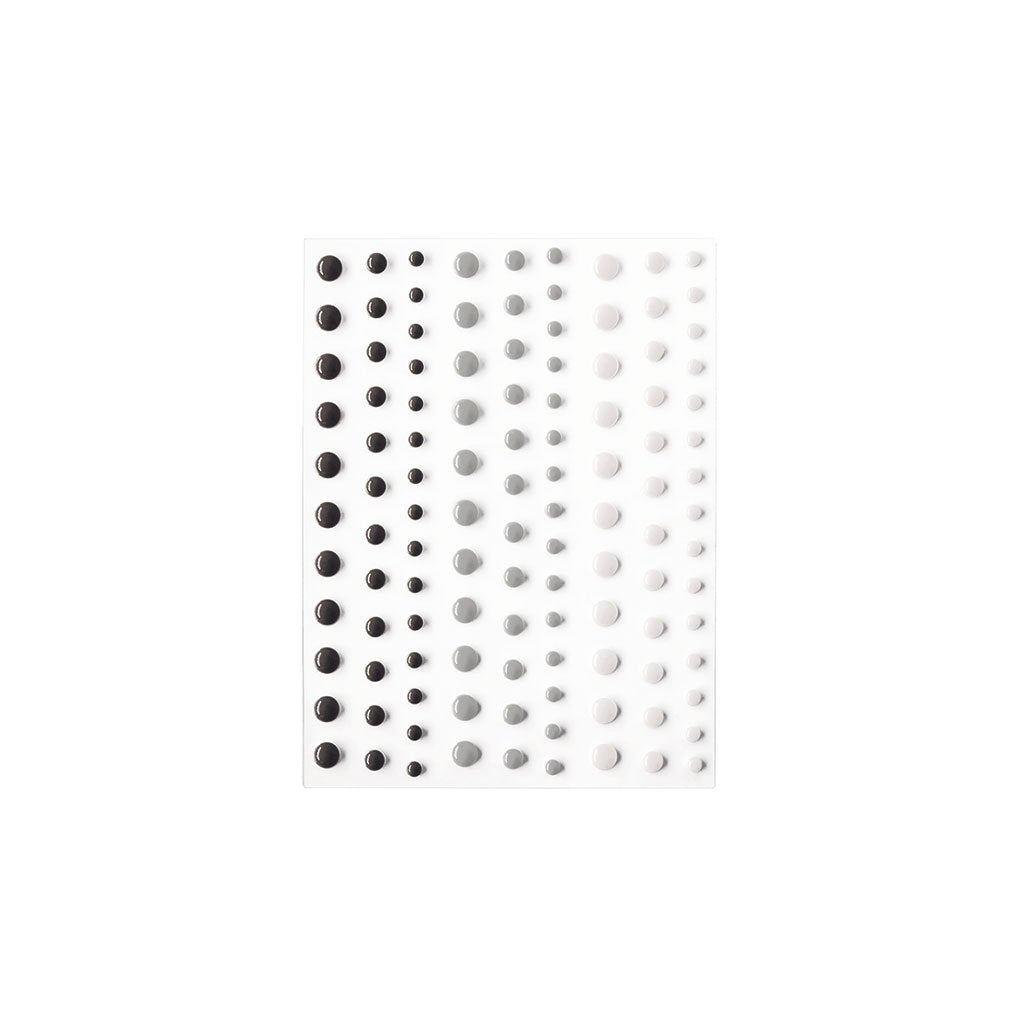
CH322 Neutrals Hero Hues Enamel Dots...
HA ]
HT215 Hero Tools Palette Knife | Hero...

HA ]
GW101 Precision Glue | Hero Arts
HA ]
HT100 Hero Tools Compact Cutter...
HA ]

1 comment

It would be fun to try the lacquer on a moon with highlights on scenery below. Or maybe on Christmas lights.

Priscilla Bade,

Leave a comment

Please note, comments need to be approved before they are published.


  • Infinity Trees Christmas Card Tutorial with Stamping and Ink Blending

    BP-377

    Infinity Trees Christmas Card Tutorial with Stamping and Ink Blending

    Hey there, crafty friends! It's Marie again from Marie Nicole Designs. Are you ready for Christmas? I believe that it is never too early to begin your Christmas crafting. I try to make Christmas cards throughout the year so when December rolls around, and I’m already overwhelmed by all the events going on, I have a stash already made. Today, I’ll be sharing an easy Christmas...

  • Gift Boxes Christmas Card Tutorial with Gift Boxes and Bags Etched Dies

    BP-001

    Gift Boxes Christmas Card Tutorial with Gift Boxes and Bags Etched Dies

    Hello crafters! It’s Lisa Tilson here with you today to share a card using the Snowflake Kisses Collection by Lisa Horton. I am going to be doing a step-by-step photo tutorial showing you how to create a Christmas card using the Gift Boxes and Bags Etched Dies and I’m using a more unconventional colour palette to make it. Sometimes it’s fun to create with colours...

  • Debossed Snowflake Christmas Card Tutorial with Snowflake Background Etched Dies

    Categories:Die Cutting

    Debossed Snowflake Christmas Card Tutorial with Snowflake Background Etched Dies

    Hello there, Michelle Short here to share a step-by-step tutorial using the Snowflake Background Etched Dies from the Lisa Horton Snowflake Kisses Collection. The Snowflake Background Etched Dies are two layers which you can cut as a base layer and a top layer. For my card today, instead of having die cut layers, I thought that I would deboss the design. DEBOSSING THE DIE Place...