

Posted by Michelle Short
on February 26, 2020

Hello there, Michelle here and today I have a card to share with you using the new Affirmation Messages set. The 'beautiful' in the hello beautiful message has a rounded edge so I thought it would perfectly inside a circle shape, so I decided to make a shaped card using the Flower Infinity Dies.
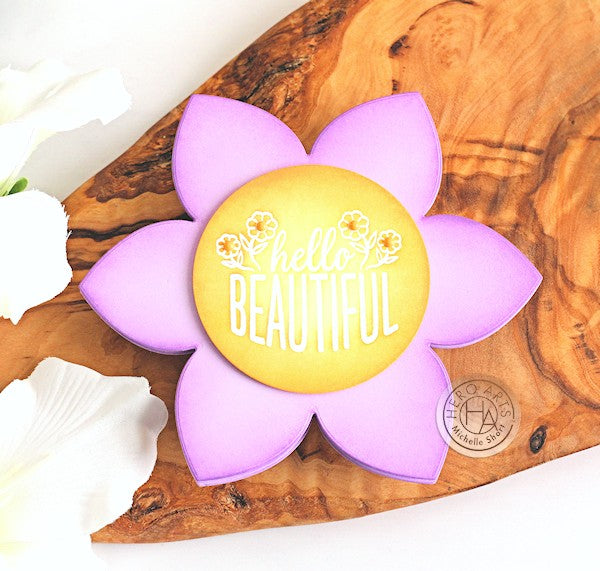
I first took the sentiment from the Affirmation Messages set and stamped it on to Hero Hues Antique Ivory Cardstock using Clear Embossing & Watermark Ink. I applied White Detail Embossing Powder and heat set. It was then cut out using a Nesting Circle Infinity Die.
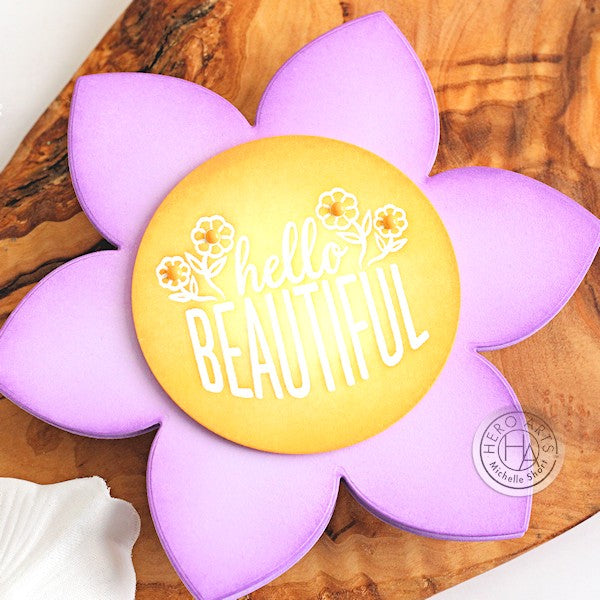
I took Lemon Drop and Creamsicle Reactive Inks and blended these on to the circle, making the edges darker. This was then set aside while I worked on the card base. I took the largest of the Flower Infinity Dies and cut it twice from Hero Hues Lavender Cardstock. I then blended the edges of the flowers with Thistle and Grape Slush Reactive Inks.
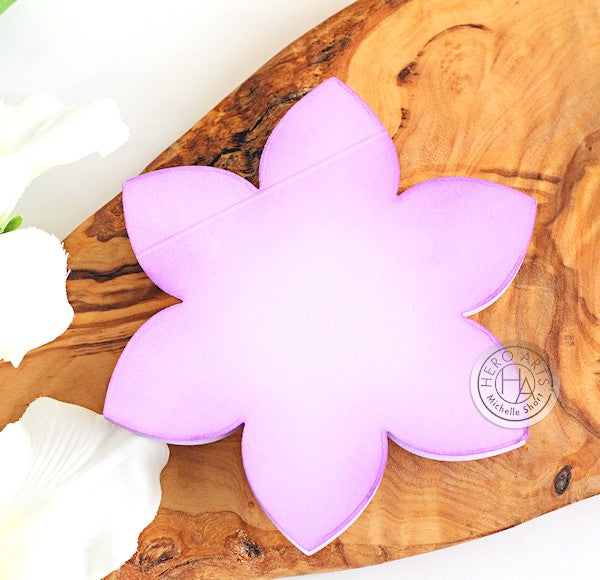
On one of the flower pieces I scored a line at the top of the petals with a bone folder and scoring board. I applied adhesive to the top piece and adhered this on to the other flower piece. This creates a hinge and it is my preferred method for making shaped cards.
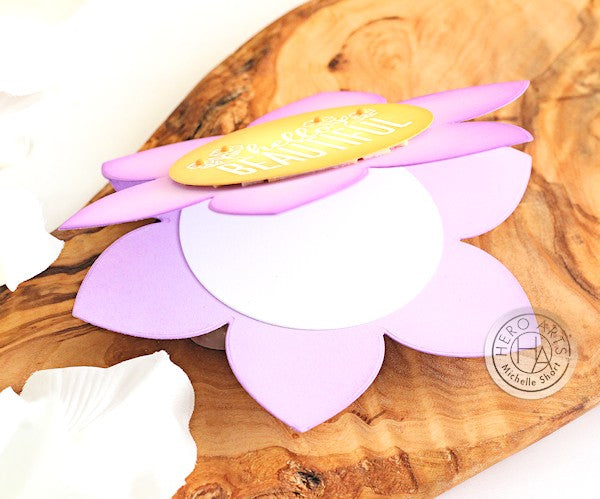
I cut another circle from Hero Hues Dove White Cardstock for the inside of the card to write a message on. I then added the sentiment circle to the inside of the flower on the front, with foam tape. To finish off, I added Hero Hues Sunset Enamel Dots to the centers of the stamped flowers in the sentiment.
Do you make shaped cards? I think they are something a little different and I think the floral shape works perfectly with that sentiment. Thanks so much for stopping by, have a great day!























































































4 comments
Beautiful card! That sentiment works perfectly as the flower center. I haven’t made a shaped card in awhile – thanks for the inspiration!
Love your card! Shaped cards are so fun!
I like the card, but this is one time I would have liked a video :) I’m sure as I follow instructions I will understand how to make it hinge
I love this, I can see so very many variations!