Posted by Hero Arts
on July 07, 2023


Our next LIVE Make-Along event is this weekend! Join Channin from our Creative Team to make along with the wildly popular and sold out June 2023 My Monthly Hero kit. Gather your supplies and create a card with Channin from start to finish.
👉🏼 When: Sunday, July 9 at noon PT/3pm ET
👉🏼 Where: Hero Arts Facebook and YouTube
In addition to the June My Monthly Hero kit, the following supplies will be used:
PS782 Deluxe Smooth White Cardstock
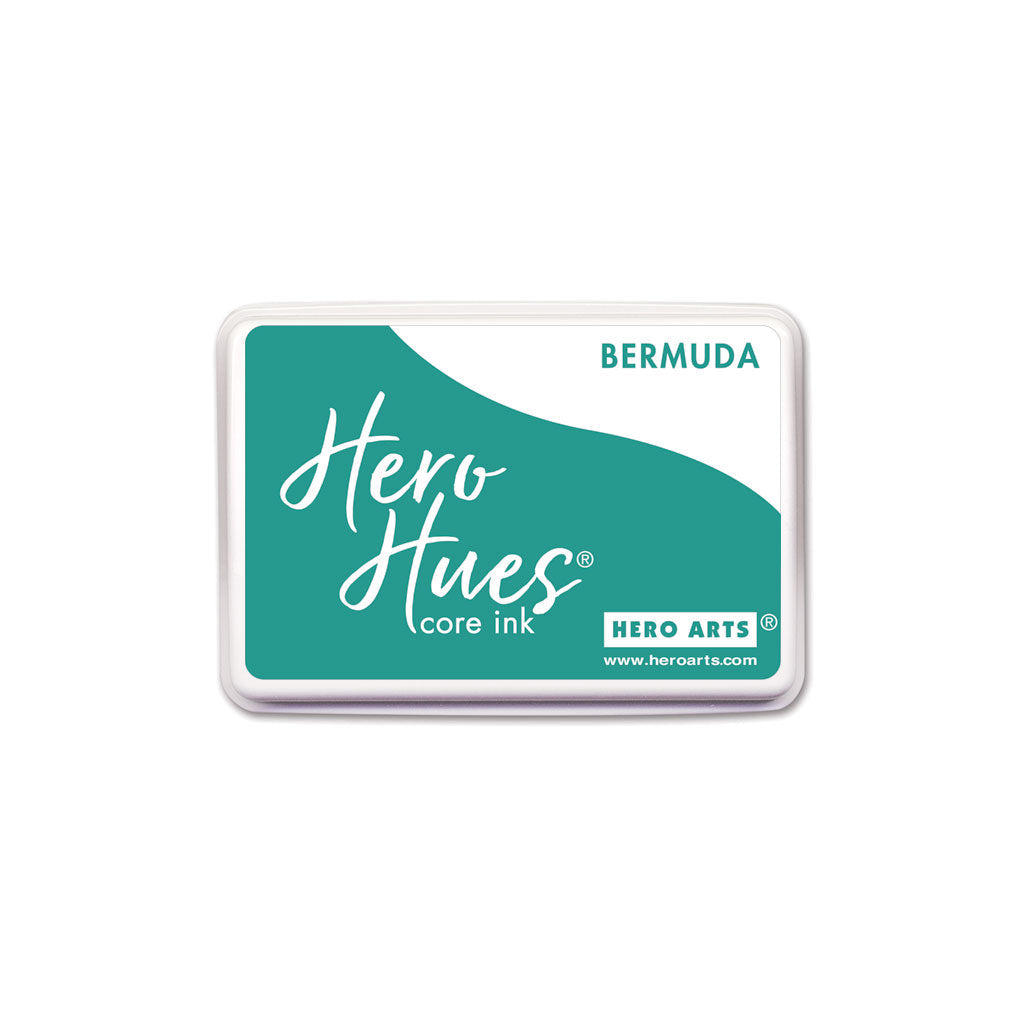
AF684 Bermuda Core Ink
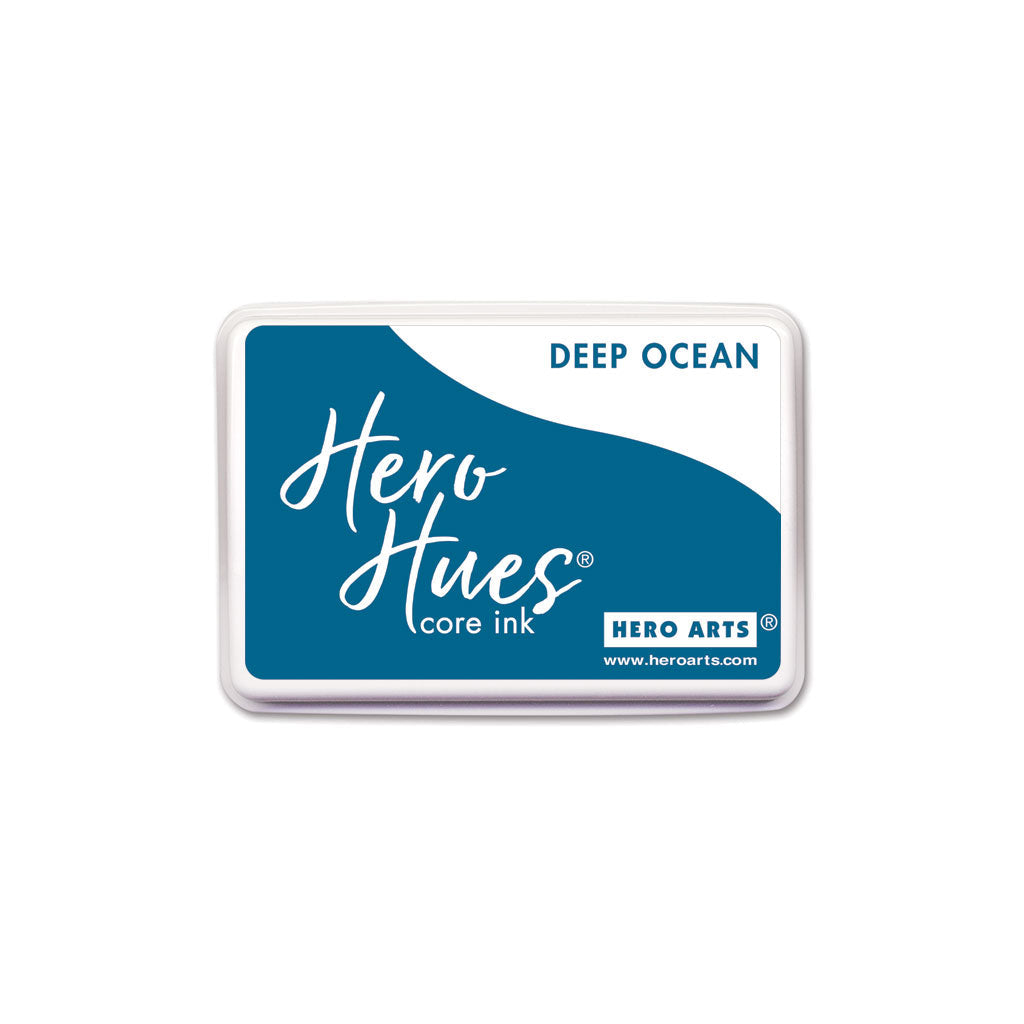
AF686 Deep Ocean Core Ink
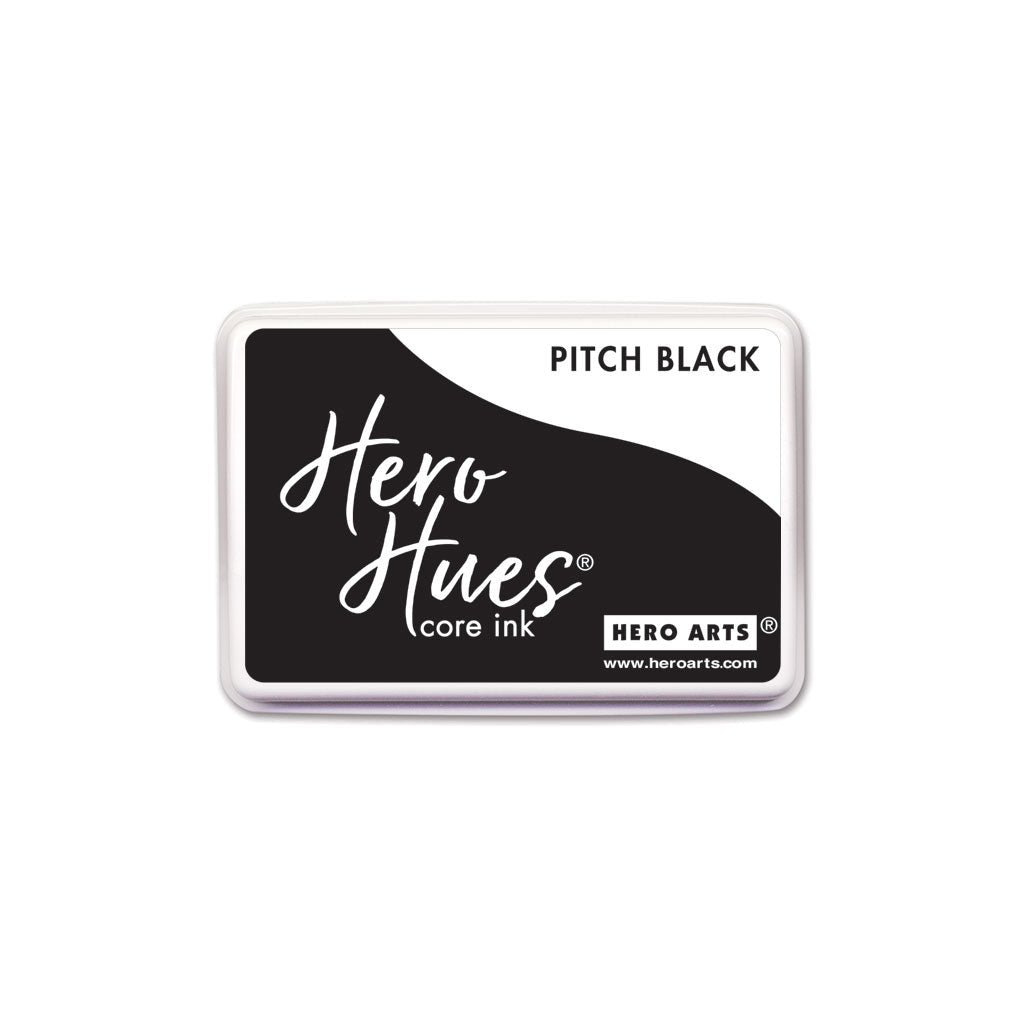
AF764 Pitch Black Core Ink
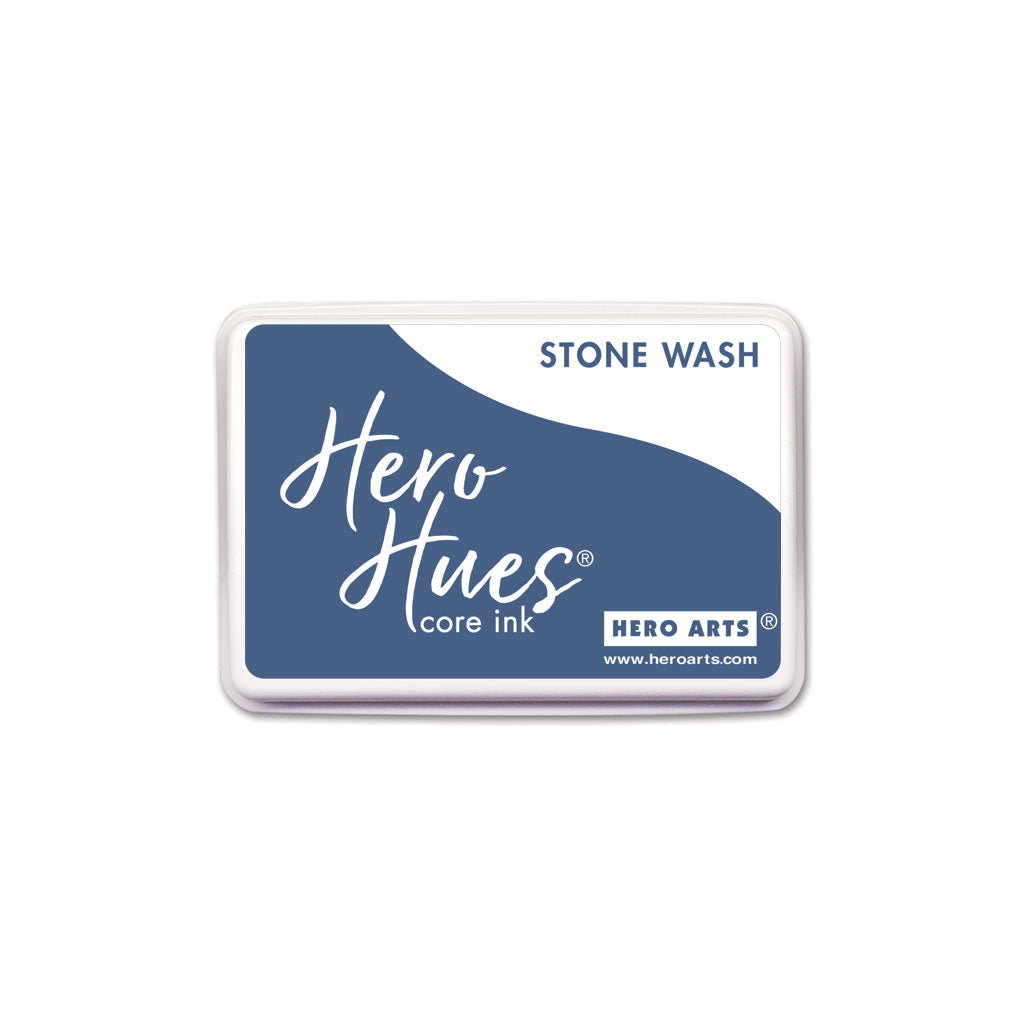
AF705 Stone Wash Core Ink
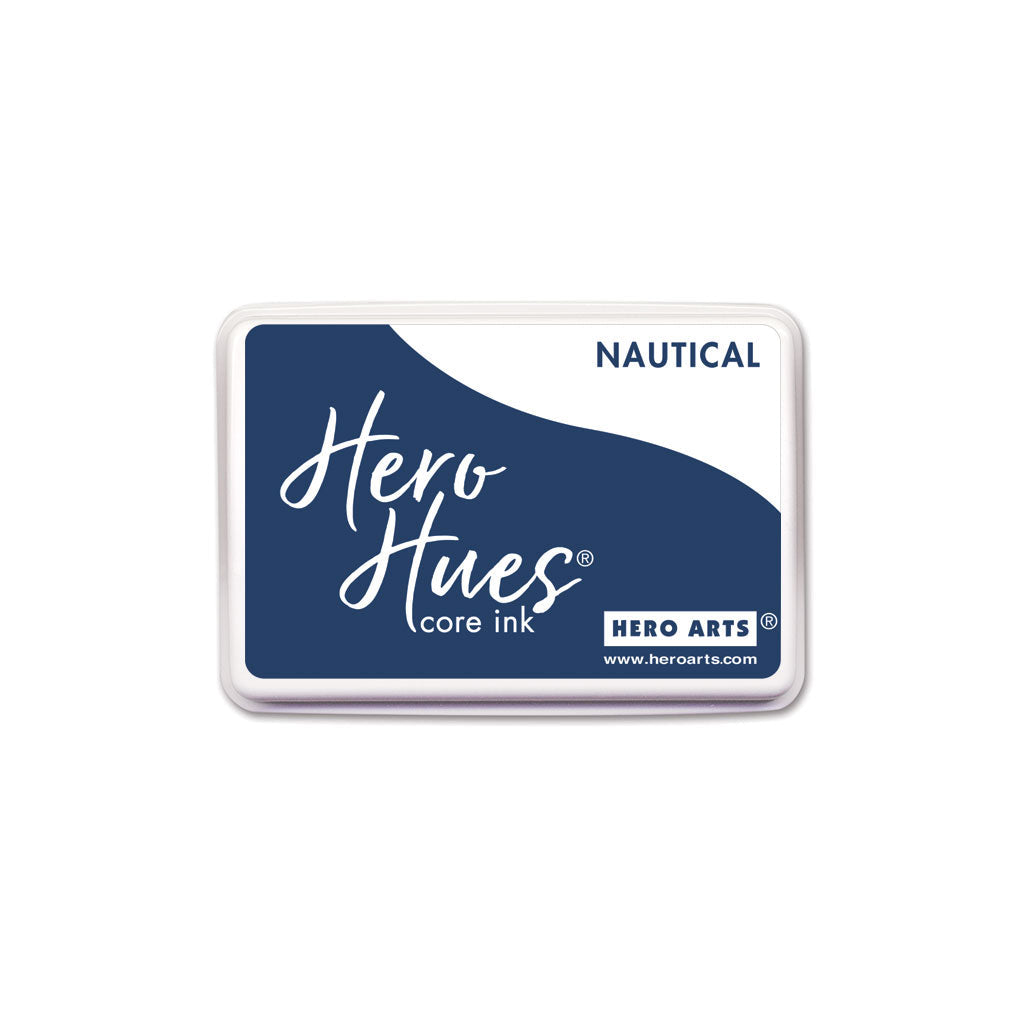
AF706 Nautical Core Ink
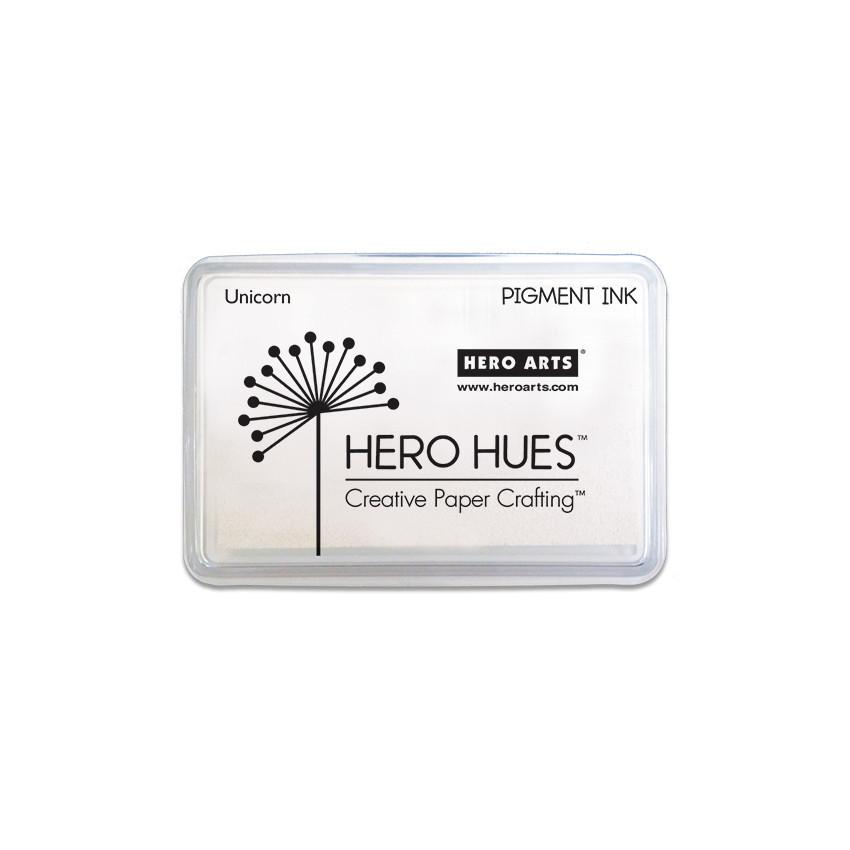
AF249 Unicorn Pigment Ink
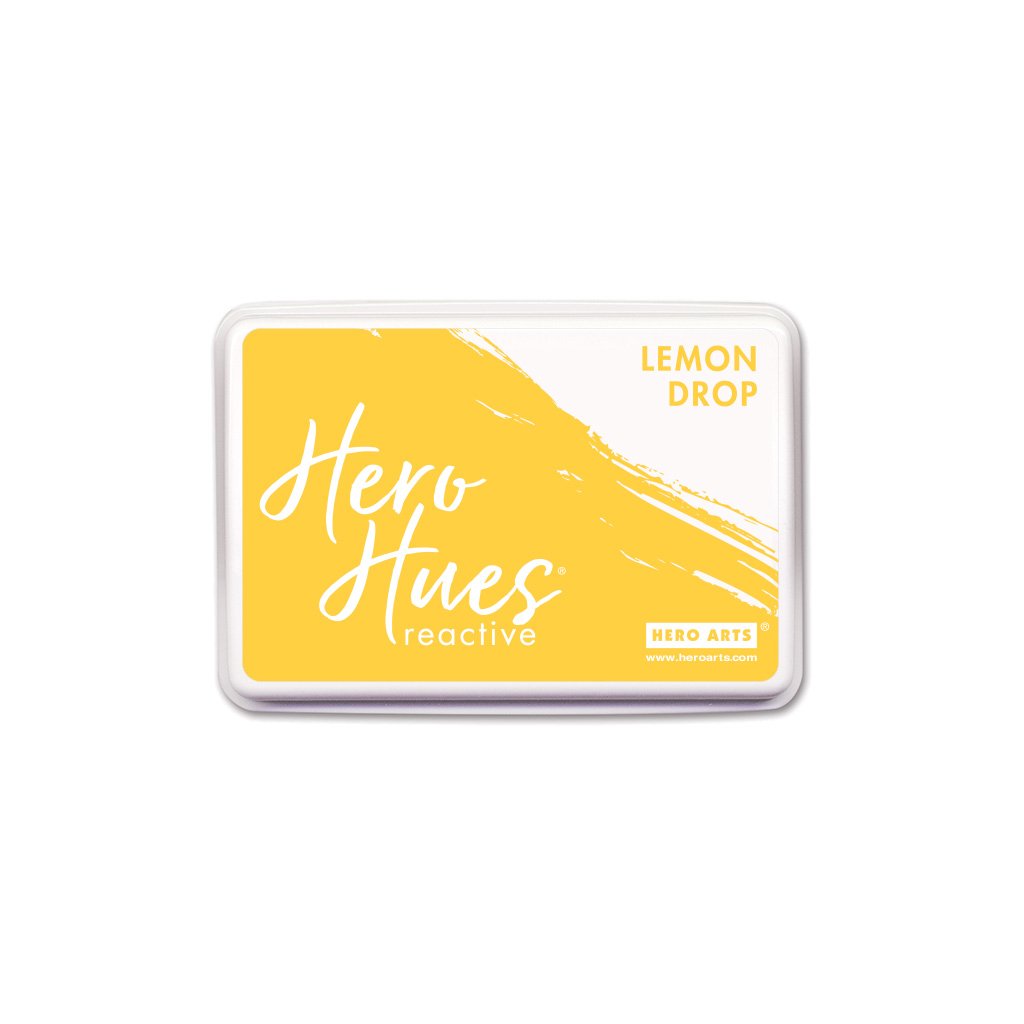
AF423 Lemon Drop Reactive Ink
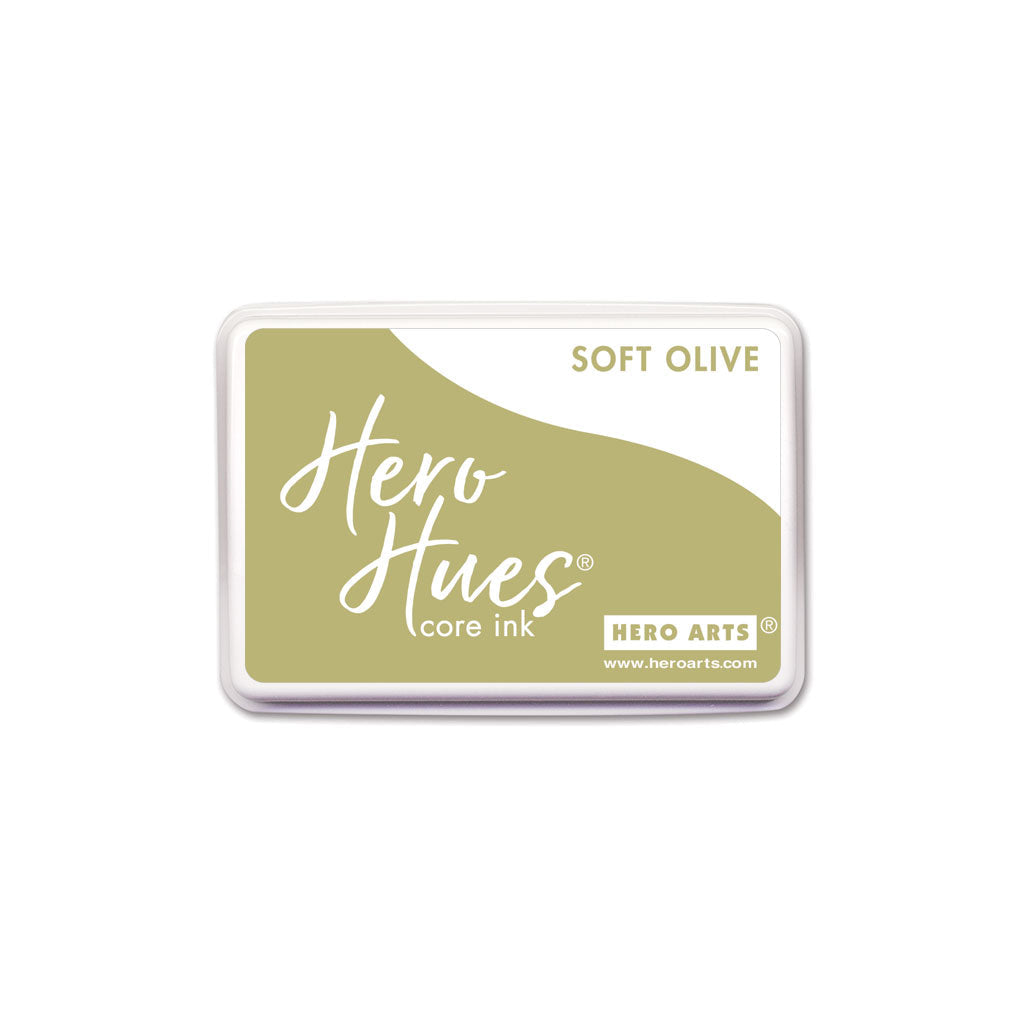
AF660 Soft Olive Core Ink
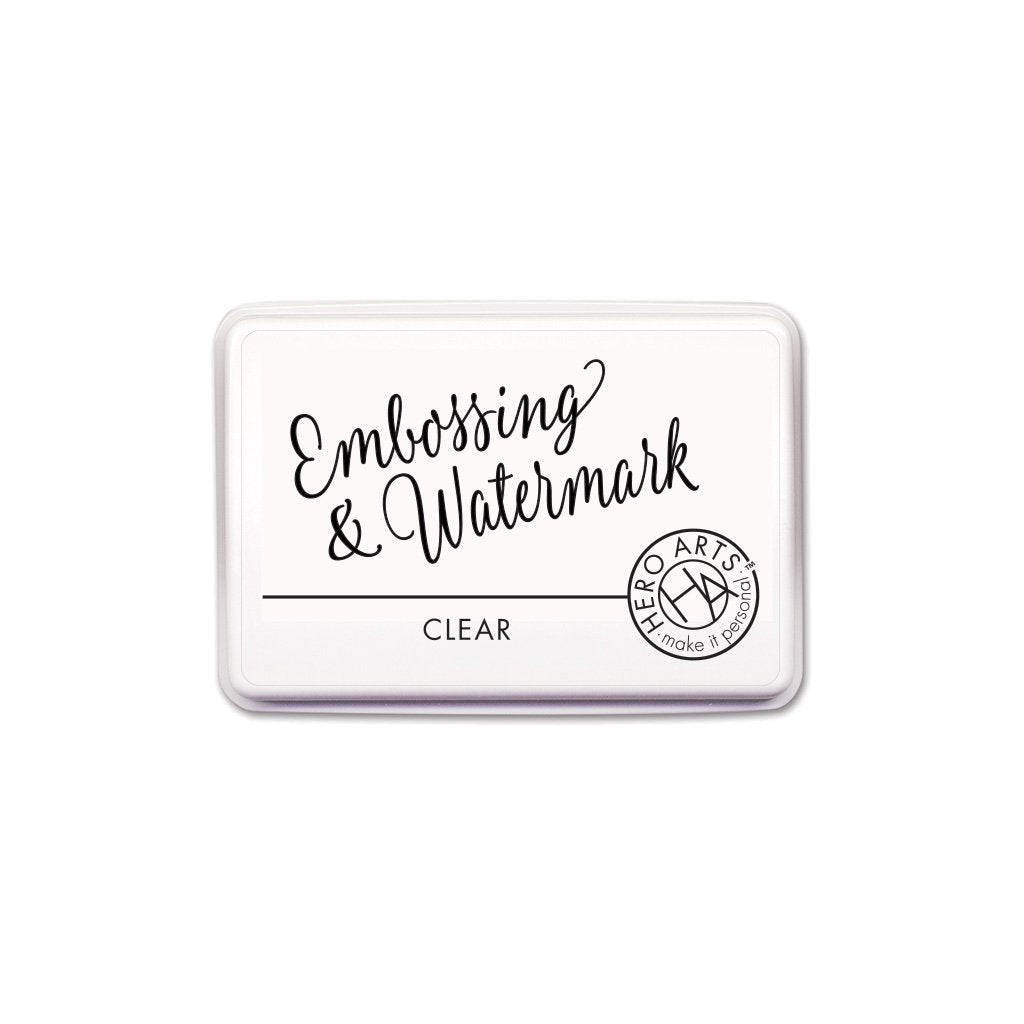
AF419 Embossing & Watermark Ink
PW122 Detail White Embossing Powder
PS325 Dove White Cardstock
PS323 Pitch Black Cardstock
PS400 Dove White Top Folded Cards
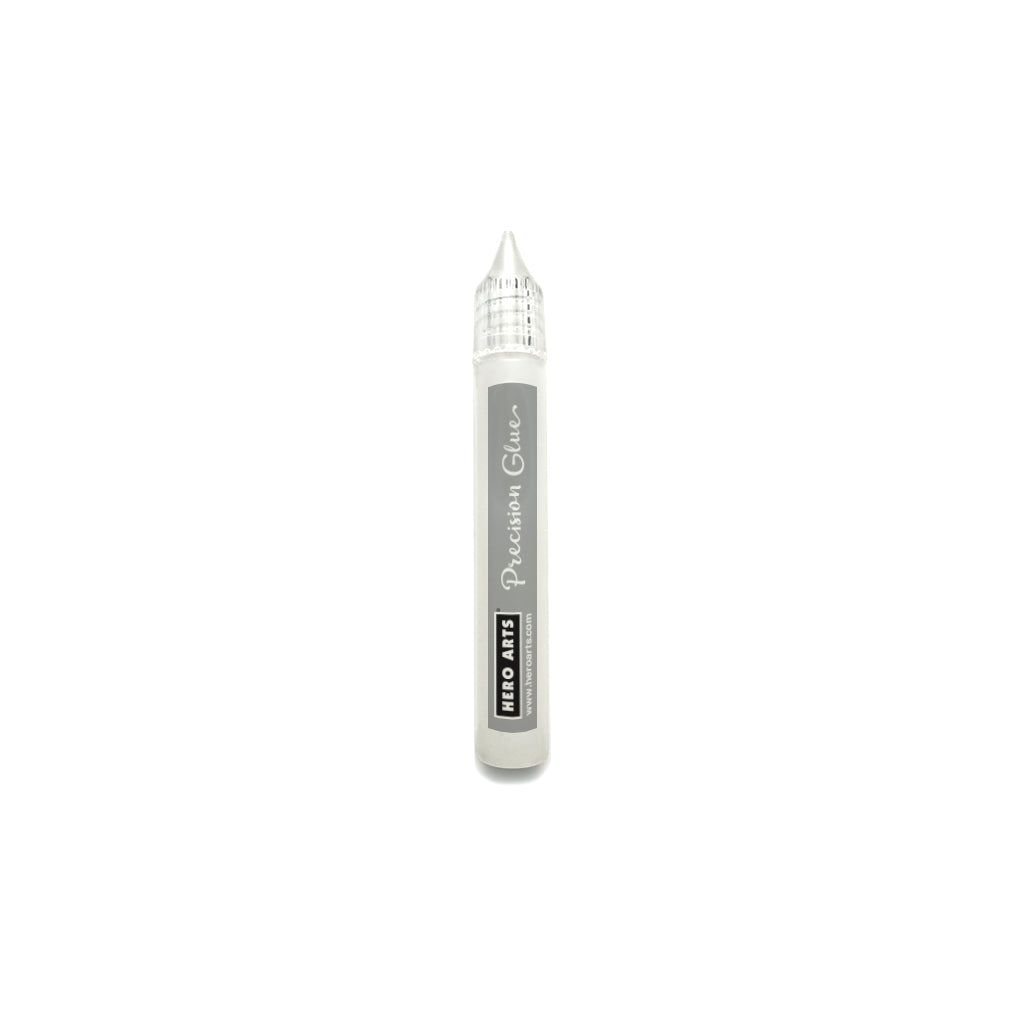
GW101 Precision Glue
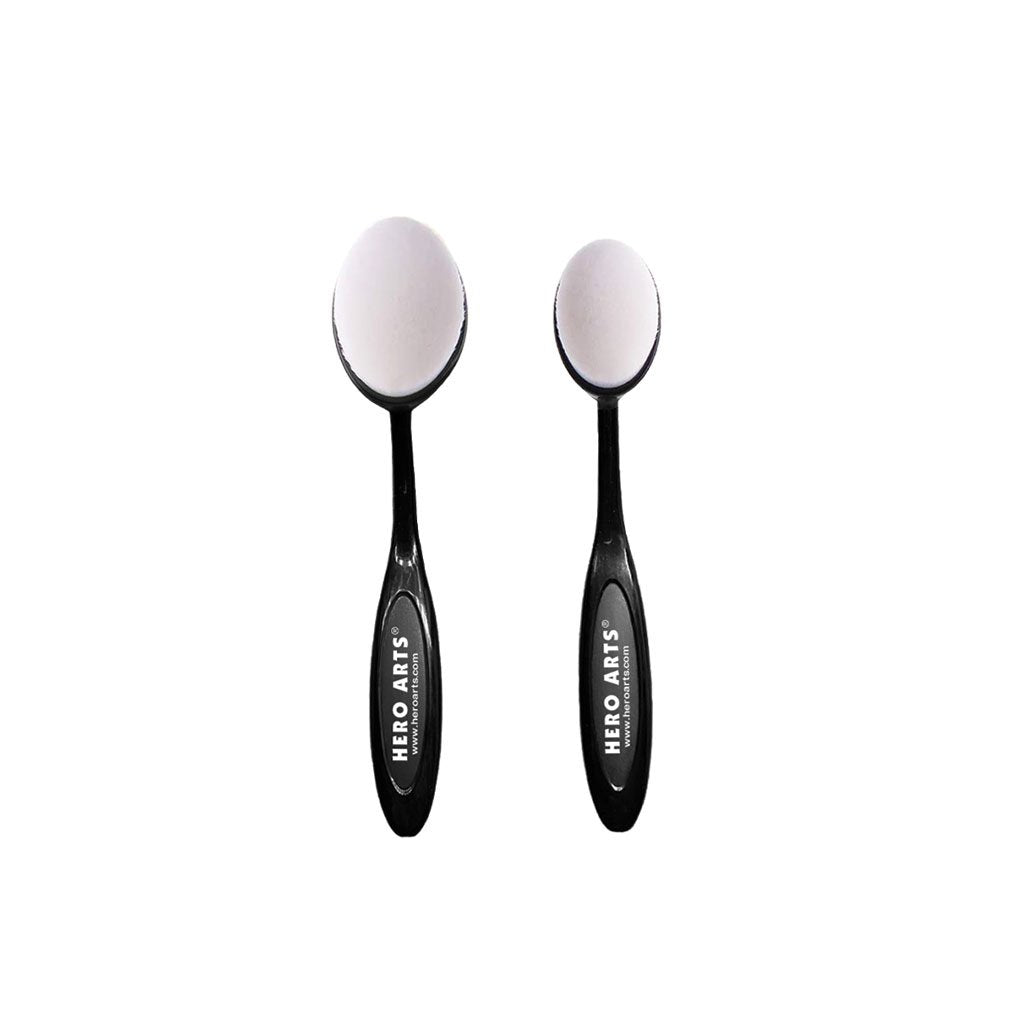
MI003 Ink Blending Brushes
Stamp Positioning Tool, ex. MISTI
Die-cutting Machine
Low-tack Tape
Copic Marker - E31
Instructions:
- Stamp the base layer for the water in Bermuda onto an A2 panel of Dove White cardstock. Then partially ink up the upper two-thirds of the stamp in Deep Ocean and stamp again.
- Stamp the top layer for the water in Deep Ocean and then partially ink up the upper quarter in Pitch Black.
- Mask the water with a piece of tape and then ink blended the sky in Stone Wash, Nautical and Pitch Black.
- Remove mask then stamp the clouds in Stone Wash. Then partially ink up the upper half of the clouds in Nautical and then stamp again.
- Splatter sky with watered-down Unicorn White ink to create stars.
- Stamp the water highlight in Unicorn White and then partially ink up the upper third in Lemon Drop.
- Die cut a moon out of Dove White cardstock and then ink blended the edges in Lemon Drop. Adhere the moon to my panel.
- Color along the edge of the water with a copic marker to create the sand. Then ink blend a gradation for the rest of the sand with Soft Olive ink.
- Trim the panel down to approximately 3 1/2” x 5 1/2”, then adhere it to the front of an A2 top-folding white card base.
- Stamp a sentiment in Embossing & Watermark Ink onto Pitch Black cardstock, then pour over white embossing powder and then heat set.
- Trim the sentiment down to a strip and then adhered it to the card front with foam adhesive.
If you cannot join us for the live event, no problem! The video will be available to watch on replay on YouTube or Facebook whenever it is convenient for you.
We hope to see you there!

|