Posted by Hero Arts
on September 08, 2023


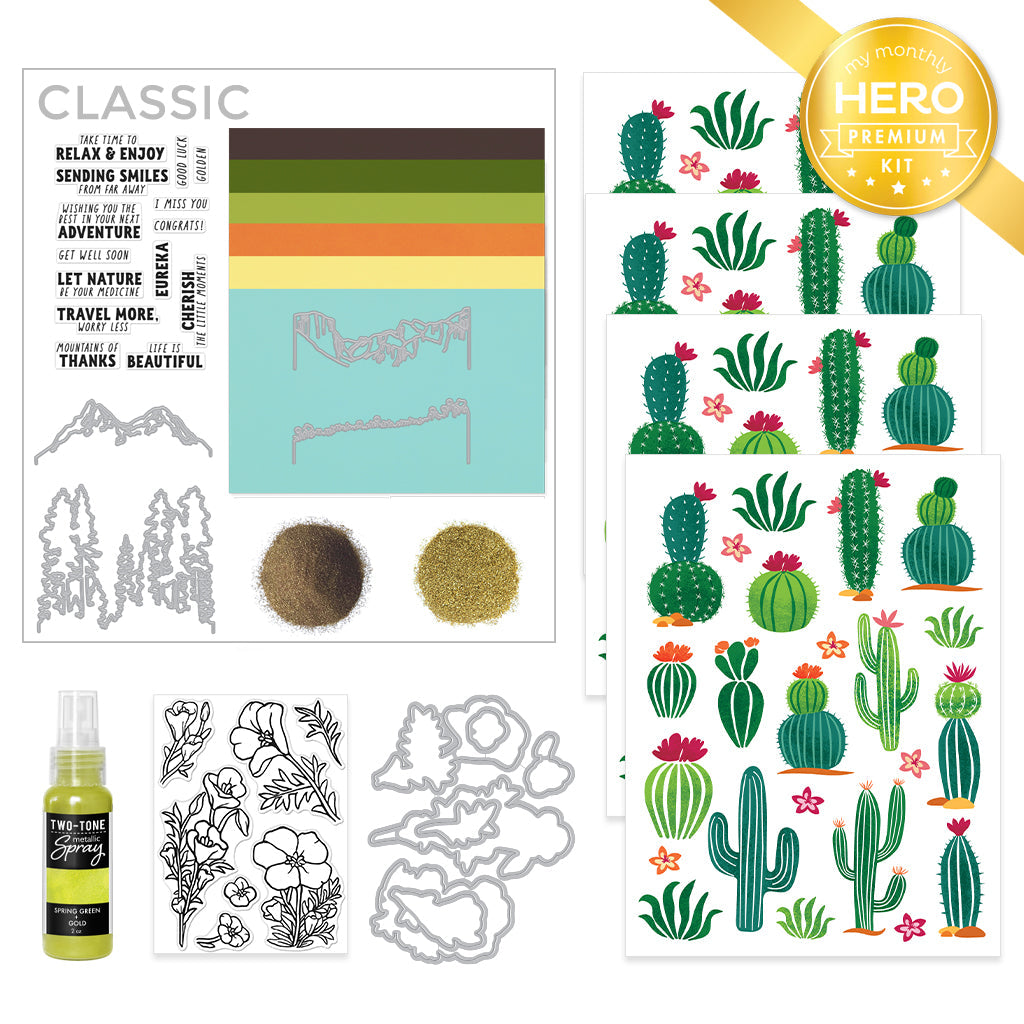
Our next LIVE Make-Along event is this weekend! Join Channin from our Creative Team to make along with the August 2023 My Monthly Hero kit. Gather your supplies and create a card with Channin from start to finish.
👉🏼 When: Sunday, September 10 at noon PT/3pm ET
👉🏼 Where: Hero Arts Facebook and YouTube
In addition to the August My Monthly Hero Premium Kit, the following supplies will be used:
PS328 Meadow Cardstock
PS312 Paradise Cardstock
PS327 Lapis Cardstock
PS325 Dove White Cardstock
PS782 Deluxe Smooth Cardstock
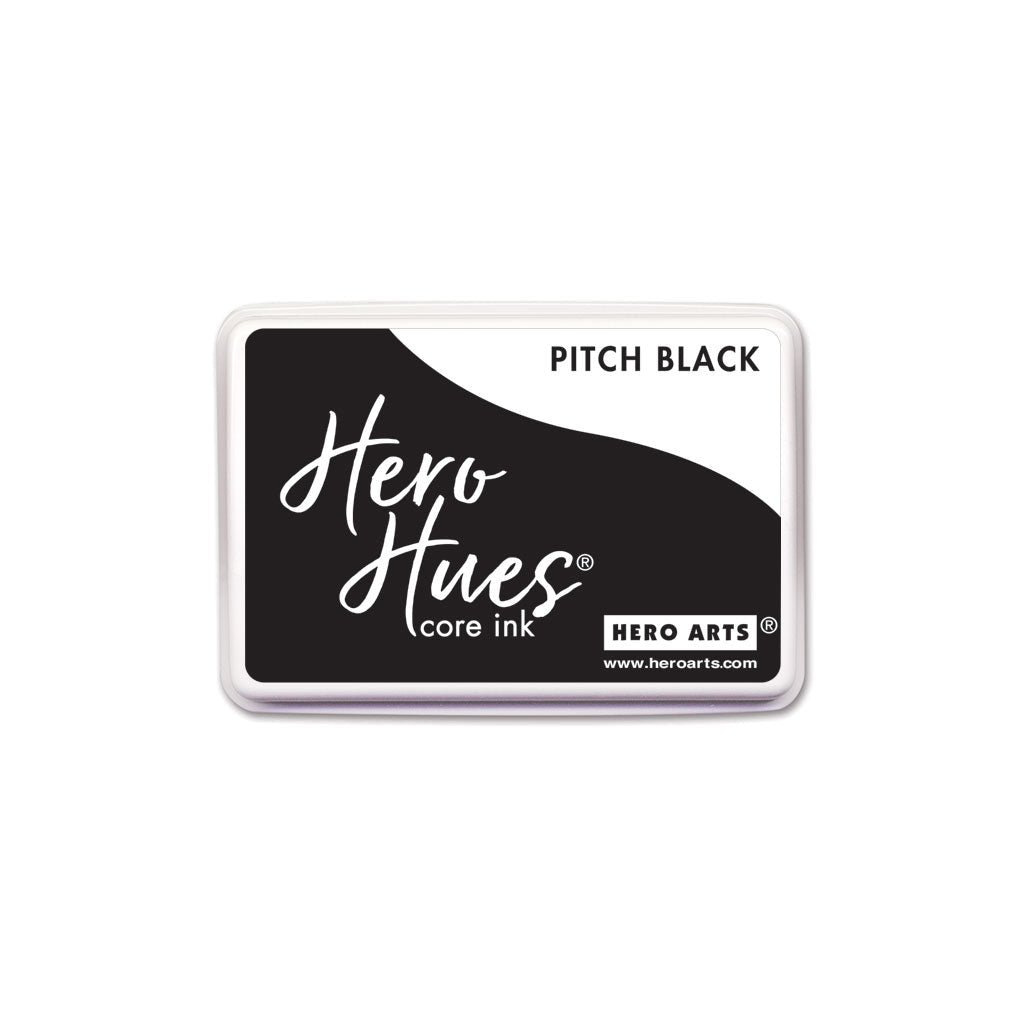
AF764 Pitch Black Core Ink
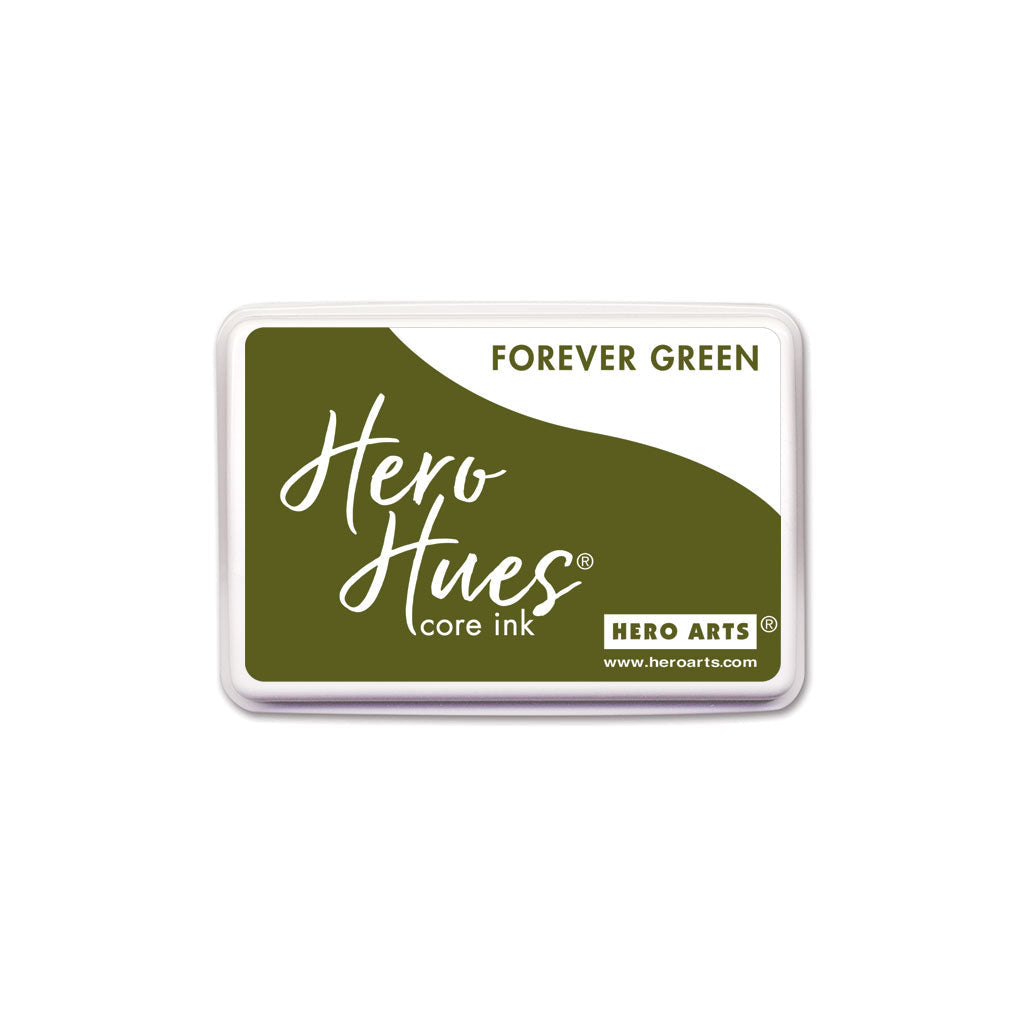
AF669 Forever Green Core Ink
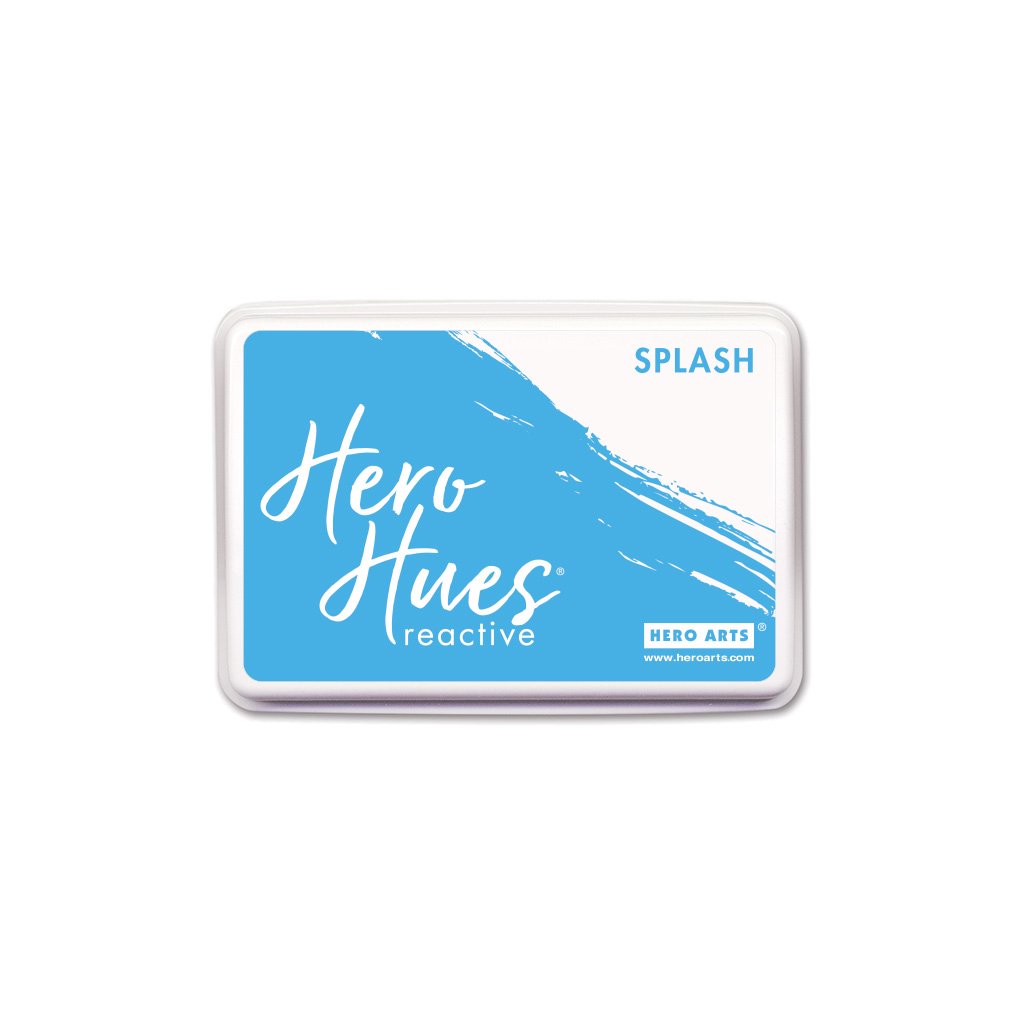
AF428 Splash Reactive Ink
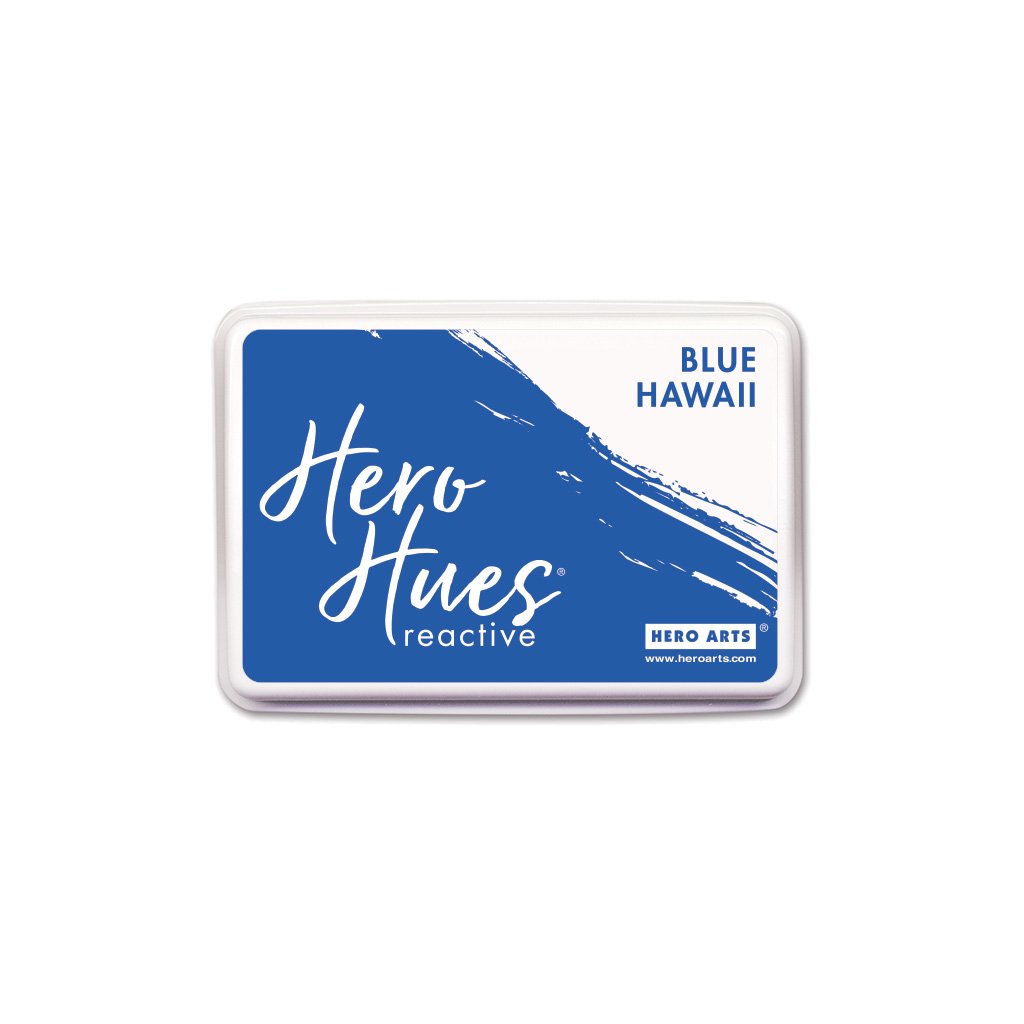
AF429 Blue Hawaii Reactive Ink
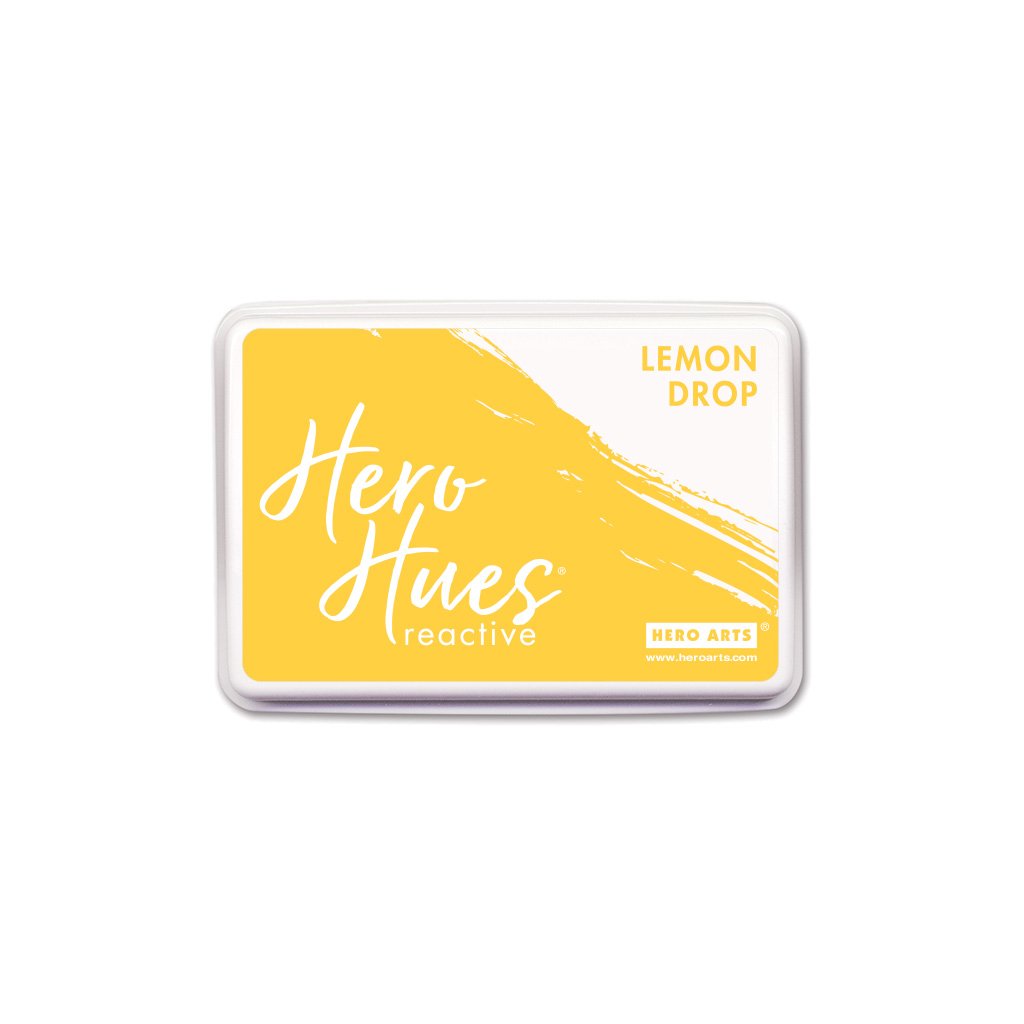
AF423 Lemon Drop Reactive Ink
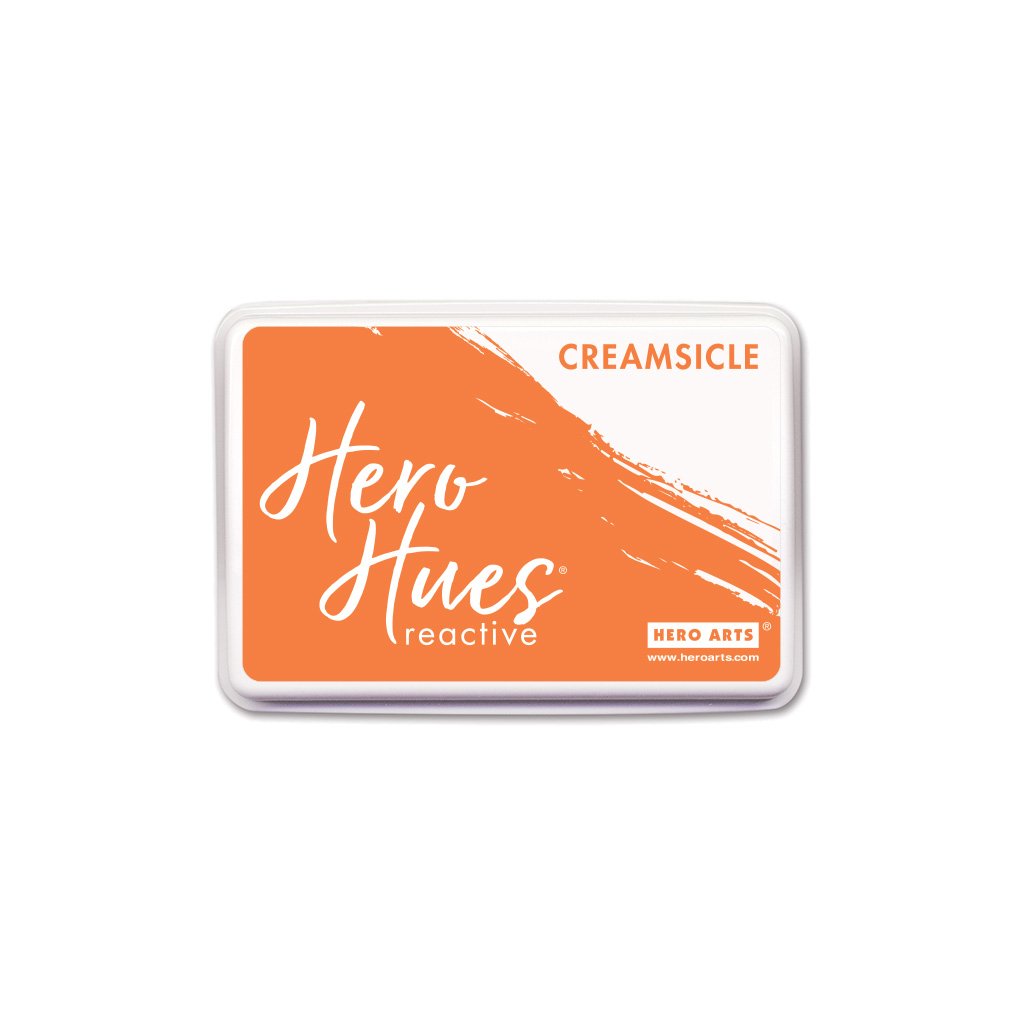
AF422 Creamsicle Reactive Ink
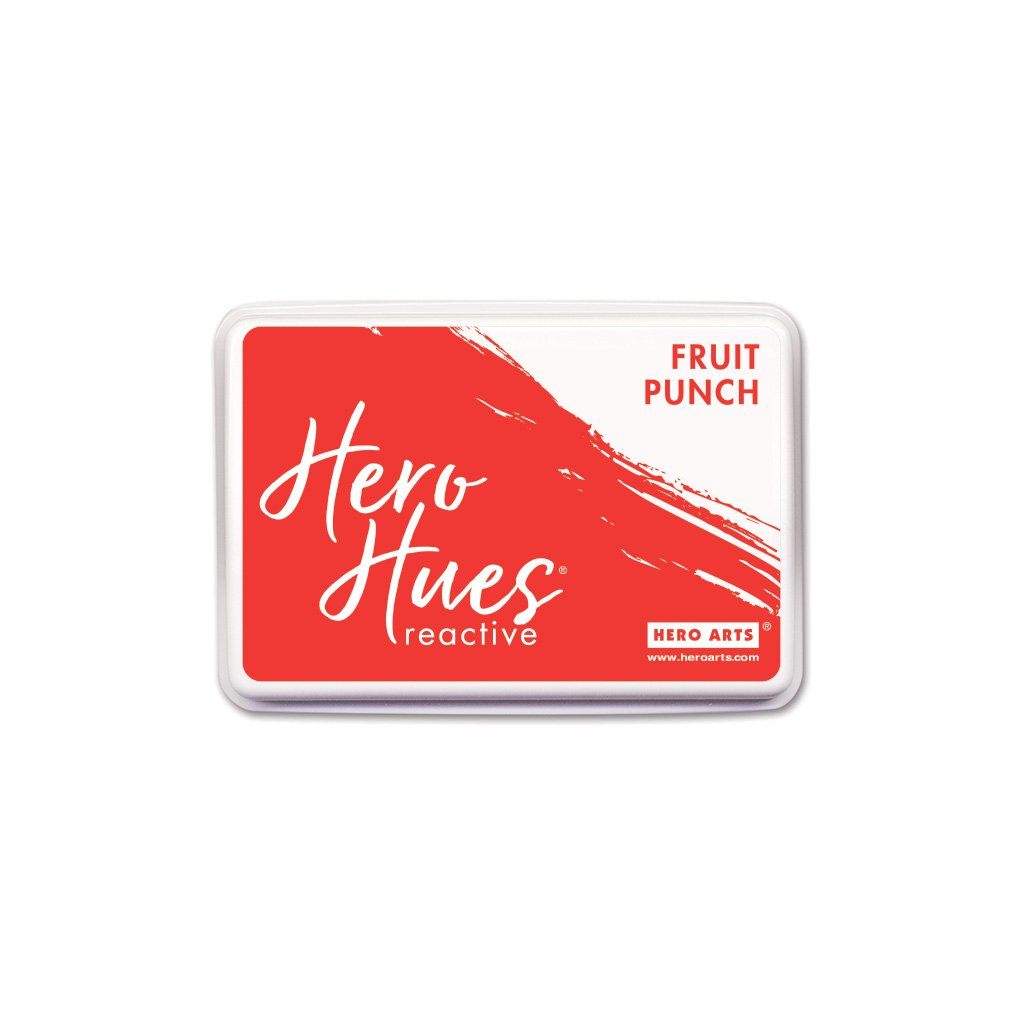
AF421 Fruit Punch Reactive Ink
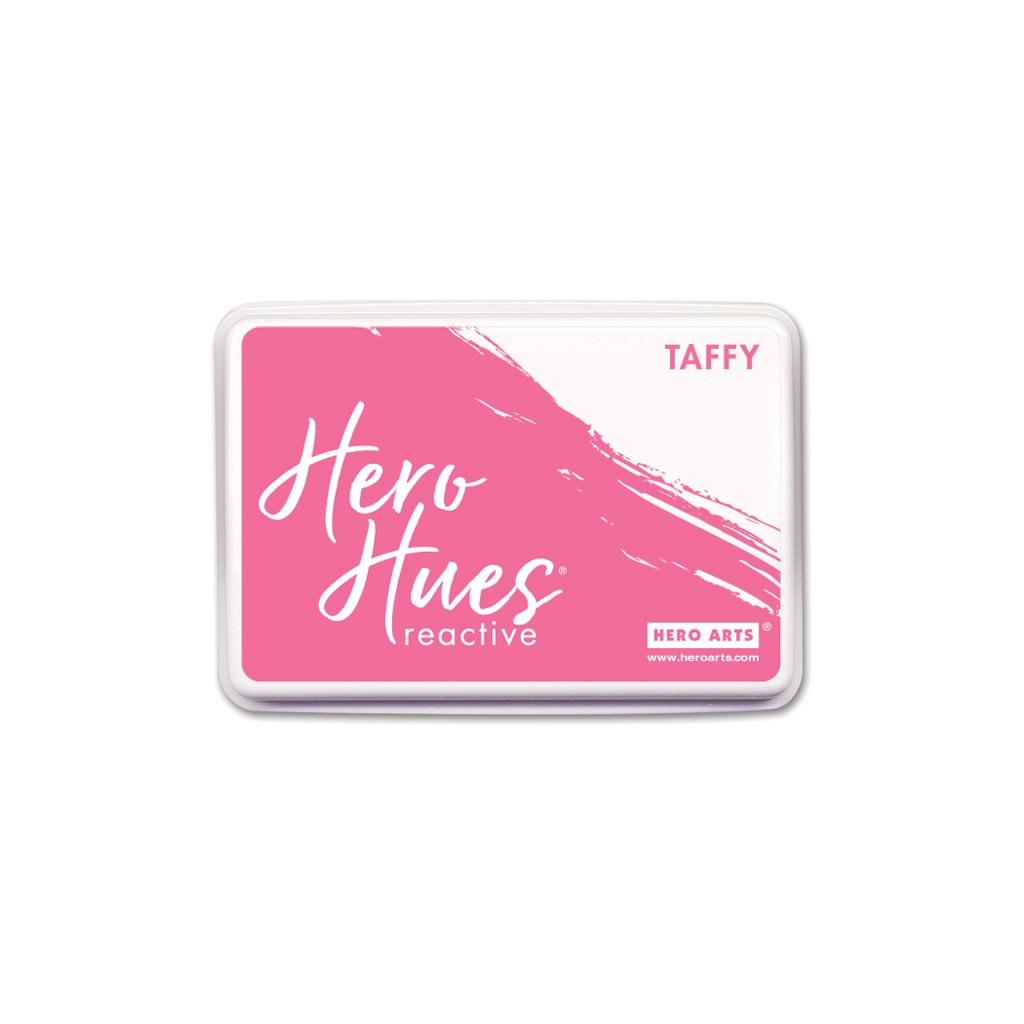
AF420 Taffy Reactive Ink
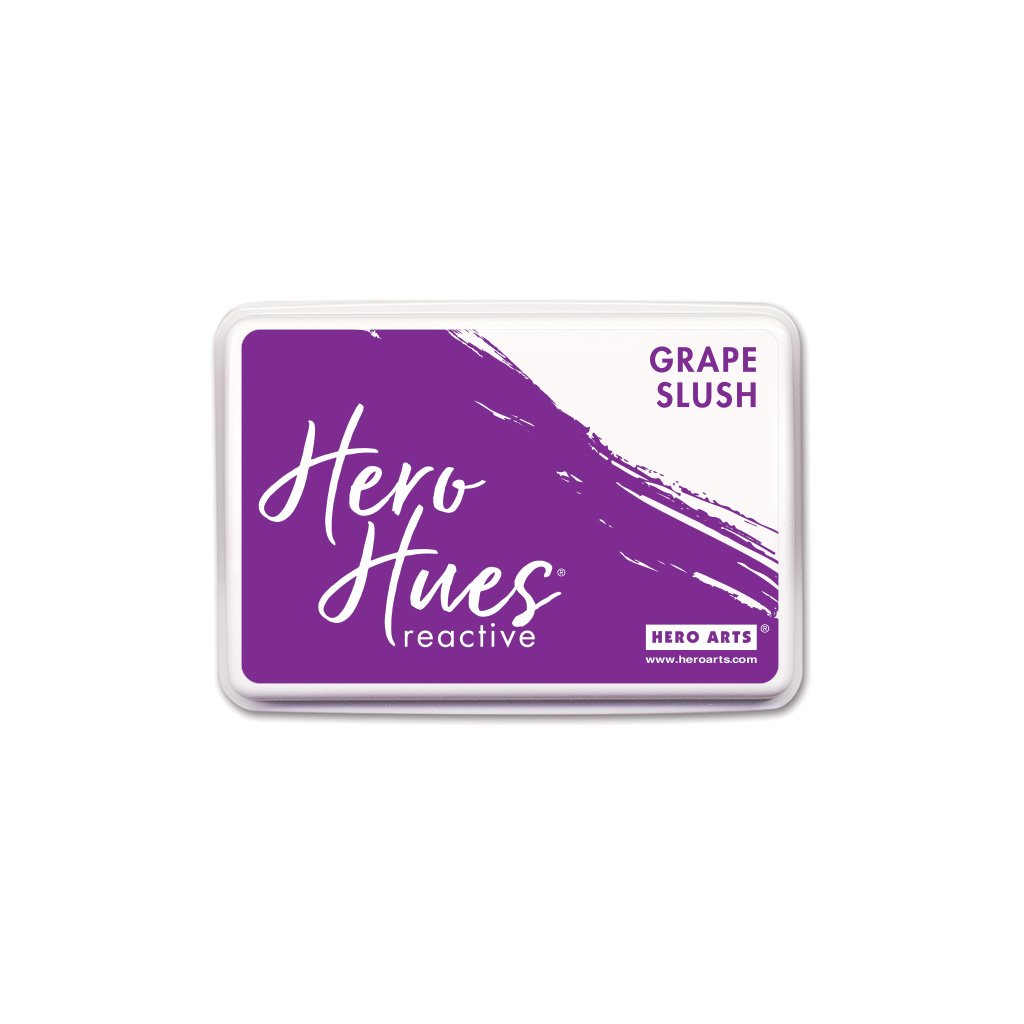
AF432 Grape Slush Reactive Ink
MI003 Ink Blending Brushes
DI198 Nesting Rectangle Infinity Dies
PS400 Dove White Top Folded Cards
GW101 Precision Glue
Stamp Positioning Tool, ex. MISTI
Die-cutting Machine
Low-tack Tape
Scissors
Copic Markers: YG67, E71
Instructions:
- Trim Meadow cardstock to create an A2 panel (4 1/4” x 5 1/2”) then die cut with the trees die.
- Color the trees with YG67 and E71 markers then ink-blend the bottom with Forever Green.
- Trim Paradise cardstock to create a 4 1/4” x 1 3/4” strip of cardstock then ink-blend the bottom with Splash.
- Trim Lapis cardstock to create an A2 panel then die cut with the mountains die about 1 1/2” from the top of the panel.
- Ink-blend bottom of mountains with Blue Hawaii ink.
- Die cut a scrap of Dove White cardstock with the mountain die and then fussy cut along the mountain tops to create snow.
- Glue the snow to the mountains and then adhere the trees, water, and mountains together.
- Trim down the Deluxe Smooth cardstock to create an A2 panel then ink-blend the upper third with Lemon Drop, Creamsicle, Fruit Punch, Taffy and Grape Slush.
- Adhere the panel to the front of the card base.
- Trim Dove White cardstock to create an A2 panel then die cut with a rectangle die from the Nesting Rectangle Infinity Die to create a frame.
- Stamp a sentiment onto card front in Pitch Black ink then adhere mountains, water and trees to the card front.
- Trim three 4 1/4” x 1/4” strips of white cardstock, adhere together and then adhere to the back of the frame at the top.
- Adhere frame to the card front.
If you cannot join us for the live event, no problem! The video will be available to watch on replay on YouTube or Facebook whenever it is convenient for you.
We hope to see you there!

|