Posted by Channin Pelletier
on February 10, 2024


Our next LIVE Make-Along event is this weekend! Join Channin to make along with the January 2024 My Monthly Hero kit. Gather your supplies and create two cards with Channin from start to finish.
👉🏼 When: Sunday, February 11 at noon PT/3pm ET
👉🏼 Where: Hero Arts Facebook and YouTube
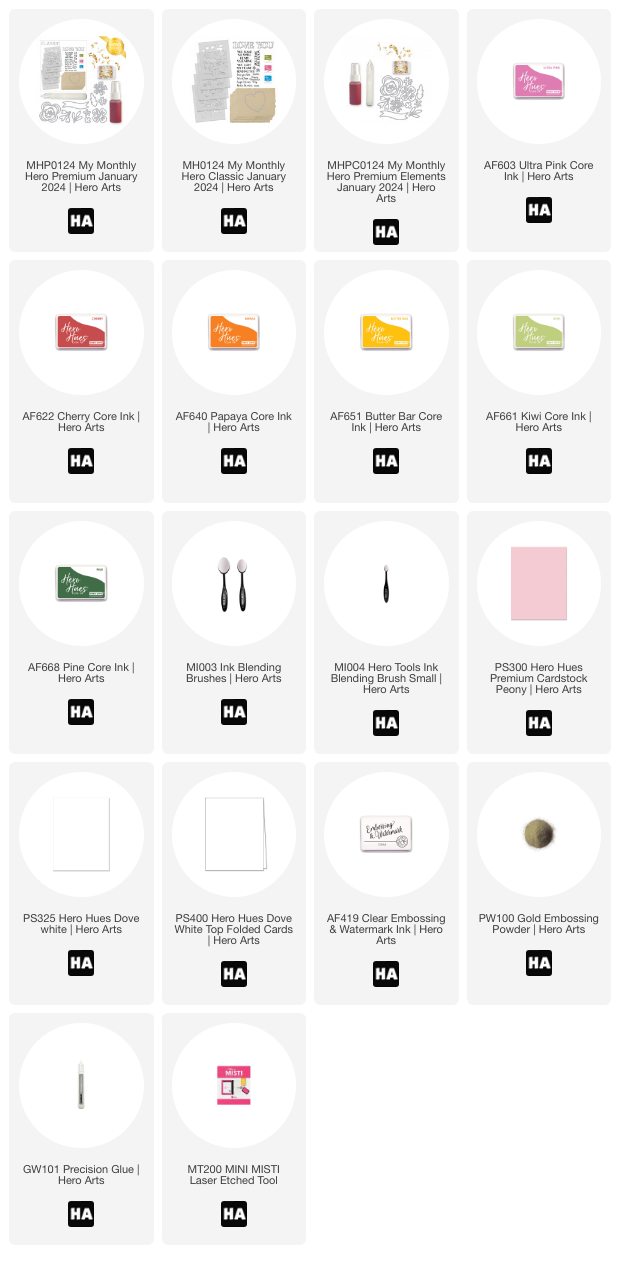
In addition to the January Premium My Monthly Hero Kit, the following supplies will be used:
MHP0124 My Monthly Hero Kit Premium January 2024
AF603 Ultra Pink Core Ink
AF622 Cherry Core Ink
AF651 Butter Bar Core Ink
AF640 Papaya Core Ink
AF661 Kiwi Core Ink
AF668 Pine Core Ink
AF419 Embossing & Watermark Ink
PW100 Gold Embossing Powder
Dove White Cardstock
PS300 Peony Cardstock
MI003 Ink-Blending Brushes
MI004 Ink-Blending Brushes, Small
PS400 Dove White Top Folded Cards
GW101 Precision Glue
Metal Ruler
Stamp Positioning Tool ex. MISTI
Anti-Static Powder
Heat Tool
Die-Cutting Machine
Foam Adhesive
Paper Trimmer
Instructions:
- Use a metal ruler to trim down two sheets of the Camel watercolor paper (included in the Classic & Premium kits) to approximately 4 1/4” x 5 1/2” panels. Hold the ruler down over the paper and rip the paper along the ruler’s edge to create a raw edge.
- Place stencil 1 from the Color Layering Floral Background Stencils (Classic & Premium) over one of the Camel watercolor panels and ink-blend with Ultra Pink Core Ink.
- Place stencil 2 over the panel and spray with the Pink Gold Metallic Spray (Premium). Remove stencil and clean.
- Place stencil 2 over the panel but off-set it slightly and then ink-blend with Cherry Core Ink.
- Place stencil 3 over the panel and ink-blend with Butter Bar Core Ink.
- Place stencil 4 over the panel and ink-blend with Kiwi Core Ink then with the small blending brush ink-blend with Pine Core Ink at the base of each leaf (where the leaf meets the stem) to create a gradation.
- Place stencil 5 over the panel and ink-blend with Papaya Core Ink.
- Repeat steps 2-7 for the second panel of Camel watercolor paper.
- Trim Dove White and Peony cardstocks down to create two A2 panels (4 1/4” x 5 1/2”).
- Adhere the Peony panel to the front of an A2 top-folding white card base.
- Adhere one of the floral watercolor panels to front of the peony card front and then adhere the second floral panel to the front of a plain A2 top-folding white card base.
- Die cut the Dove White A2 panel with the “LOVE” fancy die (Classic & Premium) three times and then stamp a sentiment from the Love Messages Stamp Set (Classic & Premium) in Embossing & Watermark Ink. Pour gold embossing powder over sentiment and then heat set with heat tool.
- Adhered the Dove White panel to the front of the floral/white card front with foam adhesive.
- Glue the three “LOVE” diecuts together to create a stacked sentiment and then adhere to the front of the floral/peony card front.
- Die cut some Peony cardstock with the banner die from the Floral Fancy Dies (Premium).
- Place the banner inside a stamp positioning tool, then position a sentiment from the Love Messages Stamp Set (Classic & Premium) over the banner. Be sure to bend the stamp when positioning so that the sentiment matches the curves of the banner diecut. It may also help to cut the stamp to separate it into individual the words.
- When positioned stamp the sentiment in Embossing & Watermark Ink then pour gold embossing powder over sentiment and then heat set with heat tool. Adhere the banner to the floral/peony card front with foam adhesive.
- Cut one of the scraps of the Camel watercolor paper into 5 pieces then ink-blend each piece with either Cherry, Ultra Pink, Papaya, Kiwi and Butter Bar Core Ink.
- Die cut the ink-blended pieces with the smallest leaf and flower dies from the Floral Fancy Dies (Premium). However be sure to die cut the Papaya piece with the largest flower to make small dots to be used for the flower centers.
- Adhere the centers to the flowers and then ink-blend a gradation over the leaves with Pine Core Ink.
- Cut the leaves to separate them from the stems and then adhere the flowers and leaves to the card fronts.
If you cannot join us for the live event, no problem! The video will be available to watch on replay on YouTube or Facebook whenever it is convenient for you.
We hope to see you there!

Click on products to shop.