

Posted by Channin Pelletier
on February 29, 2024


Our next LIVE Make-Along event is this weekend! Join Channin to make along with the February 2024 My Monthly Hero Kit. Gather your supplies and create a card with Channin from start to finish.
👉🏼 When: Sunday, March 3 at noon PT/3pm ET
👉🏼 Where: Hero Arts Facebook and YouTube
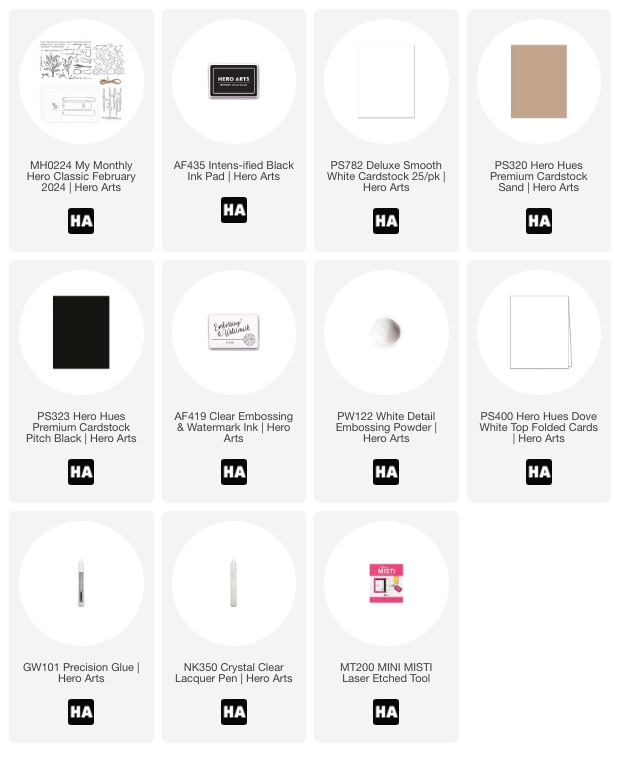
In addition to the February My Monthly Hero Kit, the following supplies will be used:
Supplies:
MH0224 My Monthly Hero Kit Classic February 2024
AF435 Intens-ified Black Ink
PS323 Pitch Black Cardstock
PS782 Deluxe Smooth White Cardstock
PS320 Sand Cardstock
AF419 Embossing & Watermark Ink
PW110 White Embossing Powder
PS400 Dove White Top Folded Cards
GW101 Precision Glue
NK350 Crystal Clear Lacquer Pen
Stamp Positioning Tool ex. MISTI
Die-Cutting Machine
Paper Trimmer/Craft Knife & Ruler
Anti-Static Powder
Heat Tool
Foam Adhesive
Copic Markers:
- Leaves/Stems - G43, YG63 & YG67
- Flowers - R17, R27 & R59
- Flower Centers - Y02, Y17 & YR23
- Negative Space - E4
Instructions:
- Stamp the large flower arrangement from the clear stamp set in INTENS-ified Black Ink onto Deluxe Smooth White Cardstock.
- When the ink has throughly dried then copic color the arrangement except for the negative space between the flowers.
- Die cut the flowers out with the matching die.
- Color the negative space in the center of the arrangement with E43.
- Trim some sand cardstock down to 5 1/4” x 4”.
- Stamp one of the vases from the clear stamp set onto the sand panel in black ink, use the floral arrangement to get the placement right.
- Adhere the sand panel onto the front of an A2 top-folding white card base with foam adhesive.
- Adhere the flowers to the card front with foam adhesive.
- Stamp a scripty sentiment from the clear stamp set on to white cardstock in black ink and die cut out with matching die.
- Stamp an additional sentiment in Embossing & Watermark Ink onto a scrap of pitch black cardstock. Pour white embossing powder over and heat set with heat tool.
- Trim the sentiment down to a strip and then adhere both sentiments to the card front with foam adhesive.
- Add clear lacquer to the flowers.
If you cannot join us for the live event, no problem! The video will be available to watch on replay on YouTube or Facebook whenever it is convenient for you.
We hope to see you there!

Click on products to shop:























































































1 comment
Thank you Shannon—your class was great!