Let's Go Fly A Kite! - Hero Arts
Posted by Mindy Eggen on May 09, 2023

Let's Go Fly A Kite!

Hello friends! This is Mindy stopping by the Hero Arts blog to share a card I created using the new Kite Fancy Die. And now that I probably have the song stuck in your head from the post title, let's jump in!

Did you fly kites growing up? Or maybe you fly them with your kids? I remember flying kites with my Dad so kites bring back fond memories for me.

The first color that came to mind was creating my kite from Cherry cardstock. I added the details to the kite with Deluxe Smooth White cardstock but I didn't need the tail to be super long so I trimmed it down a smidge.

You can add a kite to so many different scenes but I really love the new Color Layering Clouds stencils. I think the big puffy clouds look great next to my kite.

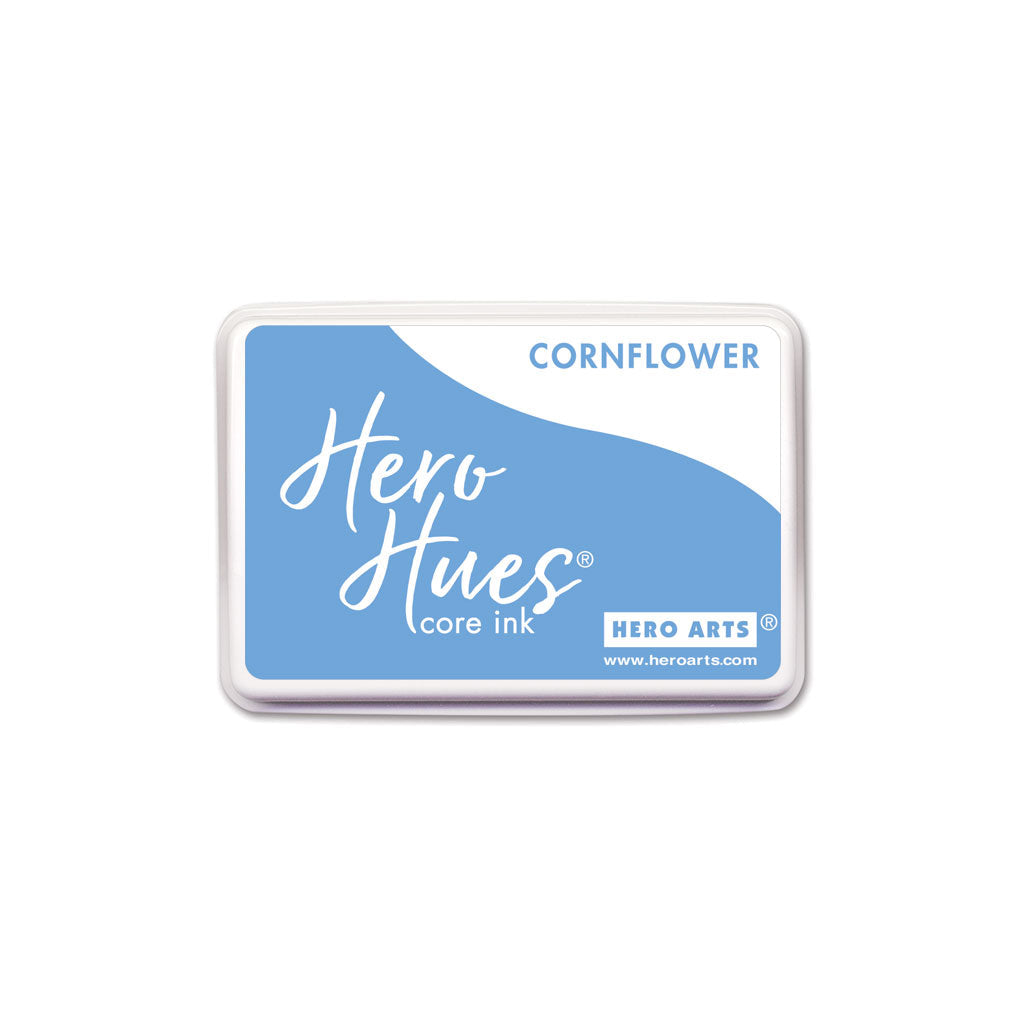
To create the clouds, I used Cornflower and Dusty Blue, using a blending brush to apply the ink. Even though there are three layers to the stencil, I can get the look of three different ink colors by applying a heavier amount of ink with the Dusty Blue.

I trimmed my panel down using a Rectangle Infinity Die and popped it up on a card base using foam tape.

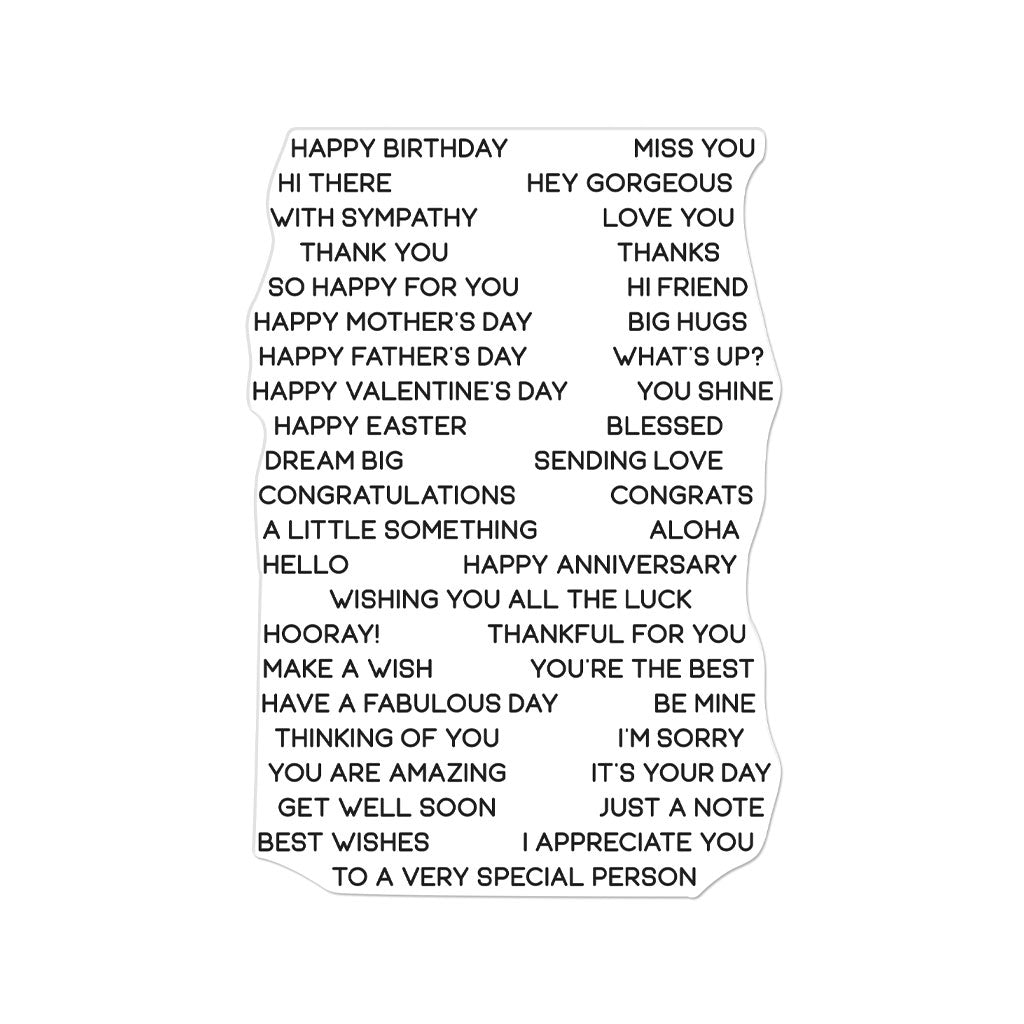
Since graduation is coming up I thought this would make a great graduation card. I found a sentiment that would work perfectly for this in the Everyday Sentiment Strips stamp set.

I stamped the sentiments onto Pitch Black cardstock using Unicorn pigment ink and then heat embossed with White Embossing Powder.

I used the coordinating Sentiment Strips Die to cut out all of the sentiments at once. I'll pick out the sentiments I want and then save the rest for future cards. I trimmed one of the sentiments down so I could have three strips going down the front of my card, overhanging the edge of my blended panel.

Pretty quick and easy card to put together! Hope you enjoyed today's inspiration!

Thanks for stopping by,

Click on products to shop:
DF133 Kite Fancy Die (C) | Hero Arts
HA ]
SA241 Color Layering Clouds Stencils...
HA ]
CM673 Everyday Sentiment Strips |...
HA ]
DF087 Sentiment Strips Fancy Die (F)...
HA ]
DI198 Nesting Rectangle Infinity Dies...
HA ]
AF701 Dusty Blue Core Ink | Hero Arts
HA ]
AF702 Cornflower Core Ink | Hero Arts
HA ]
AF249 Unicorn Pigment Ink | Hero Arts
HA ]
PW122 White Detail Embossing Powder |...
HA ]
MI007 Hero Tools Ink Blending Brush...
HA ]
PS303 Hero Hues Premium Cardstock...
HA ]
PS323 Hero Hues Premium Cardstock...
HA ]
PS782 Deluxe Smooth White Cardstock...
HA ]

Leave a comment

Please note, comments need to be approved before they are published.


  • Infinity Trees Christmas Card Tutorial with Stamping and Ink Blending

    BP-377

    Infinity Trees Christmas Card Tutorial with Stamping and Ink Blending

    Hey there, crafty friends! It's Marie again from Marie Nicole Designs. Are you ready for Christmas? I believe that it is never too early to begin your Christmas crafting. I try to make Christmas cards throughout the year so when December rolls around, and I’m already overwhelmed by all the events going on, I have a stash already made. Today, I’ll be sharing an easy Christmas...

  • Gift Boxes Christmas Card Tutorial with Gift Boxes and Bags Etched Dies

    BP-001

    Gift Boxes Christmas Card Tutorial with Gift Boxes and Bags Etched Dies

    Hello crafters! It’s Lisa Tilson here with you today to share a card using the Snowflake Kisses Collection by Lisa Horton. I am going to be doing a step-by-step photo tutorial showing you how to create a Christmas card using the Gift Boxes and Bags Etched Dies and I’m using a more unconventional colour palette to make it. Sometimes it’s fun to create with colours...

  • Debossed Snowflake Christmas Card Tutorial with Snowflake Background Etched Dies

    Categories:Die Cutting

    Debossed Snowflake Christmas Card Tutorial with Snowflake Background Etched Dies

    Hello there, Michelle Short here to share a step-by-step tutorial using the Snowflake Background Etched Dies from the Lisa Horton Snowflake Kisses Collection. The Snowflake Background Etched Dies are two layers which you can cut as a base layer and a top layer. For my card today, instead of having die cut layers, I thought that I would deboss the design. DEBOSSING THE DIE Place...