

Posted by Daniel West
on January 20, 2022

Hey there! Daniel West here with a set of mini Valentine cards I created with the new Flower Girls stamp set and some Copic Markers.
Valentine cards can really brighten up a loved one's day. You may want to make a set of 30 of these quickly for a classroom exchange, or just a few to slip into your kid's lunchbox or your lover's pocket now and then.

To create these little beauties, you'll need to gather these supplies:
- Flower Girls stamp set
- Dove White cardstock
- Intense Black ink
- Markers or colored pencils
- MISTI
- Paper trimmer
To begin, I scored two A2 panels of Dove White cardstock lengthwise down the middle. Then, I cut them in half to create to mini cards that measure 2 1/8" x 2 3/4".
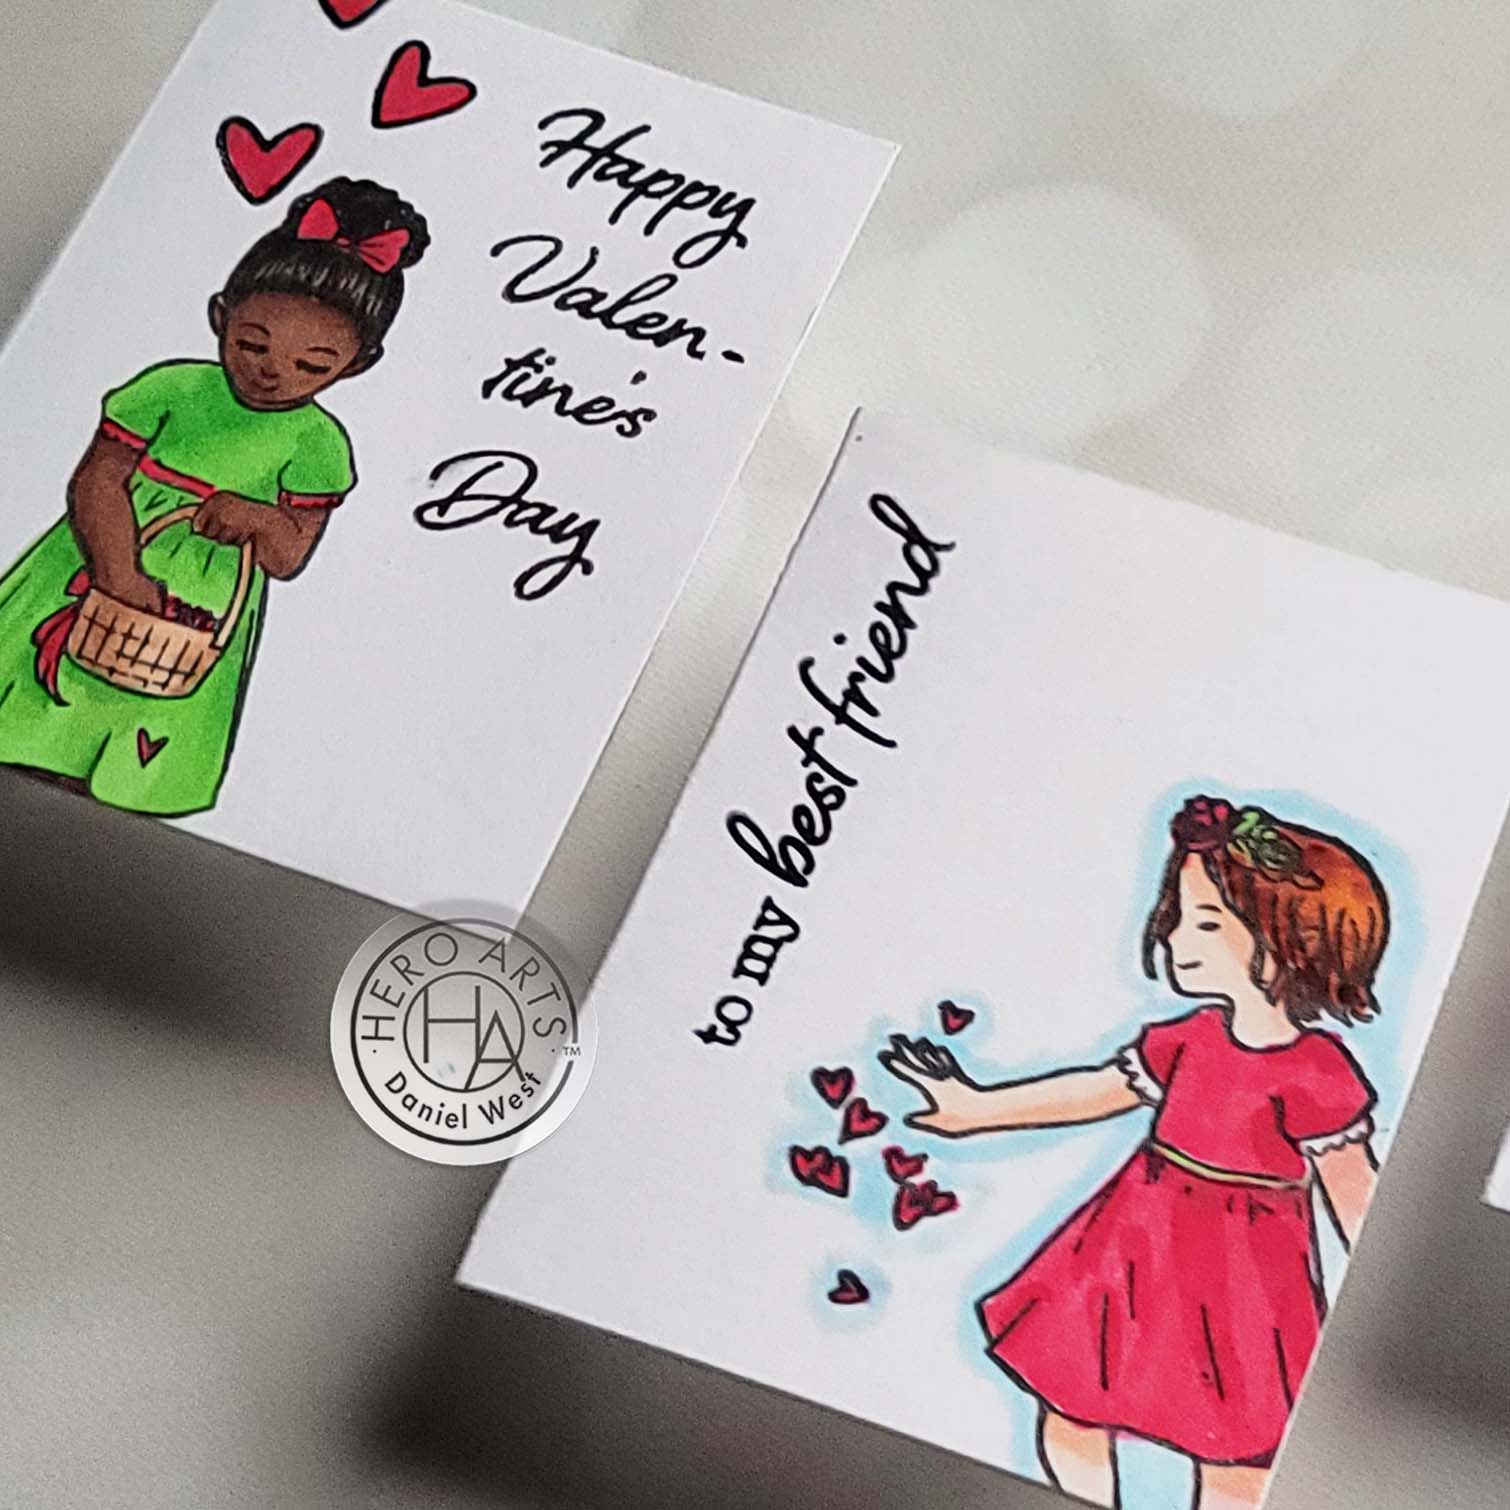
Then, I stamped the little girl images off the edges of the cards with Intense Black Ink. After that, I colored them in with Copic Markers. (I used Copic Markers W9, W6, E29, E27, E25, E21, RV29, RV25, YG09, YG06, BG49, BG45, B00, YR09, Y04, and RV99.)
TIP: Make sure your image stamps off the edge of the card front. It gives the impression that the design continues on and is more pleasing to the eye.
TIP: Use a limited color palette to keep your project unified and cohesive. This will also keep you from going crazy trying to find colors that coordinate. For the skin colors of each little girl, I used a different shades from the same E20 family of earth tones.

Finally, I stamped a sentiment on each card front with an acrylic block and some Intense Black Ink.
I hope you enjoyed these little mini Valentines. Have yourself a crafty day!























































































2 comments
SUPER cute!! Love this idea!!
These are such simple and beautiful cards. Since there are three girls in this set, I could name them for my 3 oldest grandgirls. They are nice images for young lady cards. I like the fact that they are wearing dresses!