

Posted by Michelle Short
on June 25, 2025

Hello there, Michelle Short here. Today I have a card to share using What's Cookin' Stamp & Cut from the new Retro Kitchen release. I am taking a look at the benifits of negative ink blending on a card.

I started off my card by stamping the mouse, apron and cupcake from What's Cookin' Stamp & Cut onto Deluxe Smooth White Cardstock with Intens-ified Black Ink. I then coloured the images using Copic Markers.
The images were then die cut out using the coordinating dies. There is a separate die to cut the hands and arms of the mouse so that he/she can hold something. I placed it over the image and then ran it through my die cutting machine again.
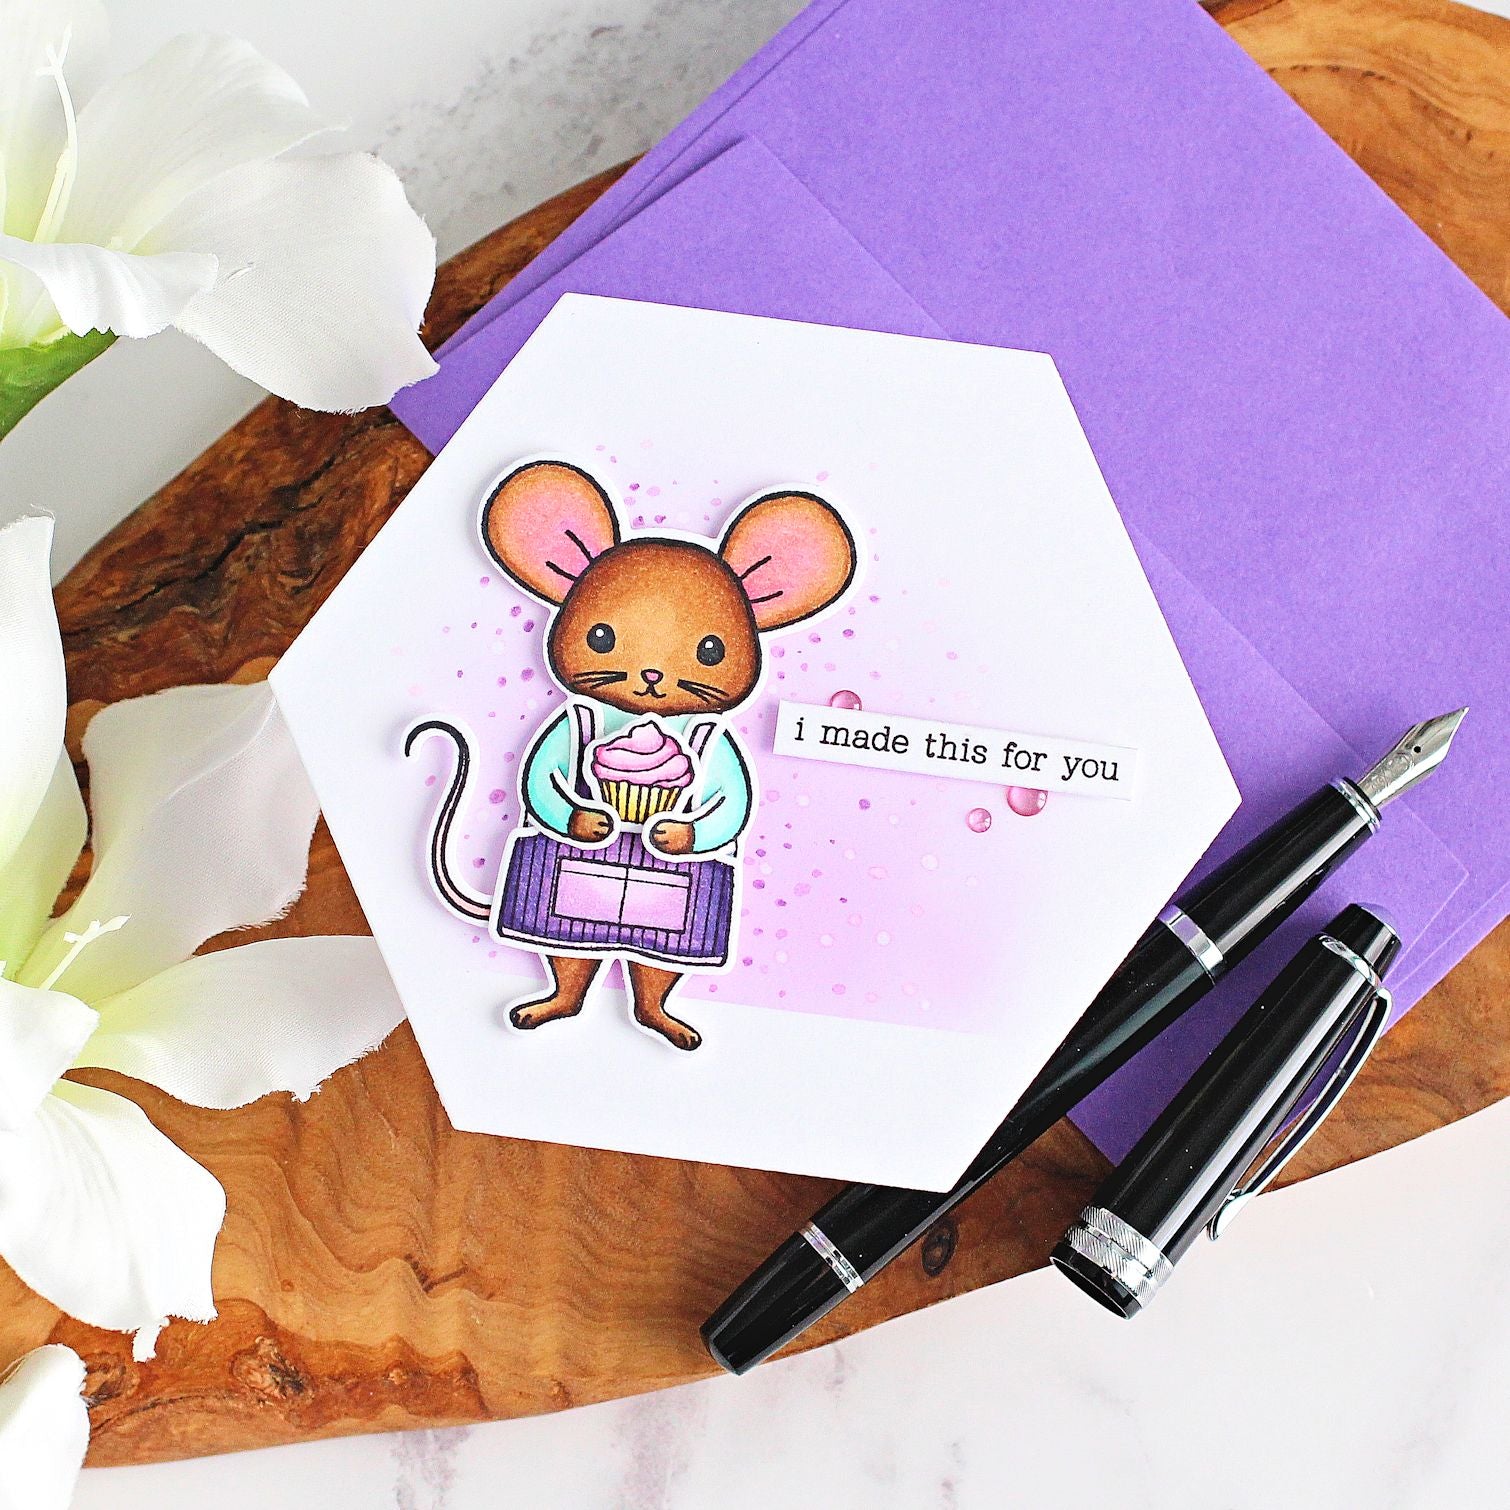
I adhered the apron onto the mouse using Precision Glue, followed by the cupcake in her hands using a thin foam square.
For the card base, I die cut the second largest die from the Hexagon Infinity Dies twice from Deluxe Smooth White Cardstock. On one, I made a score line towards the top of the hexagon, about 1/2" below the top to create a hinge. I added double sided tape to the hinge and adhered it to the back of the other hexagon.

I masked off the bottom of the card base and then using a Medium Ink Blending Brush, blended Orchid Core Ink above. I removed the mask and this gave me both a background and also a ground for the mouse to stand on. Whilst there is no colour on the ground, because it is a straight line and there is colour above, you automatically fill in the gaps of it being ground.
The mouse was adhered on top using thin foam tape. I stamped a sentiment from On The Shelf Stamp & Cut onto Deluxe Smooth White Cardstock using Intens-ified Black Ink. It was cut into a strip and adhered to the card with thin foam tape.

I felt like the background was a little too simple, so I went in with my Copic Markers and added dots of colour. I also used the Colorless Blender to add dots, this removes the Core Ink below to create white dots and even more interest to the background.
To finish, I embellished with Translucent Purples Hero Hues Enamel Dots.
Thank you so much for stopping by today, I hope I have inspired you to try negative ink blending. Wishing you a wonderful day!























































































2 comments
Such a cute card! I love the tip about using markers/blender to add dots over the ink-blended background – it adds just the right amount of detail.
This is adorable Michelle!