Baby Girl Congrats - Hero Arts
Posted by Seeka SkyPaperScissors on December 13, 2023

Baby Girl Congrats

Hello and welcome! Seeka here and today I'm sharing a congratulations card in sweet baby pink colors.

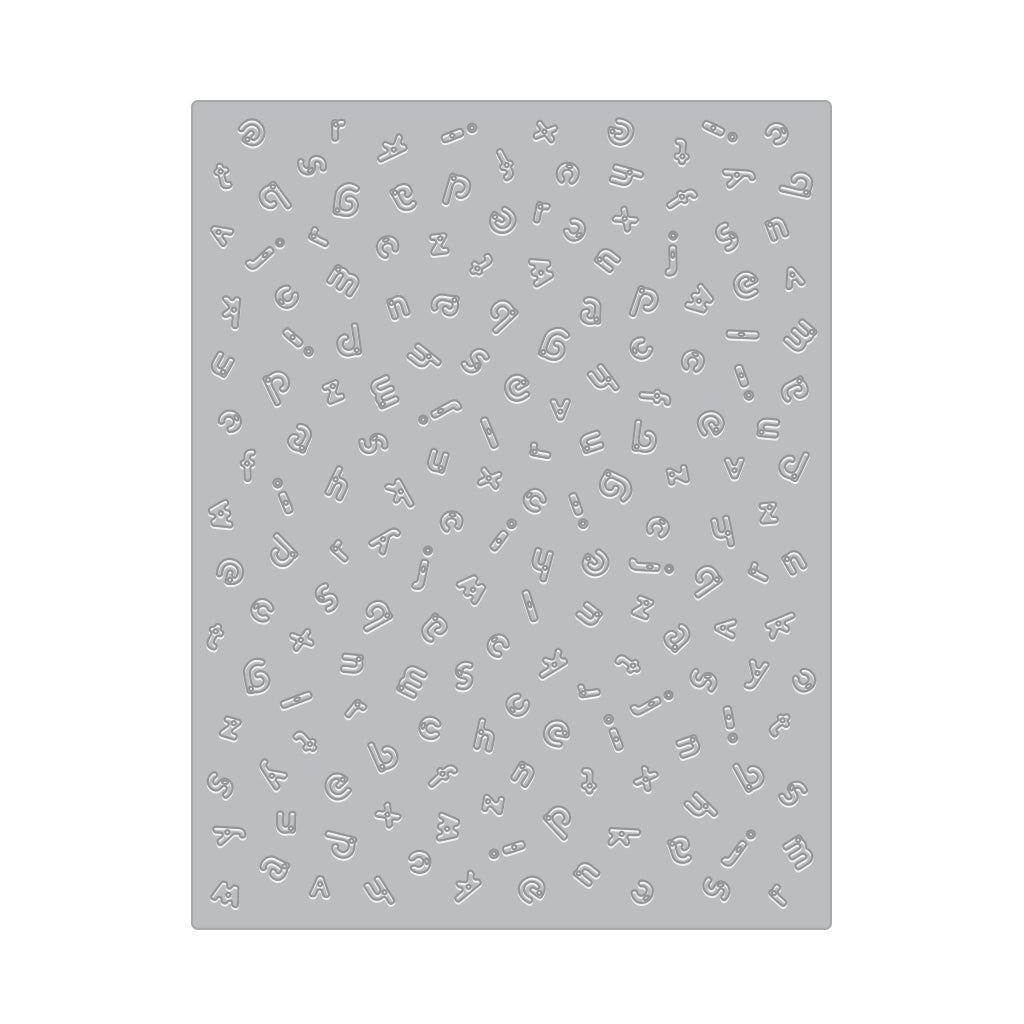
I started off by using the new Alphabet Embossing Plate to emboss the jumble of tiny letters onto a 4.25" x 5.5" panel of Peony cardstock. To get this beautiful dry embossed look, I made sure to follow the instructions for my die cutting machine which came with a rubbery embossing pad for this technique.

Next, I used a large ink blending brush to blend Cotton Candy Core Ink over the panel to deepen the pink color. Then I trimmed 3/8" off both the length and the width of the panel and set it aside.

For the sentiment, I used the dies in the Congrats & Yay Stamp & Cut XL set to cut the Congrats sentiment from another panel of Peony cardstock that I'd darkened with Cotton Candy Core Ink. I cut the shadow layer from Dove White cardstock and then glued the layers together.

To assemble the card, I glued the alphabet panel to a 4.25" x 5.5" panel of Peony cardstock and then used foam tape to adhere the sentiment. Last, I glued the card front to a top-folded card base.

Thank you so much for visiting!

Click on products to shop:

DF171 Alphabet Embossing Plate (F) |...
HA ]
DC297 Congrats & Yay Stamp & Cut XL |...
HA ]
AF601 Cotton Candy Core Ink | Hero Arts
HA ]
PS300 Hero Hues Premium Cardstock Peony
HA ]
PS325 Hero Hues Dove white - Hero Arts
HA ]
PS400 Hero Hues Dove White Top Folded...
HA ]
MI006 Hero Tools Ink Blending Brush...
HA ]
GW102 Precision Glue XL | Hero Arts
HA ]

1 comment

Oh my, this card is pink perfection!

KAREN BROWN,

Leave a comment

Please note, comments need to be approved before they are published.


  • Layered Snowflakes Christmas Card Tutorial with Hot Foil Sentiments

    BP-377

    Layered Snowflakes Christmas Card Tutorial with Hot Foil Sentiments

    1 comment

    Hi, crafty friends! Lea Lawson here with you today, creating a card featuring the beautiful new Layered Snowflakes die set. I’m sharing my step-by-step process in easy to follow photos and instructions! Step by Step Instructions: [gallery type="rectangular" columns="2" link="file" size="large" ids="lealawson-layeredsnowflake-step-1.webp,lealawson-layeredsnowflake-step-2.webp"] To start, turn on your Glimmer Hot Foil System, then let it heat up. Once the green indicator light notifies that the platform...

  • Infinity Trees Christmas Card Tutorial with Stamping and Ink Blending

    BP-377

    Infinity Trees Christmas Card Tutorial with Stamping and Ink Blending

    Hey there, crafty friends! It's Marie again from Marie Nicole Designs. Are you ready for Christmas? I believe that it is never too early to begin your Christmas crafting. I try to make Christmas cards throughout the year so when December rolls around, and I’m already overwhelmed by all the events going on, I have a stash already made. Today, I’ll be sharing an easy Christmas...

  • Gift Boxes Christmas Card Tutorial with Gift Boxes and Bags Etched Dies

    BP-001

    Gift Boxes Christmas Card Tutorial with Gift Boxes and Bags Etched Dies

    Hello crafters! It’s Lisa Tilson here with you today to share a card using the Snowflake Kisses Collection by Lisa Horton. I am going to be doing a step-by-step photo tutorial showing you how to create a Christmas card using the Gift Boxes and Bags Etched Dies and I’m using a more unconventional colour palette to make it. Sometimes it’s fun to create with colours...