

Posted by Kelly Taylor
on August 12, 2022

Hello crafters! It's Kelly Taylor here and I'm so excited for my first blog post. If you have followed along in my crafting journey you know I love to build scenes. If I'm new to you I'd love to introduce you to my style!

The On the Road Window Fancy Die is a super fun scene in itself. Don't you love a die that does all the work for you? Me too! The window cut out pretty much begged me to pair it with one of our HeroScapes. I chose to use the Winding Road HeroScape Bundle but took a different approach by making it a night scene. I loved the way it came out so much I didn't want to cover it up haha! And that, my friends, is how we got a tri-fold card today.

I started by cutting my Dove White cardstock to 4.25" x 6". I then used a bone folder and my paper trimmer to score a line at 5.5". You want to score horizontally across the top of your card. This gives me a 1/2" flap to secure my card to it's base. I lined up the On the Road Window Fancy Die with the bottom portion, leaving the 1/2" flap at the top and ran it through my die cutting machine. Next we'll need a 5.25" x 5" piece of white cardstock. This time we'll score vertically at 4.25" leaving us 3/4" on the side. Finally we'll need just a regular A2 size piece - 4.25" x 5.5". Time to get ink blending!

I chose to do blue because well, it's my favorite, but you can use purples or blue violets or a combination of them. When applying the ink I used masking tape behind the image to hold the intricate die cuts in place so they didn't wrinkle or rip. You want to add the color so that it's darkest around the edges and lightest near the window opening. This is what creates the moon "glow" inside the car. Add a few highlights with a white gel pen around the dashboard and their faces to really bump up those highlights.

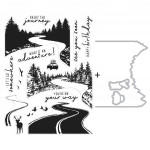
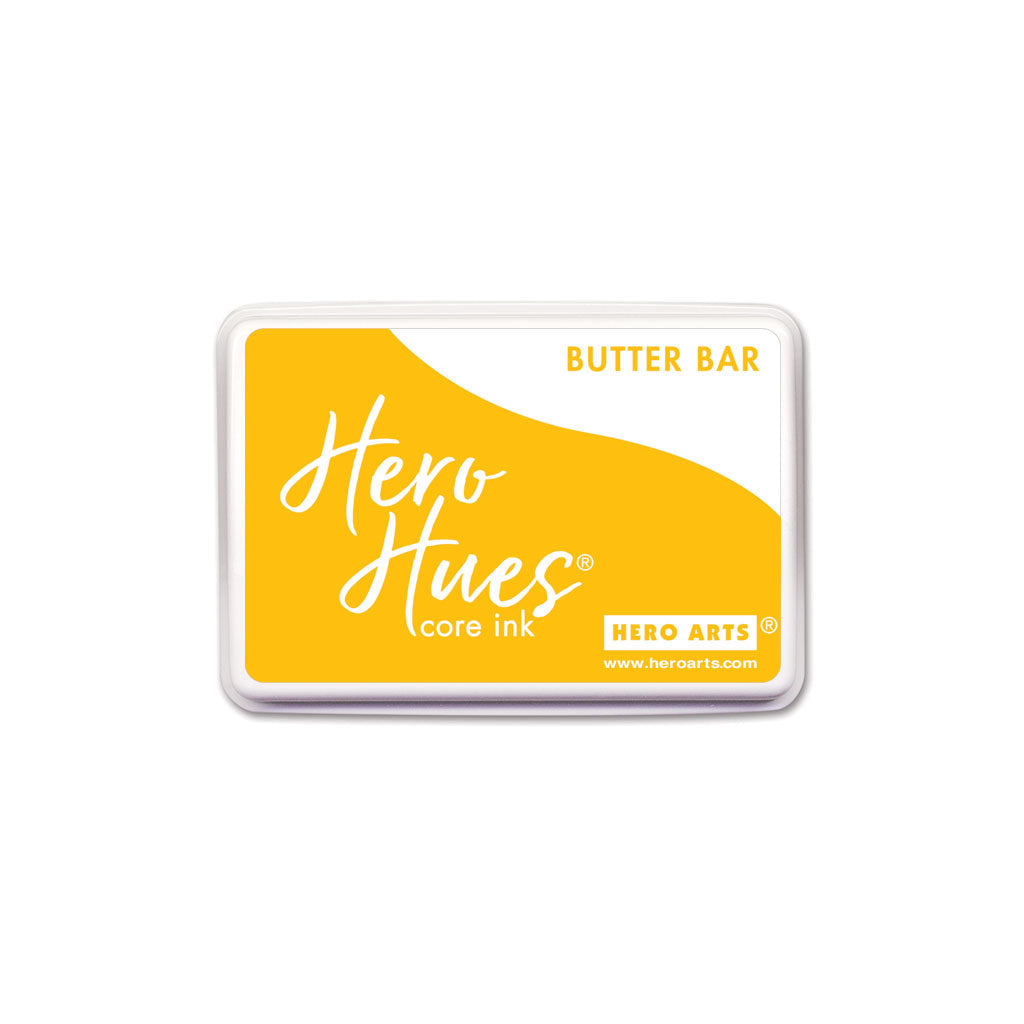
To create the Winding Road HeroScape I stamped the trees first on my 5.25" x 5" piece of white cardstock. I used Field Greens Core Ink for the base layer and Pitch Black Core Ink for the detail layer. The road was stamped in Wet Cement Core Ink and for the lines I used Butter Bar Core Ink. I stamped the trees a little too high so to finish out the road I just filled it in with marker. You gotta be adaptable sometimes :) Once the stamping was done I took the same blue inks and shaded it. Again I left the center lighter and the edges darker. I then lined up the companion die included in the Winding Road HeroScape Bundle and die cut the scene out. The 1/2" flap will still be connected on the right hand side. I trimmed the part that didn't cut with my scissors.
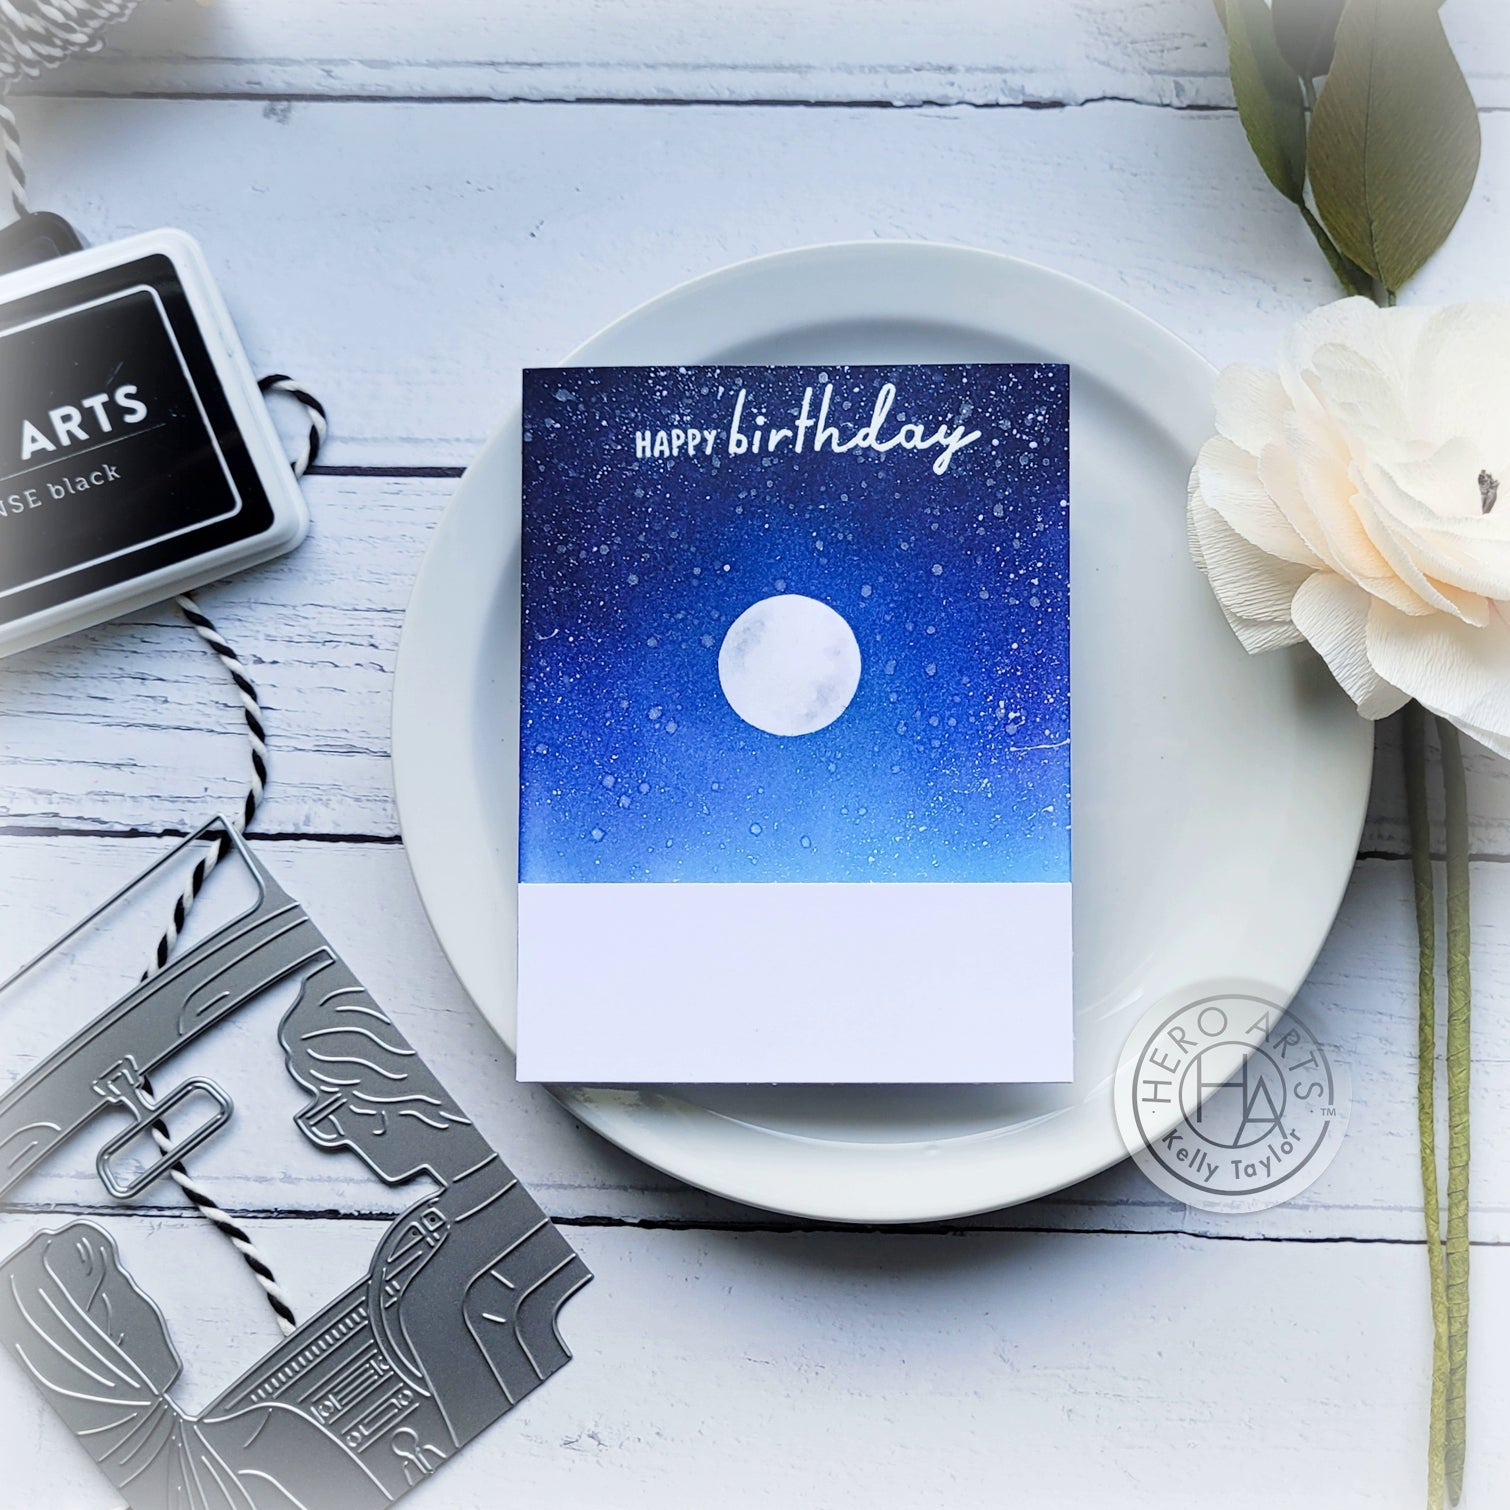
For my night sky I started by tracing the sun from the August 2022 My Monthly Hero Kit onto some masking paper before trimming it out. You could also use our Nesting Circle Infinity Dies to create a mask. Once this was in place I ink blended the sky before spattering on regular water, our White Iridescent Shimmer Mist , and white acrylic paint. In order for the water to have any effect you'll need to be using our Reactive Inks . Everything else will work for any of our inks. I removed the mask once it was all dry and added a bit of shading to the moon with my Copic markers. I cut a 2" x 4.25" piece of Dove White cardstock to give a place I can write my message without it being seen when the card is closed.

Once everything was completely dry I heat embossed both sentiments with White Embossing Powder . I assembled the card by only adding glue to the flaps and then wrapping them around the back side of the card. I first adhered the stamped scene to the night sky, making sure to line them up at the bottom. Last I adhered the die cut scene over top lining my flap up with the top of my card.
If you'd like to see the whole process I have a video over on my YouTube channel .
Thanks so much for joining me! I hope you're inspired to give this a try!

|




























































































2 comments
Wow these cards are very cool! That first one with the moon glow… WOW!
Creatively bee-utiful. Blues and lavender are fav colors of mine. Would like to see a picture of it opened showing all 3 parts of the threefold together. Rcvd my Aug subscription with some add-ons. I did not order the parts you wonderfully used but have them on my wish list.
Melissa
“Sunshine HoneyBee”