Sending Christmas Wishes - Hero Arts
Posted by Michelle Short on November 15, 2023

Sending Christmas Wishes

Hello there, Michelle here and today I have a card to share using the Peeking Owl Fancy Die that was part of the November 2023 My Monthly Hero Release. Although not strictly for the holidays/Christmas, I thought I would use the owl for a Christmas card today.
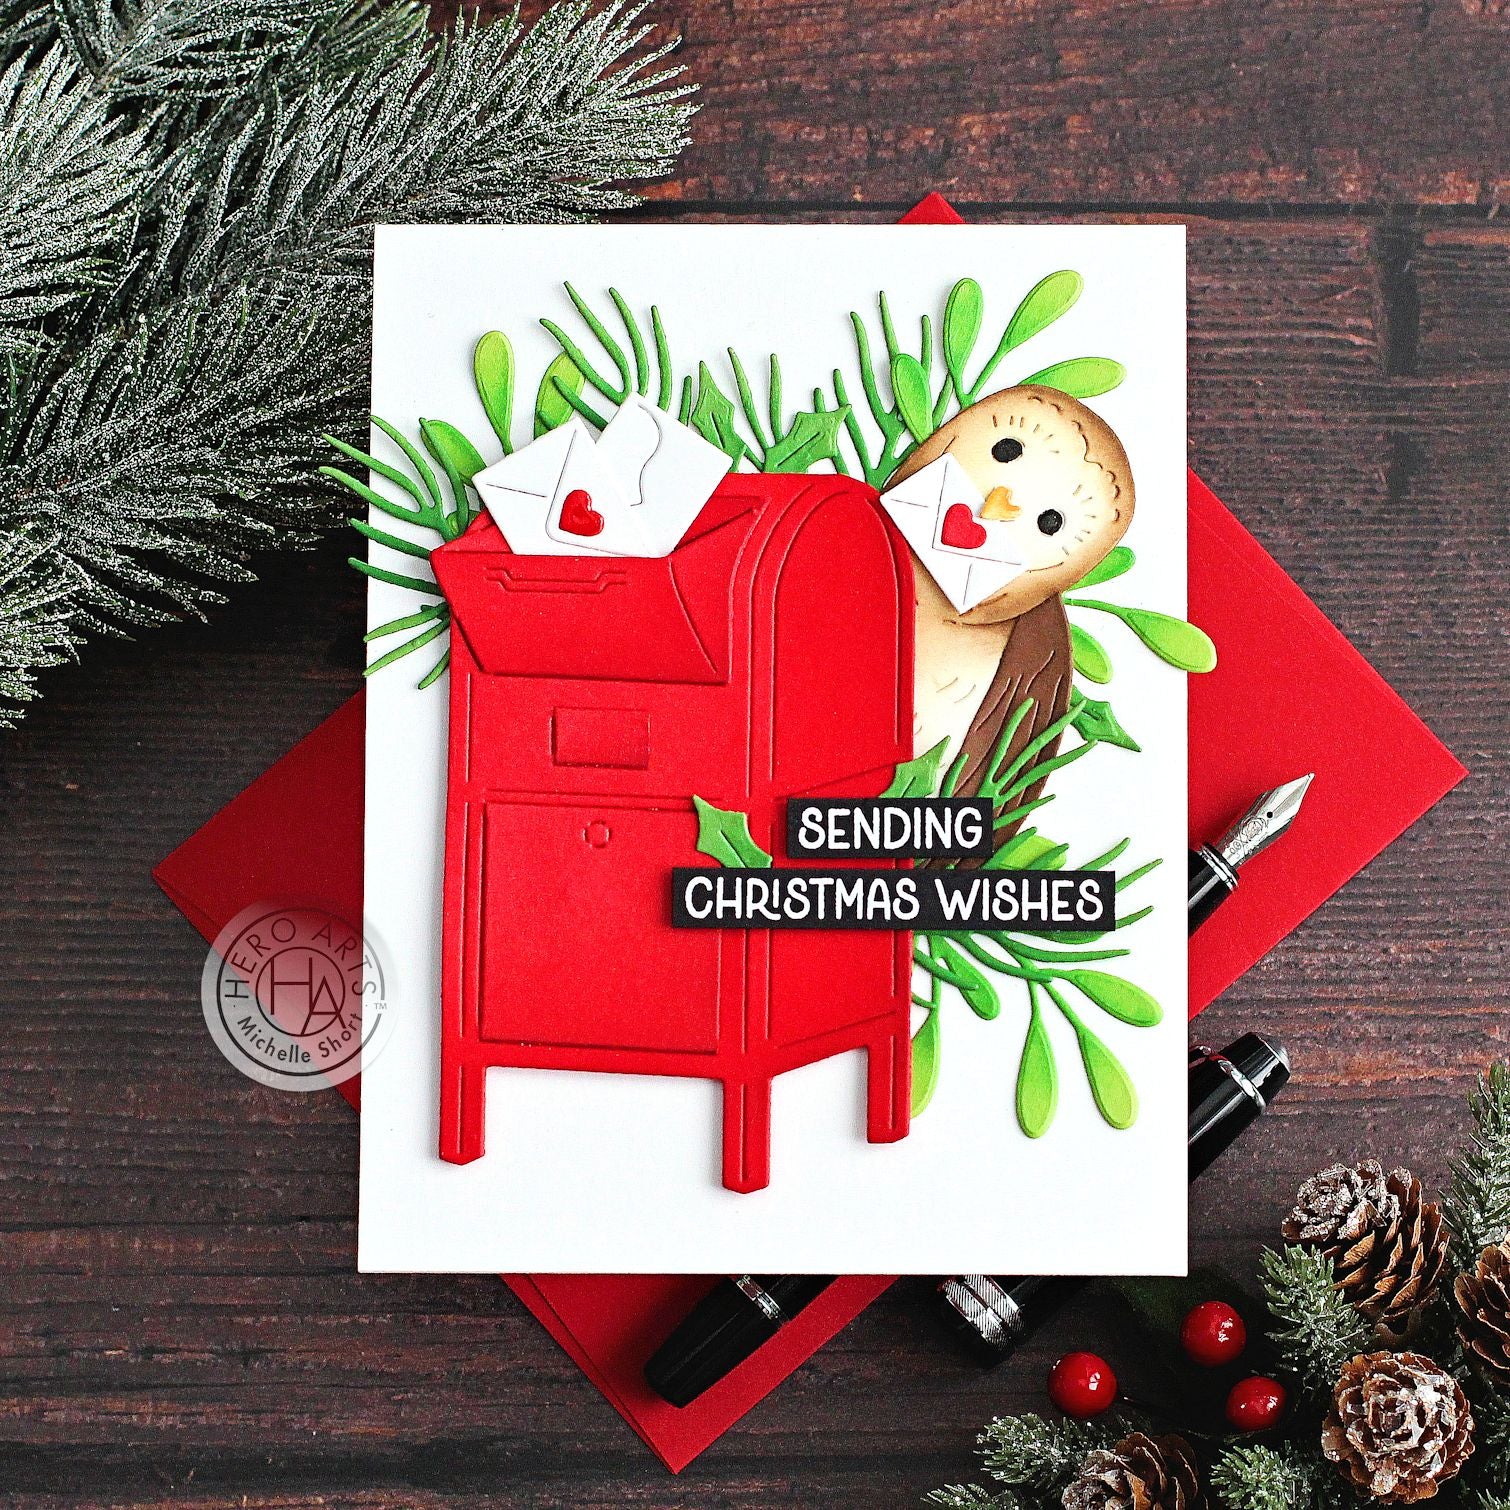
Peeking Owl Fancy Die by Michelle Short for Hero Arts

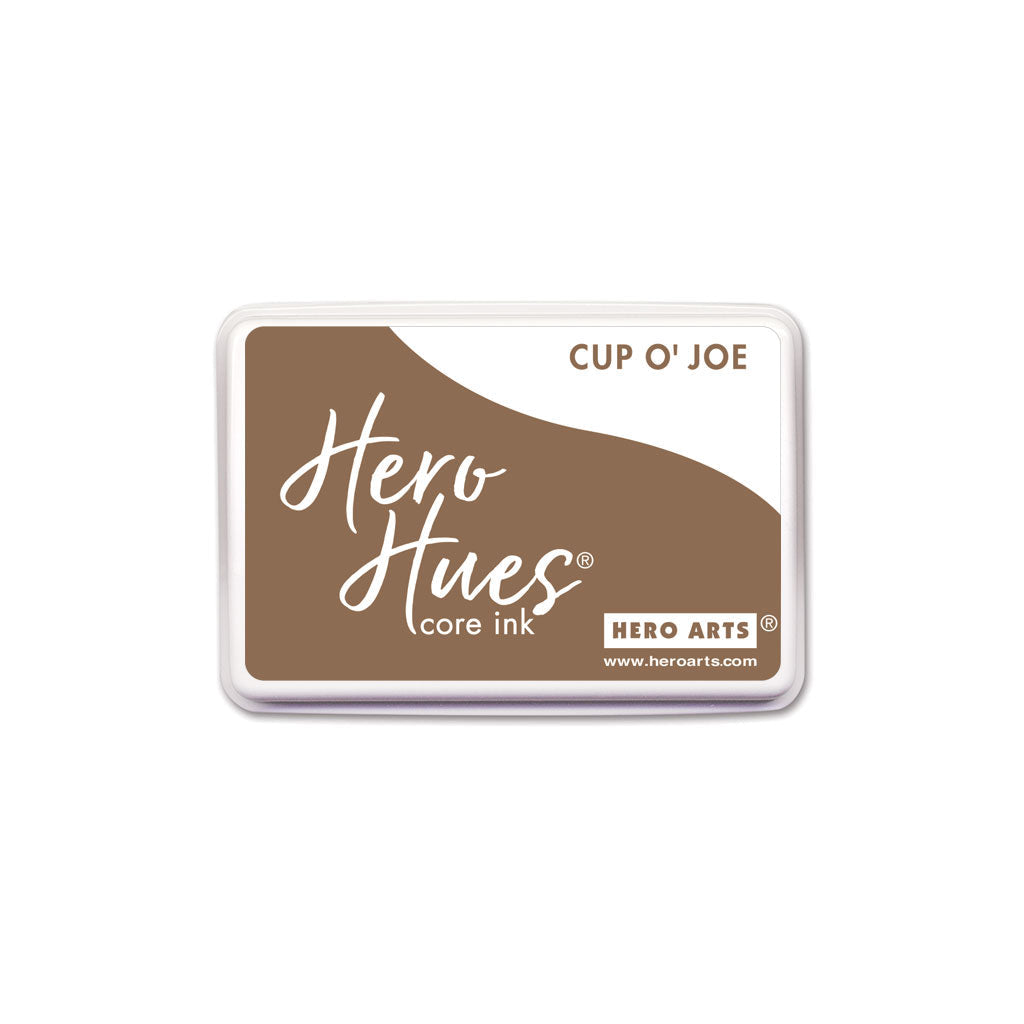
I started off by die cutting the Peeking Owl Fancy Die from Antique Ivory cardstock, as well as Cup O'Joe cardstock and Deluxe Smooth White cardstock. I added ink blending to the Ivory layer with Antique Ivory, Cup O'Joe and Espresso Core Inks using blending brushes.

I added Cup O'Joe and Espresso ink to the Cup O'Joe Cardstock layer (just the wing) and Fawn Core Ink for the white layer (just the beak). I fussy cut the wing and beak from the layers (easy to do as you can follow the cut marks) with scissors and adhered them to the Antique Ivory layer with Precision Glue. I coloured the eyes with a black fine liner pen.
Peeking Owl Fancy Die by Michelle Short for Hero Arts

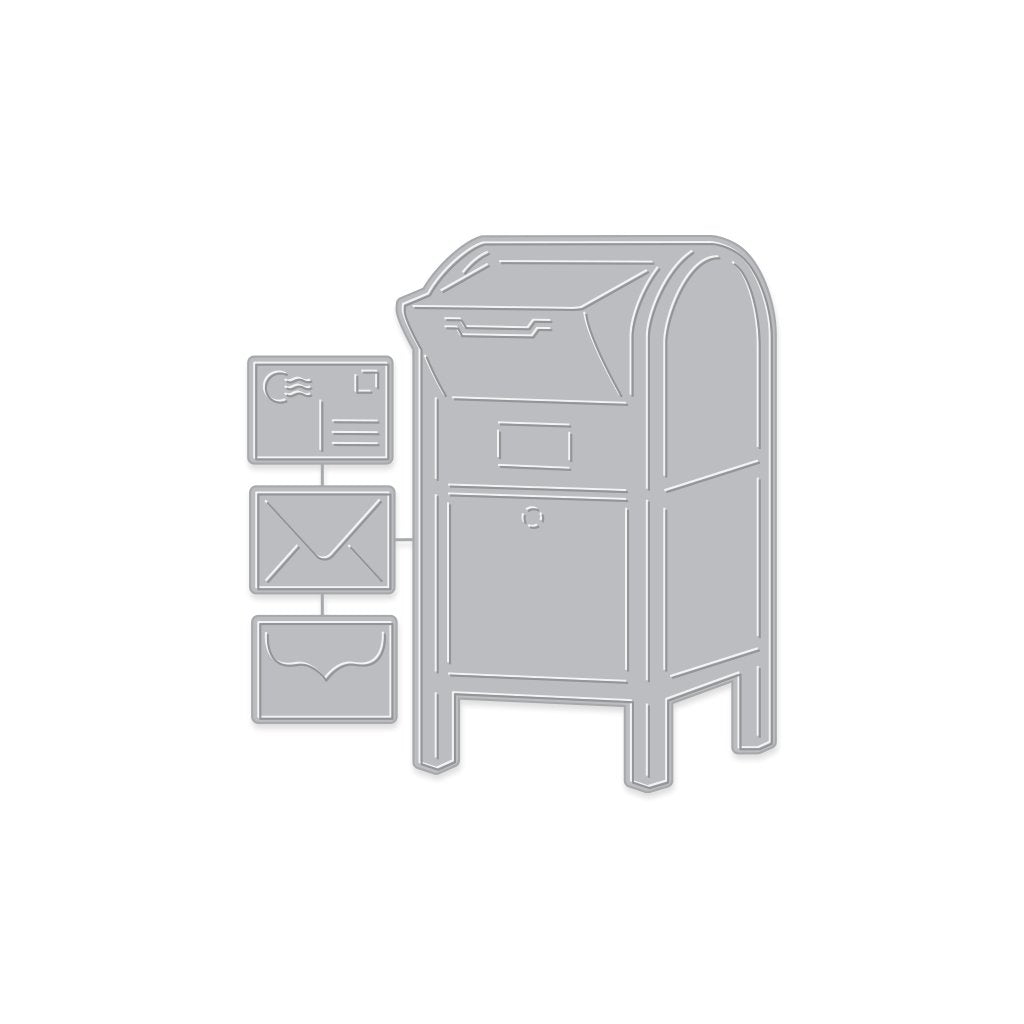
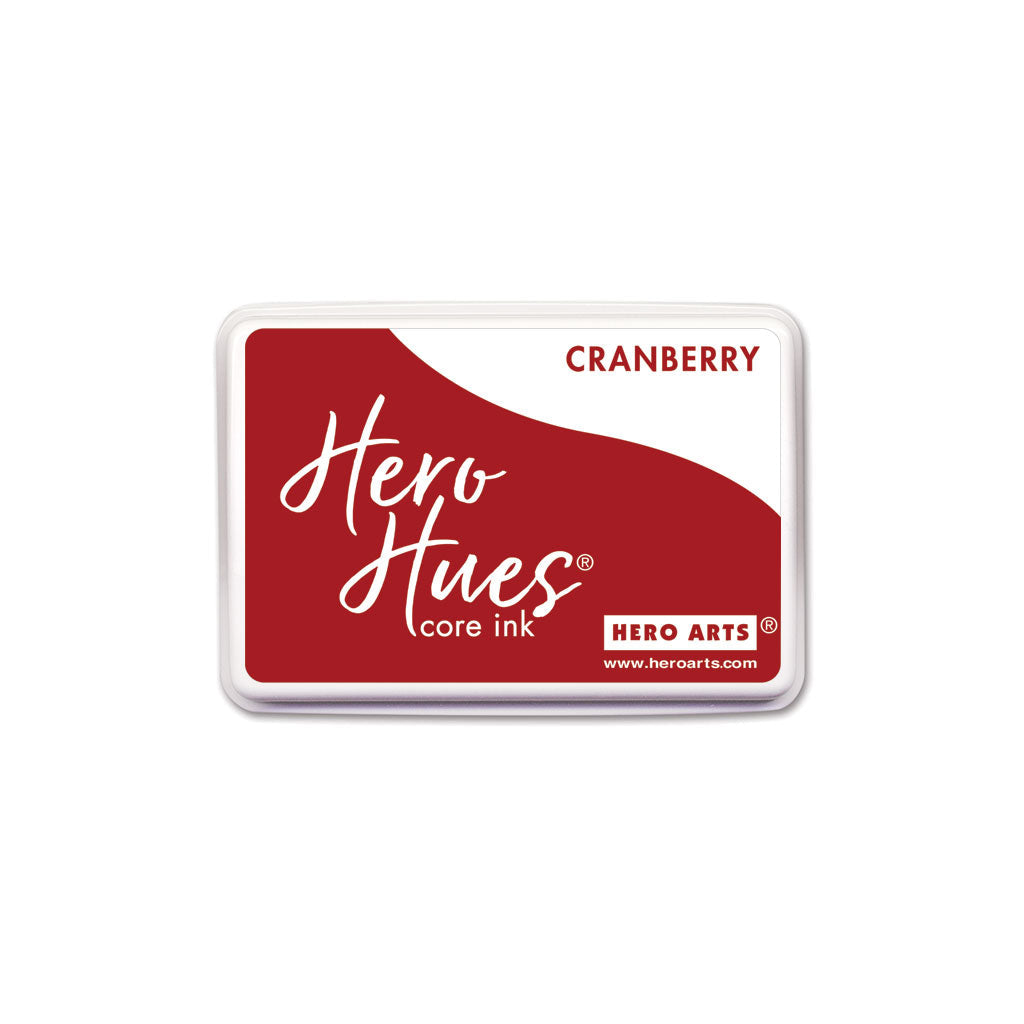
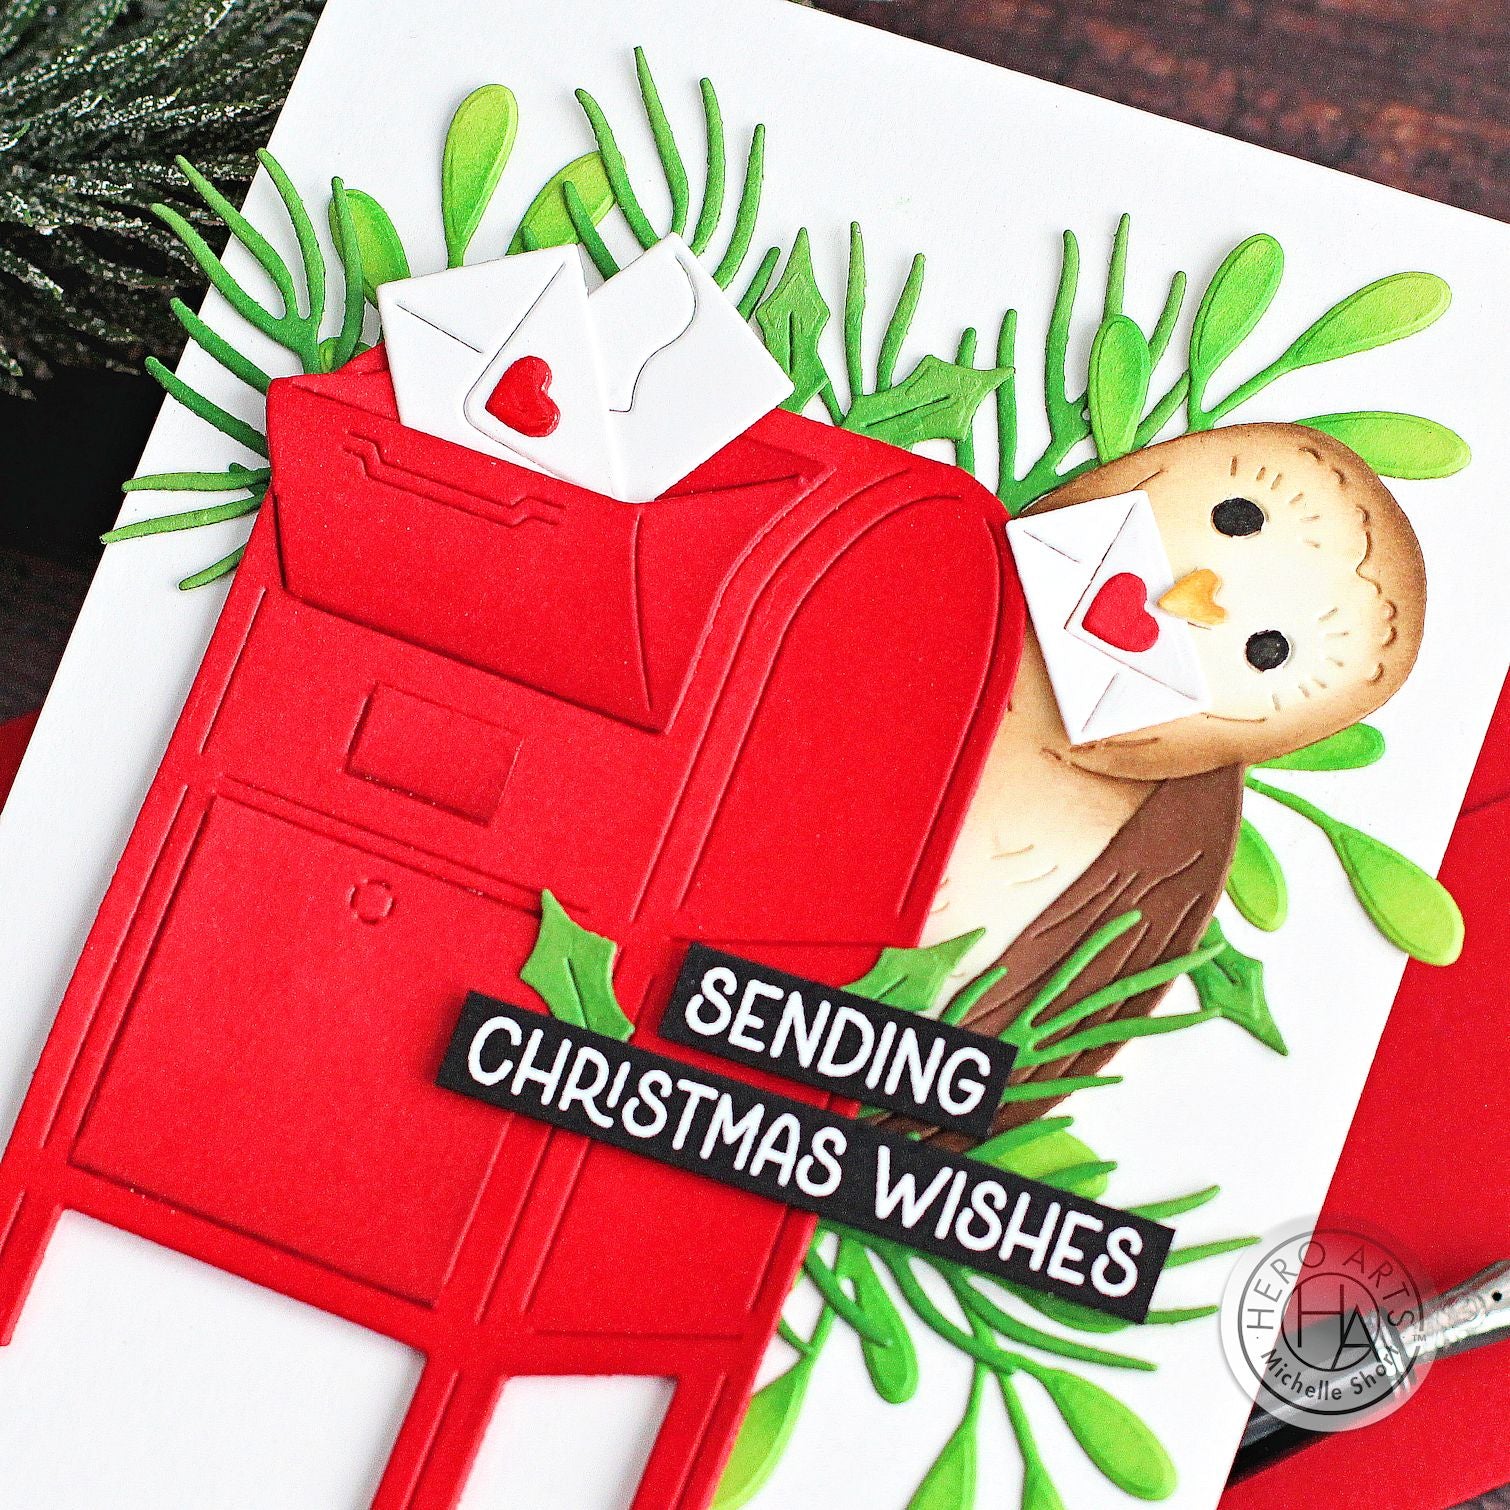
I die cut the US Mailbox Fancy Dies from Cherry Cardstock three times and again cut layers from them to add to the base layer for added dimension and interest. I added ink blending using Cherry, Crimson and Cranberry Core Inks. The envelopes from the Peeking Owl set, as well as the US Mailbox set, were die cut from Deluxe Smooth White cardstock.
Peeking Owl Fancy Die by Michelle Short for Hero Arts

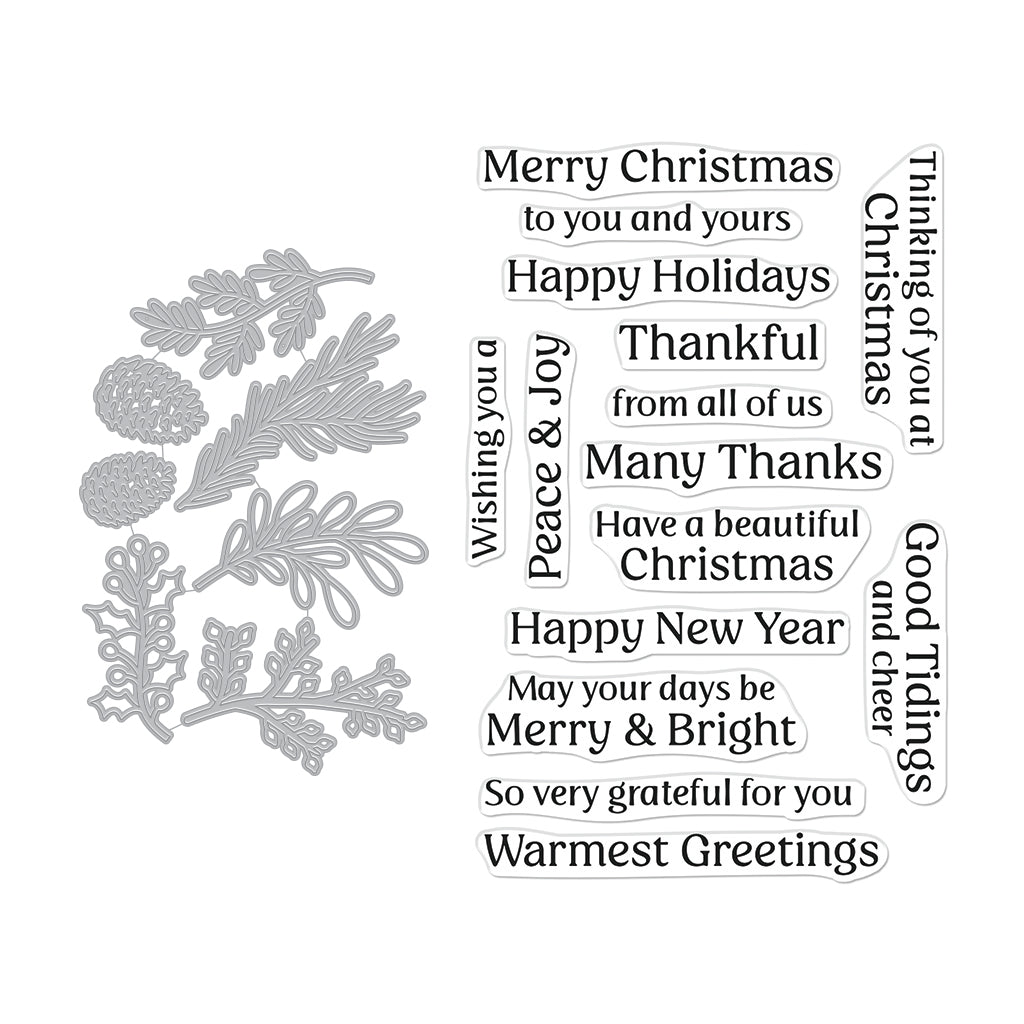
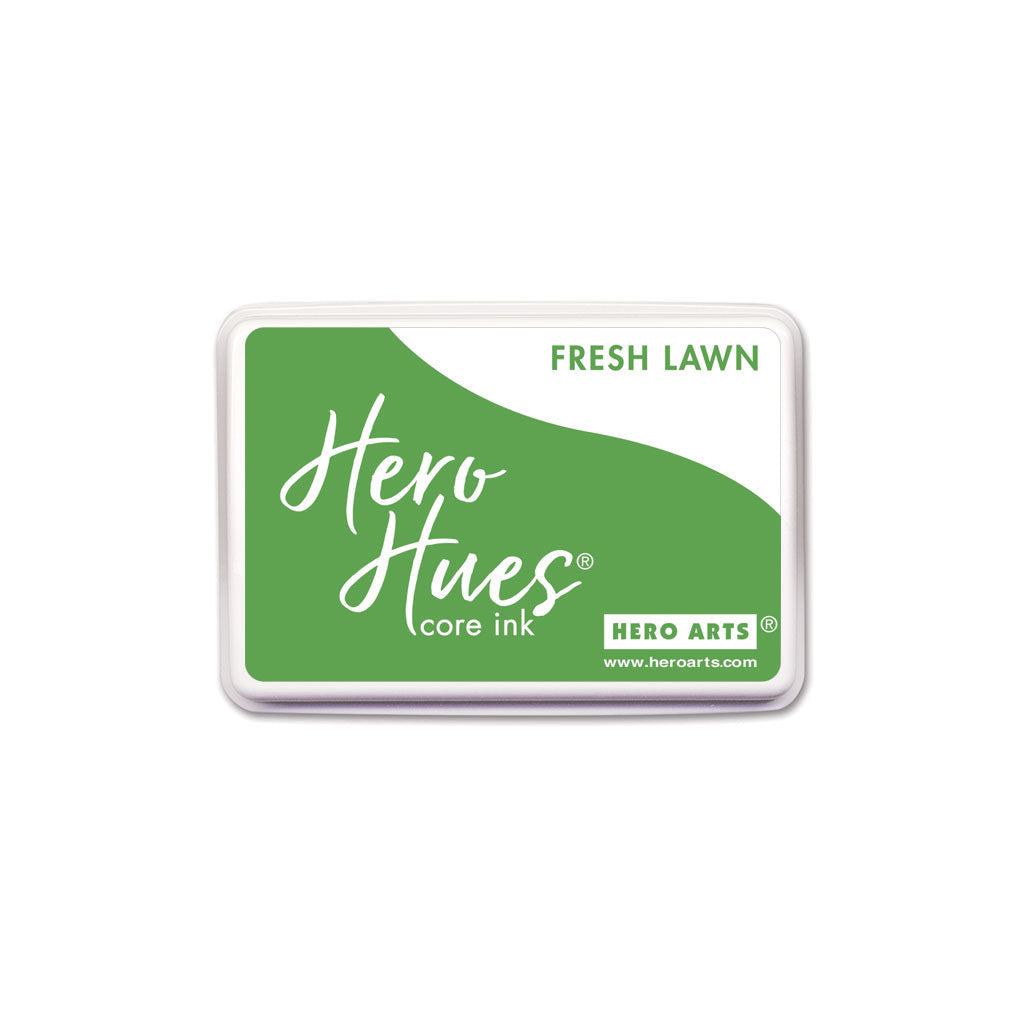
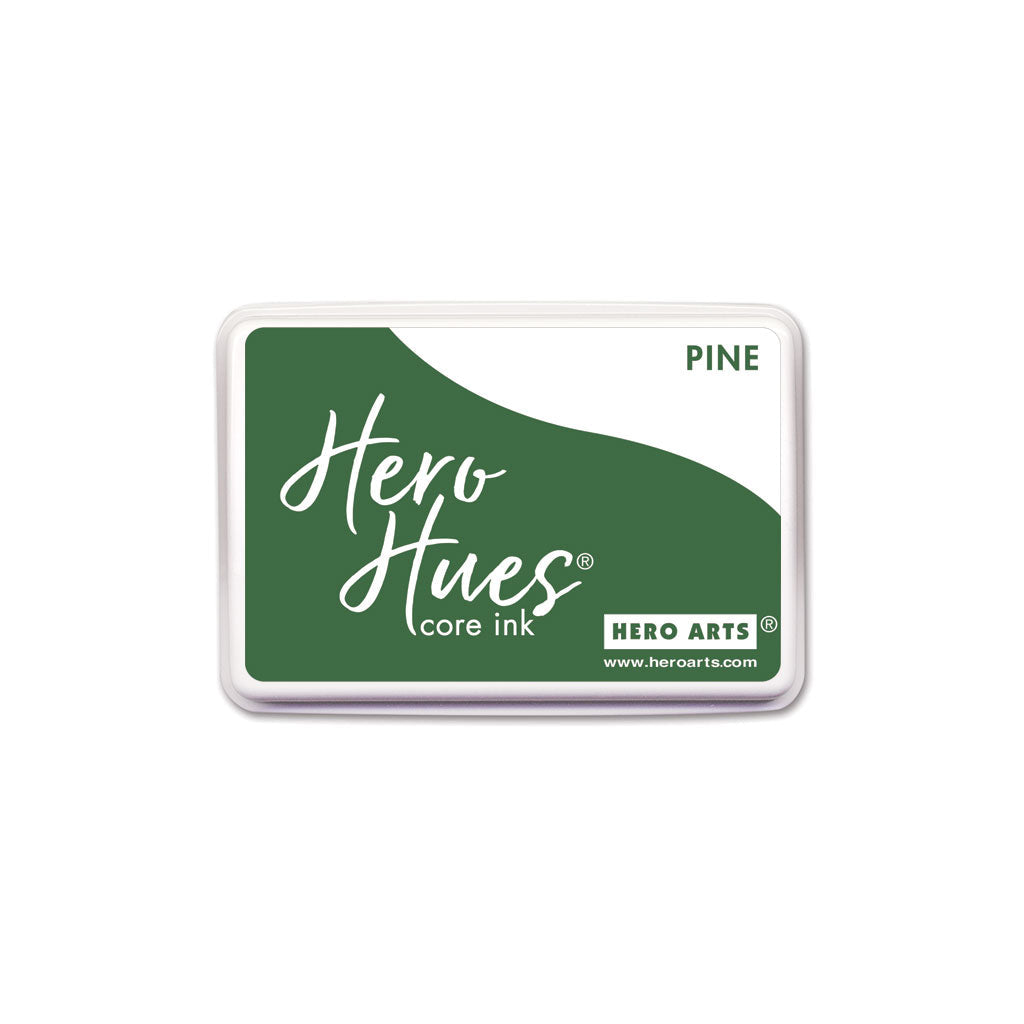
I die cut the foliage from Winter Foliage Stamp & Cut XL, as well as the holly from the Peeking Snowman Fancy Dies, from Kiwi and Meadow cardstock. I added ink blending to these with Fresh Lawn and Pine Core Inks. Last but not least for the die cutting, I die cut the smallest heart from the Nesting Hearts Infinity Dies from Cherry Cardstock and adhered them to the envelopes.

Peeking Owl Fancy Die by Michelle Short for Hero Arts

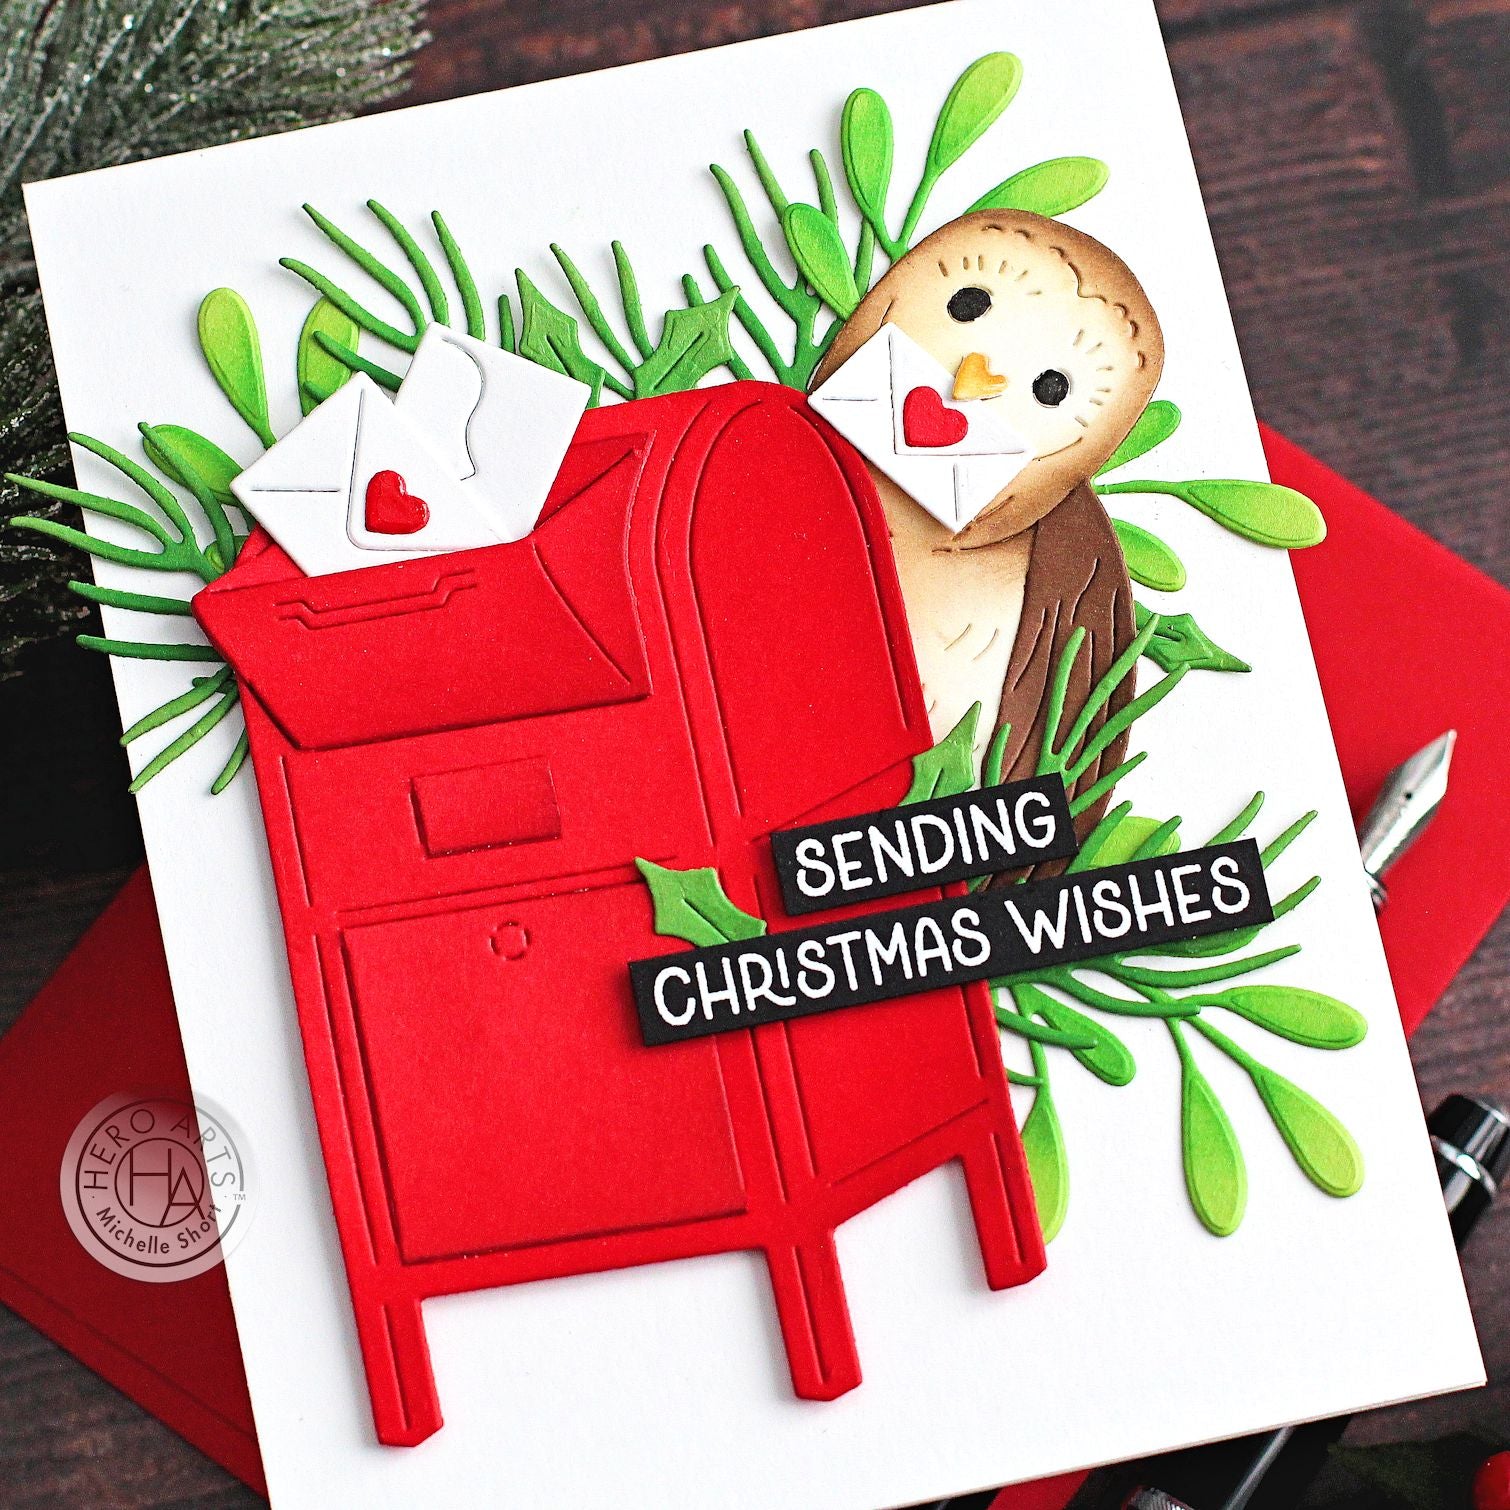
To assemble the card, I adhered the foliage first, using Precision Glue and Tweezers. I adhered the owl on top, followed by the mailbox with thin foam tape (just on the left hand side). I stamped the sentiments from Winter Town Cheer onto Pitch Black cardstock using Clear Embossing & Watermark Ink. I applied White Detail Embossing Powder and heat set.

They were cut into strips and adhered to the card with thin foam tape. To finish off, I added Crystal Clear Lacqeur Pen to the owl's beak and hearts on the envelopes.

I know that the sizing isn't quite right on the card, the owl looks giant! I still think it is cute though and I love that it looks like he is about to post a card in the mailbox! Thank you so much for stopping by today, I hope you have a wonderful day!

Click on products to shop:
DF164 Peeking Owl Fancy Dies (B) |...
HA ]
DI773 US Mailbox Fancy Dies (C) |...
HA ]
CM734 Winter Town Cheer | Hero Arts

HA ]
DC304 Winter Foliage Stamp & Cut XL |...
HA ]
DF143 Peeking Snowman Fancy Dies (C)...
HA ]
Nesting Hearts Dies | Hero Arts
HA ]
AF622 Cherry Core Ink | Hero Arts
HA ]
AF623 Crimson Core Ink | Hero Arts
HA ]
AF624 Cranberry Core Ink | Hero Arts

HA ]
AF665 Fresh Lawn Core Ink | Hero Arts
HA ]
AF668 Pine Core Ink | Hero Arts
HA ]
AF745 Cup O' Joe Core Ink | Hero Arts
HA ]
AF746 Espresso Core Ink | Hero Arts
HA ]
AF740 Antique Ivory Core Ink | Hero Arts
HA ]
AF419 Clear Embossing & Watermark Ink...
HA ]
PS303 Hero Hues Premium Cardstock...
HA ]
PS308 Hero Hues Premium Cardstock...
HA ]
PS328 Hero Hues Premium Cardstock...
HA ]
PS333 Hero Hues Premium Cardstock Cup...
HA ]
PS323 Hero Hues Premium Cardstock...
HA ]
PS782 Deluxe Smooth White Cardstock...
HA ]
PS324 Hero Hues Premium Cardstock...
HA ]
PW122 White Detail Embossing Powder |...
HA ]
MI004 Hero Tools Ink Blending Brush...
HA ]
HT204 Hero Tools Reverse Grip...
HA ]
NK350 Crystal Clear Lacquer Pen |...
HA ]
GW101 Precision Glue | Hero Arts
HA ]

1 comment

Great card! I love my mailbox die! Great to think about using it again!

Barbara-Jean Kubik,

Leave a comment

Please note, comments need to be approved before they are published.


  • Infinity Trees Christmas Card Tutorial with Stamping and Ink Blending

    BP-377

    Infinity Trees Christmas Card Tutorial with Stamping and Ink Blending

    Hey there, crafty friends! It's Marie again from Marie Nicole Designs. Are you ready for Christmas? I believe that it is never too early to begin your Christmas crafting. I try to make Christmas cards throughout the year so when December rolls around, and I’m already overwhelmed by all the events going on, I have a stash already made. Today, I’ll be sharing an easy Christmas...

  • Gift Boxes Christmas Card Tutorial with Gift Boxes and Bags Etched Dies

    BP-001

    Gift Boxes Christmas Card Tutorial with Gift Boxes and Bags Etched Dies

    Hello crafters! It’s Lisa Tilson here with you today to share a card using the Snowflake Kisses Collection by Lisa Horton. I am going to be doing a step-by-step photo tutorial showing you how to create a Christmas card using the Gift Boxes and Bags Etched Dies and I’m using a more unconventional colour palette to make it. Sometimes it’s fun to create with colours...

  • Debossed Snowflake Christmas Card Tutorial with Snowflake Background Etched Dies

    Categories:Die Cutting

    Debossed Snowflake Christmas Card Tutorial with Snowflake Background Etched Dies

    Hello there, Michelle Short here to share a step-by-step tutorial using the Snowflake Background Etched Dies from the Lisa Horton Snowflake Kisses Collection. The Snowflake Background Etched Dies are two layers which you can cut as a base layer and a top layer. For my card today, instead of having die cut layers, I thought that I would deboss the design. DEBOSSING THE DIE Place...