Sending Love - Change the Color of Your Glitter Paper - Hero Arts
Posted by Ilina Crouse on January 16, 2024

Sending Love - Change the Color of Your Glitter Paper

Hi everyone! Ilina here. Today I am sharing a fun card using the new Chandelier Fancy Die and the Ode To Andy Warhol Bold Prints stamp. I will also show you a way to change the color of your glitter paper!

To make the card start by die cutting the chandelier from White Glitter Paper and also an additional layer from Dove White cardstock (or any other white cardstock you have in your stash). Die cut an arch using the Arches Infinity Dies and Deluxe Smooth White cardstock.

I didn't want my chandelier to be white, and wanted to match my card. In order to change the color of your glitter paper die-cut, use a pink (or any other color of your liking) alcohol marker that matches either the Peony or Cotton Candy ink pads and color the white glitter chandelier die-cut. Once colored, adhere it on top of the white die-cut. This will add some more sturdiness to this delicate piece.

Adhere the chandelier to the arch panel. Using Intensified Black ink, stamp a sentiment from the Valentine Wreath stamp set. Set aside.

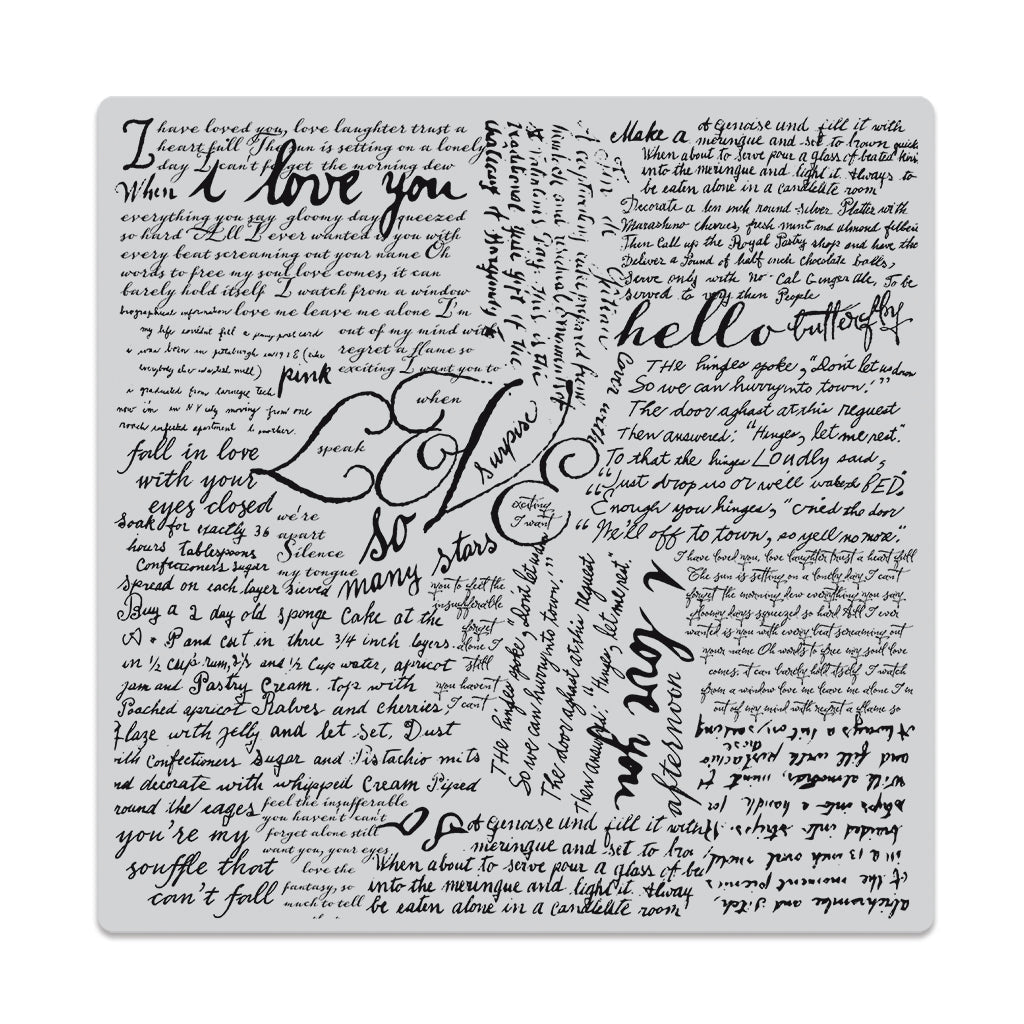
Cut an A2 (4 1/4" x 5 1/2") piece of Peony cardstock. Stamp the Ode to Andy Warhol Bold Prints stamp using Cotton Candy ink. Trim the piece to 4" x 5 1/4". Using foam tape, adhere the arch panel with the chandelier and adhere it to a Dove White Top Folded White Note Card. Your card is finished!

Thank you so much for stopping by. Hope you have an amazing day!

Click on products to shop:
DF191 Chandelier Fancy Die (D) | Hero...
HA ]
DF121 Arches Infinity Dies (H)
HA ]
CG933 Ode to Andy Warhol Script Bold...
HA ]
CM753 Valentine Wreath | Hero Arts
HA ]
AF435 Intens-ified Black Ink Pad -...
HA ]
AF601 Cotton Candy Core Ink | Hero Arts
HA ]
PS777 Glitter Paper Basics | Hero Arts
HA ]
PS300 Hero Hues Premium Cardstock Peony
HA ]
PS325 Hero Hues Dove white | Hero Arts

HA ]
PS782 Deluxe Smooth White Cardstock...
HA ]
PS400 Hero Hues Dove White Top Folded...
HA ]

1 comment

Coloring glitter paper with alcohol markers sounds like a good idea, but I think with time, it will destroy Copic marker nibs. Very pretty card!

Susan Lang,

Leave a comment

Please note, comments need to be approved before they are published.


  • Layered Snowflakes Christmas Card Tutorial with Hot Foil Sentiments

    BP-377

    Layered Snowflakes Christmas Card Tutorial with Hot Foil Sentiments

    1 comment

    Hi, crafty friends! Lea Lawson here with you today, creating a card featuring the beautiful new Layered Snowflakes die set. I’m sharing my step-by-step process in easy to follow photos and instructions! Step by Step Instructions: [gallery type="rectangular" columns="2" link="file" size="large" ids="lealawson-layeredsnowflake-step-1.webp,lealawson-layeredsnowflake-step-2.webp"] To start, turn on your Glimmer Hot Foil System, then let it heat up. Once the green indicator light notifies that the platform...

  • Infinity Trees Christmas Card Tutorial with Stamping and Ink Blending

    BP-377

    Infinity Trees Christmas Card Tutorial with Stamping and Ink Blending

    Hey there, crafty friends! It's Marie again from Marie Nicole Designs. Are you ready for Christmas? I believe that it is never too early to begin your Christmas crafting. I try to make Christmas cards throughout the year so when December rolls around, and I’m already overwhelmed by all the events going on, I have a stash already made. Today, I’ll be sharing an easy Christmas...

  • Gift Boxes Christmas Card Tutorial with Gift Boxes and Bags Etched Dies

    BP-001

    Gift Boxes Christmas Card Tutorial with Gift Boxes and Bags Etched Dies

    Hello crafters! It’s Lisa Tilson here with you today to share a card using the Snowflake Kisses Collection by Lisa Horton. I am going to be doing a step-by-step photo tutorial showing you how to create a Christmas card using the Gift Boxes and Bags Etched Dies and I’m using a more unconventional colour palette to make it. Sometimes it’s fun to create with colours...