

Posted by Maria Willis
on May 19, 2022

Hello everyone! It's Maria here today and I hope you were as totally blown away by yesterday's Mixed Media Catalog release as I was. Today I'll be sharing a mixed media card that uses some of the new stamps along with some of Hero's fabulous mediums.

I started out by making DIY Liquid Watercolor Sprays. This is so easy to do and is very inexpensive, especially if you already have liquid watercolors in your stash. I added about one inch of water to each of two water mist bottles. Then I added a few drops of Dandelion Liquid Watercolor to one bottle and few drops of Pink to the other. Add enough color to create the color saturation that you desire, shake it up, and you're ready to spray on your color. Easy!
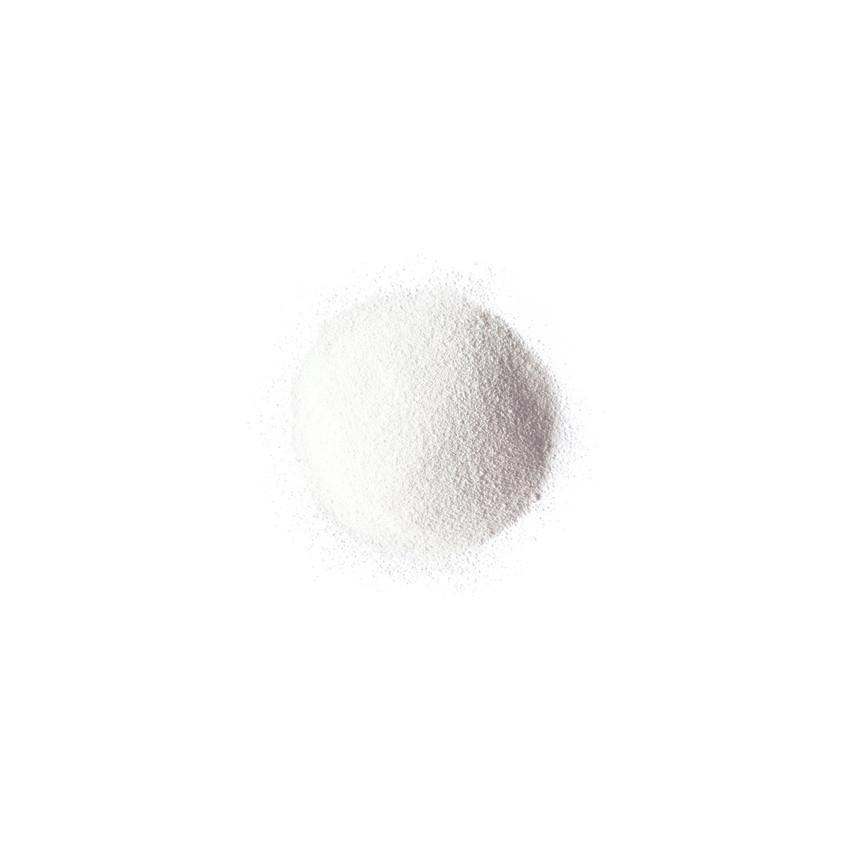
I sprayed the Dandelion and Pink Liquid Watercolor sprays onto an A2 sized piece of Luxe Watercolor cardstock and let the colors bleed together in the middle. After it was dry I taco stamped (fold your Bold Prints stamp in half like a taco) Clear Embossing & Watermark Ink randomly onto the background using the new Abstract Ceiling Bold Prints stamp. I covered the ink in White Puff Embossing Powder and heat set it. Next, I splattered both white and gold Glimmer Metallic Ink over the background and set it aside to dry.

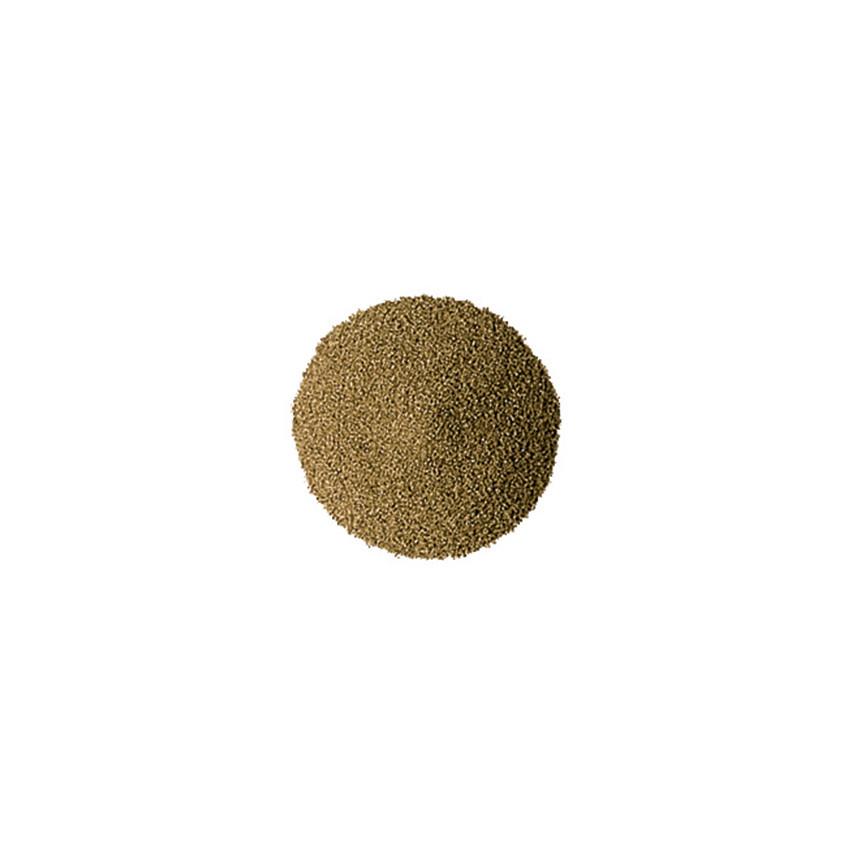
Next, I worked on the pieces to create a focal point for my card. I stamped the large butterfly from Critter Silhouettes in Clear Embossing & Watermark Ink onto Mist cardstock, then heat embossed it in Brass Embossing Powder. I cut it out and set it aside. Next, I stamped the "Dream" sentiment from Art Journal Messages onto Classic Vellum Layering Paper. I stamped in Onyx pigment ink and heat embossed in clear. I cut this vellum piece down to 0.5" x 4.25" and made sure that "dream" was oriented at the right side of the strip.
Next, I cut a piece of Woodgrain Vellum sized at 1.5" x 4.25" and adhered it to the watercolored background using tape runner. I layered the vellum sentiment strip on top of the woodgrain vellum and adhered that with tape runner as well. To finish off the focal point I adhered the brass butterfly using foam adhesive just to the left of the sentiment. The final touch was to add some iridescent sequins from the Icicles Sequins Mix. I added my finished card front to a card base and that was it.

That's it for today and I hope you all have an amazing day with lots of time to make a big, crafty mess!

|


























































































4 comments
I love the simplicity and soft colors of your card. The colors remind me of a frozen treat. Thanks for the tips on how to use the HA’s watercolor.
fabulous card Maria
Nice background for the layered Butterfly & sentiment.
Melissa
“Sunshine HoneyBee”
Your card is beautiful. I like the Dandelion and Pink combination with your “taco” stamping.