

Posted by Michelle Short
on March 07, 2024

Hello there, Michelle here and today I have a card to share using the new Ramen stamp set that was released as part of the My Monthly Hero March 2024 release.

I started off my card by stamping the bowl of ramen and the sentiment onto Deluxe Smooth White cardstock using Intens-ified Black ink. I coloured the ramen bowl using Copic markers. I added a little extra detail to the chopsticks with a black fineliner pen, so that I could have a red stripe on them.
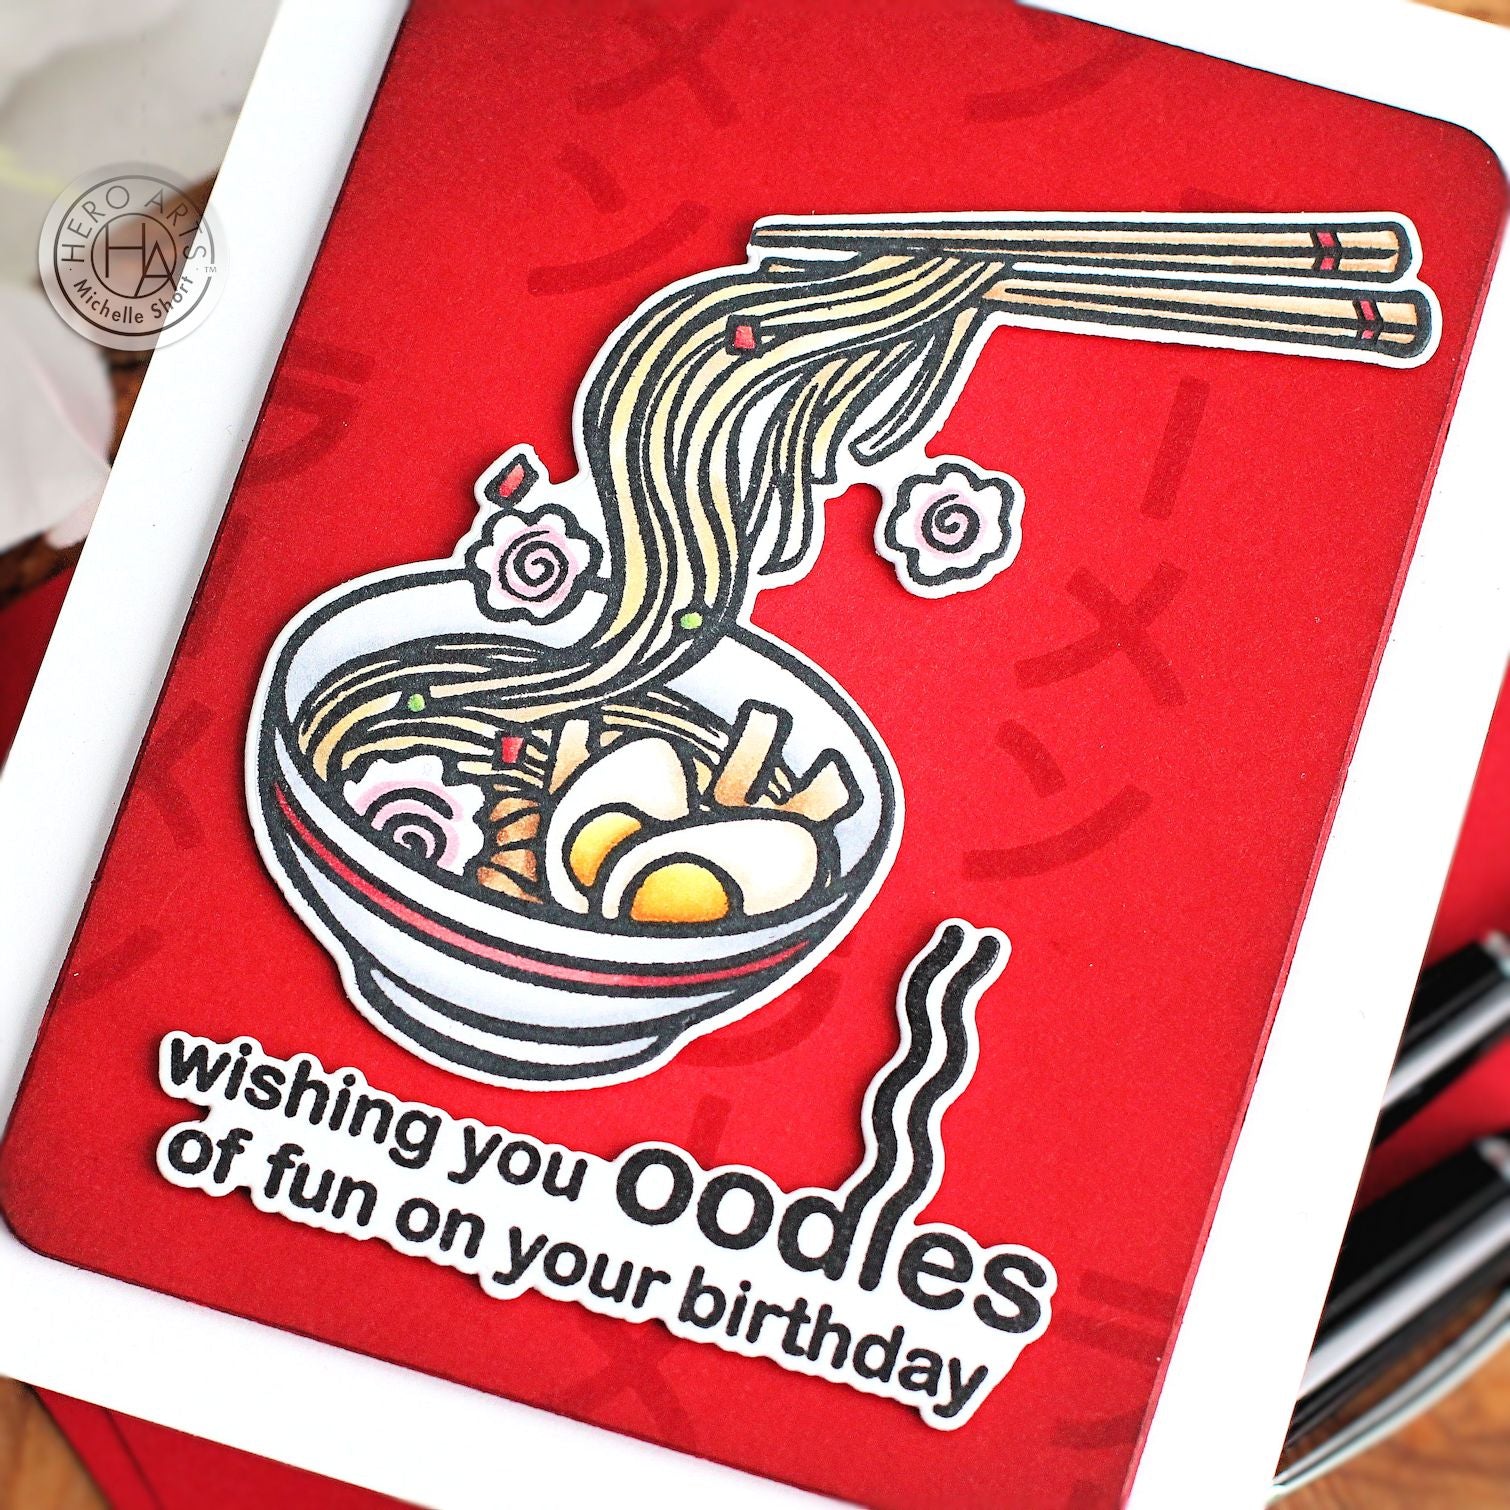
The image and sentiment were then die cut out using the coordinating Frame Cuts and set aside while I worked on the background. I die cut a panel of Cherry cardstock using the Rounded Rectangle Infinity Dies. Using Blending Brushes, I blended Cherry, Cranberry and Pitch Black Core Inks around the edges.
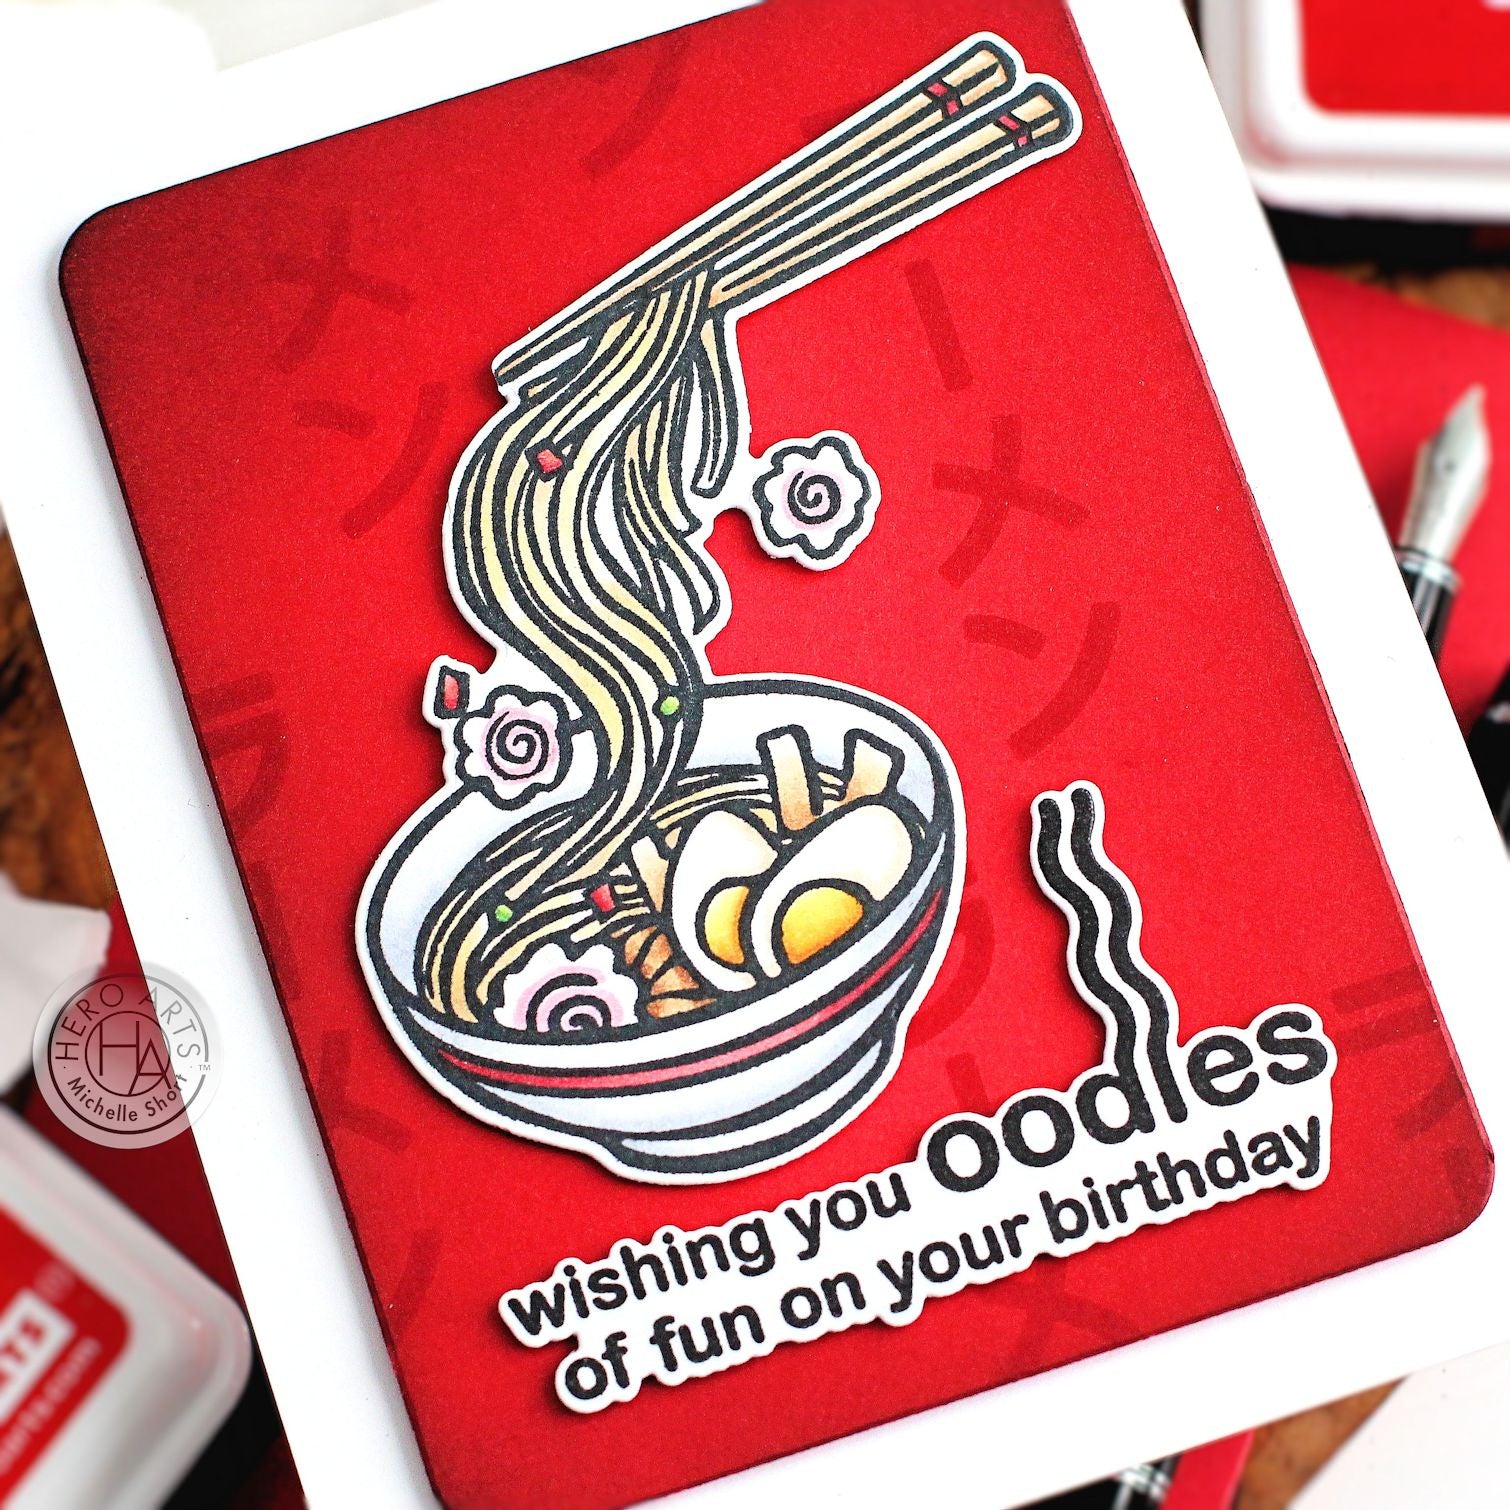
I then took the 'ramen' word from the set and stamped it multiple times on top using Cranberry Core Ink. This is a great way to add subtle detail to a background. It does not distract from the focal point, but still adds that something extra to the card.
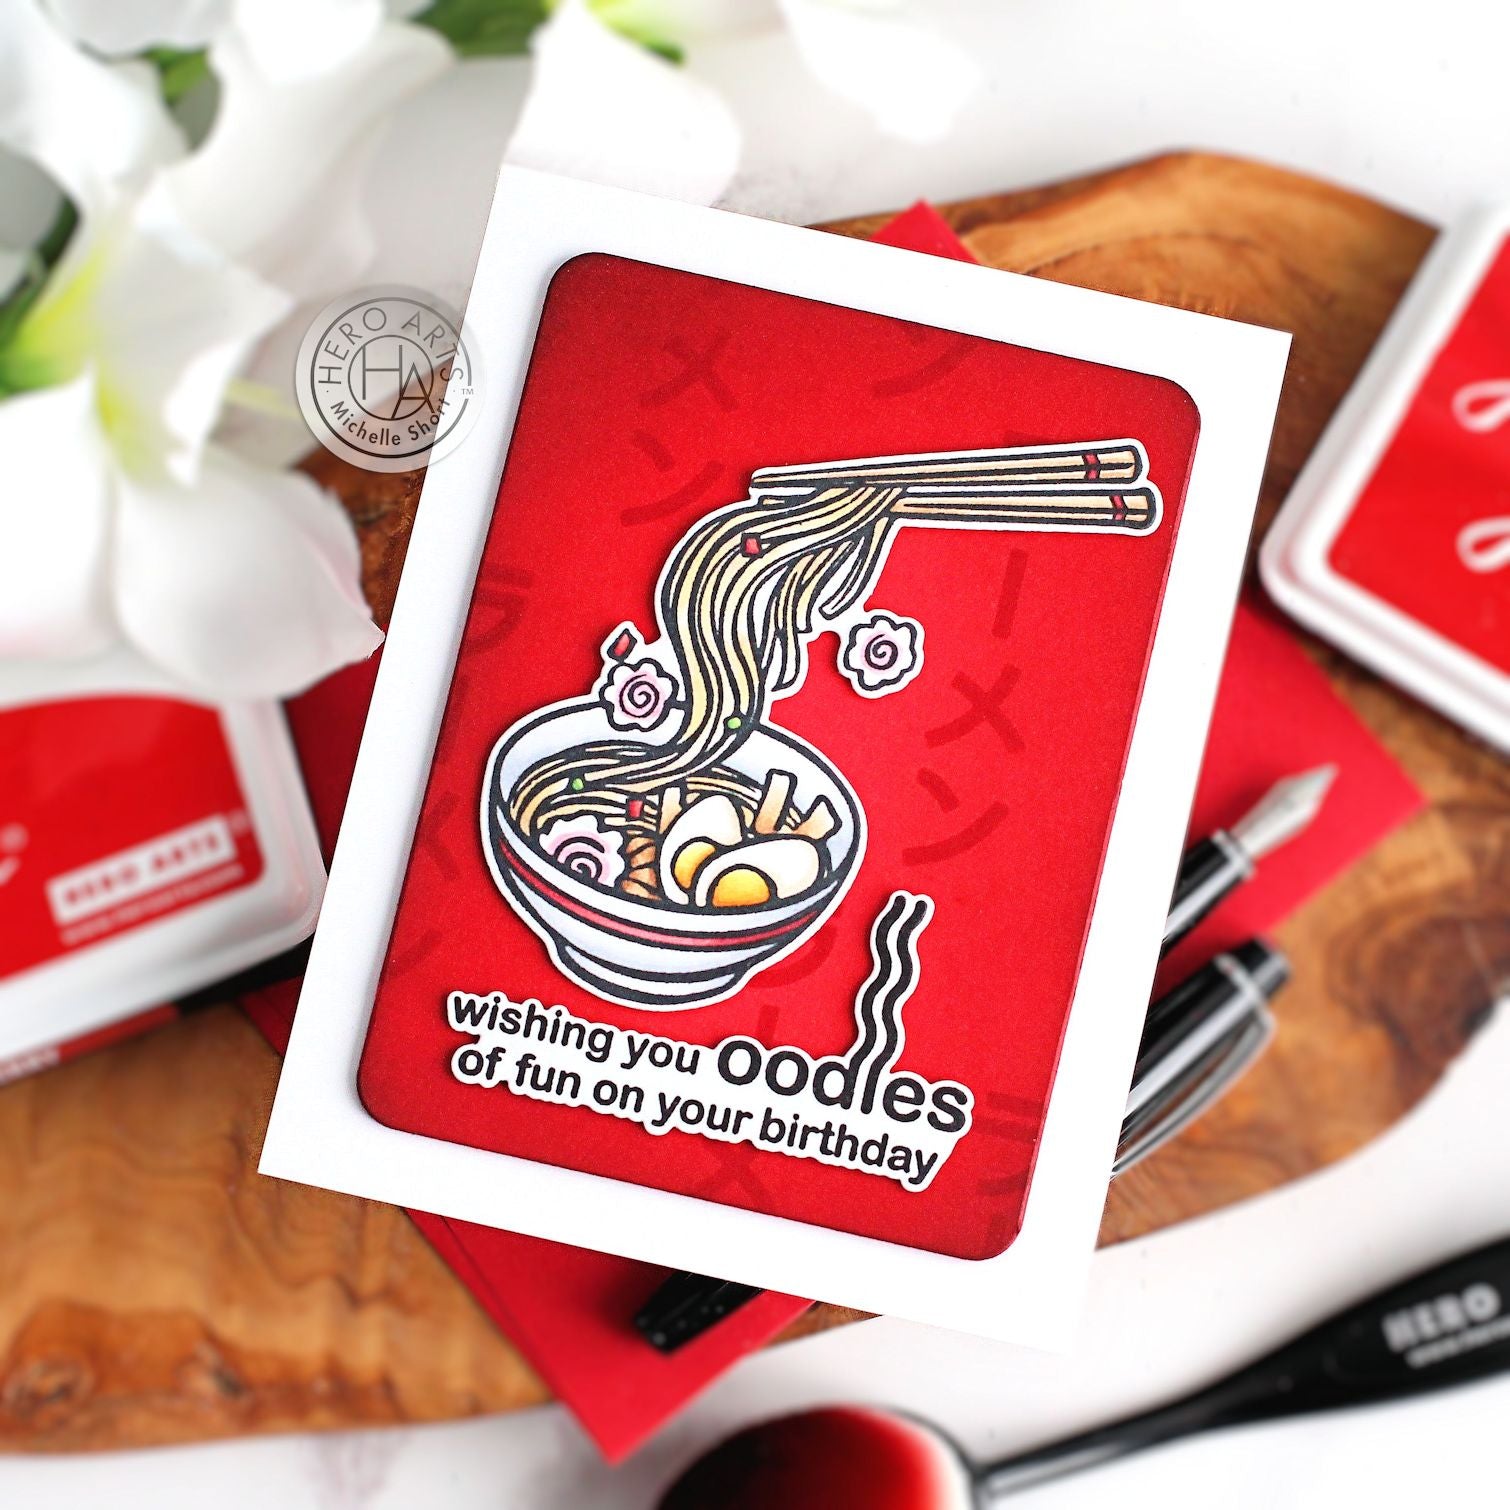
To finish, I adhered the background piece to an A2 sized white card base with thin foam tape, followed by the ramen bowl and sentiment.
If you haven't already, I hope I have inspired you to try tone-on-tone stamping. Thank you so much for stopping by today, I hope you have a wonderful day!























































































3 comments
Thank you very much for the inspiration!! When I see a blank colored background I always jump to my embossing folders and forget all about stamping something on it to go with the image.
I have now ordered the March Kit!!
Adorable card. Thank you!
I think this card is so classic with its red and black colours. I must get this image.