

Posted by Mindy Eggen
on July 19, 2022

Hello Hero friends! This is Mindy with you today to share inspiration using the new Monstera stamp set. Let's start with some ink blending, shall we?

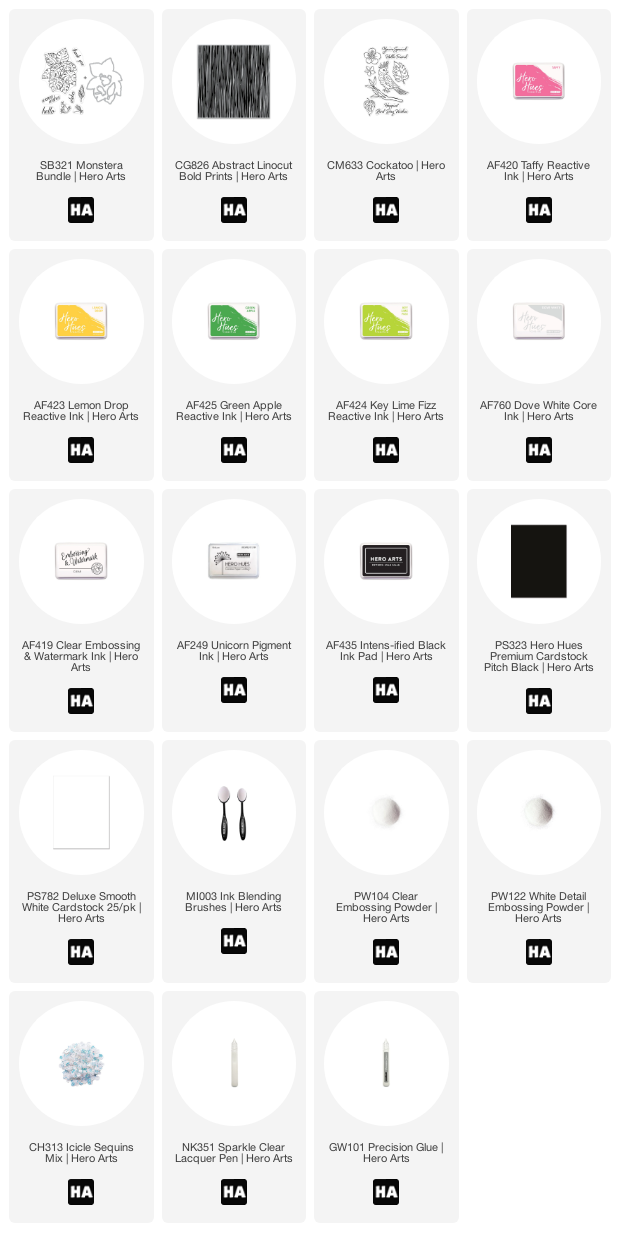
Using Deluxe White cardstock, I ink blended Taffy and Lemon Drop Reactive inks using blending brushes to get tropical vibe. By overlapping the two colors, I get a fabulous shade of orange.
To add subtle interest without overpowering the card, I stamped the Abstract Linocut Bold Prints background stamp using Dove White Core ink.

Next, I stamped the Monstera image onto Deluxe White cardstock with clear embossing ink. Then I heat embossed with clear embossing powder to trap the white of the cardstock underneath.
I'm going to ink blend on Key Lime Fizz and Green Apple Reactive inks, then wipe away the excess ink that the heat embossing resisted.

I also stamped out the floral and frog image using Intens-ified Black ink and colored with Copic markers. I used the coordinating dies to cut out all of my images.
Since everything I created up to this point is pretty bright and colorful, I decided my sentiment needed to pop out a little. I stamped the "Hello Friend" sentiment from the Cockatoo set onto Pitch Black cardstock with Unicorn ink nd heat embossed with white embossing powder, then used my scissors to fussy cut it out.

Now that all of my components are ready, I can start assembling my card, starting with a white A2 size card base created from Deluxe White cardstock. My ink blended panel is trimmed down to 4" x 5 1/4" and added to the card base, leaving a nice, small, white border.
I attached my Monstera leaves and flower using a tape runner and foam square to pop up the frog. I also used foam squares to pop the sentiment up off the background.
My finishing touches are using a few sequins from the Icicle Mix added with Precison Glue. I also added drops of Sparkle Clear Lacquer to the centers of the sequins for sparkle.
Thanks so much for stopping by today!
























































































1 comment
Beautiful card