

Posted by Daniel West
on April 14, 2022

Hey there! Daniel, here, with a simple stenciled background to help bring attention to the focal point of your project. The Flower Circle Stencil features a ring of flowers around an empty center. This design leaves a great place to add a sentiment as I have done on my card today.

To begin, I sprayed my stencil with some Pixie Spray and let it sit for a bit. Then, I spent three hours playing with it. I created other backgrounds first and set them aside for another day. Finally, I decided on a design, inspired by the brand new daffodils sprouting up in my garden. I planted them last fall and they are really shining bright.
I took out some Emerald Green and Lemon Drop Inks and couple of Hero Arts Blending Brushes and stenciled in the flower circle and stems. I added the green first and stopped about half-way through to the center. Then, I added the yellow ink, blending over the green a little.
Next, I trimmed down the panel so that the white center would land in the top half of the card. The trimmed down panel measures 3.75 x 5".
After that, I die cut the sentiment from the Thinking of You Stamp & Cut set out of Dove White cardstock three times. Then, I stacked them all together with Precision Glue and adhered them to the front of the stenciled panel.
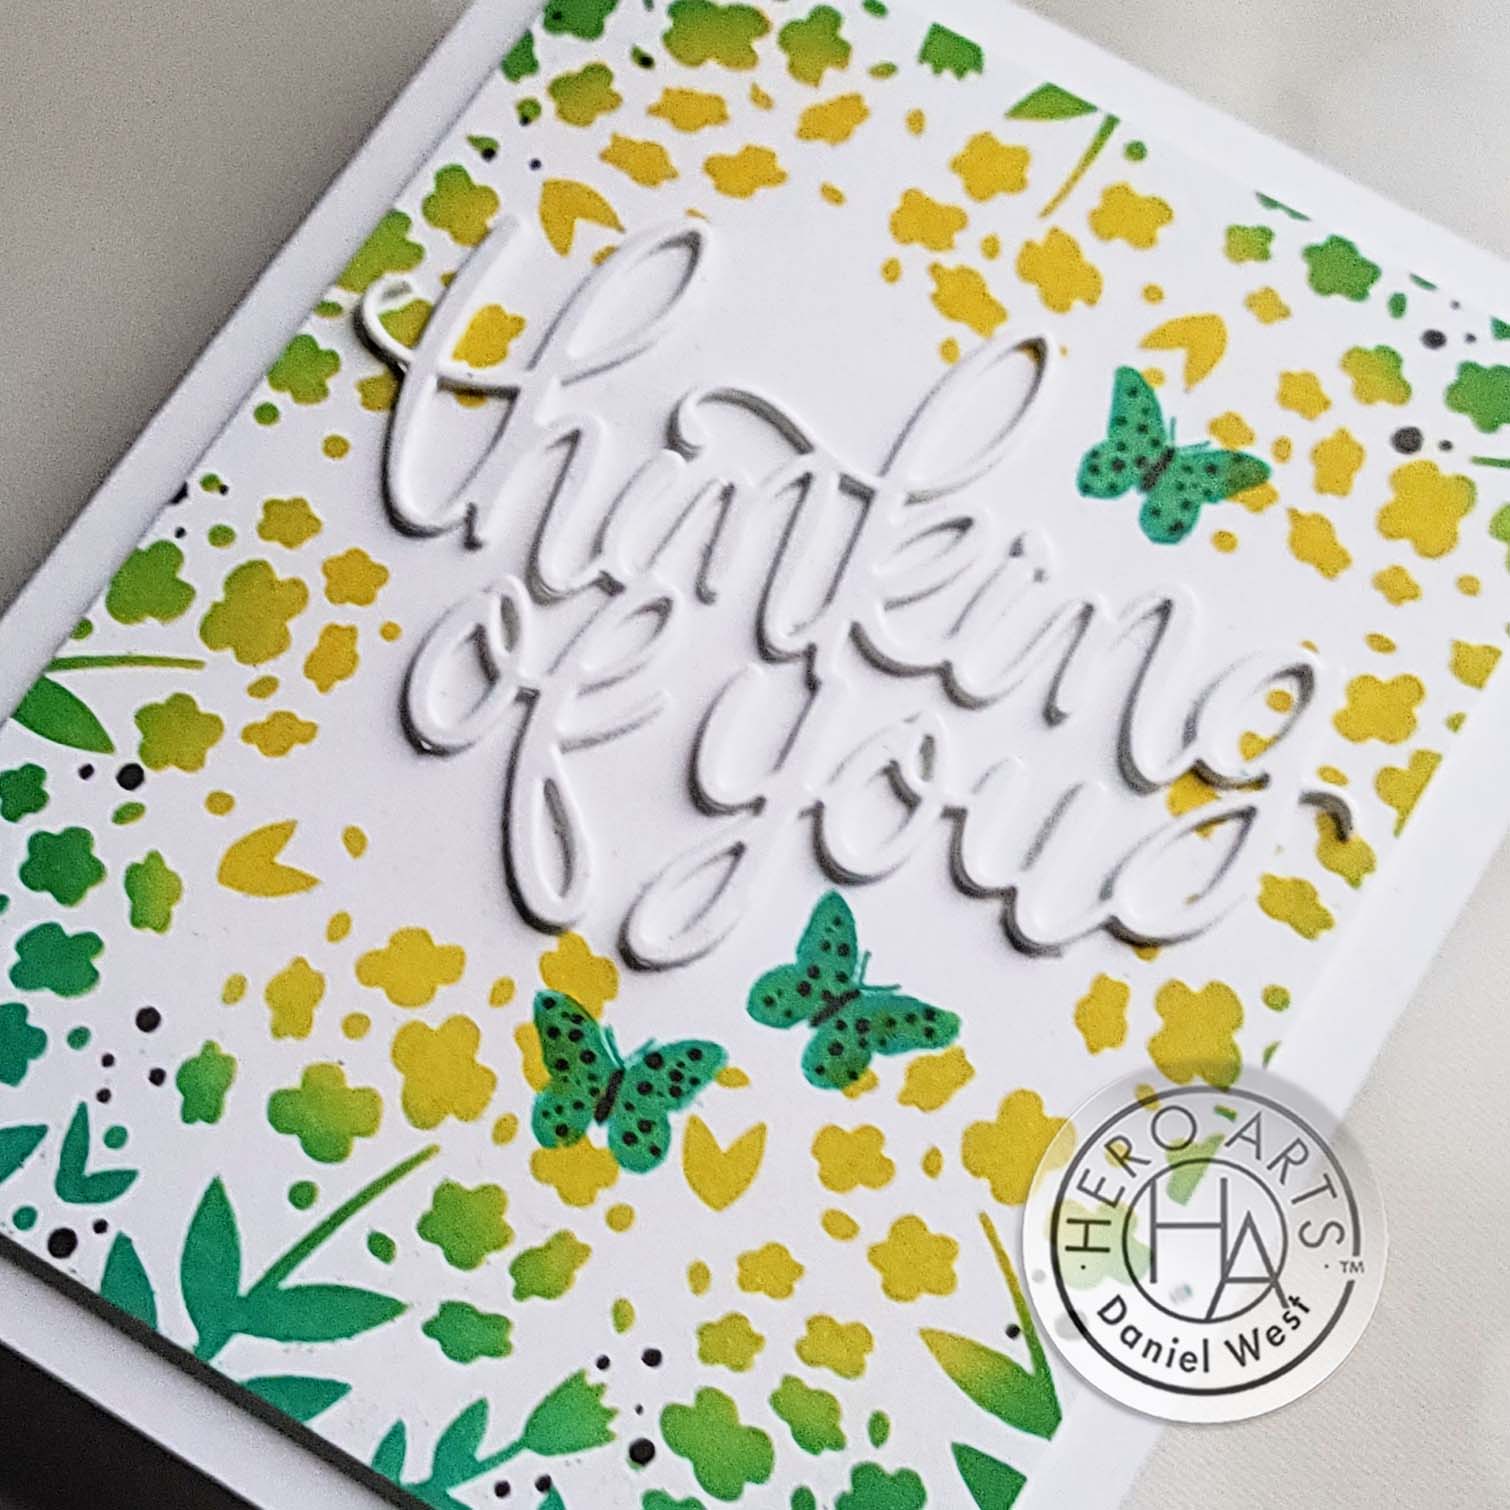
Next, I stamped the butterflies from the Thinking of You Stamp & Cut set with Emerald Ink and added some E49 Copic marker dots to them. I also added little E49 dots around the panel to tie in with the butterflies.
Finally, I popped up the panel over an A2-sized card base of Dove White Cardstock with foam tape.
I'm in love with the daffodils here, but you can make them any color you like! I hope you'll give it a try. Maybe you can do one for April's "Blend It Up" Stay Crafty Challenge!

Have a wonderful rest of the week, my friends!

|























































































