

Posted by Channin Pelletier
on January 20, 2020

Hello, friends! It’s Channin here with a new card and video to share! In today’s video I create a fun Valentine’s themed card featuring the Candy Hearts Peek-a-Boo Cling Stamp and Circular Peek-a-Boo Doors Fancy Die . However I take a slightly atypical approach with these incredible stamps and dies! Please check out the video below to see the whole process.
(If you are having trouble viewing this video, please try watching it HERE on YouTube.)
First, I created the background for my front panel by ink blending a rainbow of Reactive Inks onto an A2 (4.25” x 5.5”) panel of Dove White cardstock . Next, I sprinkled water over the panel with a paint brush to add water spots. Once the panel was dry I then die cut it with the Circular Peek-a-Boo Doors Fancy Die .

I then stamped the Candy Hearts Peek-a-Boo Cling Stamp in Intens-ified Black Ink onto the front of an A2 top-folding card base . Next, I stamped a sentiment from the Loving Messages stamp set onto a scrap of white cardstock. I then Copic colored all the candy hearts and the hearts in the sentiment.
Pink: RV10, RV23
Orange: YR00, YR02
Yellow: Y02, Y08
Green: YG00, YG23
Blue: B00, BG23
Purple: V12, V15

Once I finished coloring I then cut the sentiment out and added foam tape to the back. I finished the card by adhering the panel with glue onto the card front and then the sentiment onto top.
I hope you enjoyed today’s card and video! Thank you so much for stopping by!

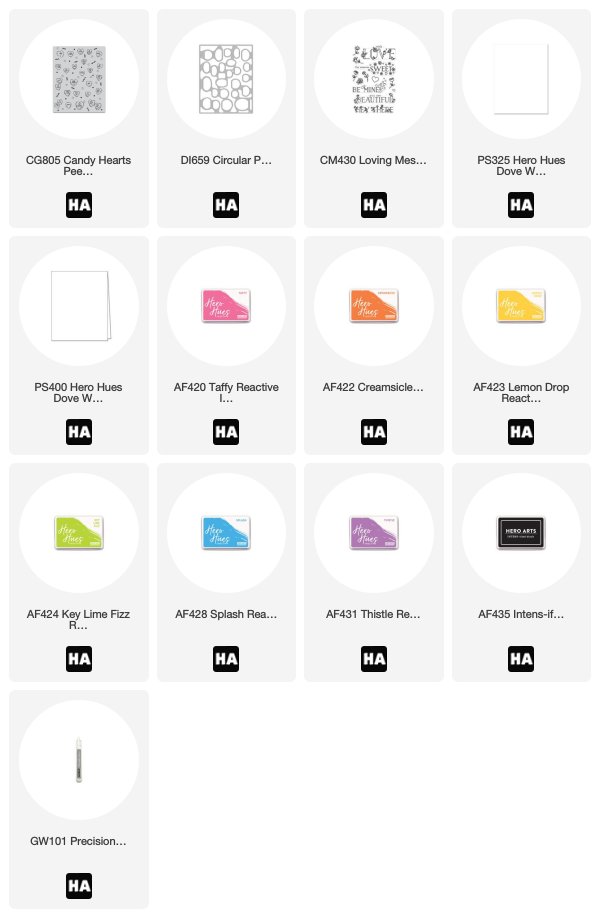
Click on the products to shop:























































































12 comments
The vibrant colours are amazing on this card. Love the whole thing. Am loving the new catalogue – so many beautiful products – don’t remember the names but one of the most striking stamps for me was the field of tulips in the scenery section – also loved the sunflowers – not the lavender, am extremely allergic (LOL LOL) but it’s very pretty. Thanks for sharing this gorgeous card with us.
Gorgeous card Channin, those Peek-A-Boo stamps and dies are so awesome.
Thank you so much for the video tutorial and have a great week.
This peek-a-boo is simply amazing
Sooooo cute.
Great assembly line card for Valentines Day.
That peekaboo is such fun! I especially like the pastel hearts against the ombre background. Fun card!