Video: Change the Look of Die-Cuts to Create Different Shapes - Hero Arts
Posted by Michelle Short on June 26, 2023

Video: Change the Look of Die-Cuts to Create Different Shapes

Hello there, Michelle here. Today I have a card and video to share with you using the Circle Set Fancy Die set. These dies are very versatile – you can use them for a background, create grounding for a focal point, add die-cut inlay, plus lots more! For today, I thought I would change the shape slightly to create a sun.

(If you are having trouble viewing this video, please watch here on YouTube.)

I started off by die cutting the largest Circle Set Fancy Die from Deluxe Smooth White cardstock. I then took a pair of scissors and cut off the outer rim, to create the look of sunrays. I tried to make some of the rays shorter in length for added interest.

Sending Sunshine by Michelle Short for Hero Arts

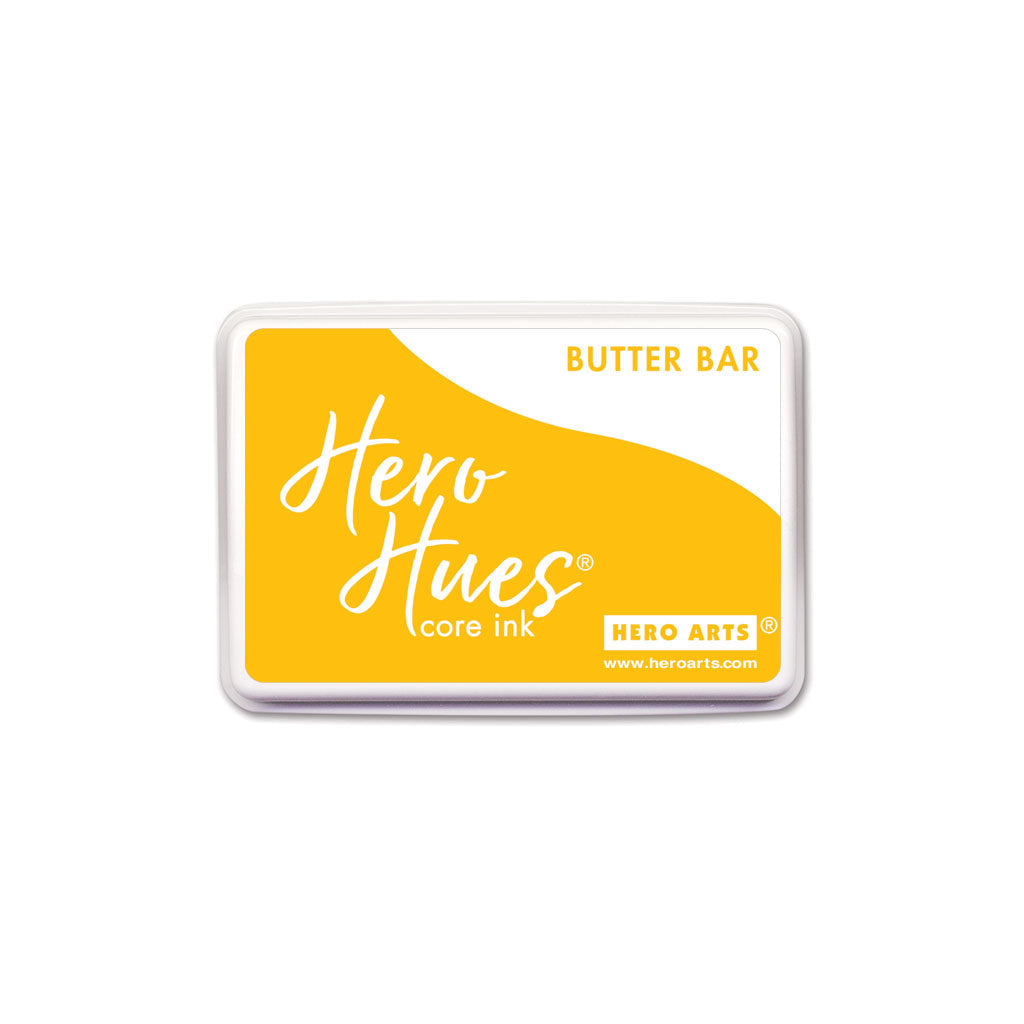
I then added ink blending on top using Dandelion , Butter Bar and Papaya Core Inks and Ink Blending Brushes (I used Extra Large for Dandelion, and Medium for Butter Bar and Papaya). I then die-cut another two of the Circle Set Fancy Die and adhered them behind, cutting off the excess, for added dimension.

Sending Sunshine by Michelle Short for Hero Arts

I die-cut two Nesting Cloudy Infinity Dies from more Deluxe Smooth White cardstock, twice, and stacked them up also, adhering with Precision Glue . I then die-cut three of the 'friend' word from the Friend Words Fancy Dies set from Pitch Black cardstock. These were also stacked up and adhered for dimension.

Sending Sunshine by Michelle Short for Hero Arts

For the accompanying sentiment, I printed out the Giving Sunflower Digital Download from my computer on to a sheet of Deluxe Smooth White cardstock. Before printing, I changed the size of the images to A5 to reduce the size of the sentiments. The 'sending sunshine' sentiment was die-cut using the Sentiment Strips Fancy Die .

Sending Sunshine by Michelle Short for Hero Arts

The sun was adhered first to an A2 white card base using Precision Glue , followed by the clouds and friend word. I then added the sentiment strip with thin foam tape. To embellish, I added a few Clear Hero Hues Enamel Dots .

I love how the card turned out! Creating a sun from the dies really does make them even more versatile. Thank you so much for stopping by today, I hope you have a wonderful day!

Click on products to shop:
DF126 Circle Set Fancy Die (F) | Hero...
DI426 Nesting Cloudy Infinity Dies...
DF031 Friend Words Fancy Dies (D) |...
DF087 Sentiment Strips Fancy Die (F)...
Giving Sunflower Digital Download |...
AF652 Dandelion Core Ink | Hero Arts
AF651 Butter Bar Core Ink | Hero Arts
AF640 Papaya Core Ink | Hero Arts
PS323 Hero Hues Premium Cardstock...
PS782 Deluxe Smooth White Cardstock...
CH321 Clear Hero Hues Enamel Dots |...
MI007 Hero Tools Ink Blending Brush...
MI005 Hero Tools Ink Blending Brush...
GW101 Precision Glue | Hero Arts

Leave a comment

Please note, comments need to be approved before they are published.


  • Infinity Trees Christmas Card Tutorial with Stamping and Ink Blending

    BP-377

    Infinity Trees Christmas Card Tutorial with Stamping and Ink Blending

    Hey there, crafty friends! It's Marie again from Marie Nicole Designs. Are you ready for Christmas? I believe that it is never too early to begin your Christmas crafting. I try to make Christmas cards throughout the year so when December rolls around, and I’m already overwhelmed by all the events going on, I have a stash already made. Today, I’ll be sharing an easy Christmas...

  • Gift Boxes Christmas Card Tutorial with Gift Boxes and Bags Etched Dies

    BP-001

    Gift Boxes Christmas Card Tutorial with Gift Boxes and Bags Etched Dies

    Hello crafters! It’s Lisa Tilson here with you today to share a card using the Snowflake Kisses Collection by Lisa Horton. I am going to be doing a step-by-step photo tutorial showing you how to create a Christmas card using the Gift Boxes and Bags Etched Dies and I’m using a more unconventional colour palette to make it. Sometimes it’s fun to create with colours...

  • Debossed Snowflake Christmas Card Tutorial with Snowflake Background Etched Dies

    Categories:Die Cutting

    Debossed Snowflake Christmas Card Tutorial with Snowflake Background Etched Dies

    Hello there, Michelle Short here to share a step-by-step tutorial using the Snowflake Background Etched Dies from the Lisa Horton Snowflake Kisses Collection. The Snowflake Background Etched Dies are two layers which you can cut as a base layer and a top layer. For my card today, instead of having die cut layers, I thought that I would deboss the design. DEBOSSING THE DIE Place...