

Posted by Yana Smakula
on March 11, 2019

Hello, Hero Arts fans! Welcome back for another episode of the Color Layering video series!

In this video & episode we are taking a closer look at the Color Layering Sleepy Moon stamp set.
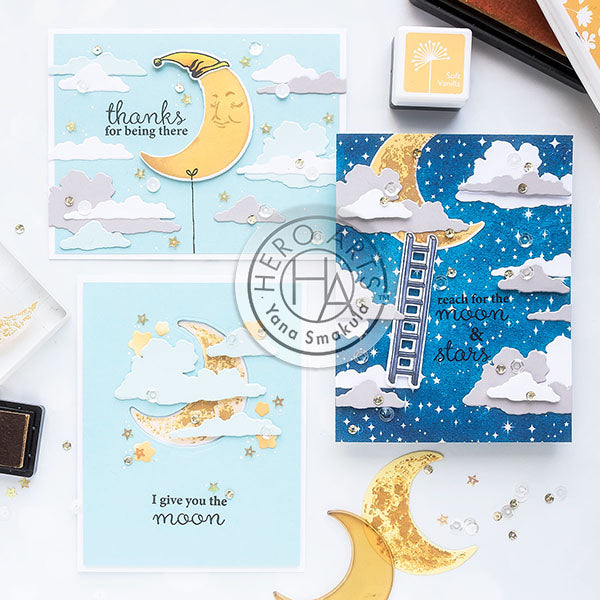
Watch the video tutorial below to learn how I made the cards I'm sharing today.
If you’re having a problem viewing this video, please try watching it HERE in HD on YouTube.
The Color Layering Sleepy Moon stamp set has 3 layers and offers a lot of versatility. I’ve found that I can stamp just one layer for a solid looking moon; just two layers, a solid and one of the detail layers, for a moon with a a bit of detail; and of course you can combine all 3 layers to give your moon a lot of detail.
3 Layer Moon
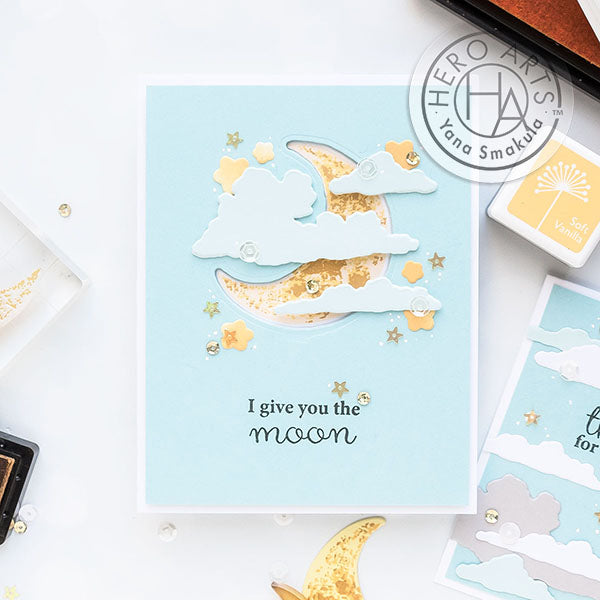
Let's take a look at the 3 layer moon first. I used Soft Vanilla, Butter Bar & Pumpkin Pie.
You can also stamp your moon in gray ink, while I don’t explore this color combo in today’s video I look forward to trying it soon.
This stamp set, like all Hero Arts Color Layering sets, comes with coordinating dies. I used mine to cut the moon image out and recessed it in a background panel.
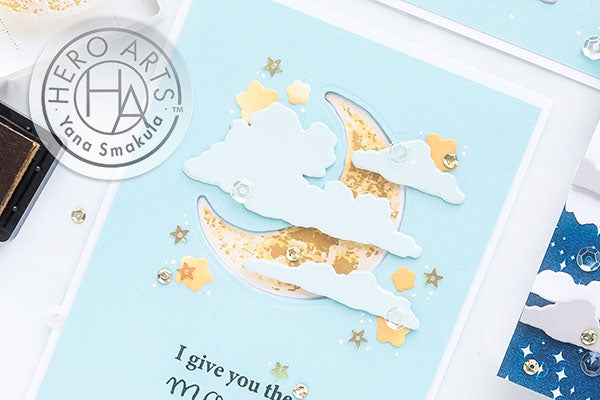
My idea for this card was to create a cloudy sky with lots of fluffy clouds in the foreground and a beautiful moon in the background. For the clouds I used coordinating dies from the Sea & Sky die set. I die-cut clouds from Arctic cardstock, and the background panel was created from Mist cardstock.
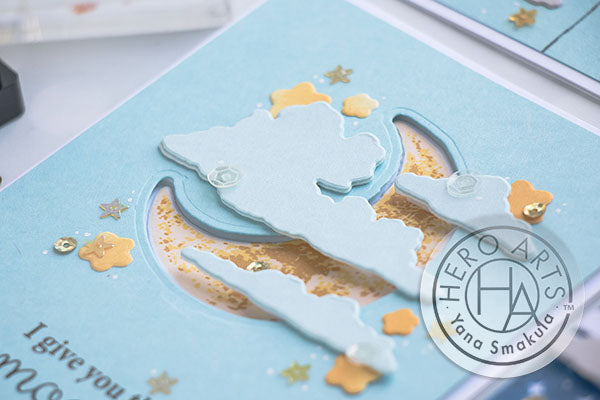
The sentiment was stamped in Black ink, it reads “I give you the moon”. I added several die-cut stars (these were made by ink blending Butter Bar ink onto white paper and cutting them out using Sleepy Moon coordinating Frame Cuts. Finally, to finish this card I adhered a bunch of sequins from the Champagne sequin mix and white dots using a white pen.
A design like this card be easily adapted to a baby shower card or baby announcement since the colors used here are very soft and the imagery goes perfectly with a baby theme. Just swap out a sentiment and you have a card for another occasion.
2 Layer Moon
My second card idea features a 2-layer moon. A solid layer and one detail layer. I went with slightly darker yellow colors and used Butter Bar for the solid layer and Soft Brown for the detail layer.
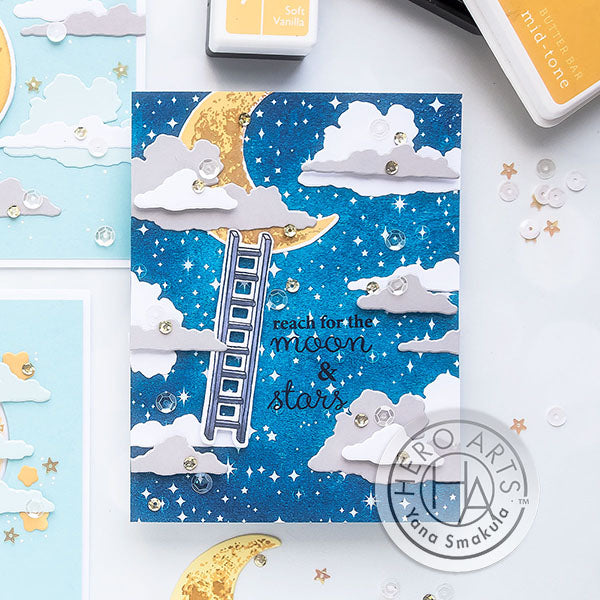
To create a background for this card, and I wanted to have a dark night sky, I used one of Hero Arts Bold Prints background stamps - the Star Light Star Bright and stamped it in combination of Deep Ocean and Navy inks using the Deep Ocean one for the majority of the background and Navy just around the edges to darken them up and draw the eye of the viewer to the center of the card.
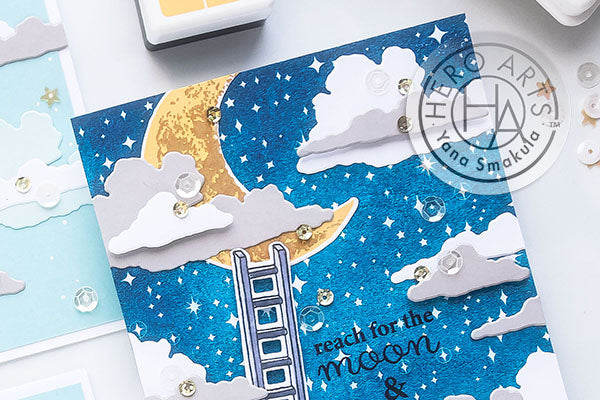
Clouds were once again made using same coordinating cloud dies I used before and this time I cut them out of Hero Arts Dove White and Pebble cardstock. The stamped background has a moon image build into it, and there wasn’t a way to not stamp it, so instead I just covered it up with my color layered moon and it blended perfectly with the rest of the background.
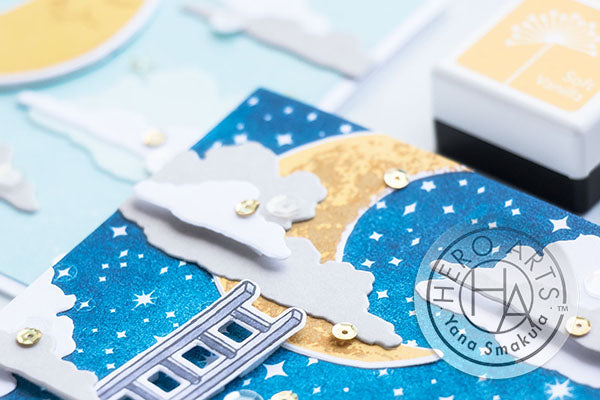
Of course I embellished this card using same Champagne sequins and scattered them all over the card.
One Layer Moon
My final card idea for today showcases a one layer moon made using just the solid layer. Even with solid image you can add some interest and shading to the edges with the help of a shade darker ink pad. To do this, while keeping my stamp in my MISTI tool, I inked up the edges with Pumpkin Pie ink and stamped image repeatedly building up color around the edges.
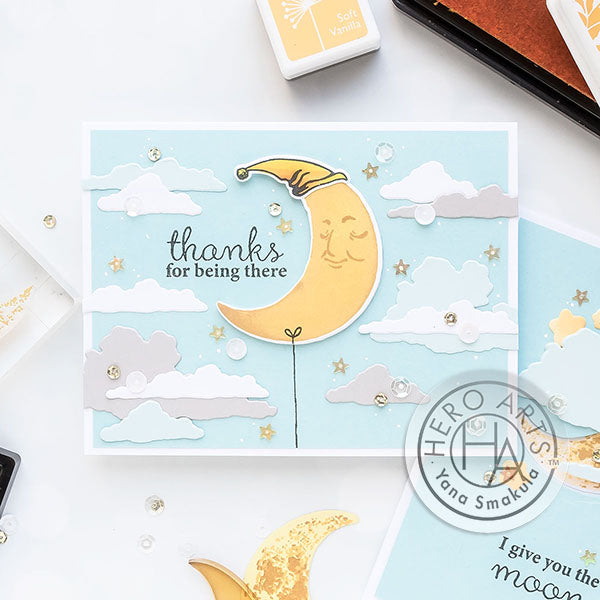
For a one layer solid moon like this Hero Arts included a face in this stamp set to make a beautiful whimsical moon. I used Pumpkin Pie ink to stamp it. One other image available in this stamp set is a night hat for the moon. I stamped it in Intense Black ink and colored using my Copic markers in YG14, Y17 and Y08. There’s also a coordinating die available for the hat so you can easily cut it out.
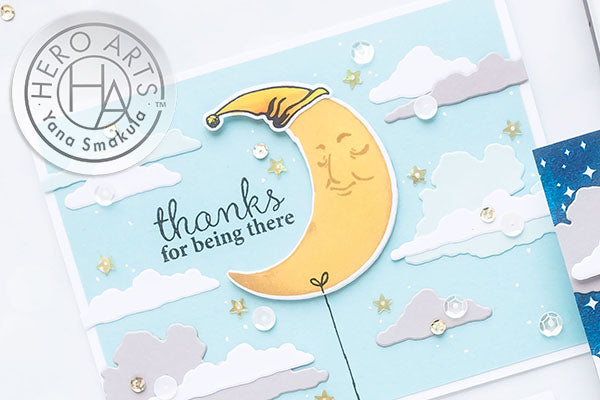
My idea for this card was to add a string to the moon to make it look as if it’s being held from the ground and of course add fluffy clouds around it.
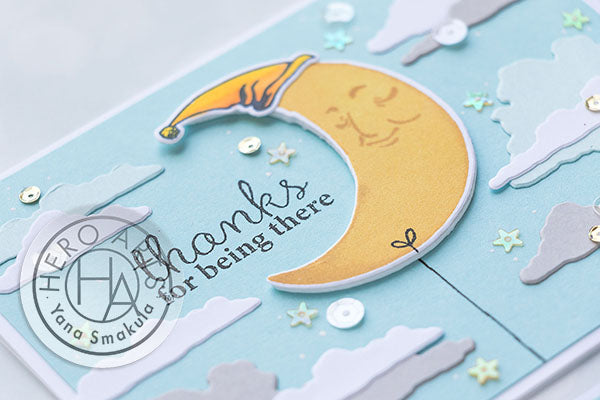
I have the sentiment stamped to the left of the moon and it reads “Thanks for being there”. All sentiments I used today come from the Color Layering Sleepy Moon set so you have everything you need in one set to make beautiful cards. This is something I love the most about Hero Arts sets - there are always sentiments included that coordinate with the layering images so you don’t have to go looking for a matching sentiment for your card.
Have fun stamping!























































































10 comments
I love all three of your moon cards, Yana! Were any of these stamps and dies you used from the past year’s monthly HA kits?
These cards are so cute and I love the moon.
Wonderful set to add to the stash! Yana, your creative ideas with this set are fantastic and very inspirational! Love how you think!
Love your videos and this card is great. TFS !!!!
Wonderful cards! Your instruction is excellent! I love your videos. Thank you.