Video: Color Layering Tulips Two Ways with Mindy - Hero Arts
Posted by Mindy Eggen on February 19, 2024

Video: Color Layering Tulips Two Ways with Mindy

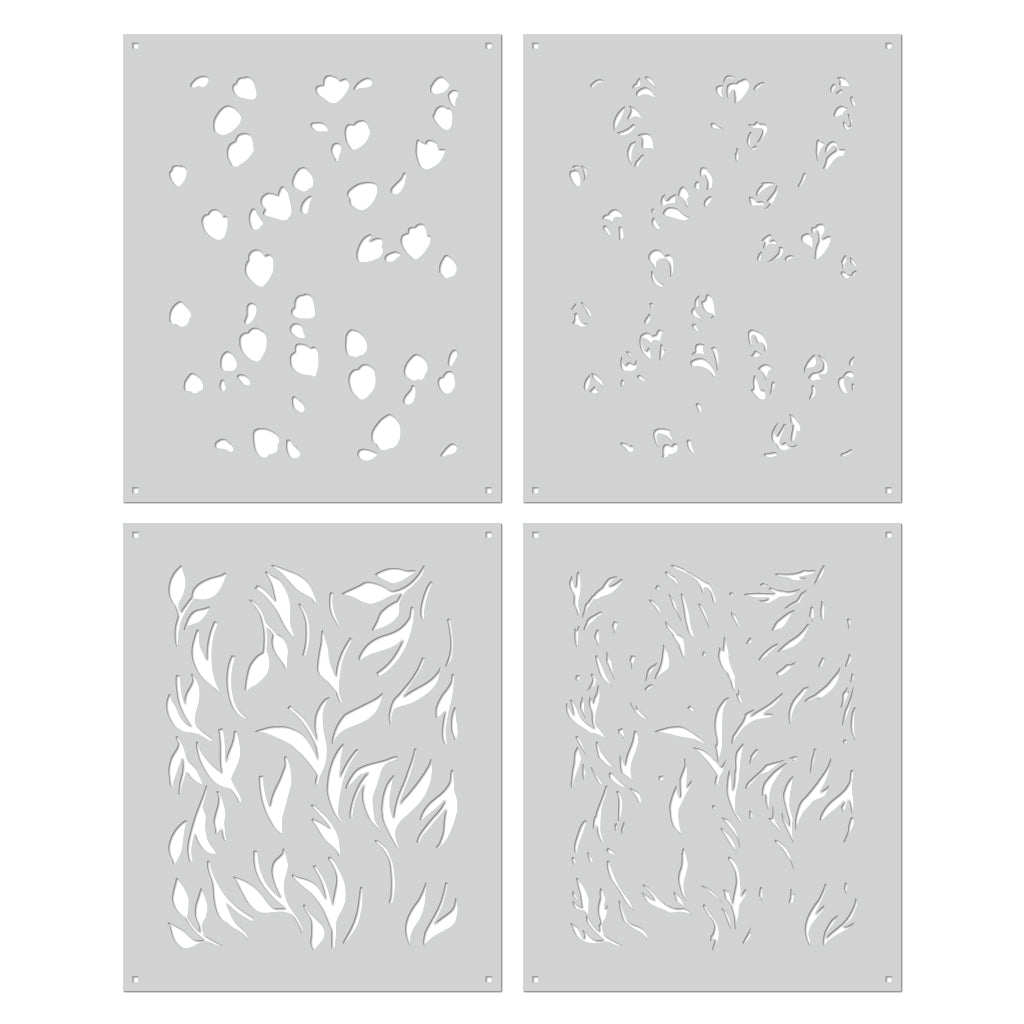
Welcome friends! This is Mindy and I'm so excited to share inspiration with you today featuring the new Color Layering Tulip Pattern Stencils from the Spring 2024 Catalog . I have created a how-to video for you showing exactly how these cards came together.

(If you are having trouble viewing this video, please watch HERE on YouTube.)

I thought it would be fun to use this stencil on two different color card front panels to show you how just by changing up your base color, can give you a whole new look and feel to your card. The cardstock colors I'm using are Deluxe Smooth White and Sand .

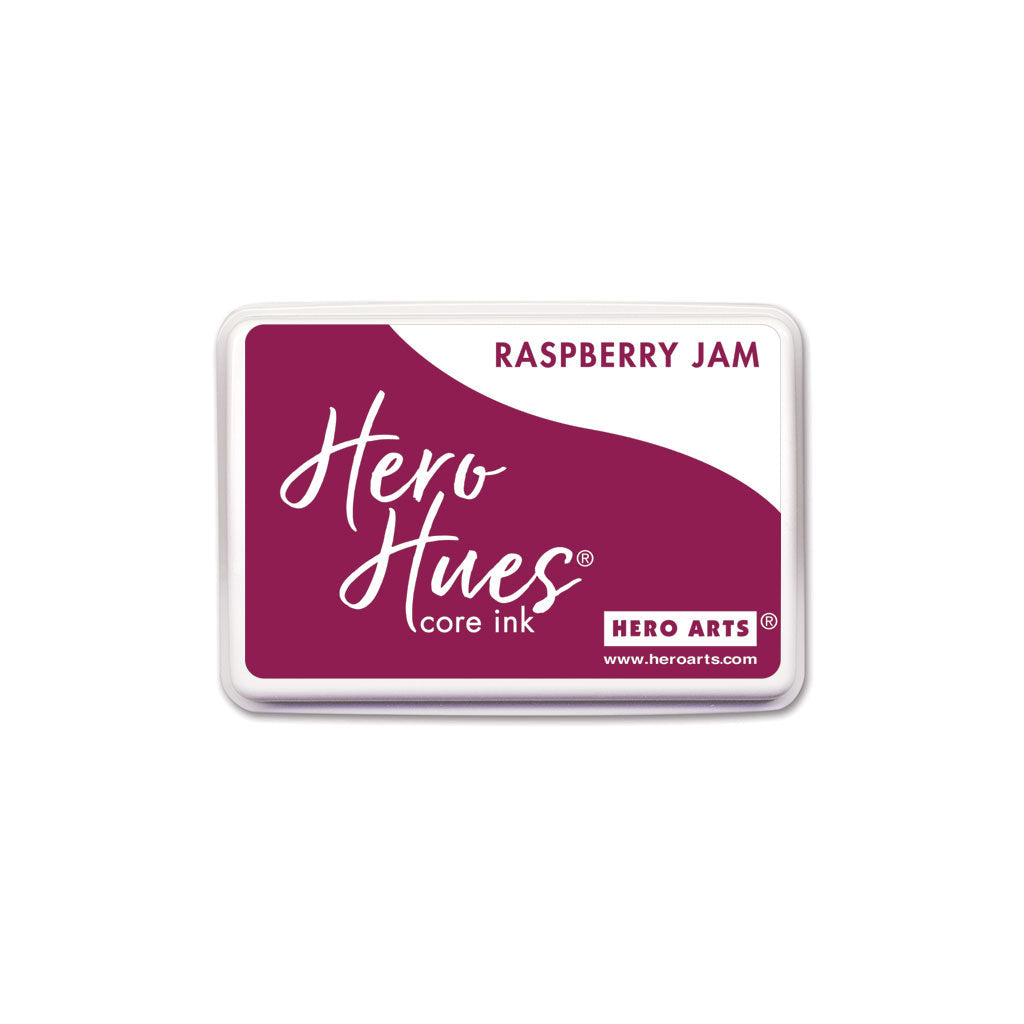
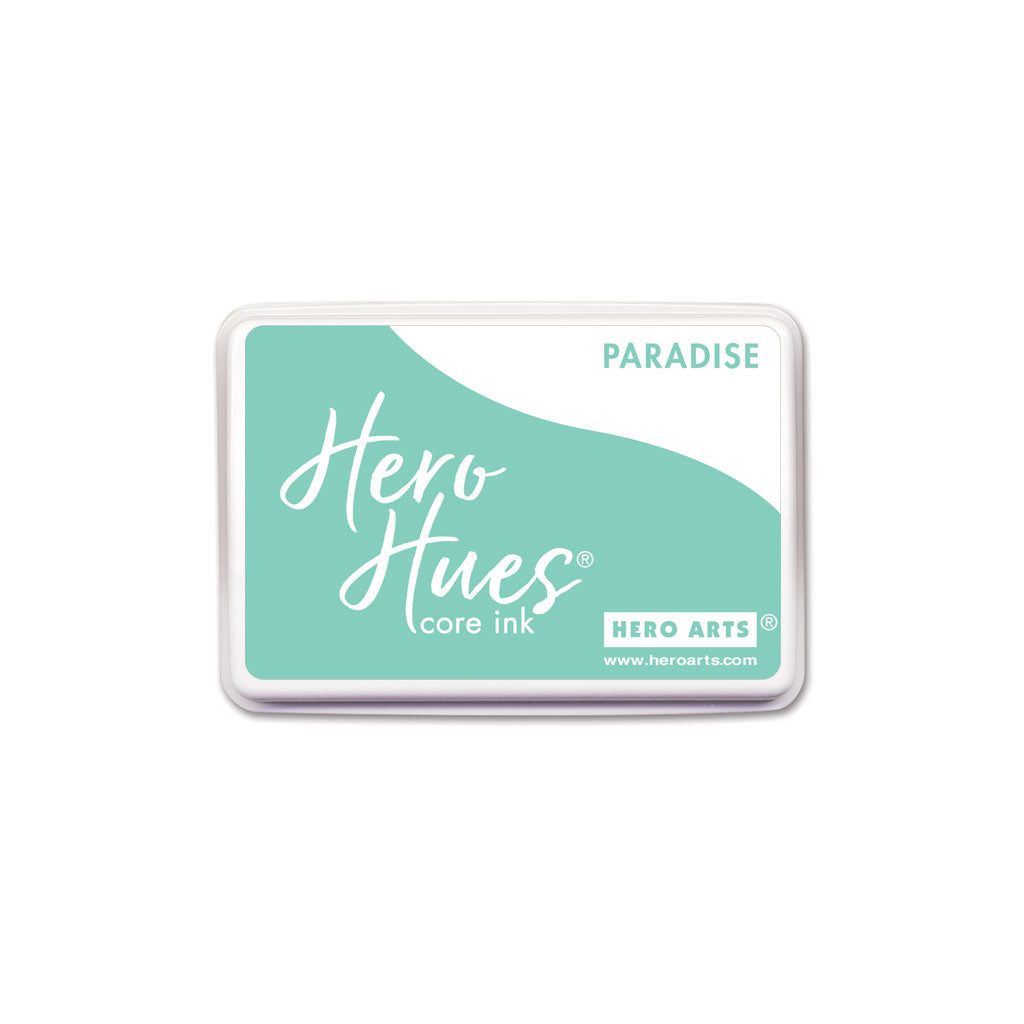
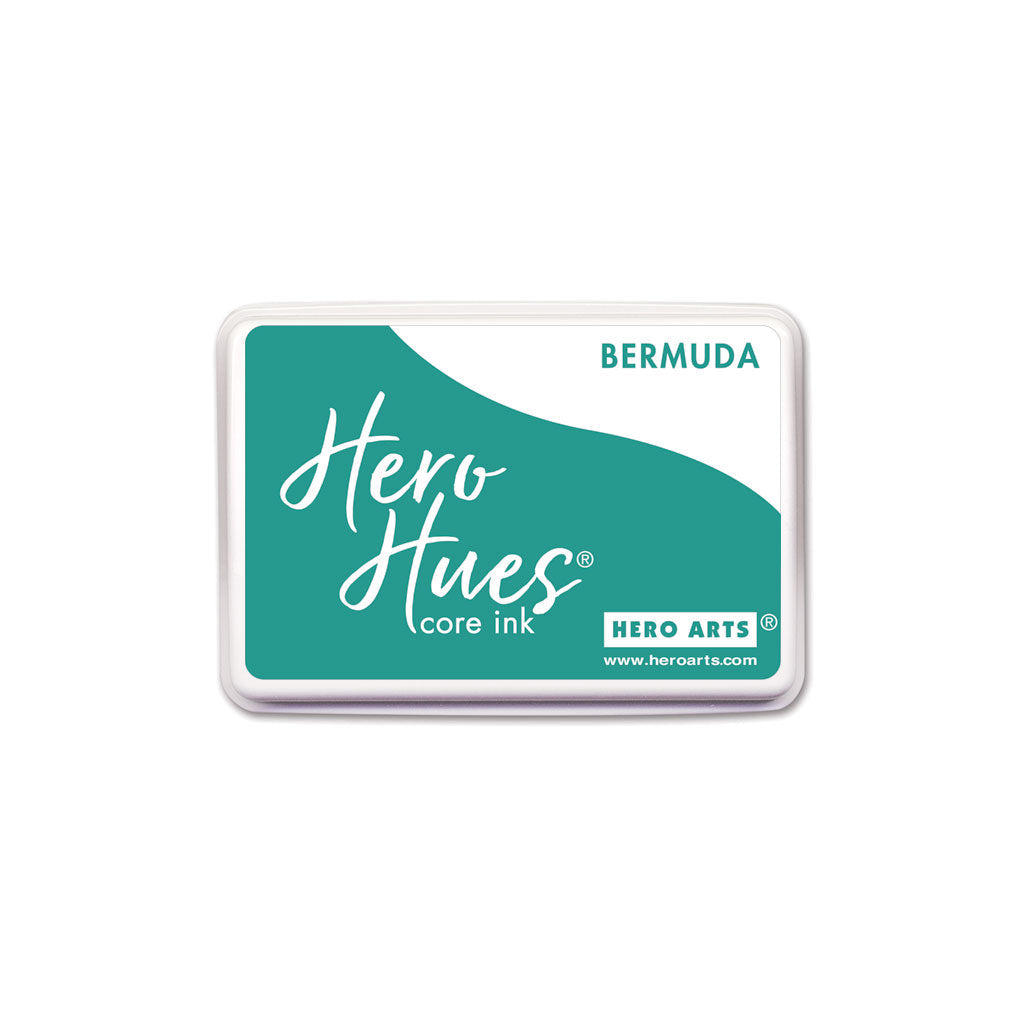
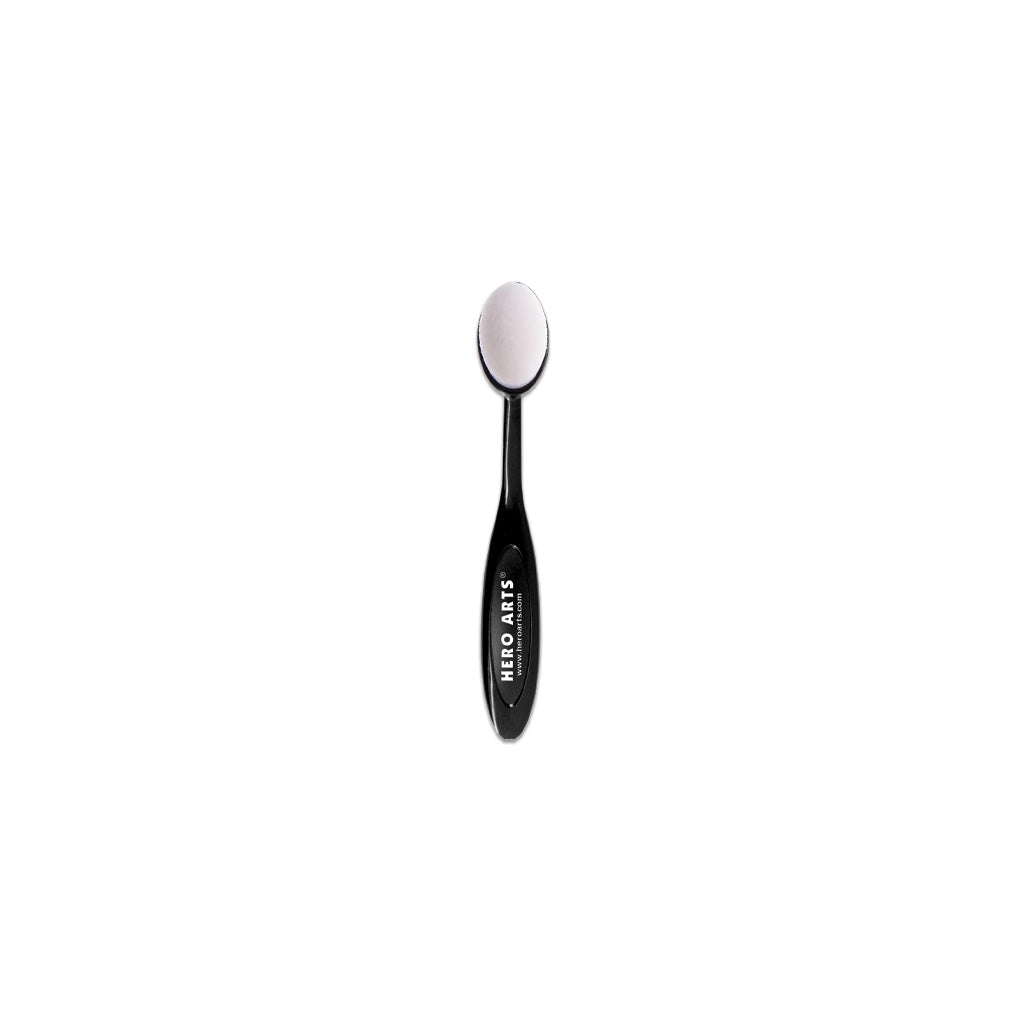
The colors I'm using to blend my tulips are the same for both cards. I'm using Cherry , Raspberry Jam , Paradise and Bermuda inks. I apply the ink with both large and small blending brushes.

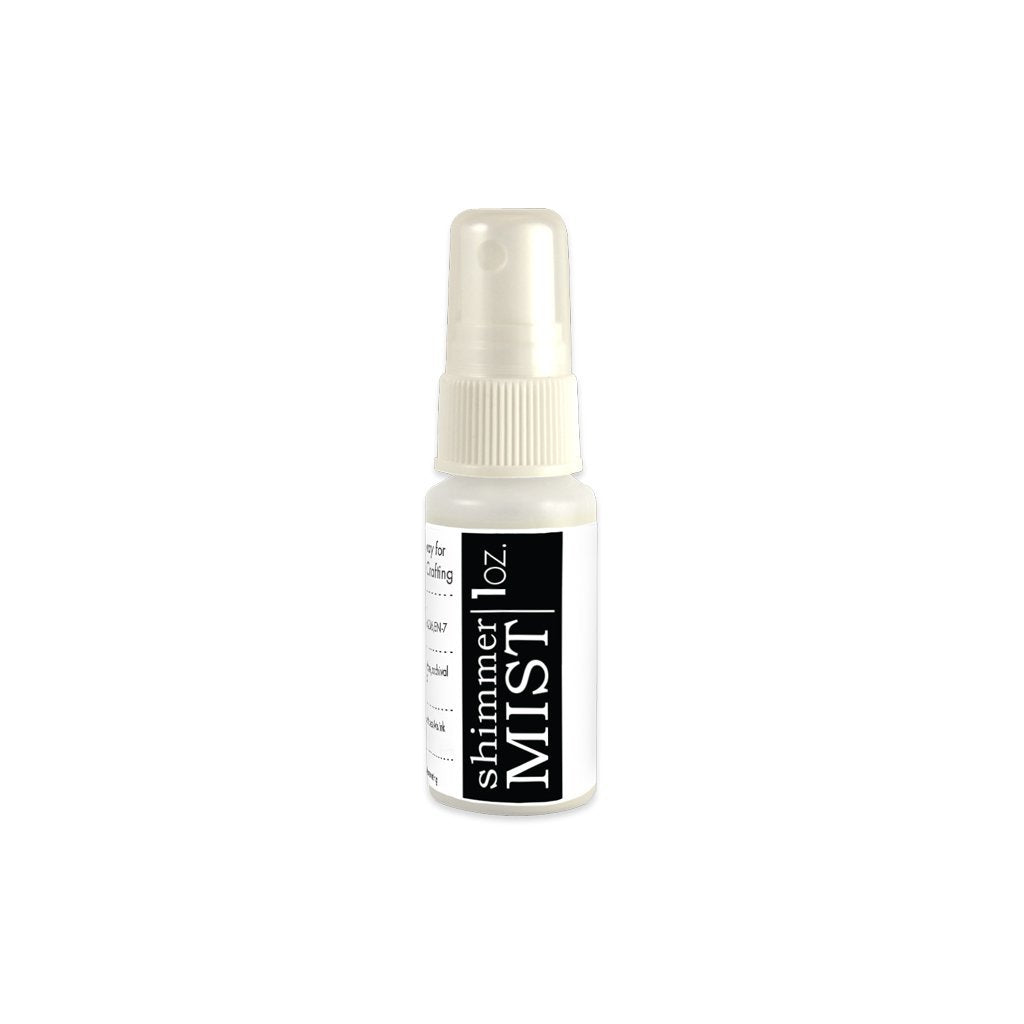
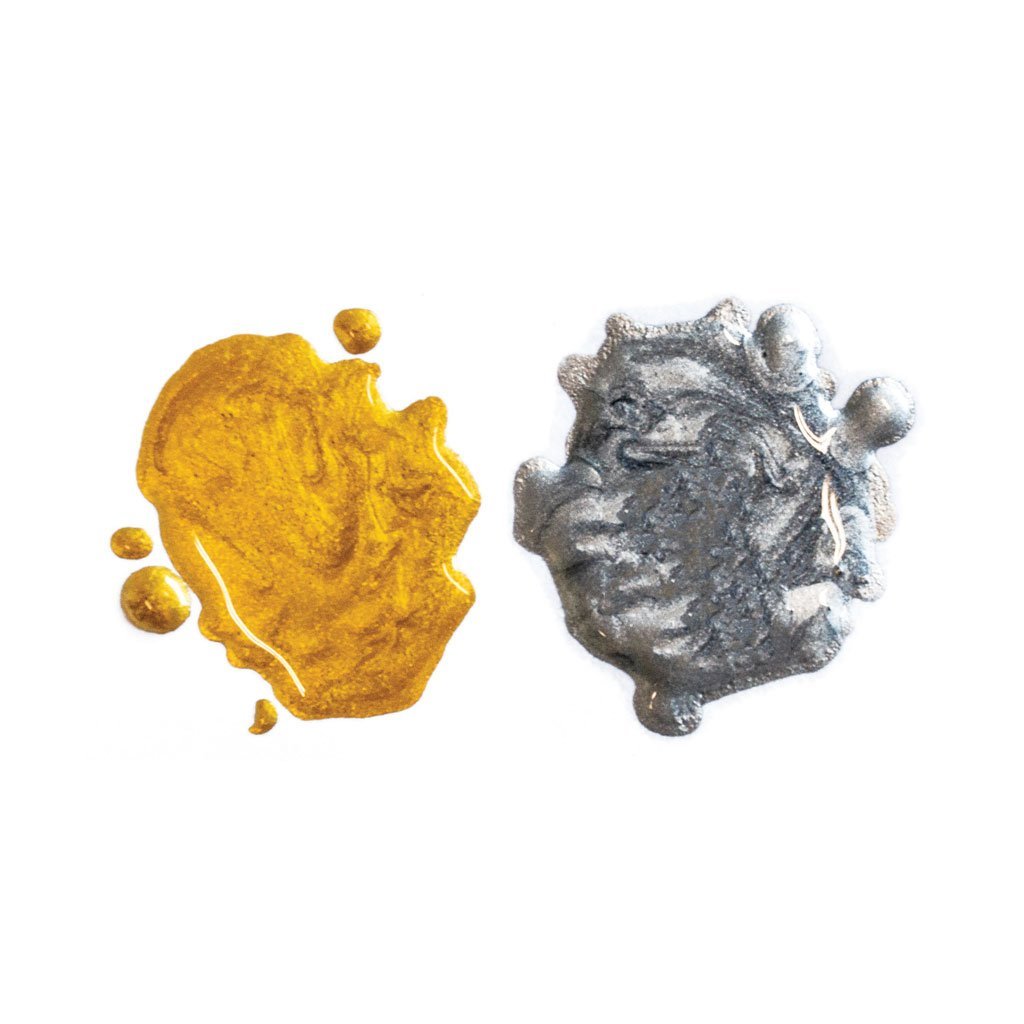
To give the background more interest, I'm adding splatters of Iridescent Shimmer Spray and Gold Glimmer Metallic Ink .

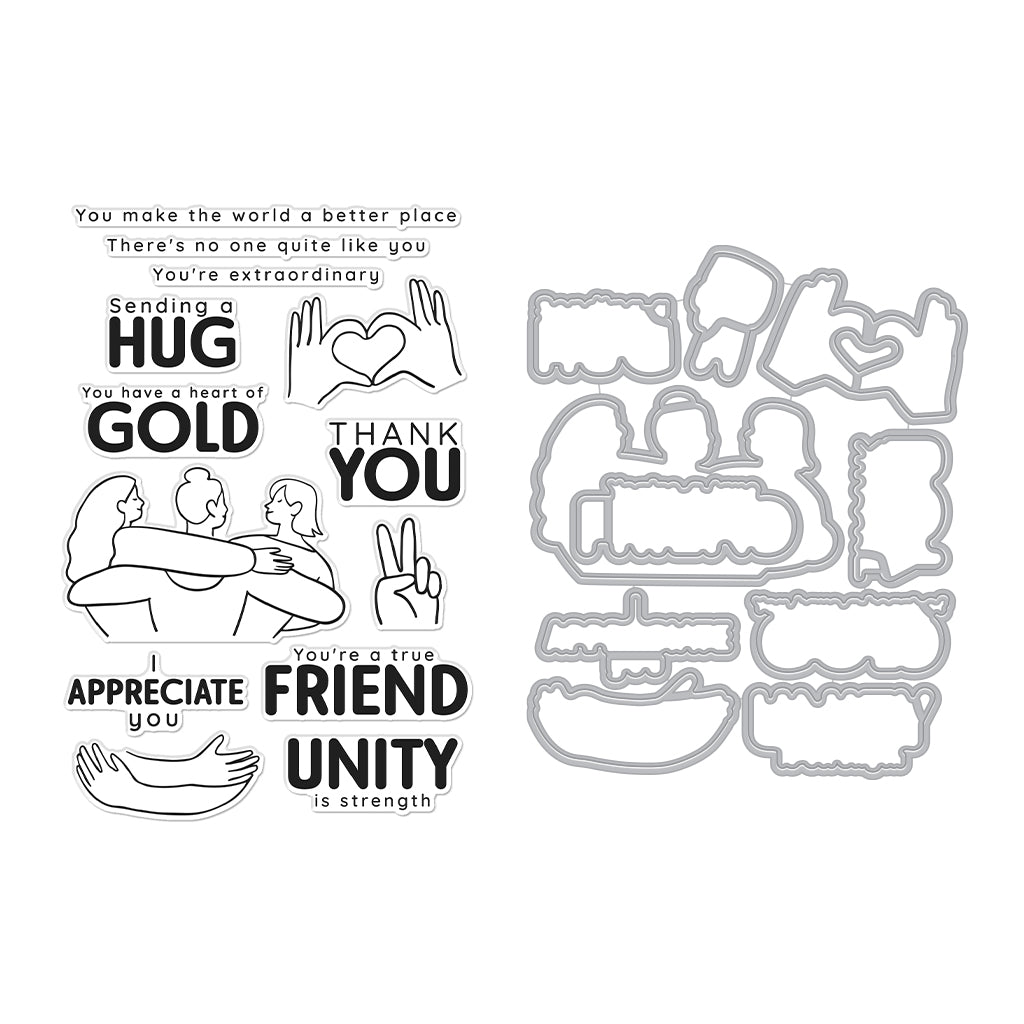
I completed the card with a large, bold sentiment from the new Smile Friend Stamp & Cut XL set. The smaller sentiments that I added underneath are from the I Appreciate You stamp set.

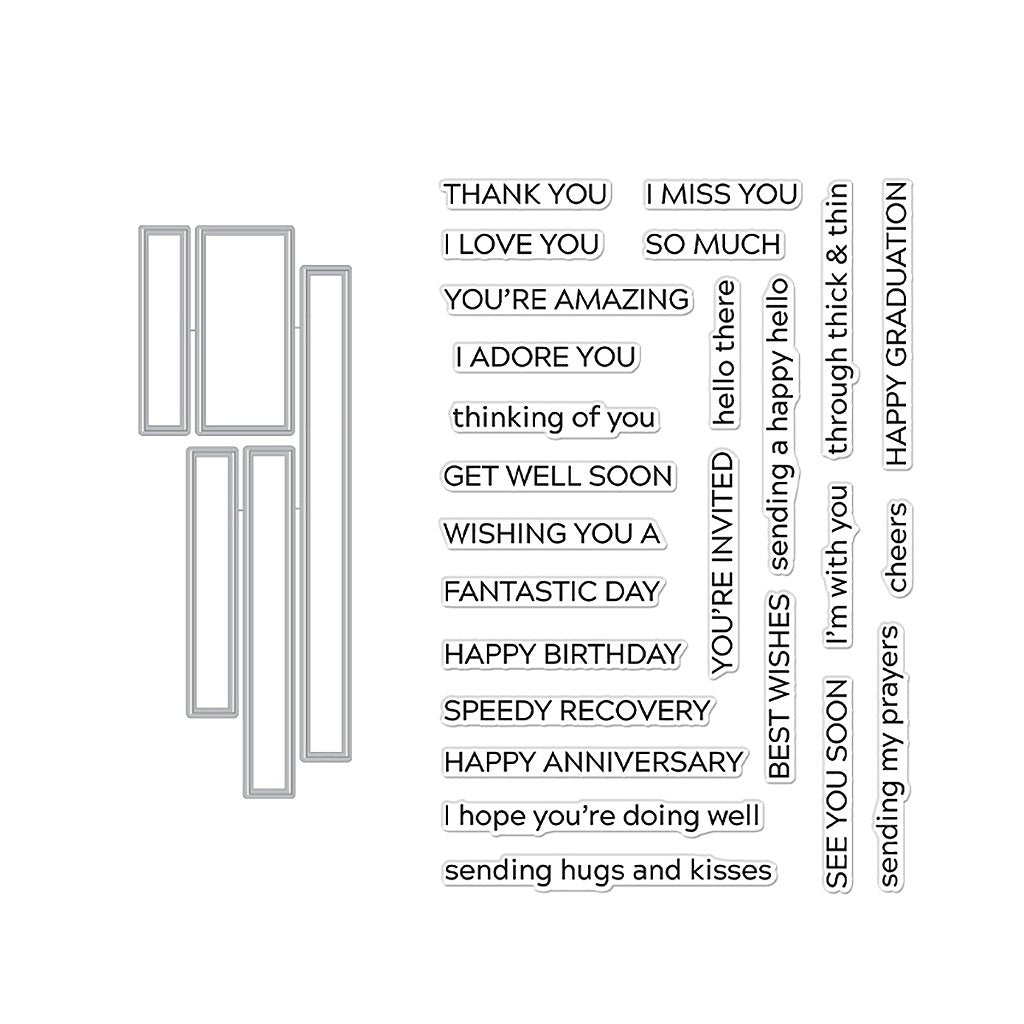
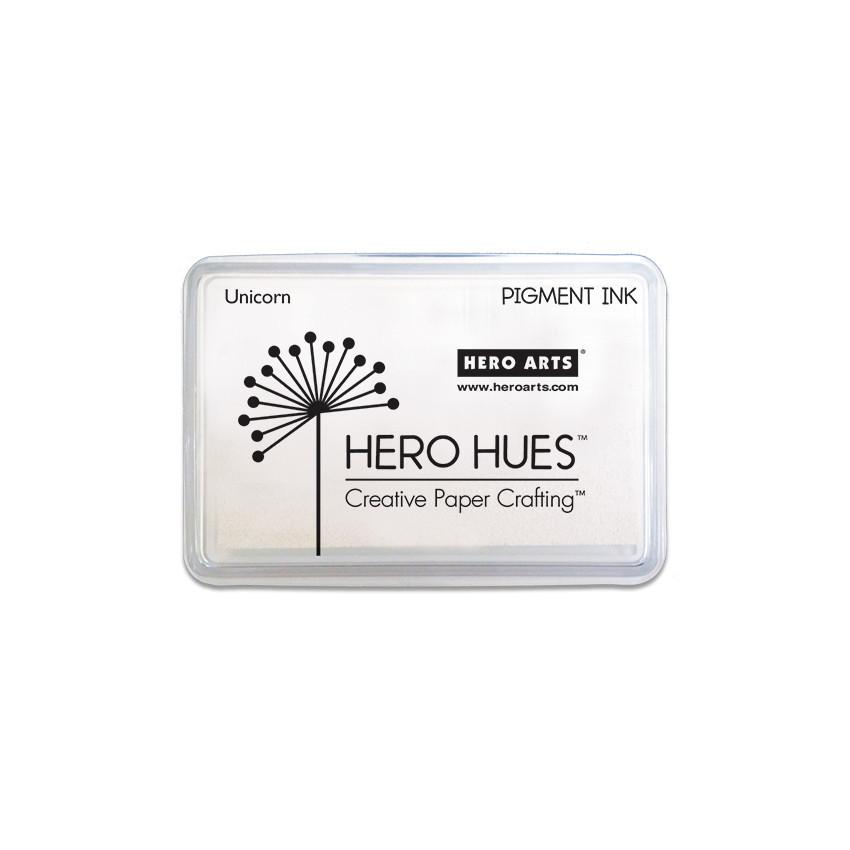
One of the sentiments is stamped in Unicorn Pigment ink onto Pitch Black cardstock and embossed with white embossing powder and the other is stamped in Pitch Black ink on Deluxe Smooth White cardstock. I trimmed out both of the sentiments with the die from the Message Strips.

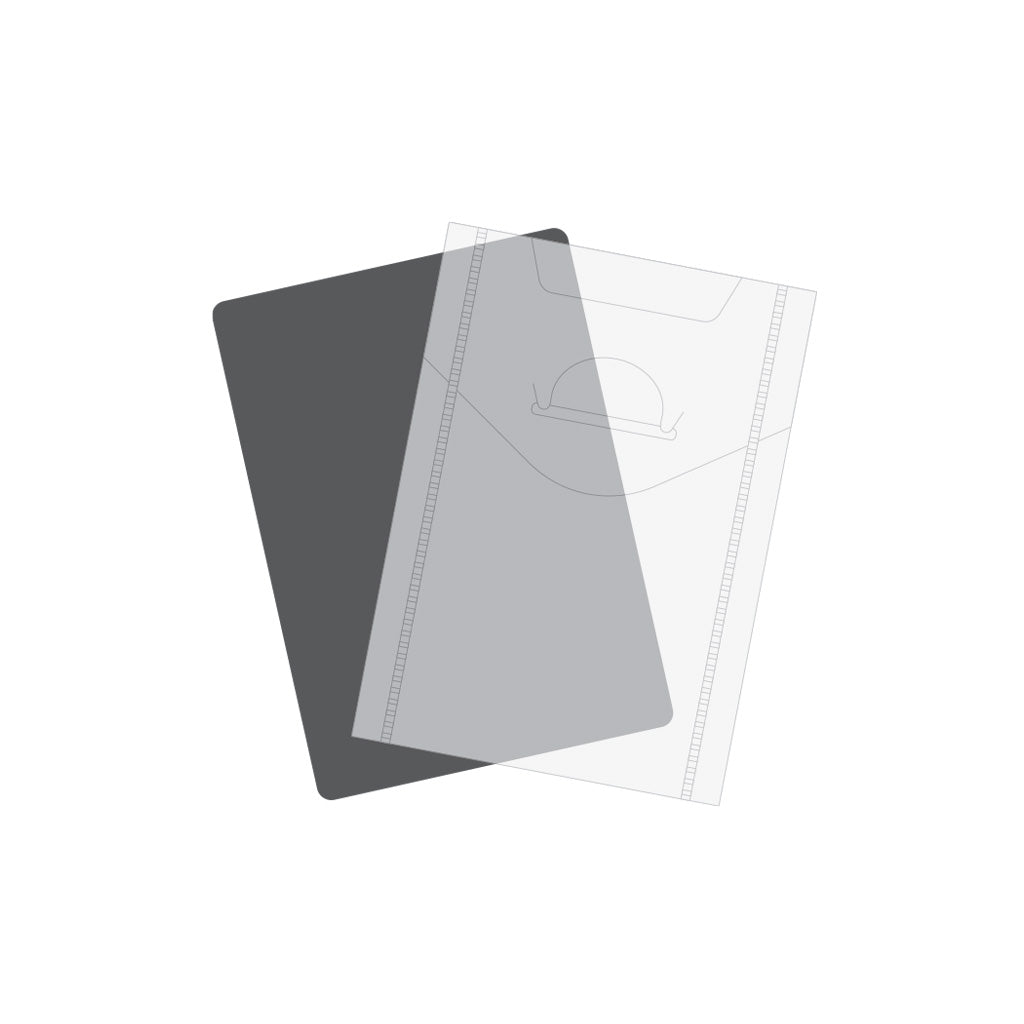
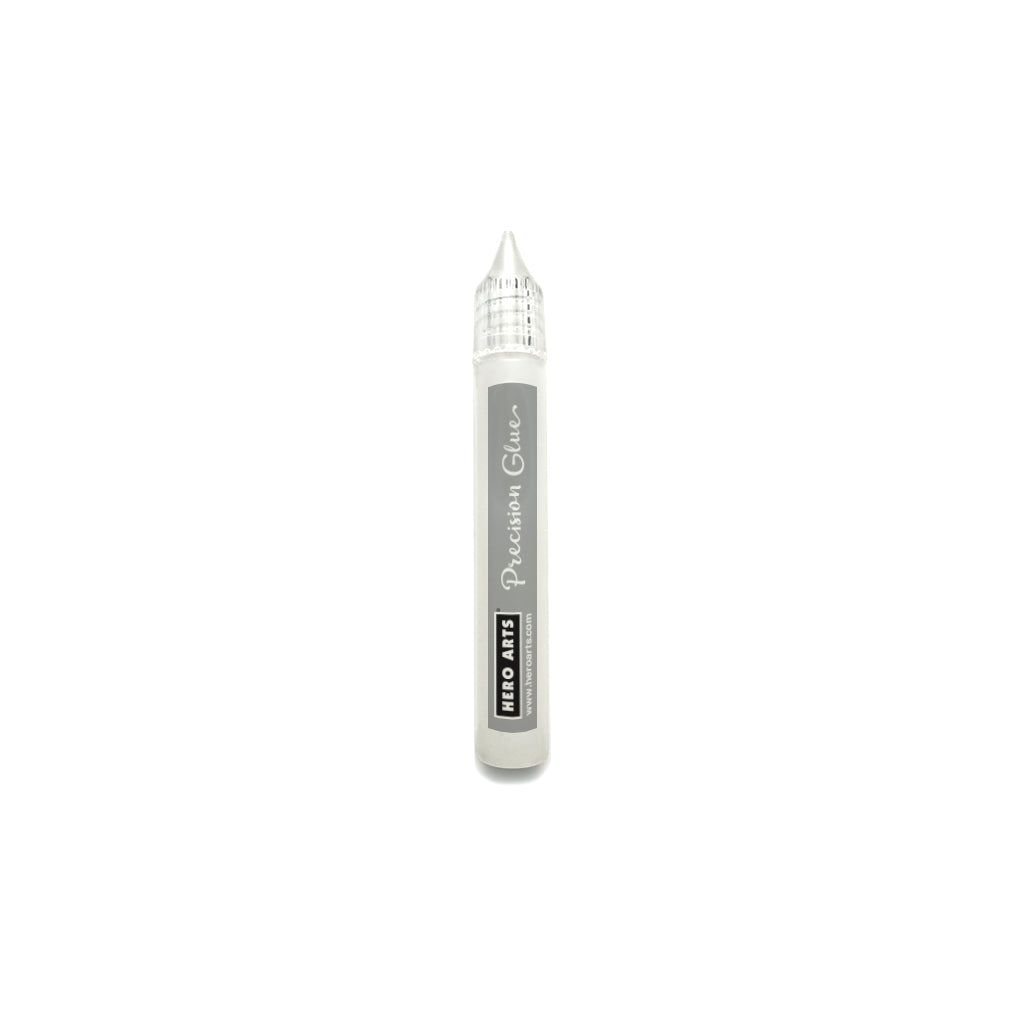
Some additional supplies I found helpful were the Storage Pockets , Precision Glue , and Reverse Tweezers .

I hope you enjoyed today's inspiration! Be sure to check out the video for a complete how-to on completing these cards.

Thanks for stopping by!

Click on products to shop:
SA262 Color Layering Tulip Pattern...
DC307 Smile Friend Stamp & Cut XL |...
DC286 Message Strips Stamp & Cut XL |...
SB390 I Appreciate You Bundle (D) |...
AF622 Cherry Core Ink | Hero Arts
AF724 Raspberry Jam Core Ink | Hero Arts
AF682 Paradise Core Ink | Hero Arts
AF249 Unicorn Pigment Ink | Hero Arts
AF684 Bermuda Core Ink | Hero Arts
PS782 Deluxe Smooth White Cardstock...
PS320 Hero Hues Premium Cardstock...
PS323 Hero Hues Premium Cardstock...
WM151 White Iridescent Shimmer Mist |...
GM100 Gold & Pewter Glimmer Metallic...
PW122 White Detail Embossing Powder |...
MI005 Hero Tools Ink Blending Brush...
MI007 Hero Tools Ink Blending Brush...
HT205 Hero Tools Regular Magnet...
GW101 Precision Glue | Hero Arts
HT204 Hero Tools Reverse Grip...

1 comment

Pretty! I agree with you having the black shadow behind the smile really added to the card.

Nancy Pearce,

Leave a comment

Please note, comments need to be approved before they are published.


  • Infinity Trees Christmas Card Tutorial with Stamping and Ink Blending

    BP-377

    Infinity Trees Christmas Card Tutorial with Stamping and Ink Blending

    Hey there, crafty friends! It's Marie again from Marie Nicole Designs. Are you ready for Christmas? I believe that it is never too early to begin your Christmas crafting. I try to make Christmas cards throughout the year so when December rolls around, and I’m already overwhelmed by all the events going on, I have a stash already made. Today, I’ll be sharing an easy Christmas...

  • Gift Boxes Christmas Card Tutorial with Gift Boxes and Bags Etched Dies

    BP-001

    Gift Boxes Christmas Card Tutorial with Gift Boxes and Bags Etched Dies

    Hello crafters! It’s Lisa Tilson here with you today to share a card using the Snowflake Kisses Collection by Lisa Horton. I am going to be doing a step-by-step photo tutorial showing you how to create a Christmas card using the Gift Boxes and Bags Etched Dies and I’m using a more unconventional colour palette to make it. Sometimes it’s fun to create with colours...

  • Debossed Snowflake Christmas Card Tutorial with Snowflake Background Etched Dies

    Categories:Die Cutting

    Debossed Snowflake Christmas Card Tutorial with Snowflake Background Etched Dies

    Hello there, Michelle Short here to share a step-by-step tutorial using the Snowflake Background Etched Dies from the Lisa Horton Snowflake Kisses Collection. The Snowflake Background Etched Dies are two layers which you can cut as a base layer and a top layer. For my card today, instead of having die cut layers, I thought that I would deboss the design. DEBOSSING THE DIE Place...