Posted by Mindy Eggen
on September 18, 2023

Hey crafty friends! It's Mindy Eggen back with a fun technique of coloring on your die cuts. This technique gives such an artsy feel to your projects and really shows off the amazing details created by the dies.
Watch the process video below or HERE on the Hero Arts YouTube channel.
The new peeking dies are so fun to create scenes with and I couldn't wait to play with the Peeking Witch since I am a huge Halloween fan.
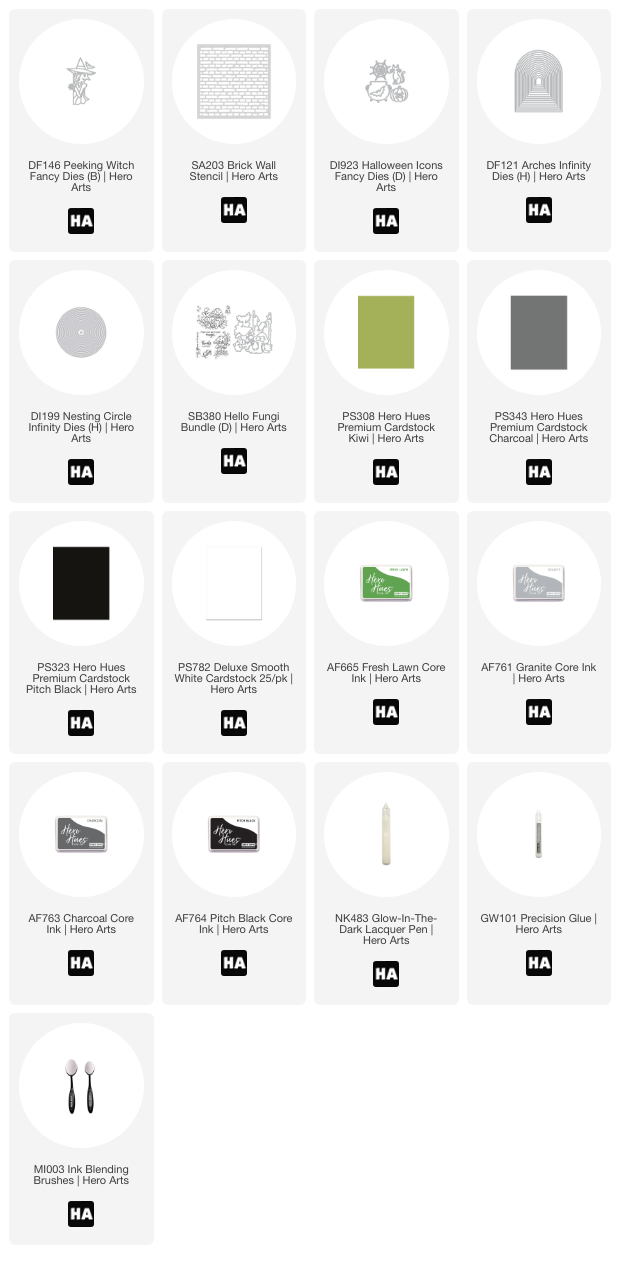
I started by die cutting the witch from Deluxe White cardstock and then coloring it in with OLO markers. This really shows off the detail of the image.

I really wanted her to be peeking in from around a corner so I started my scene by creating a double layered window using the Arches Infinity Dies , Pitch Black cardstock and Charcoal cardstock.
My witch is going to be hiding in a dungeon so using Deluxe White cardstock and the Brick Wall Stencil , I ink blended Granite and Charcoal ink using blending brushes .
I filled in the scene with a cauldron from the Halloween Icons die set. And no cauldron is complete without something bubbling in it so to create those bubbles I used the smallest circle from the Nesting Circles Dies . They are die cut from Kiwi cardstock and I added Fresh Lawn ink for contrast.

I used Precision Glue to attach my cauldron to the stenciled background and popped up my windows and witch using foam tape to give dimension to the scene.
Now although this is a Halloween-ish scene I decided to stray from the Halloween sentiments and instead used one from the Hello Fungi Bundle . It was a perfect match with the use of the word magic in it.
The sentiment is stamped in Pitch Black ink onto Deluxe White cardstock and added to the front of the card.

One last finishing touch is to add a little bit of the new Glow In The Dark Lacquer to the cauldron bubbles.
How fun is this scene?! And I was so happy I was able to pull random items from my stash to create the scene that I wanted. Always makes me feel good when I can shop my stash.
Hope you enjoyed today's card project and thanks so much for stopping by!