

Posted by Michelle Short
on March 26, 2018

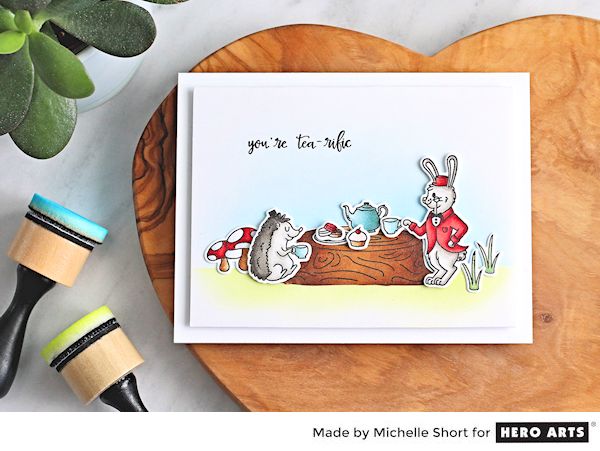
Hello there, Michelle here and today and I am creating a cute scene using the Woodland Tea Party stamp set and coordinating Frame Cuts. I am creating a background for my card with Bold Inks and using different layers to create dimension.
I have created a video showing how I made the card, which you can see below:
If you are having trouble viewing this video, please try watching it HERE in HD on YouTube.
I started off my card by stamping the images that I wanted to use from the Woodland Tea Party Stamp Set . These were stamped twice using Intense Black Ink in the Mini MISTI for a nice bold ink impression. I then coloured the images using Copic Markers. The colours that I used are listed in the video. The images were die-cut out using the Woodland Tea Party Frame Cuts .
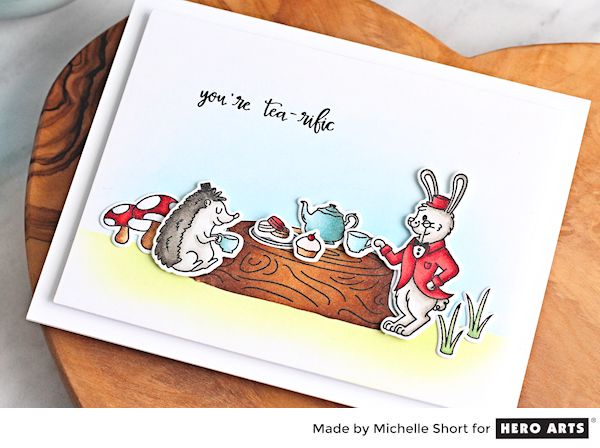
I took a piece of Bristol cardstock and die-cut this using the third largest of the Nesting Rectangle Infinity Dies . I masked off the top portion first using post-it tape and then blended inks below for the grass. I used Green Apple Bold Ink as well as Moss Bold Ink for some added depth. I removed the post-it tape and placed this over the grass portion. I then used Summer Sky Bold Ink to create the sky.
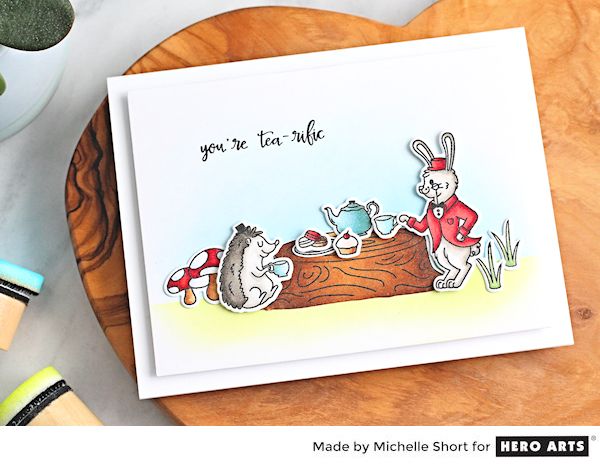
I placed the panel back in to the Mini MISTI and stamped the 'you're tea-rific' sentiment using the same Intense Black Ink. The panel was then added to a white A2 card base with foam sheet and double sided tape. The critters were added on top with a combination of tape runner and thin foam squares. I really like the thinner foam to add another layer of dimension to the card, without adding too much bulk.
Thanks for stopping by today, happy stamping!























































































11 comments
As a lover of anything “Alice in Wonderland” and hedgehogs, you stole my heart with this card!
Another fantastic set by Hero Arts! You love tea and critters so this is a set I want to add to my collection. I love the card you created and that you showed us both your Copic coloring and the beautiful ink blending you did for the background. You make it look so easy and manageable-though I know it isn’t. I struggle with using three colors of Copic (especially the reds which tend to bleed so easily) on small images and you do it so beautifully! Just a lovely card all the way around. Thanks for sharing your talent with us💕💕
Such a cute little scene you created. Love it!!
Gorgeous Michelle, thank you for showing us how to in a video!
Michelle, this is sooooo CUTE.