Posted by Lydia Fiedler
on February 26, 2024

Hi friends - Lydia here today with an EOINA technique - that stands for "everything old is new again." This is one of the very first "faux" techniques I ever learned and is still one of my favorites for scenic cards like the one I will show you today.
The key to the technique is dry embossing. You can do this with a stylus or a bone folder, but I've found a stylus works the best. You'll see why in the video.
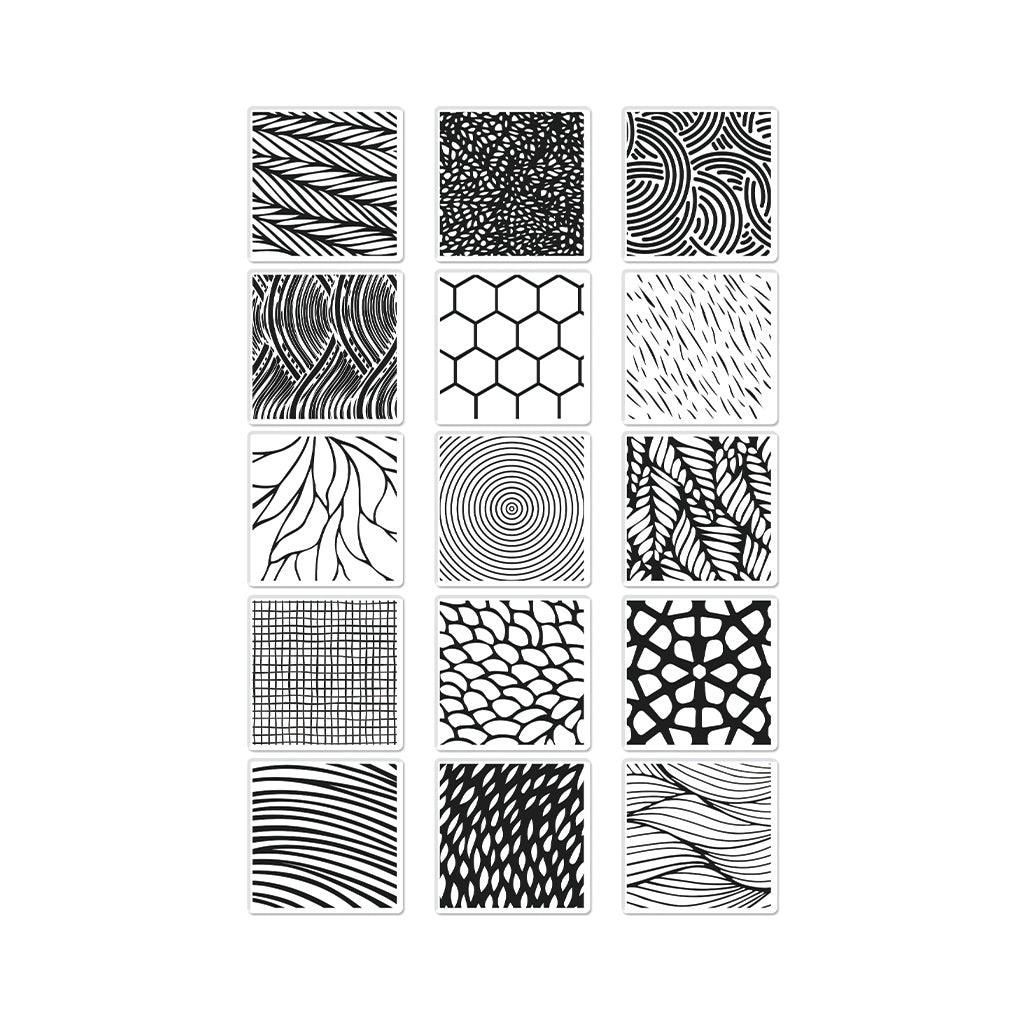
After you've debossed your "tiles" you'll want to stamp over them to really show off the tile effect. I chose a botanical pattern from the new Texture Blocks set from the 2024 Spring Catalog. This set is perfect for this technique because all the stamps are perfect squares so they are a snap to align with the tiles, and you get so many fun patterns, you can make a lot of different looks. If you want to cover the whole space, just line the little blocks up next to each other. I chose a checkerboard pattern instead.
Wherever you stamp on top of the debossed lines, the "grout" will appear like magic.

The next part of the technique is ink blending each tile with a small ink blending brush, and in my case, the same color ink I stamped with - Indigo. To do this, you need to mask off the grout and then just lightly shade the edge of each tile.
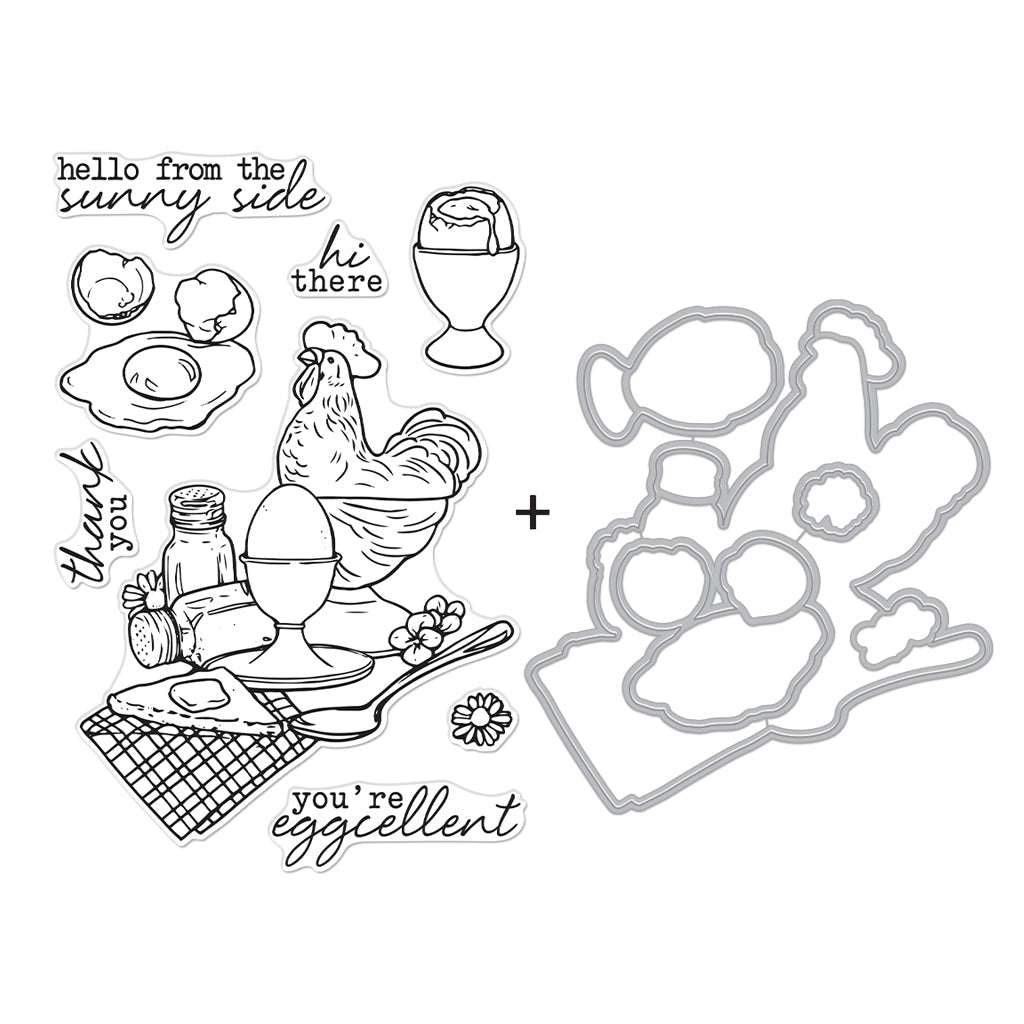
Here's what it looks like as a kitchen backsplash, with the images from Eggcellent in the foreground. I colored a counter and cabinet with alcohol markers and using direct to paper with Caramel ink.

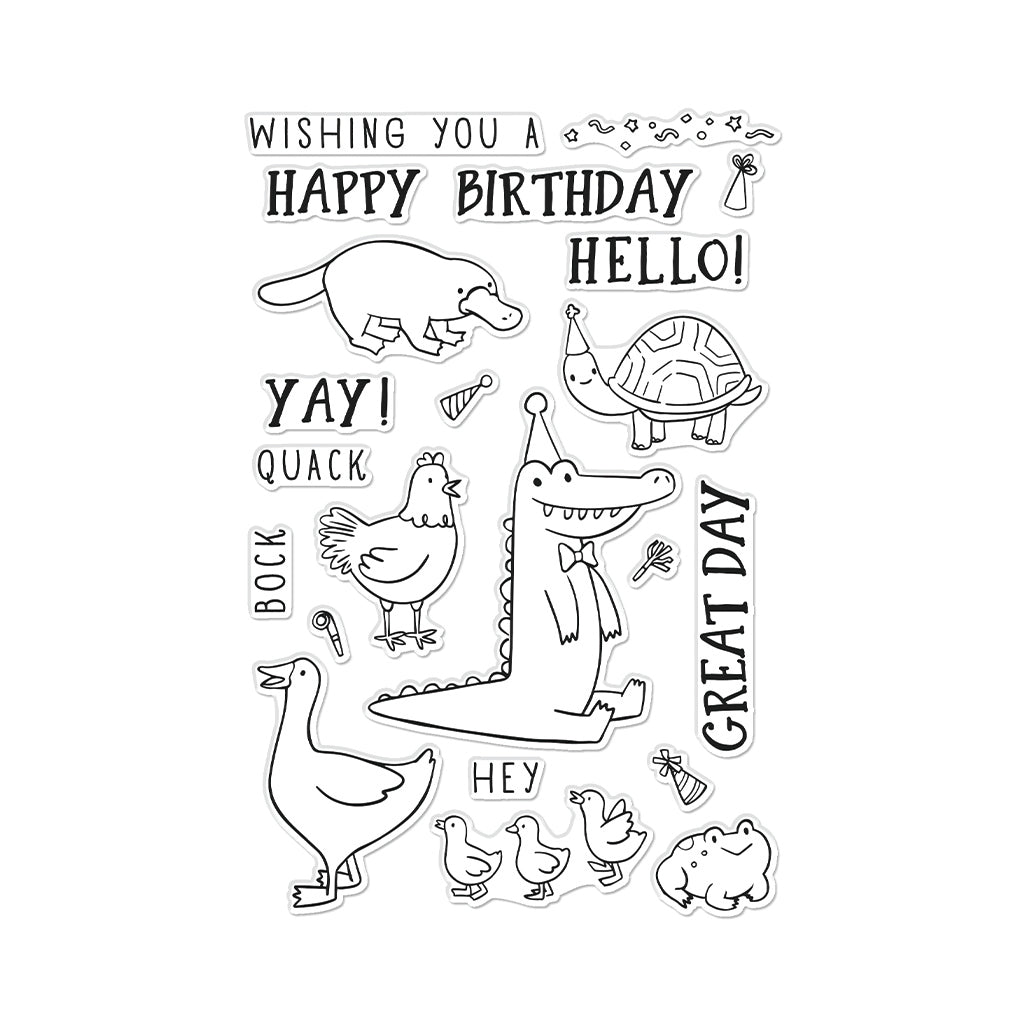
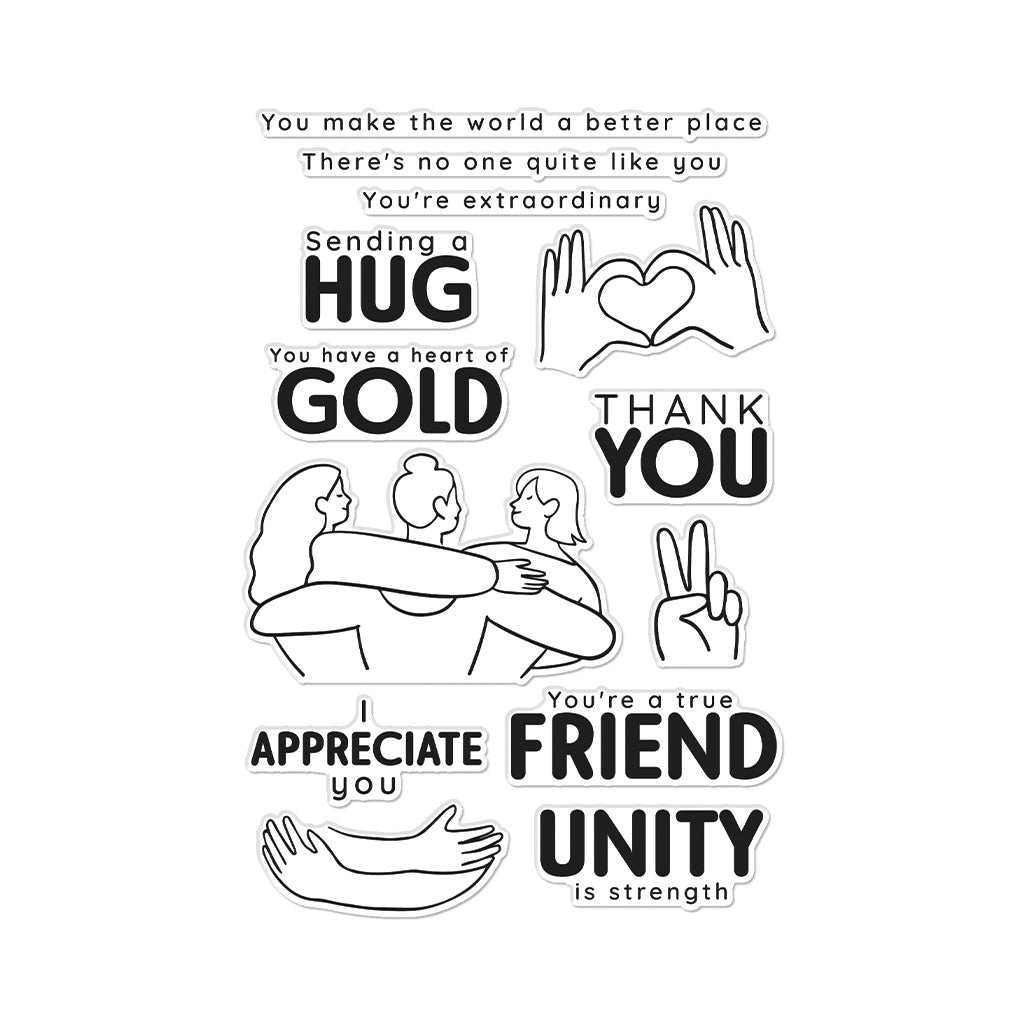
If you don't want to take the time to ink blend, it still looks like tile without it! This next example uses Cornflower ink, with images from the new Birthday Animals set and a sentiment from Appreciate You.

But you don't have to take my word for it - here's the video:
I hope you have a great week! Thanks for stopping by.

|