

Posted by Dana Joy
on July 10, 2023

Morning everyone. It's Dana here with you today. Let's get creative with your stencils. You can easily make several cards with only one stenciled card panel. Let's get into the cardmaking.
(If you are having trouble viewing this video, please click HERE to watch on YouTube.)
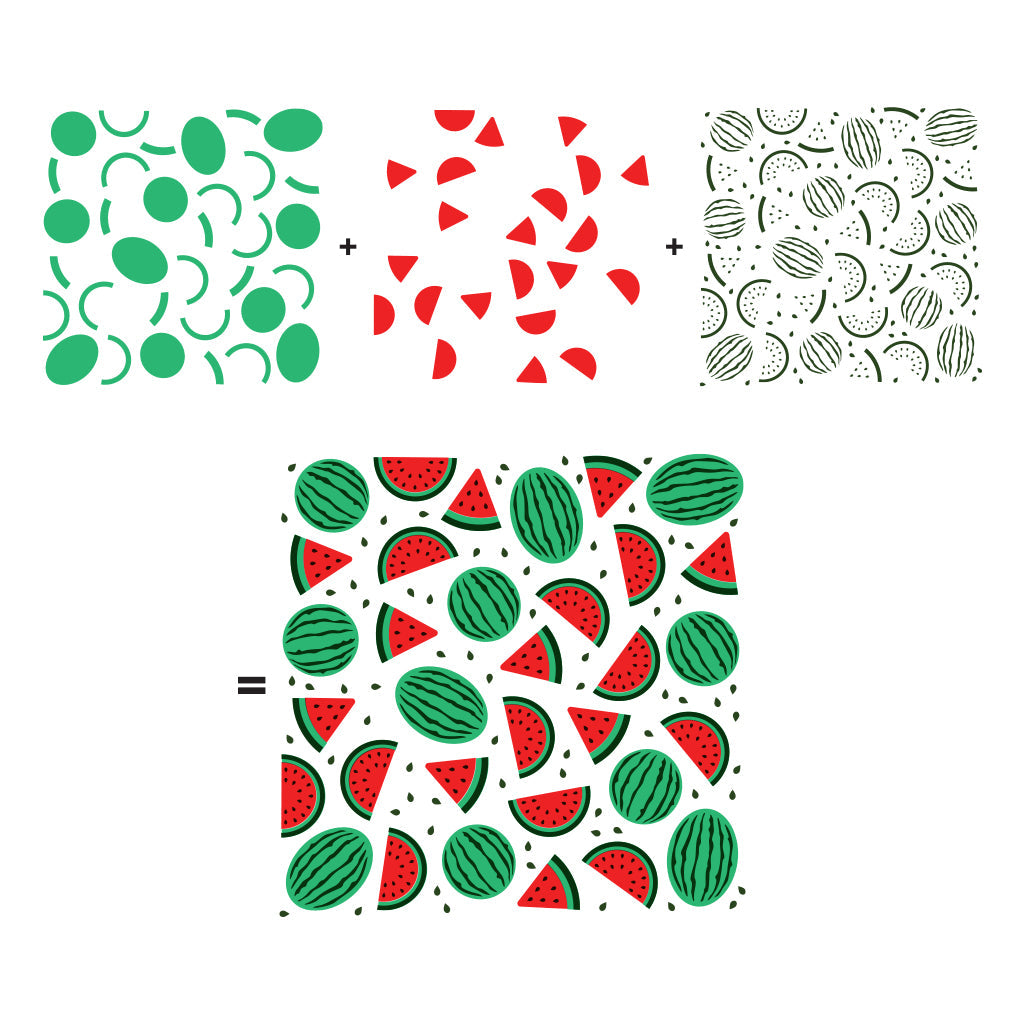
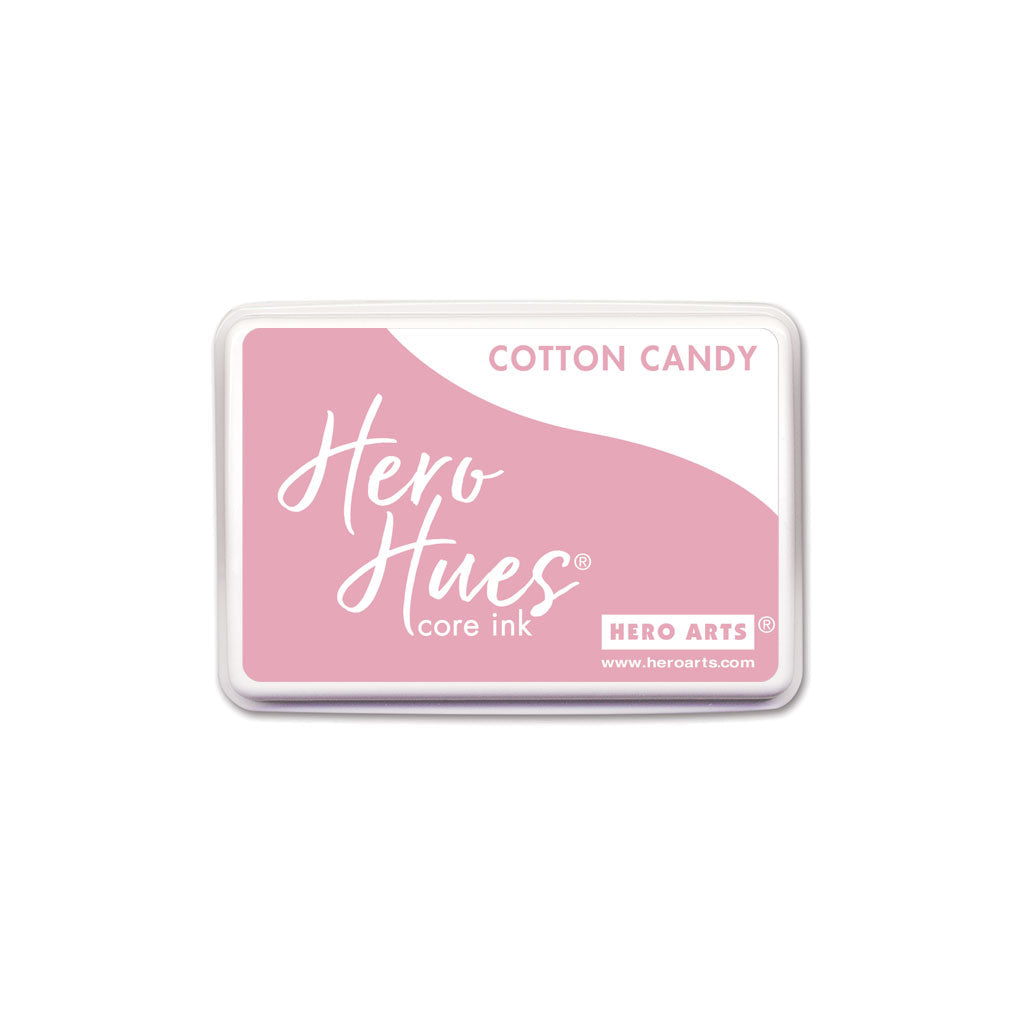
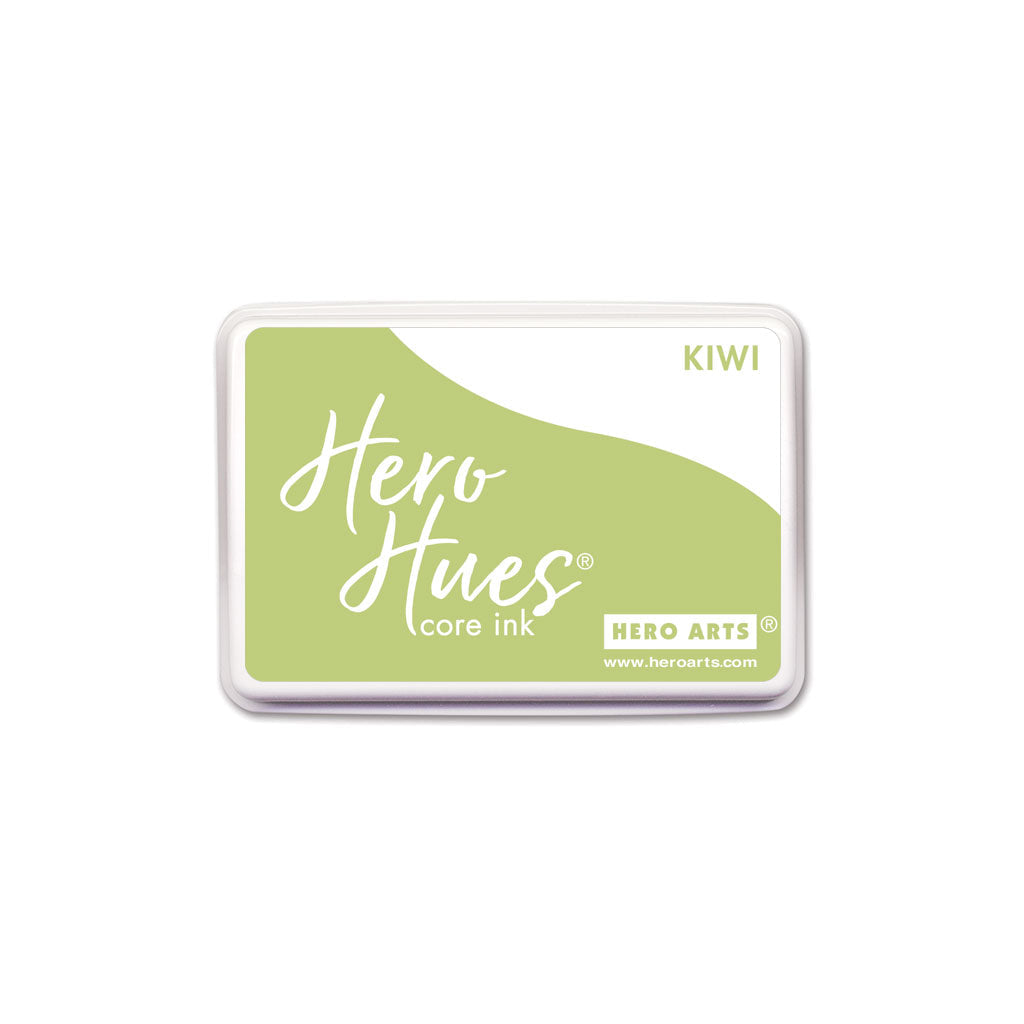
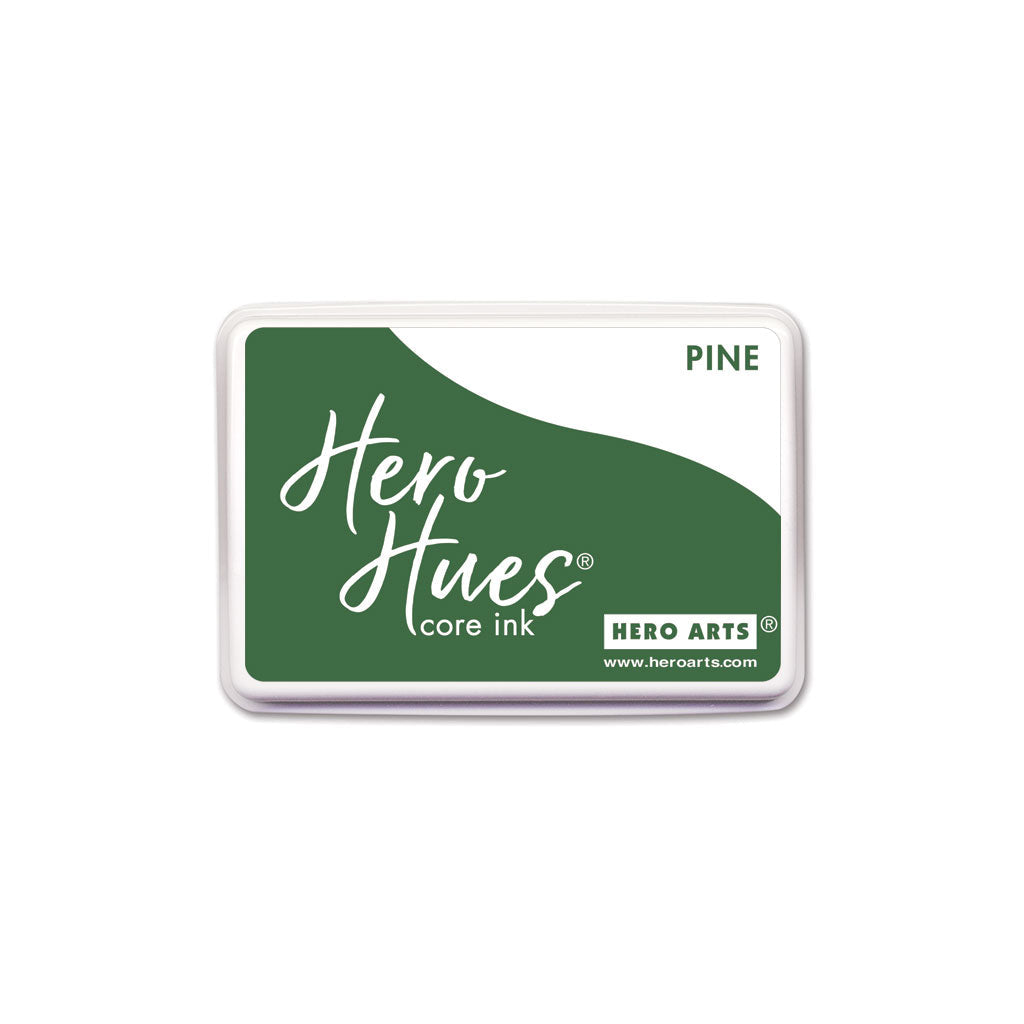
To start, I trimmed down a piece of Sand cardstock to 6" x 6". Next it's time to stencil. The new Color Layering Watermelon Stencils make fun summery cards. I start with Layer A stencil and blended with Kiwi Ink. Layer B is blended with Cotton Candy and Azalea inks. And Layer C is blended with Pine ink. All the inks were blended using Large Blending Brushes.

For a bit of shimmer on the watermelons, I sprayed on White Iridescent Shimmer Mist through the last stencil before I removed it. This just adds such a cool color shift to the inks. Now it was time to trim down this panel. By trimming out the design into a regular 4.25" x 5.5" panel, I had just enough left to make a watermelon strip for another card.

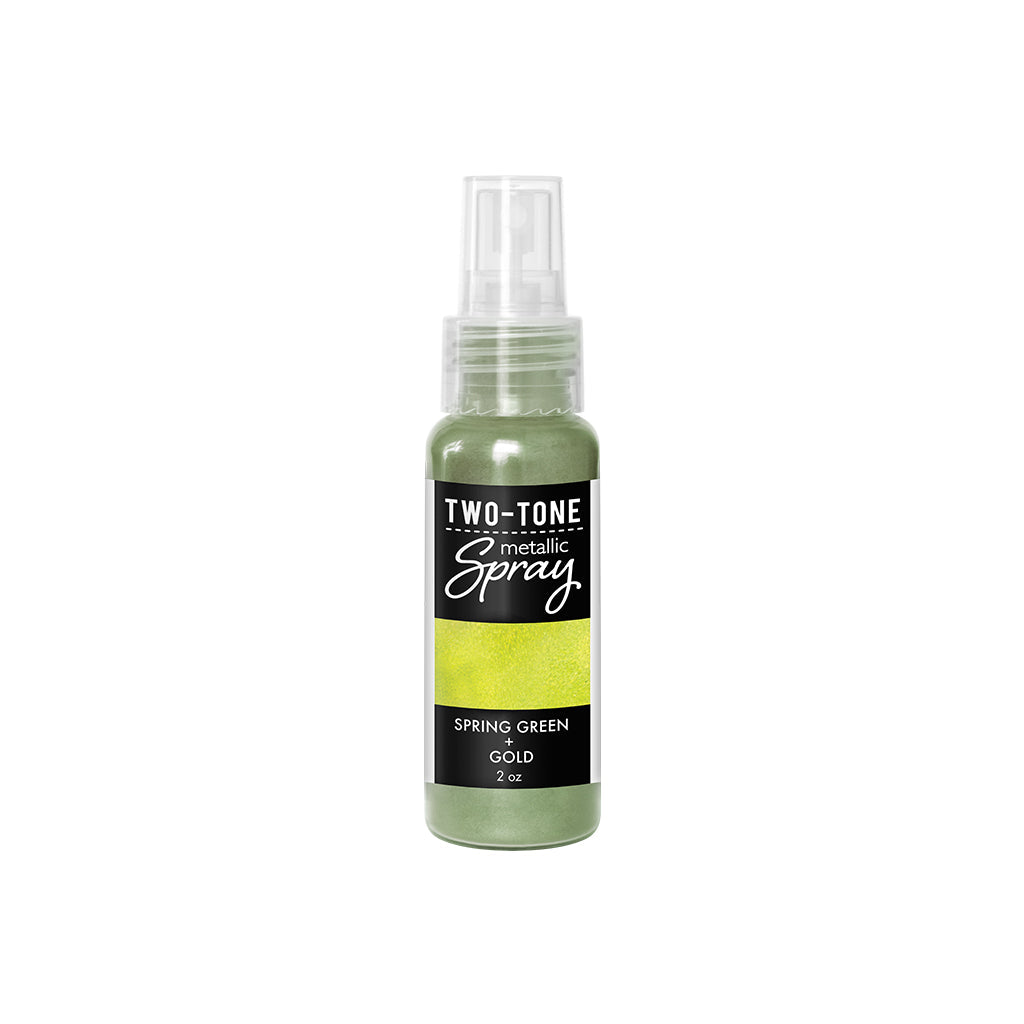
For the background of my first card, I pulled out some Spring Green and Gold Two-Tone Metallic Spray to use for a pop of color on Dove White cardstock. This made the perfect background for my watermelon strip. By backing the watermelon strip with Pitch Black cardstock, it really made it stand out on my mixed media background.
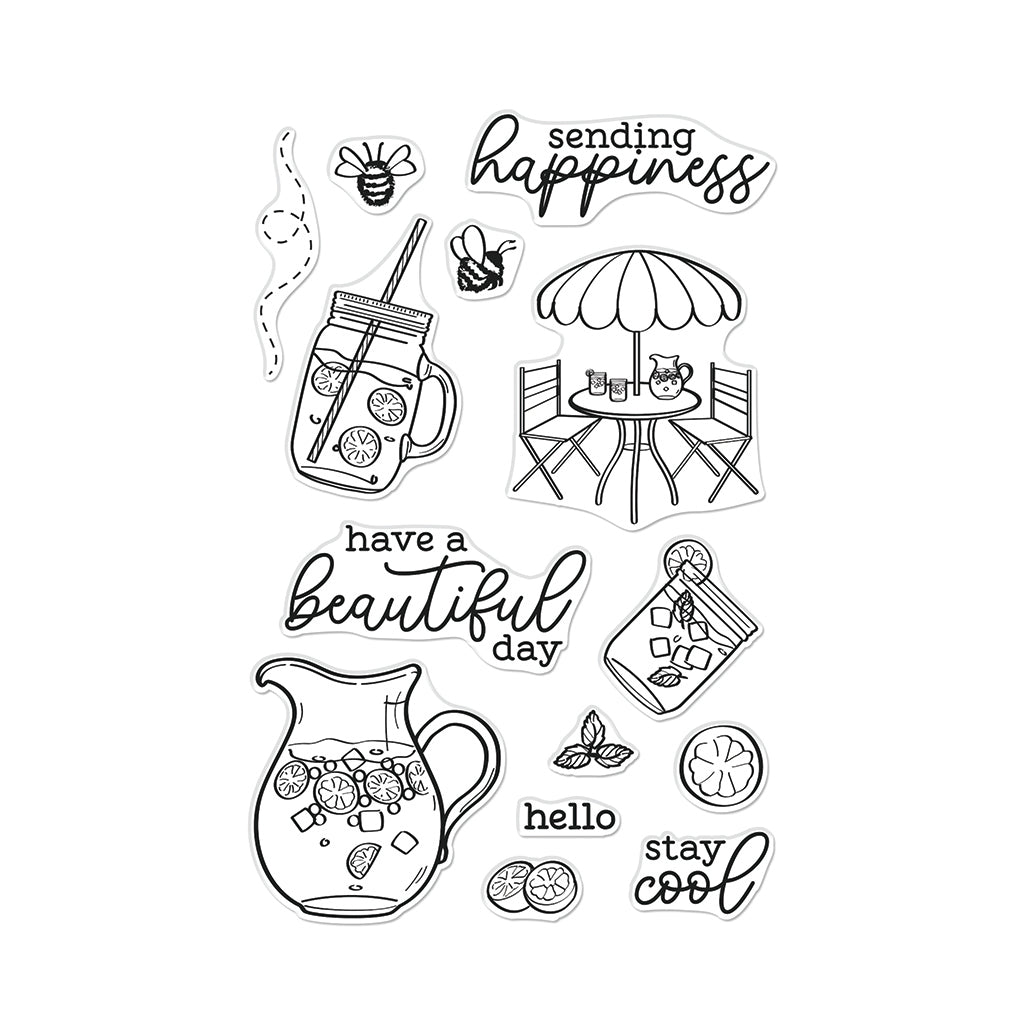
The sentiment I used for the card is from the Lemonade Day stamp. By pulling in the sentiment stamped in Intens-ified Black ink and adding a few Neutral Enamel Dots it helps the color scheme really work. Finally to finish off the first card, I used Dove White cardstock for a card base and Sand cardstock for a layering base for my colorful panel.

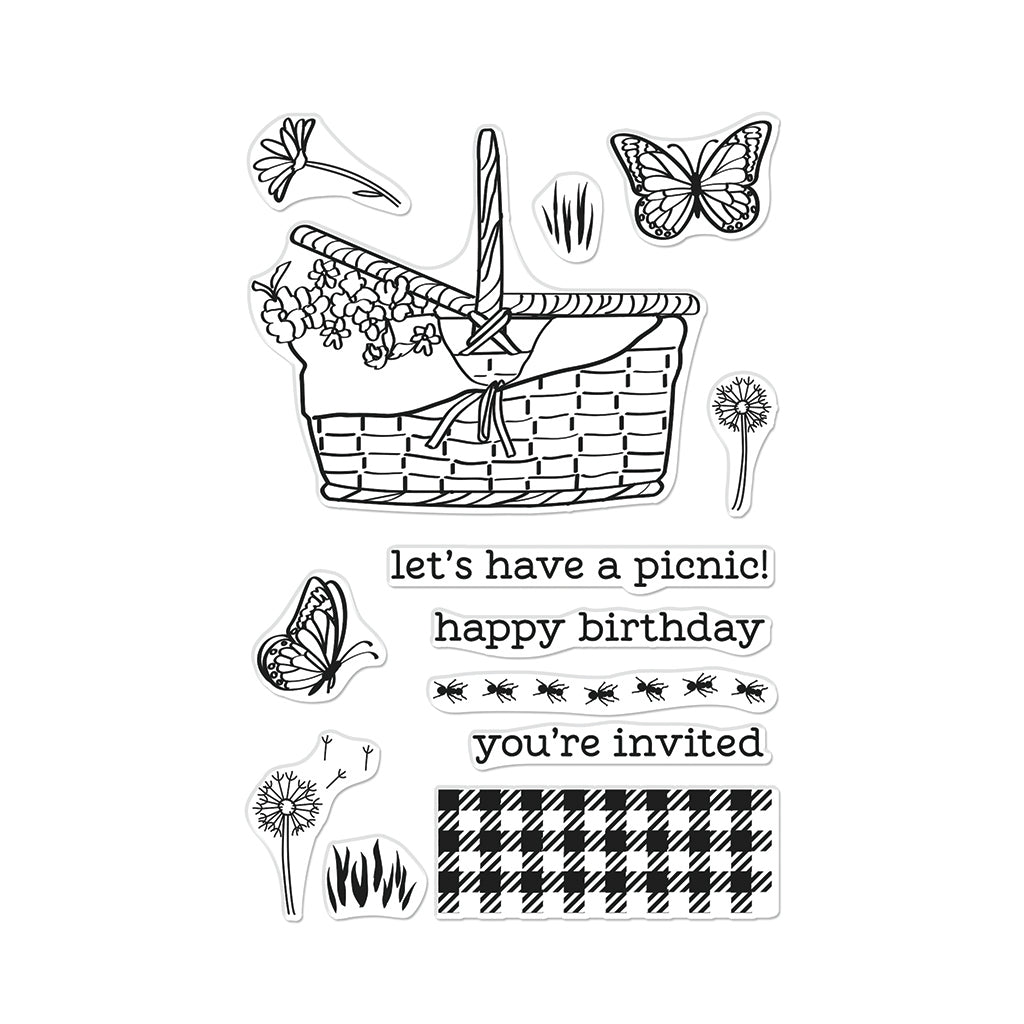
Card number two was created by trimming out a middle section of the watermelon panel and leaving just enough room for a sentiment to be placed between the two panels. I stamped the happy birthday sentiment from the Picnic Basket stamp set in Pine ink onto a Top Folded Dove White Card . These pre-folded card bases make my cardmaking sessions so much faster.

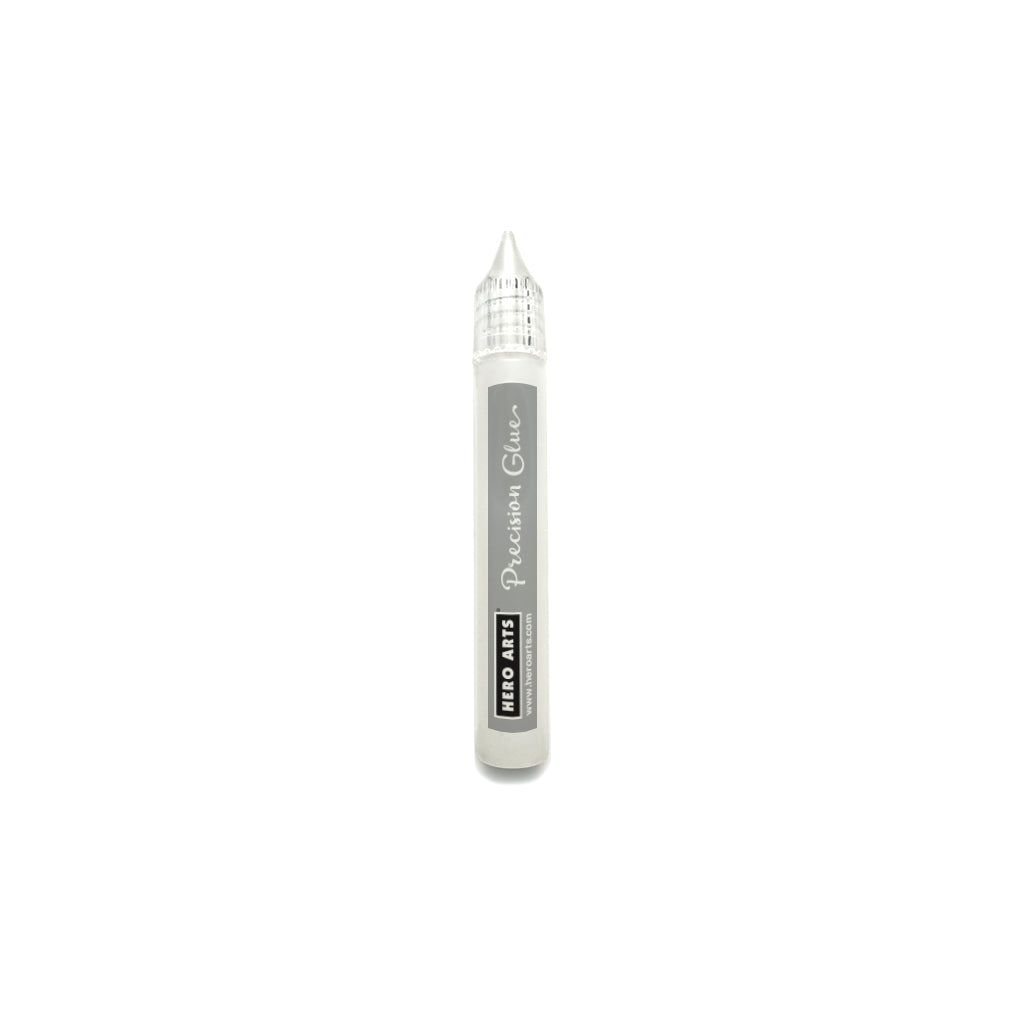
Next I adhered the two panels with Precision Glue by placing one panel above and one below the sentiment. There was just enough room left to add a few Green Enamel Dots .

I hope I've inspired you to get a little creative with your stenciling. There are so many ways to break down a card panel to create multiple cards. Have a great day everyone!

|





Click on products to shop:























































































